



Natural curls have a way of telling on you. If they’re dry, they frizz. If they’re overhandled, they collapse. If the product is too heavy, the whole shape droops by lunch. And if the routine is too strict, the hair looks stiff instead of alive.
The better answer is usually simpler than people want it to be. Curly hair does not need to be bullied into a single look; it needs a shape that respects the curl pattern, the shrinkage, and the fact that different parts of the head never behave the same way. The crown often dries faster. The nape stays damp longer. Edges can puff up while the middle stays flat. That’s normal.
Natural curls look their best when the style works with the texture instead of against it. That means choosing options that give you definition, stretch, lift, or softness depending on what your hair actually wants on a given day. Some looks are fast and low-tension. Some need a night of drying. A few depend on a really good cut, which is annoying but true.
Here’s the part people skip: the same curly style can look completely different on fine coils, dense 4C hair, loose 3A spirals, or a mixed texture that changes from front to back. So the smartest way to wear natural curls is not to chase a single “perfect” finish. It’s to build a small roster of looks that fit your length, density, and patience level.
1. Natural Curls That Start on Soaking-Wet Hair
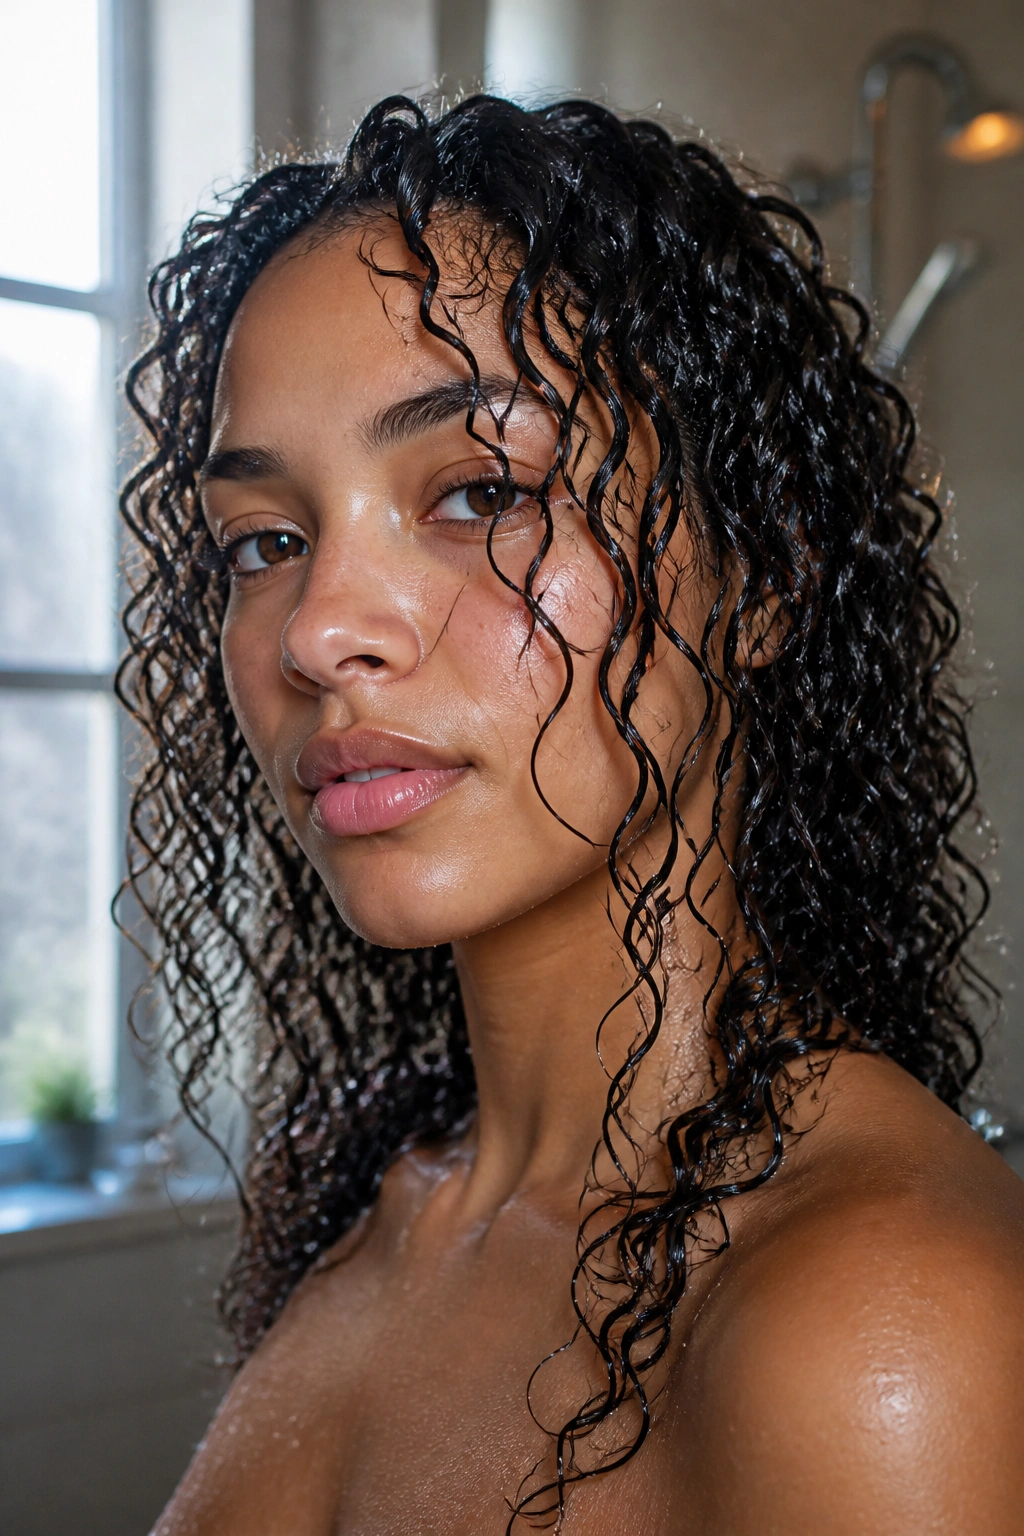
A wash-and-go works because it lets the curl clump while it’s still soft and easy to shape. Once the hair starts drying in the wrong direction, you spend the rest of the day fighting it. On soaking-wet hair, a leave-in and gel can coat the strands more evenly, and that usually means cleaner definition with less frizz at the end.
Why the section size matters
Keep your hair in 4 to 6 sections if you want control without turning the process into a whole production. Use a curl cream first if your hair feels dry, then follow with a gel that gives enough hold to form a cast. A cast is that slightly firm shell that forms while the hair dries.
- Apply product from root to tip on dripping-wet hair.
- Rake and smooth each section once or twice.
- Shake the roots gently so they do not dry flat.
- Air-dry or diffuse on low heat until the hair is fully dry.
Do not touch it too soon. That’s how you wreck definition before it sets.
2. The Soft Twist-Out
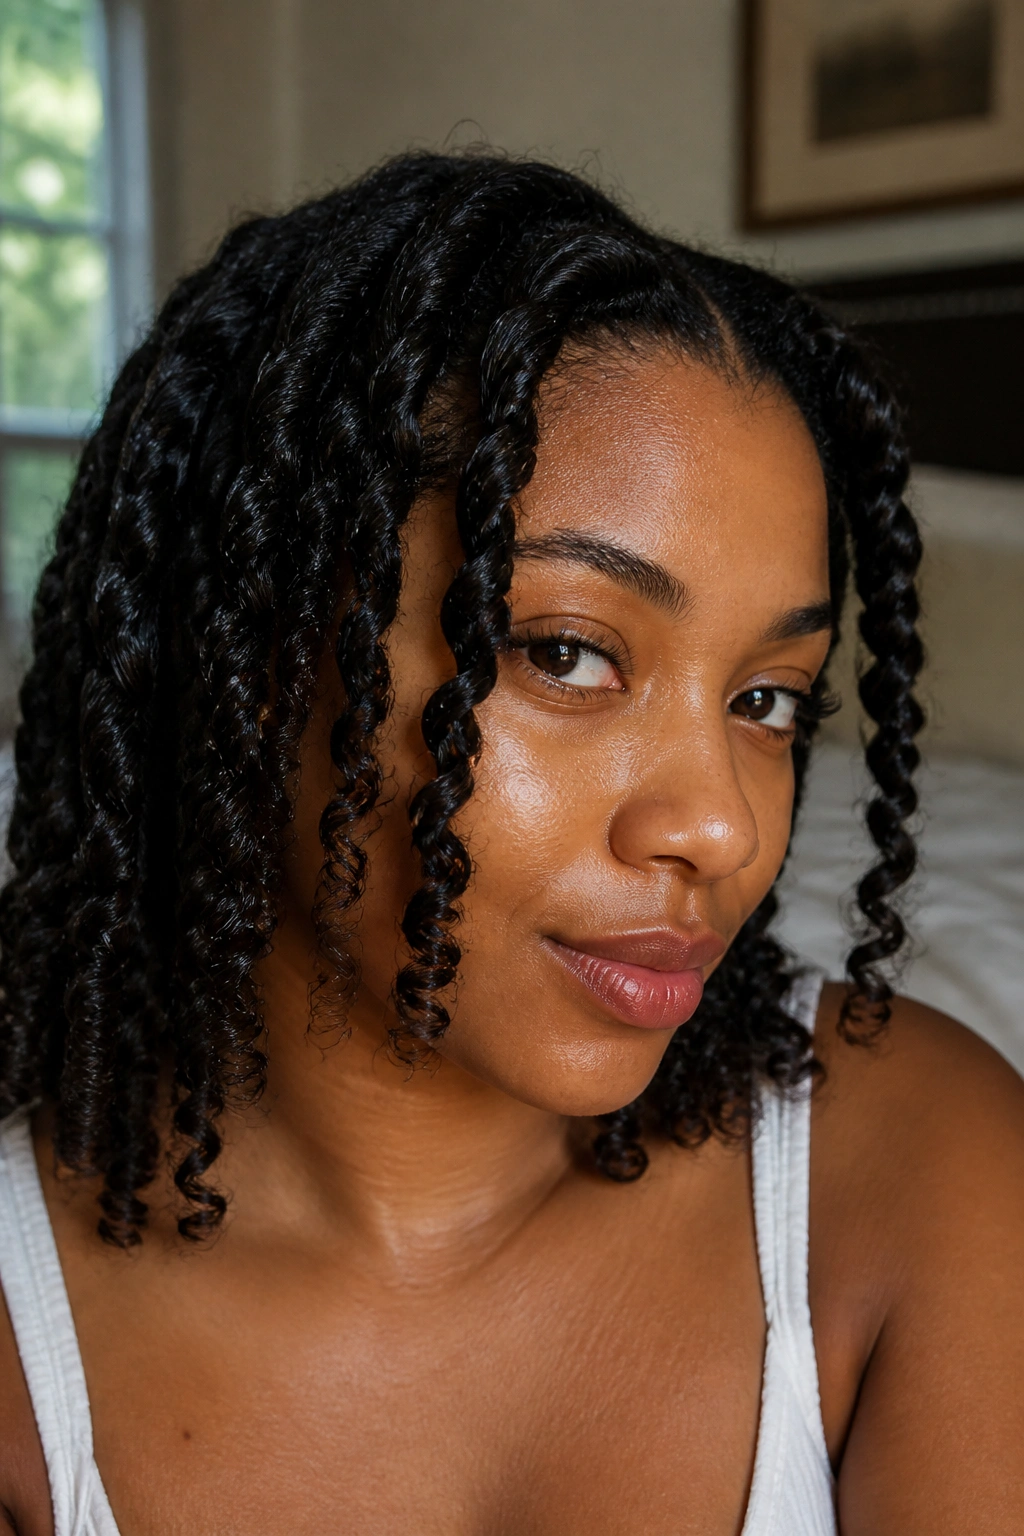
A twist-out gives you a little more stretch than a wash-and-go, and that is the whole appeal. The curl pattern looks fuller and more separated, but not in a crunchy way if you use a light cream and a small amount of gel underneath.
Start with damp hair, not wet hair. Two-strand twists about 1 to 1½ inches wide usually create a soft, medium-sized wave pattern once they’re unraveled. If the sections are too big, you get fuzzy pieces at the root and loose ends at the bottom. If they’re too tiny, you’ll spend half the night twisting.
The real trick is patience. Only take the twists down when every single one is dry. Not almost dry. Dry-dry. I know that sounds fussy, but a twist-out that comes apart early goes puffy fast, and there is no fixing that with a little oil.
3. The Loose Braid-Out
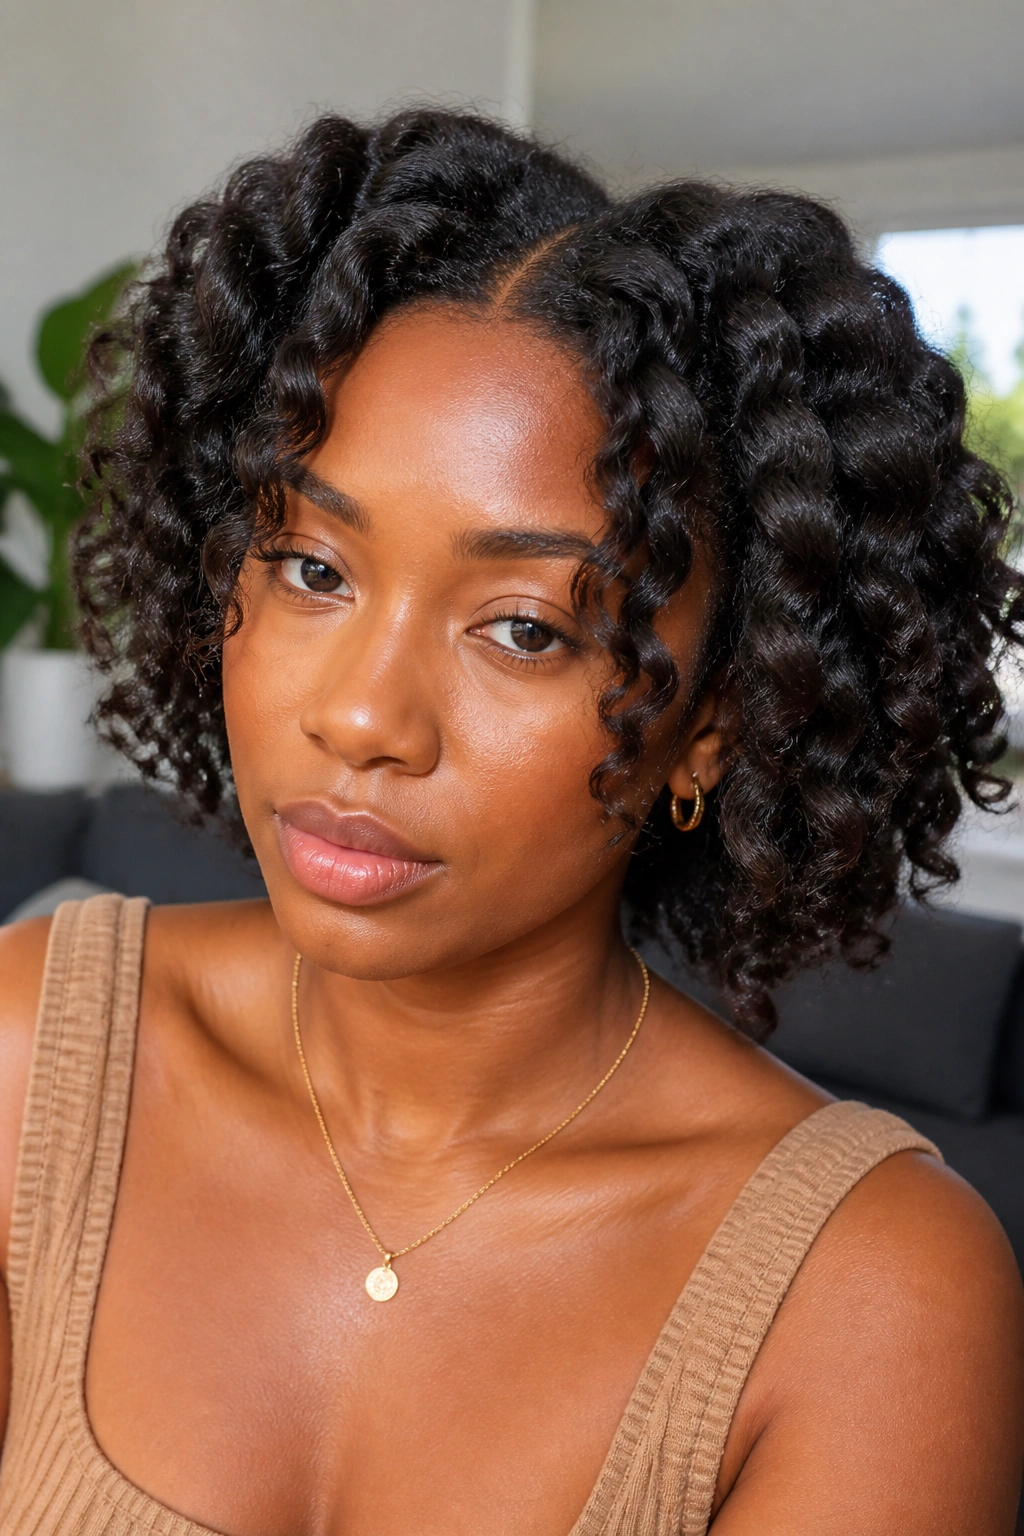
Why does a braid-out look different from a twist-out? Because braids pull the hair into a flatter pattern first, then release it into a softer wave. You get more stretch, a bit less definition, and usually a fuller silhouette at the ends.
What makes it worth trying
This style is smart for hair that loves volume and gets shy about curl clumps. Braid the hair in 4 to 8 plaits, depending on density, and keep the tension even from root to tip. A little curl cream plus a dab of gel usually gives enough hold without turning the finished style stiff.
The part I like most is the root lift. Braids can give the roots a kind of built-in bend, so the whole style feels airy instead of heavy. If your hair tends to shrink hard, this is one of the easiest ways to get shape without heat.
Wear it when you want a softer, fluffier result than a twist-out. It’s not as precise. That’s the point.
4. Finger Coils for Clean Ringlets
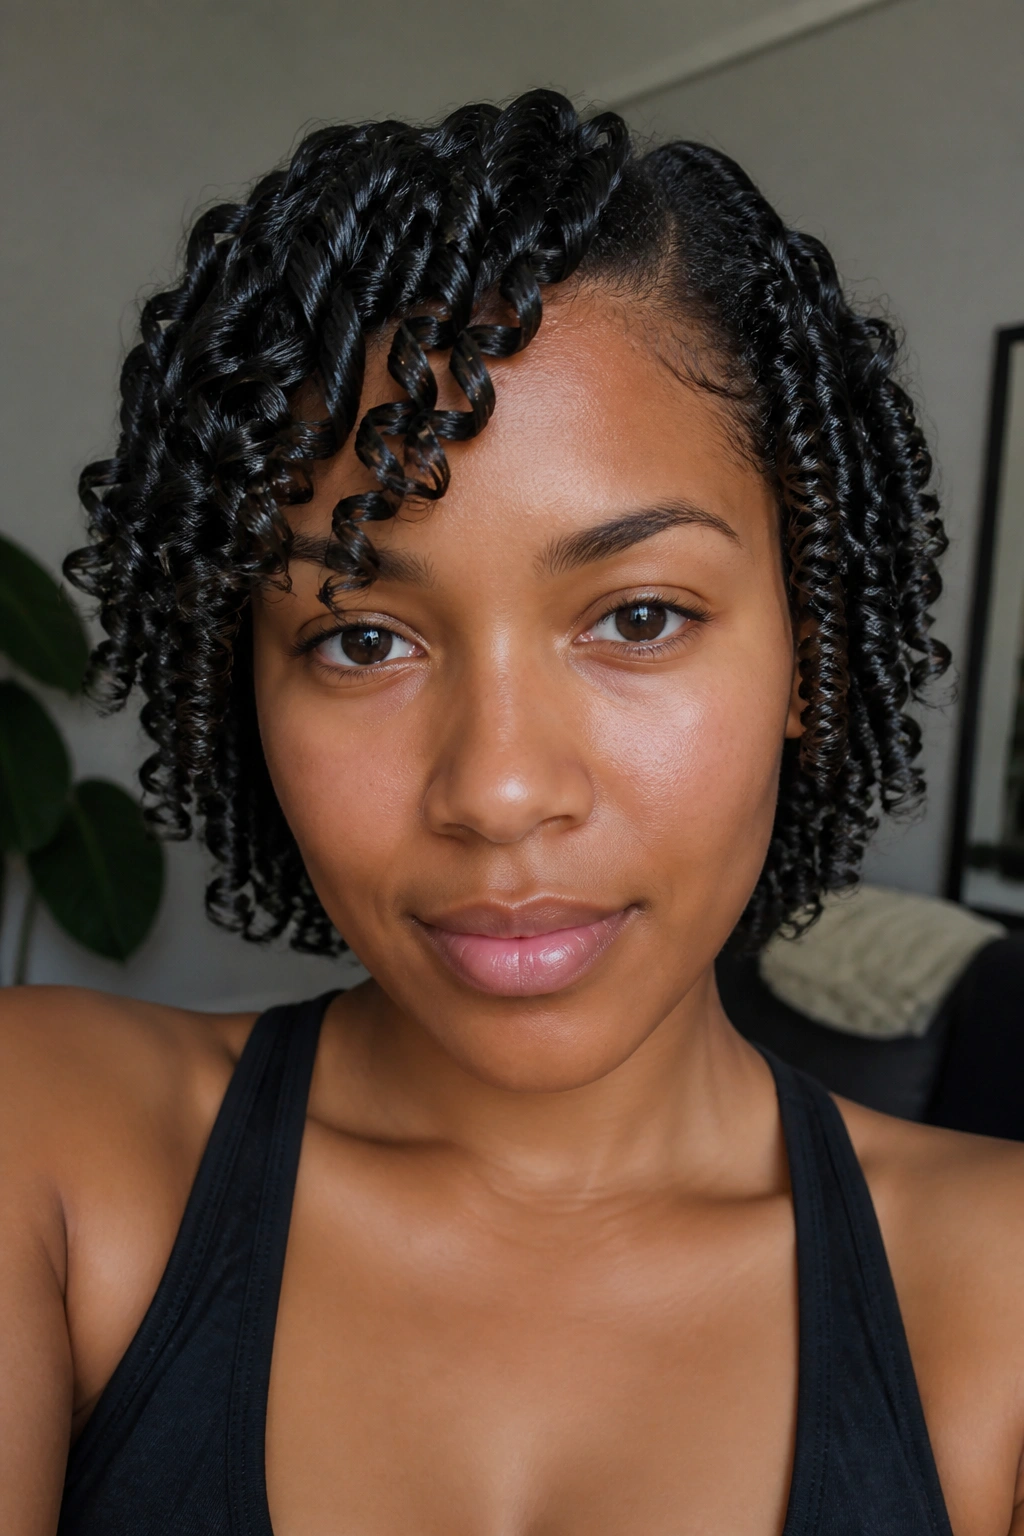
Finger coils are the style you choose when you want the curls to look intentional from the first day. Every coil is made by wrapping a small section around your finger until it springs into place, and the result is neat, glossy, and very controlled.
They work especially well on short to medium hair, and they’re a favorite for tight textures that need help showing their pattern. Use ½-inch to 1-inch sections for a balanced look. Smaller sections give more definition. Bigger ones look chunkier and more relaxed.
How to keep them from frizzing out
- Start with damp, detangled hair.
- Use a strong-hold gel or mousse.
- Coil in the same direction across the whole head.
- Let the coils dry fully before separating them.
A lot of people rush the dry time and then wonder why the back looks fuzzy. It’s because the back was still damp when they touched it. Simple. Annoying. True.
5. The Flat-Twist Crown
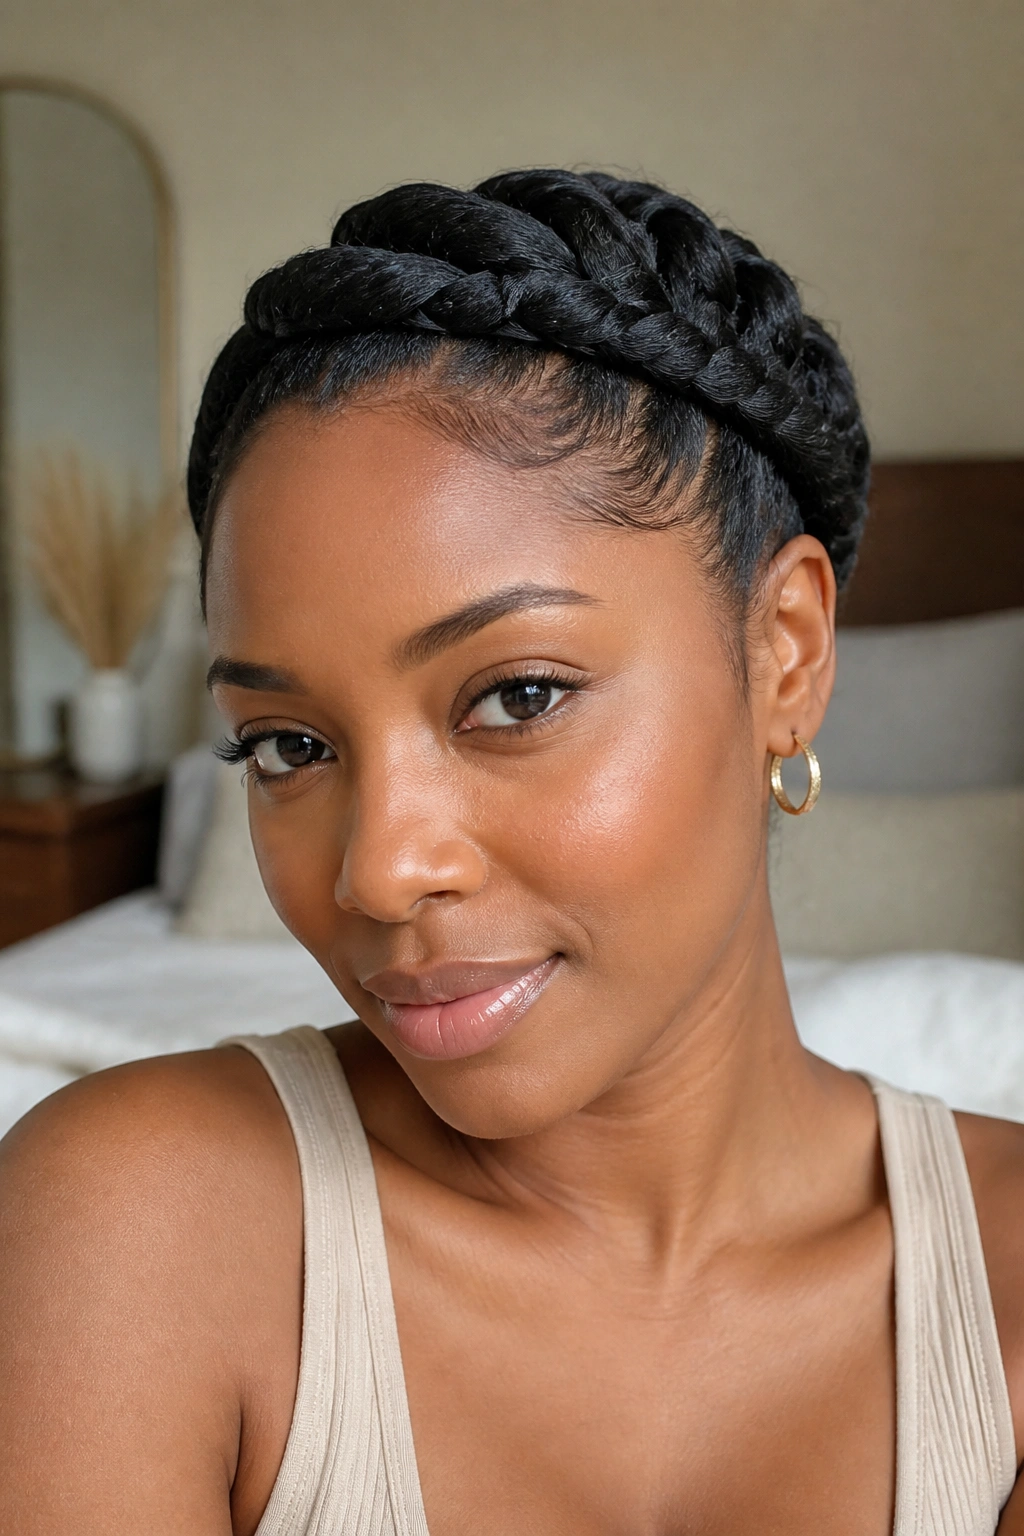
Flat twists have a nice practical edge. They keep hair off the face, protect the ends, and create a clean shape that works for school, work, travel, or days when you do not feel like fussing with individual curls.
The style usually starts at the temple and moves around the head in a crown shape. Each twist sits close to the scalp, so the look feels tidy without being severe. For a softer finish, leave the ends loose and curl them under. For more polish, pin the ends flat and tuck them in.
A satin scarf at night keeps the rows neat and stops the front from puffing up too fast. That part matters more than people think. The difference between “still wearable” and “where did the shape go?” is often one night of friction.
6. Pineapple Puff With Height
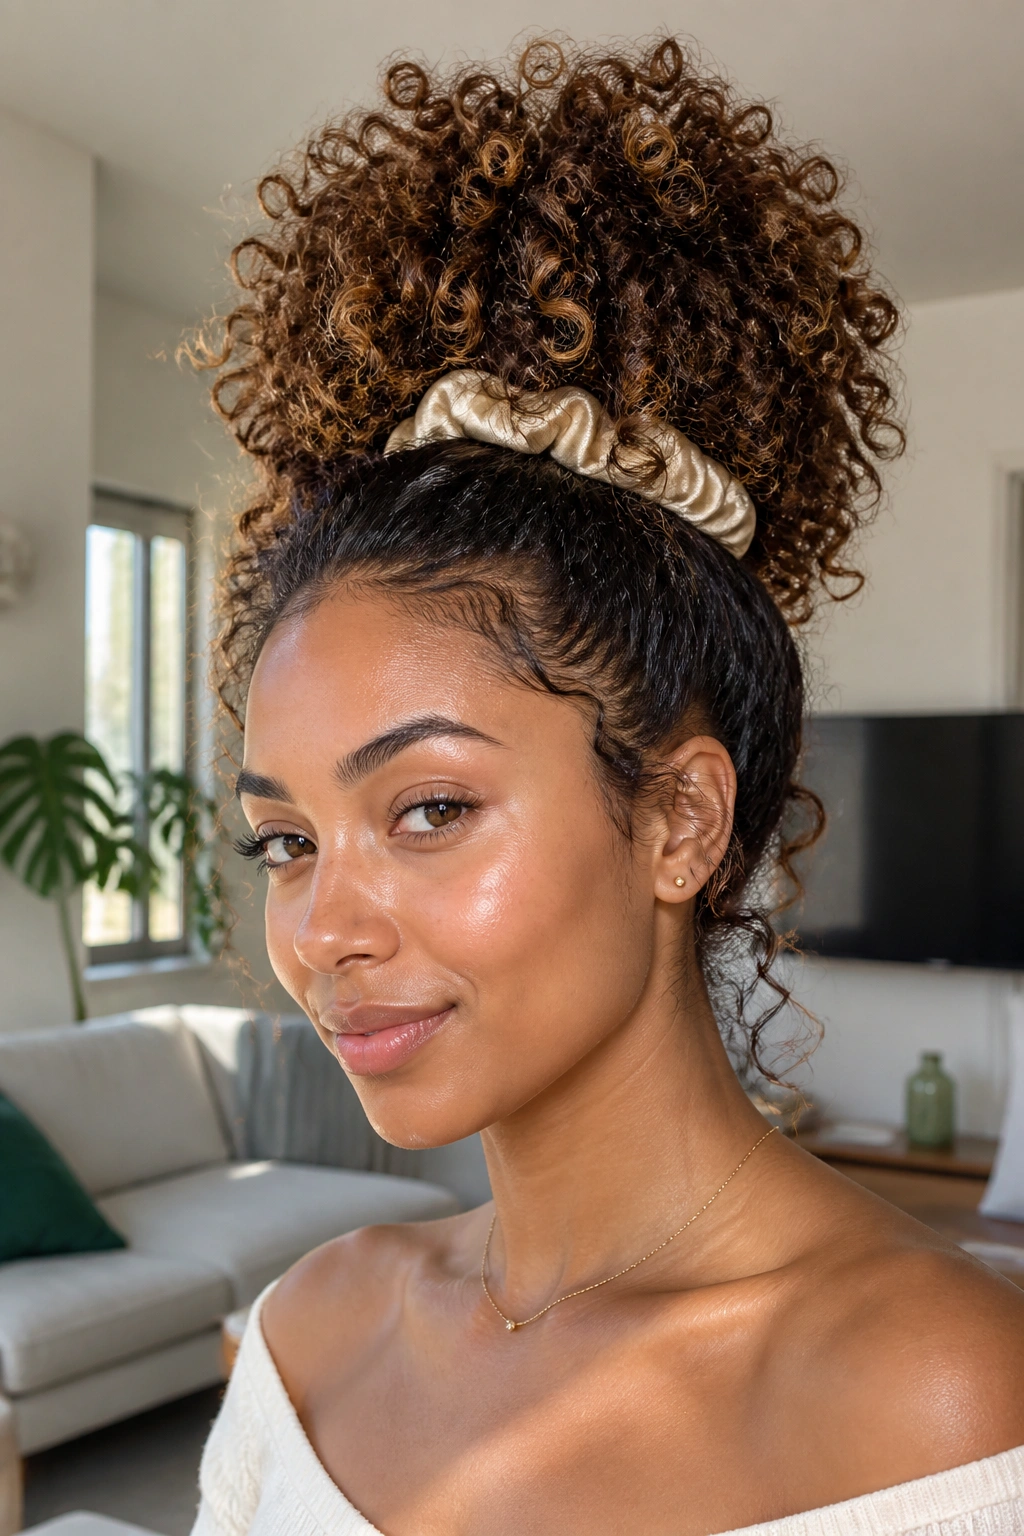
A pineapple puff is basically a high, loose ponytail that keeps curls lifted and protected. It’s the easiest way to get height without flattening the crown, and it works best on medium to long hair that still has some spring left in it.
Use a soft satin scrunchie or a stretch band and gather the hair at the highest point of the head. Do not pull it tight enough to yank the roots. You want the curls to stack upward, not get ironed against your scalp.
Compared with a sleek high ponytail, the pineapple looks softer and more lived-in. It is the style you reach for when day-two curls are starting to bend out of shape but still have enough body to look good. If the ends are dry, mist them lightly and scrunch once. That’s often enough.
7. Bantu Knot-Out Volume
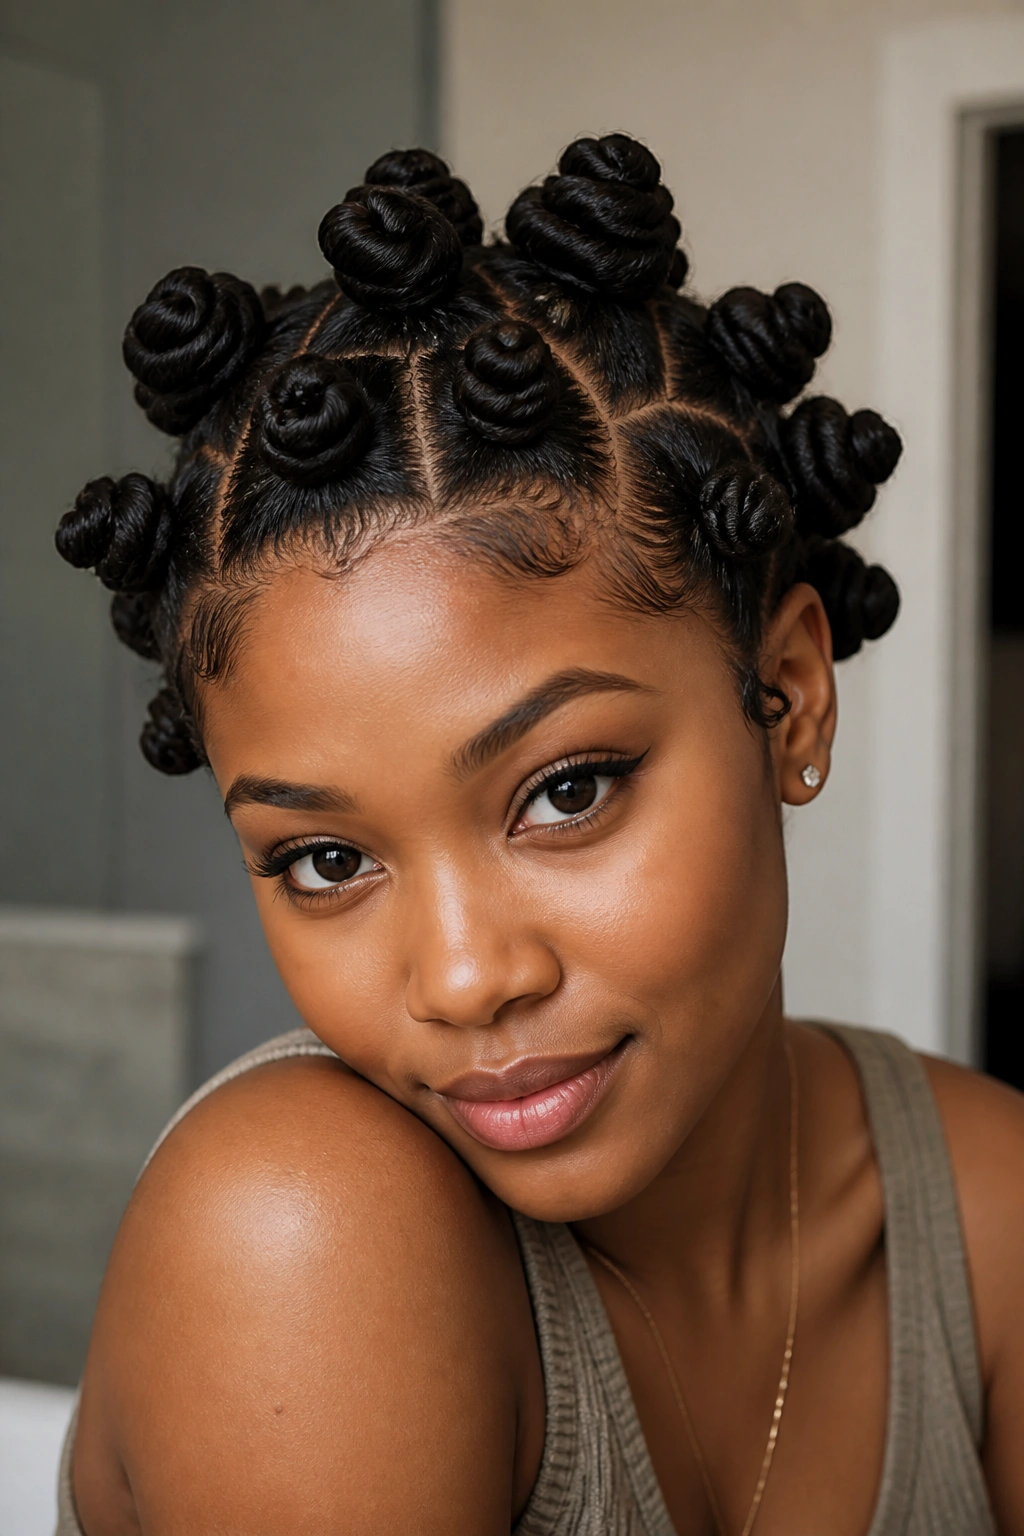
Bantu knots give you springy, rounded curls that read a little bolder than a braid-out and a little more sculpted than a twist-out. The style is made by twisting a small section of hair until it coils back on itself, then wrapping that coil into a knot.
The part people get wrong
The sections should be neat, but not tiny enough to make you miserable. About 1-inch parts are a nice middle ground for most heads. If you make the knots too tight, the roots can get sore and the finished pattern may look dented instead of bouncy.
Use a cream for slip, then a bit of gel at the ends so they stay smooth. Drying time matters here, too. Overnight works for many textures, but a hooded dryer on low heat can save you from waking up to damp knots and flattened roots.
When you take them down, separate only once or twice. Too much separation kills the shape fast.
8. Flexi-Rod Set Spirals
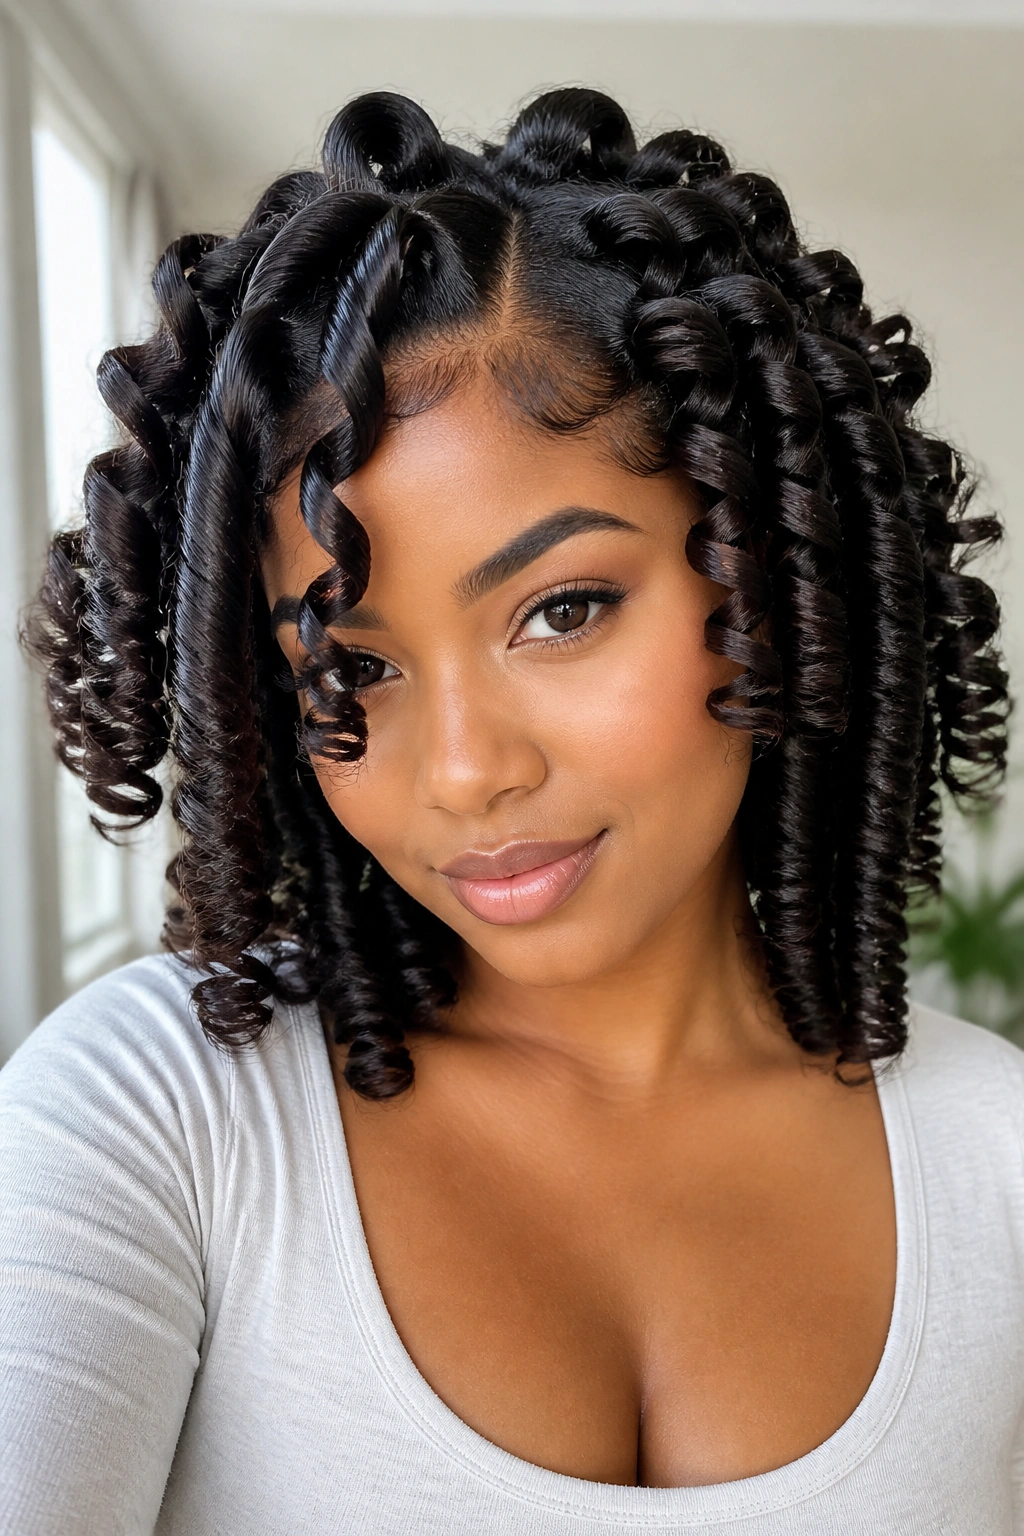
Flexi-rods are old-school in the best way. They create spiral curls that look polished, springy, and longer than your natural shrinkage wants to admit. The rod size changes the whole mood of the style.
Use 7/8-inch rods for a fuller spiral, or smaller rods if you want tighter ringlets. Wrap the hair smoothly around the rod, keeping tension even from root to end. If the ends are bent or tucked strangely, you’ll see it later. Curls remember.
This style shines when you want a more finished look for a special day, but it also works for people who like to stretch their curls without heat. Drying must be complete before removal. If the hair is even a little damp, the curls may fall flat within an hour.
9. The Side-Part Curly Shag
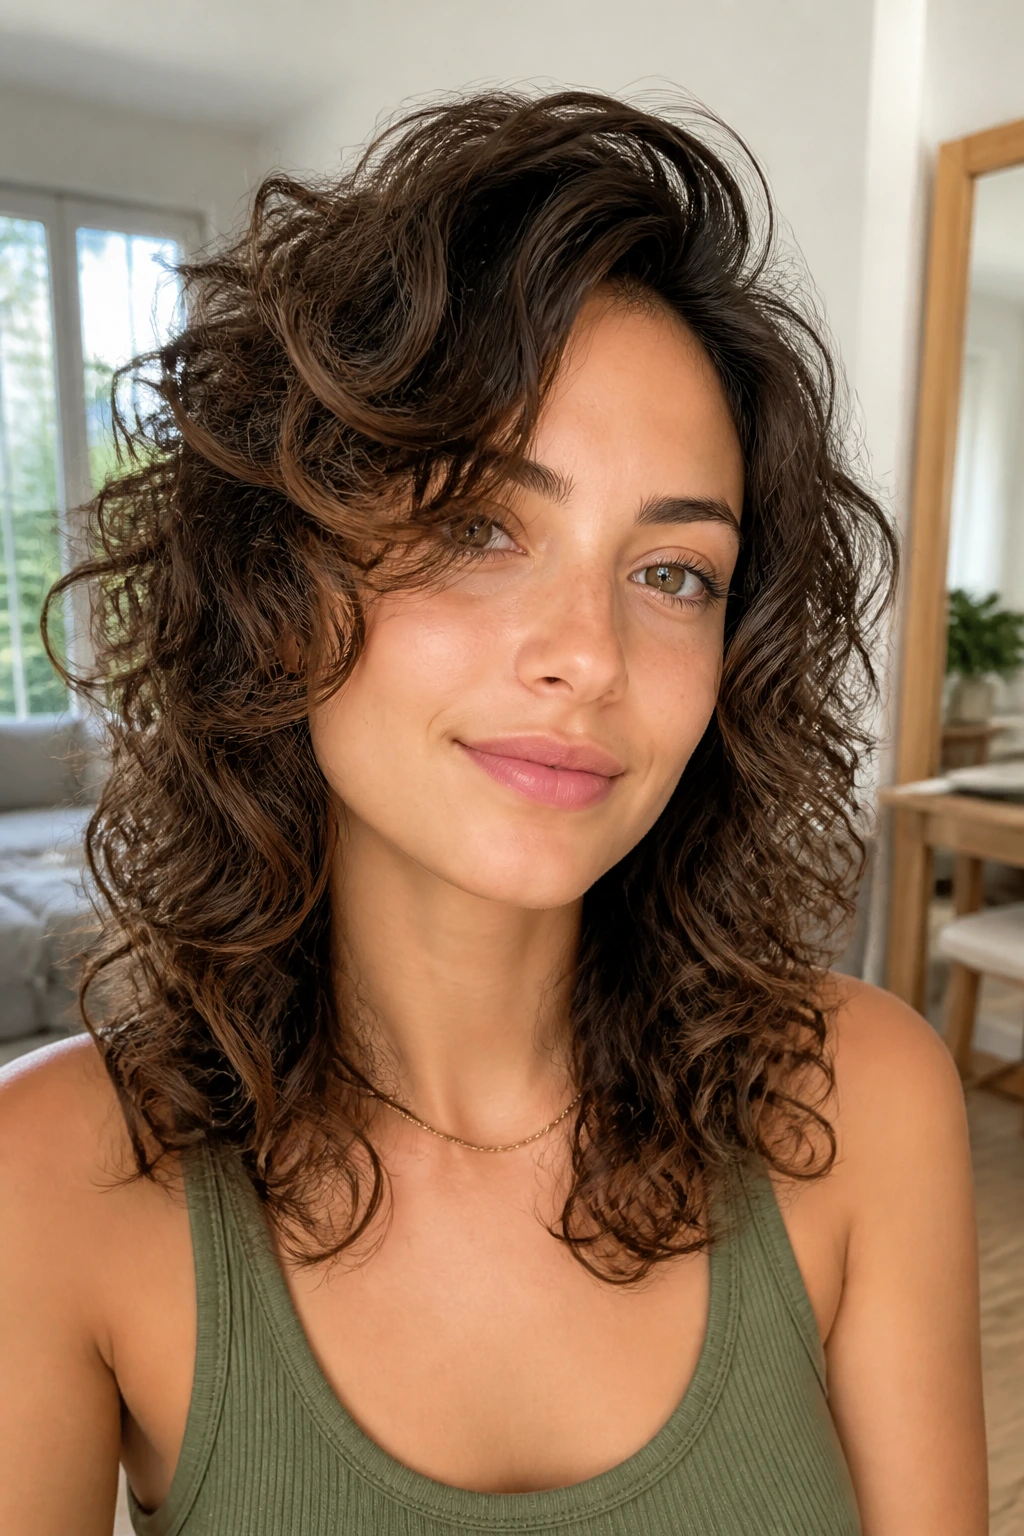
A curly shag is one of those cuts that looks casual but secretly does a lot of work. The layers remove bulk where the hair wants to puff out, and the side part shifts the shape so the curls fall in a more relaxed, face-framing way.
This cut is especially useful if your hair feels heavy at the bottom and flat at the top. The shorter layers around the crown encourage lift, while the longer layers keep the shape from turning into a triangle. A dry cut is often the smarter choice with curls, because shrinkage changes everything once the hair is wet.
Wear it with a little mousse and a diffuser if you want the layers to show. Or leave it air-dried and slightly messy. Honestly, that works too.
10. Half-Up Half-Down Puff
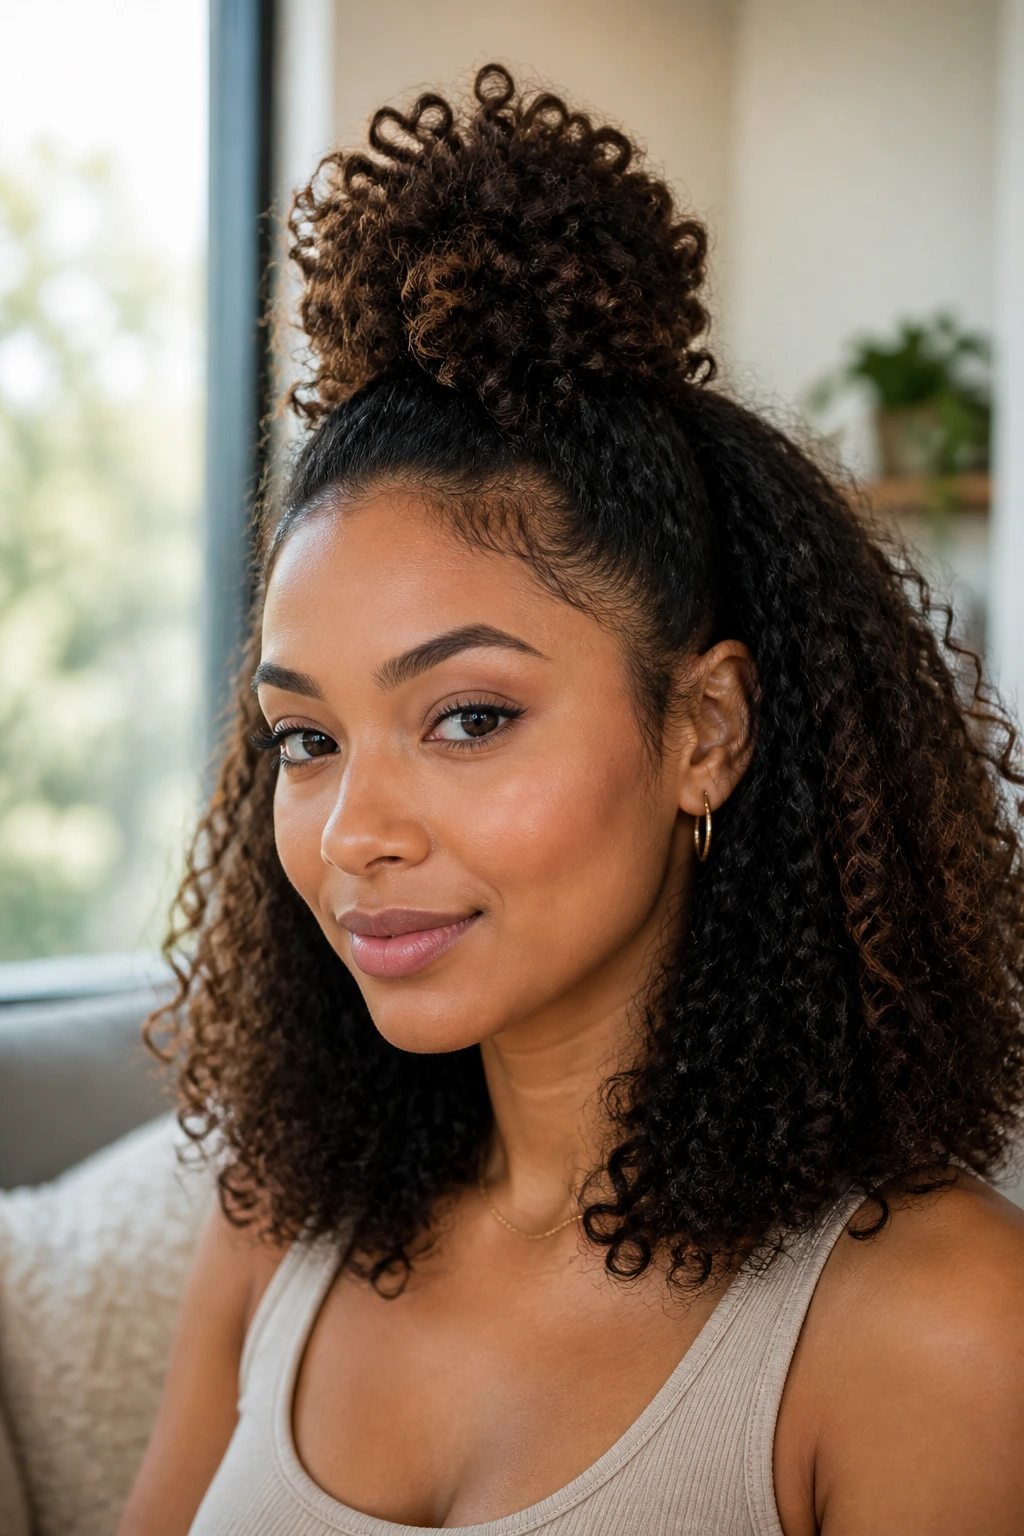
A half-up half-down style gives you shape and volume at the same time, which is why people keep coming back to it. The top section gets pulled into a puff, clip, or small bun, while the rest of the curls stay loose and visible.
It works best when the top section is not too large. If you grab half the head from ear to ear, the style can feel bulky. A more controlled section from temple to crown usually looks cleaner and keeps the weight balanced. Smooth the front with a brush and a touch of gel, then leave the ends soft.
The nice thing here is flexibility. You can wear it with defined curls, stretched curls, or day-two curls that need a second life. A small claw clip is often easier than a tight elastic, and the scalp will thank you later.
11. Mini Twists With Loose Ends
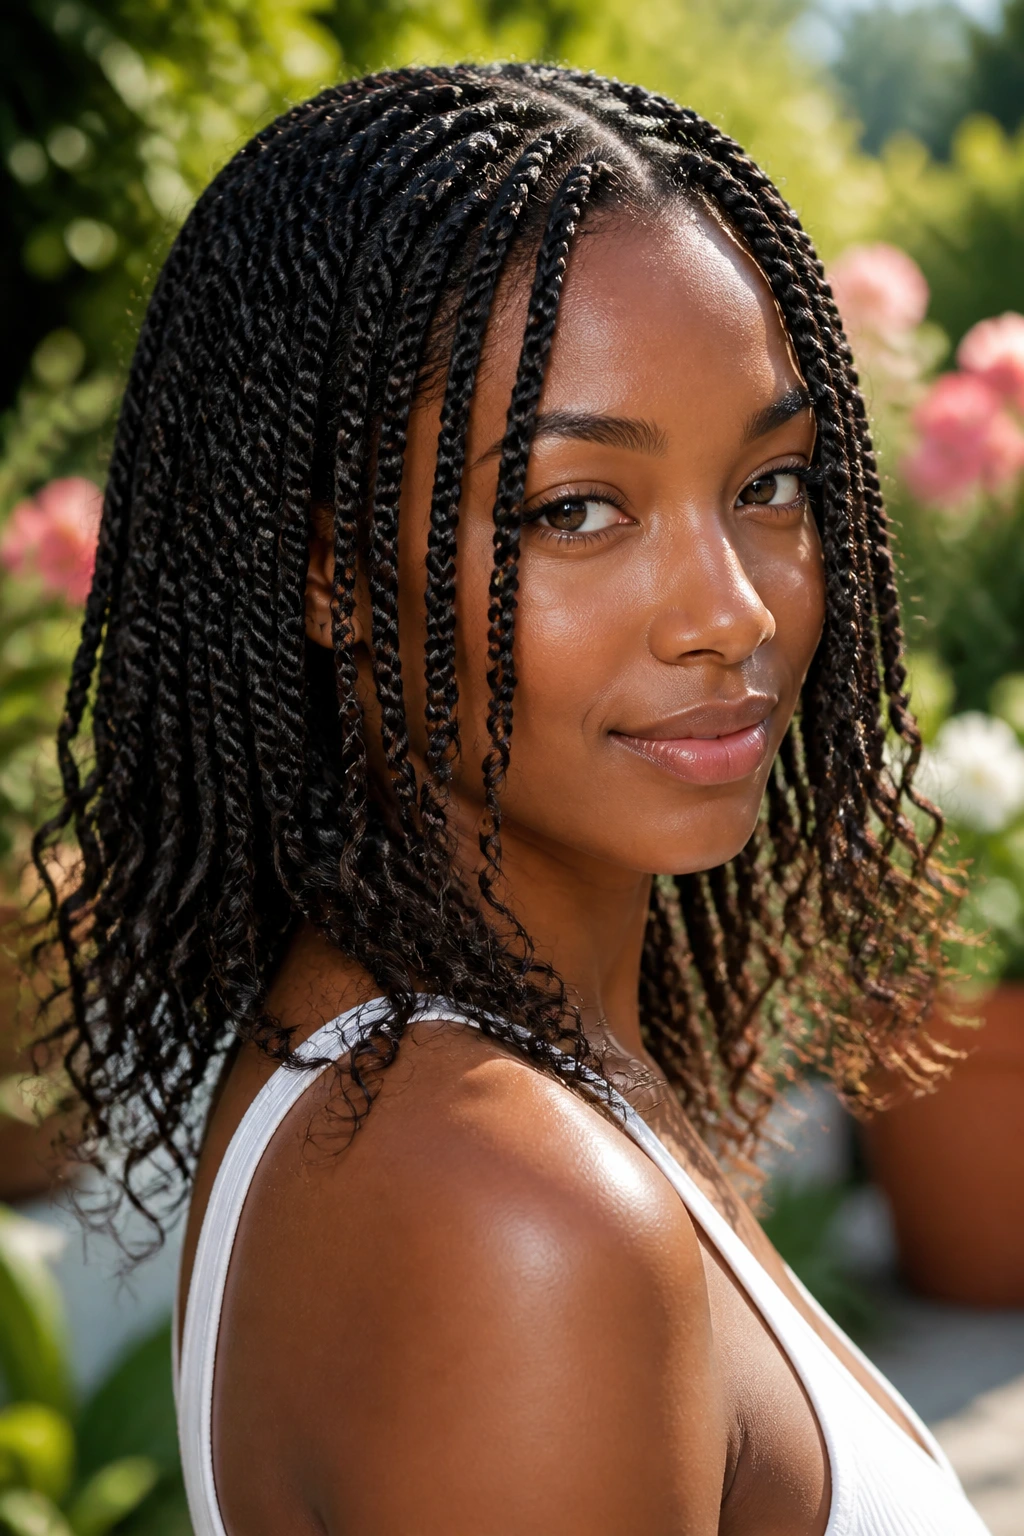
Mini twists are one of the most practical protective styles for curly hair, and they do not have to look boring. When the twists are left a little looser at the ends, they give a soft curl finish instead of a stiff rope effect.
Why they work so well
The style reduces daily handling, which is a big deal for hair that breaks easily when it’s overmanipulated. Parts around ½ inch wide keep the twists neat enough to last, but not so tiny that the install becomes endless. Use a cream or butter with enough slip to smooth the strands before twisting.
Mini twists can be worn plain, tucked into a low bun, or half-pinned back. They also make a good base for a few days of low-effort styling, which is what most people actually need. Not a miracle. Just less drama.
12. The High Curly Ponytail
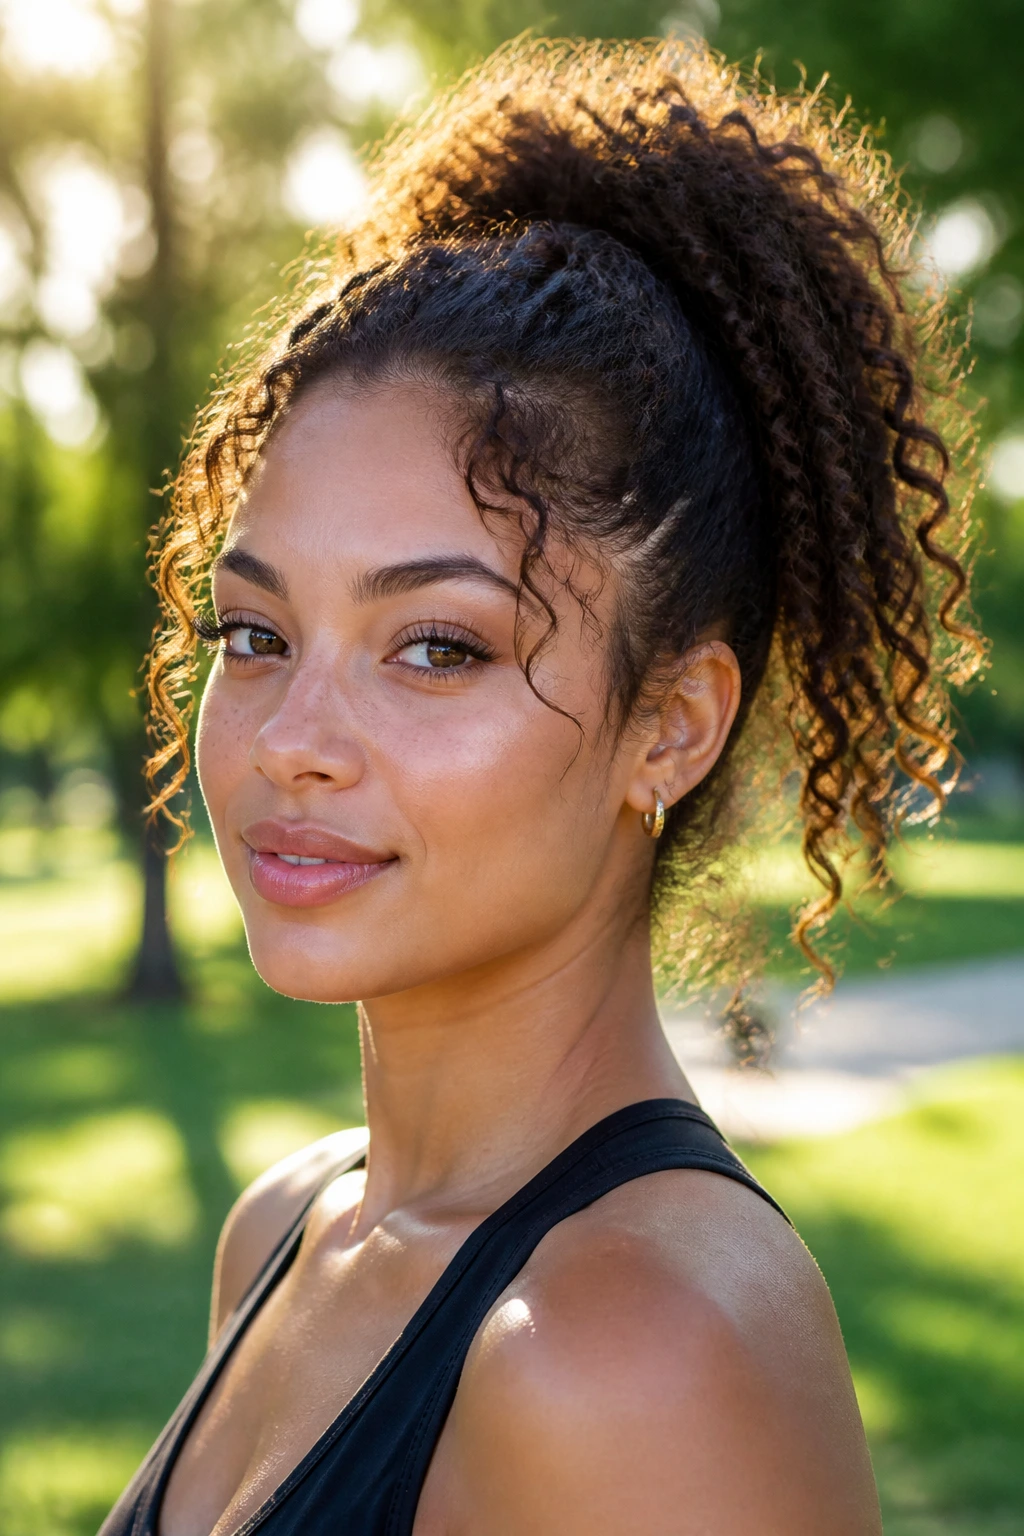
A high curly ponytail looks simple, but the clean version takes a little thought. The goal is to lift the curls without squashing the roots or making the front look pulled tight.
Start by brushing the perimeter upward with a light gel and a soft brush. Gather the hair at the crown or slightly higher, then secure it with a satin-covered elastic. If your hair is thick, split the ponytail base into two sections and stack them so the weight sits better. That helps keep the style from drooping after an hour.
How to make it look fuller
- Leave a few curls loose around the hairline.
- Wrap a small piece of hair around the base to hide the elastic.
- Fluff the ponytail gently from the inside, not the outside.
A high pony is useful when you want the face open and the curls lifted. It’s not subtle. That’s the charm.
13. The Frohawk
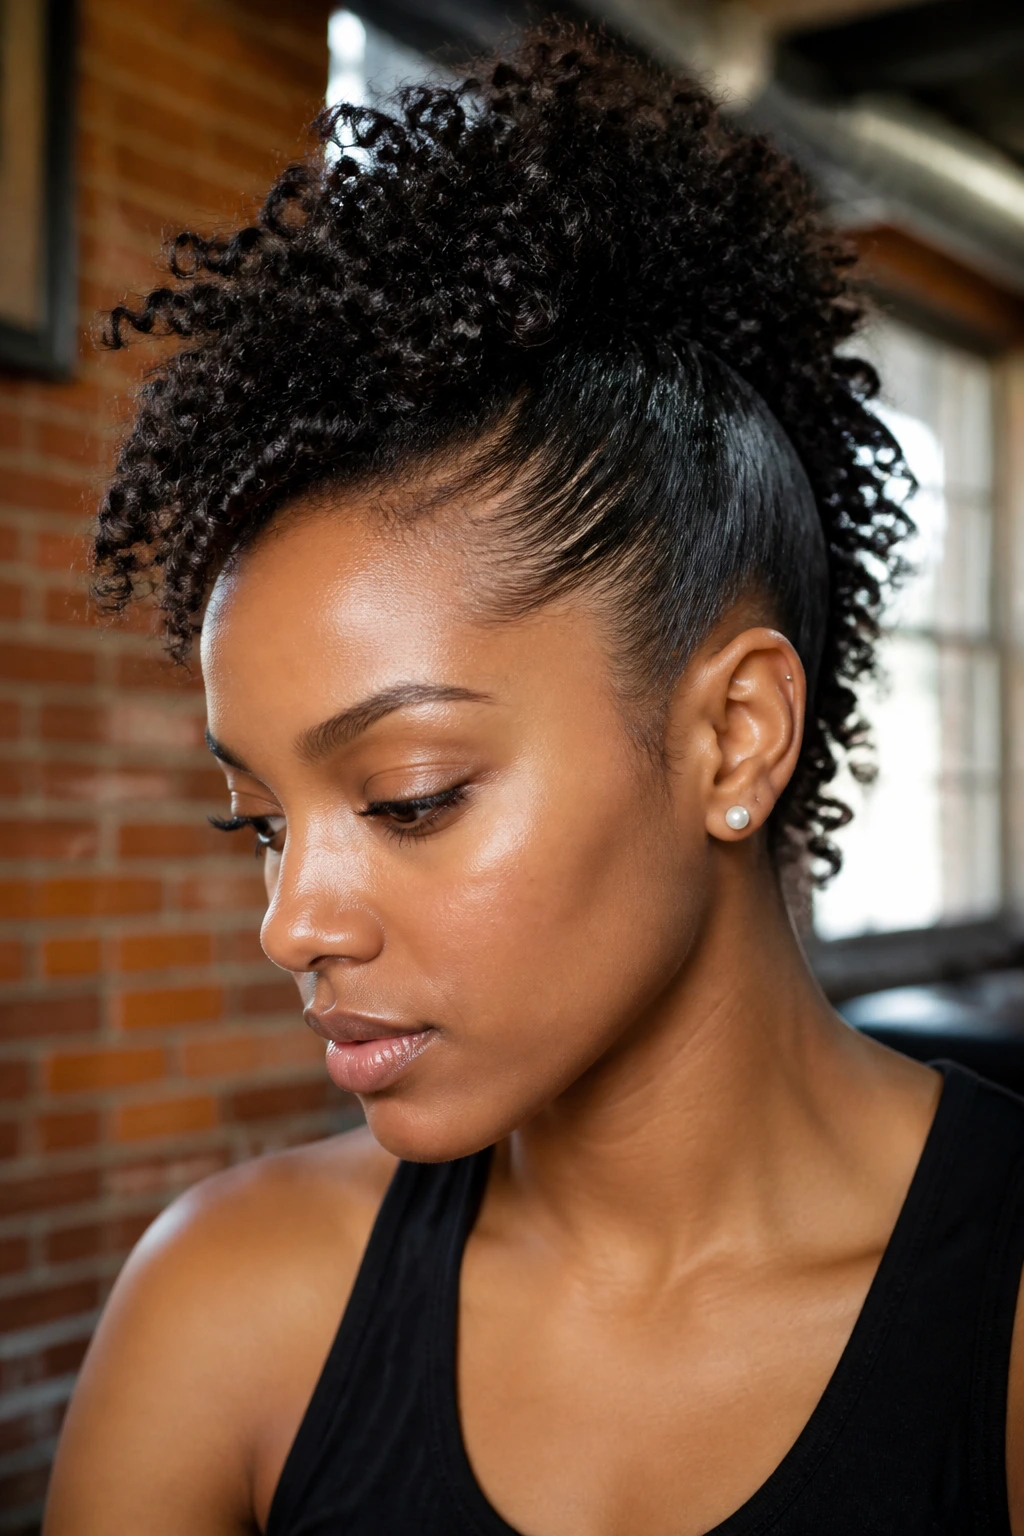
A frohawk has a little attitude, and I mean that as praise. The sides are smoothed or pinned close to the head while the curls run down the center in a narrow strip that looks sharp and full at the same time.
This style works on short hair and long hair, which is part of why it sticks around. If your hair is dense, pin the sides with crossed bobby pins under a light layer of gel. If it’s finer, a few flat twists can anchor the sides without making them look too flat.
The center strip can be left loose, defined, or stretched. None of those choices are wrong. The point is contrast: sleek on the sides, texture in the middle. Simple structure. Strong result.
14. Halo Braid With Free Curls
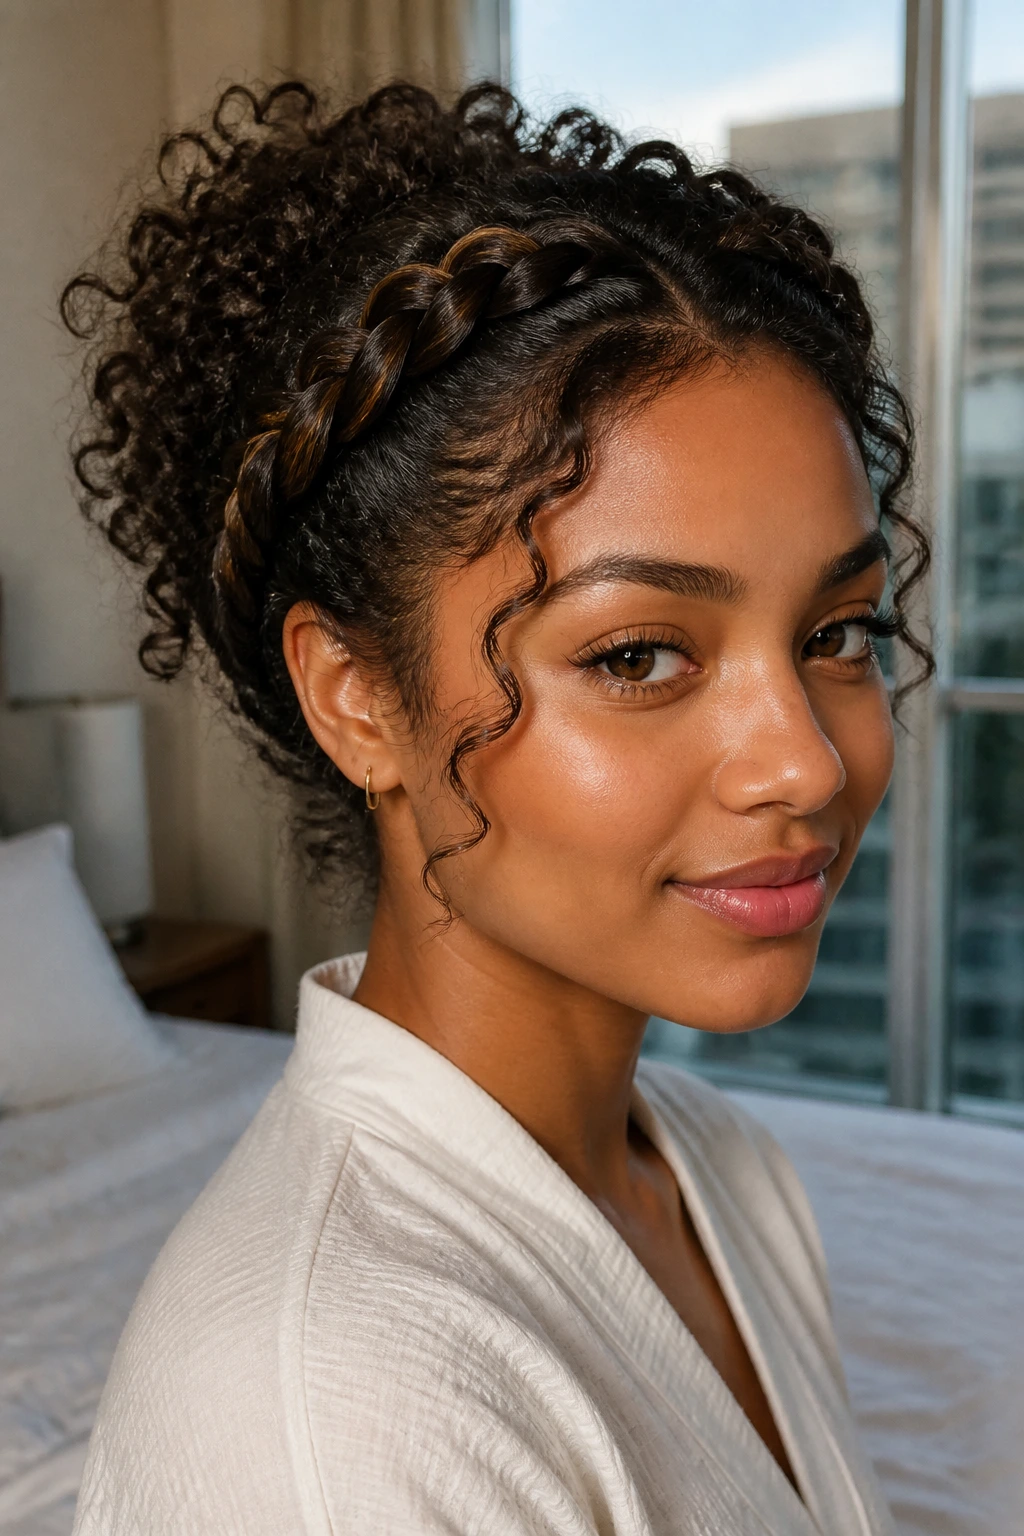
A halo braid frames the face and keeps the front clean, while loose curls or coils spill out in the back or at the crown. It’s one of those styles that looks more complicated than it is, which is useful when you want polish without spending two hours on your head.
The braid usually runs from one side of the hairline around to the other, like a soft crown. The rest of the hair can stay curly, puffed, or tucked into a low roll. A few face-framing tendrils help keep it from looking too formal.
If you like styles that sit somewhere between protective and decorative, this one lands nicely. It also handles second- or third-day curls better than most people expect, which is a small mercy on busy mornings.
15. Defined TWA Coils
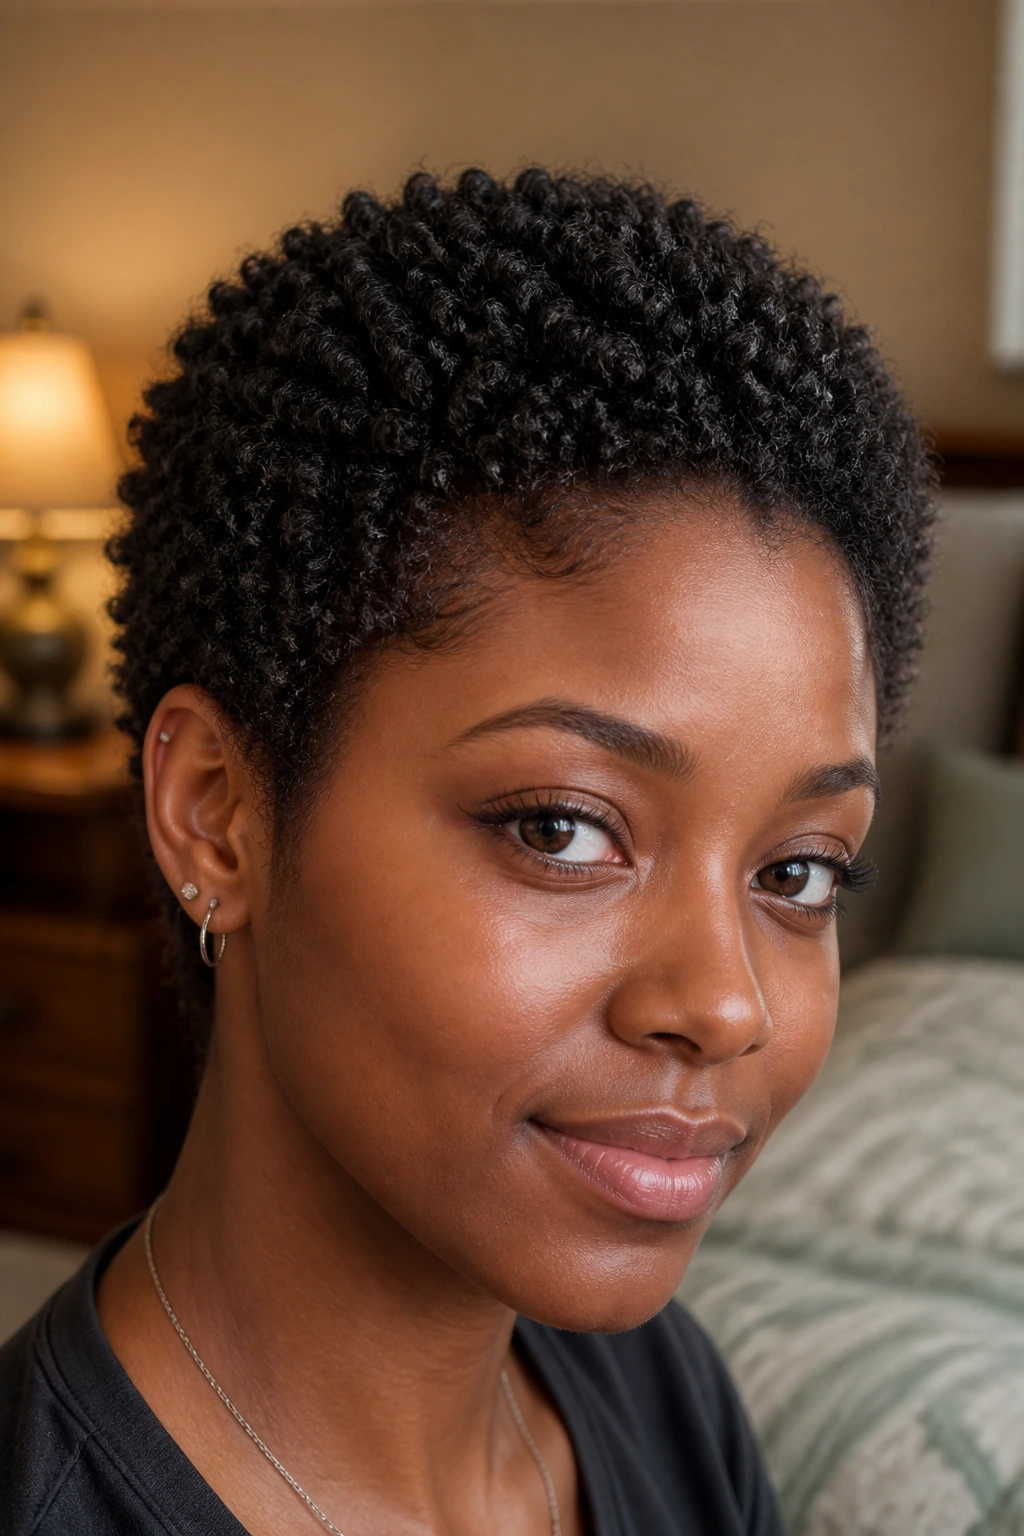
A teeny weeny afro can look incredibly sharp when the coils are defined on purpose instead of left to chance. Finger coils, sponge coils, or tiny twist-outs all work here, but finger coils usually give the cleanest shape on short natural hair.
Best details to watch
- Use ¼-inch sections if you want a uniform pattern.
- Keep the roots smooth so the shape does not puff out too early.
- Apply product sparingly; too much can make short hair sticky and dull.
The nice thing about a TWA is that the style has very little room to hide mistakes, so small technique changes show up fast. That can be annoying. It can also be satisfying, because you see the curl pattern in full without a lot of extra fuss.
16. The Layered Wash-and-Wear Cut
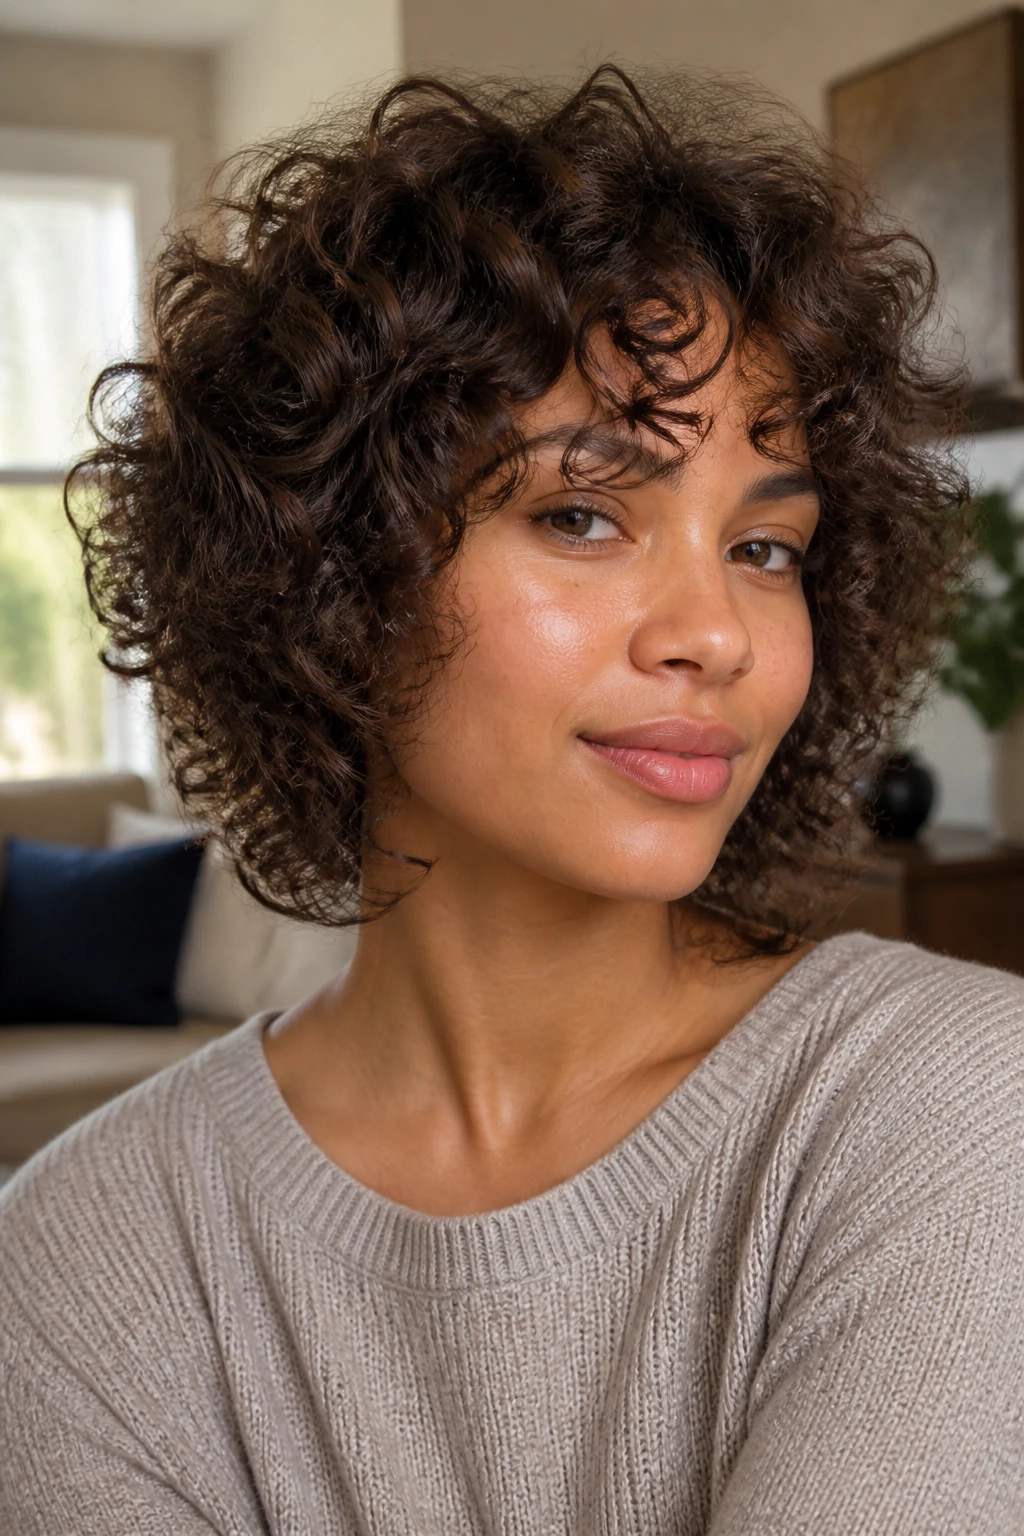
Sometimes the best curly style is not a styling trick at all. It is a cut that does the work for you. A layered wash-and-wear shape lets the curls fall into place with less stretching, less clipping, and fewer little battles with the mirror.
The layers remove weight where curls get bulky and give lift where the shape tends to flatten. If your hair forms a triangle when it air-dries, layers are often the fix. A good curl cut is usually done on dry hair or at least with a very careful eye on shrinkage, because wet curls hide too much.
This is the kind of choice that pays off every single morning. Less styling time. Less product. Fewer weird corners near the jawline.
17. Curl Refresh With a Diffuser
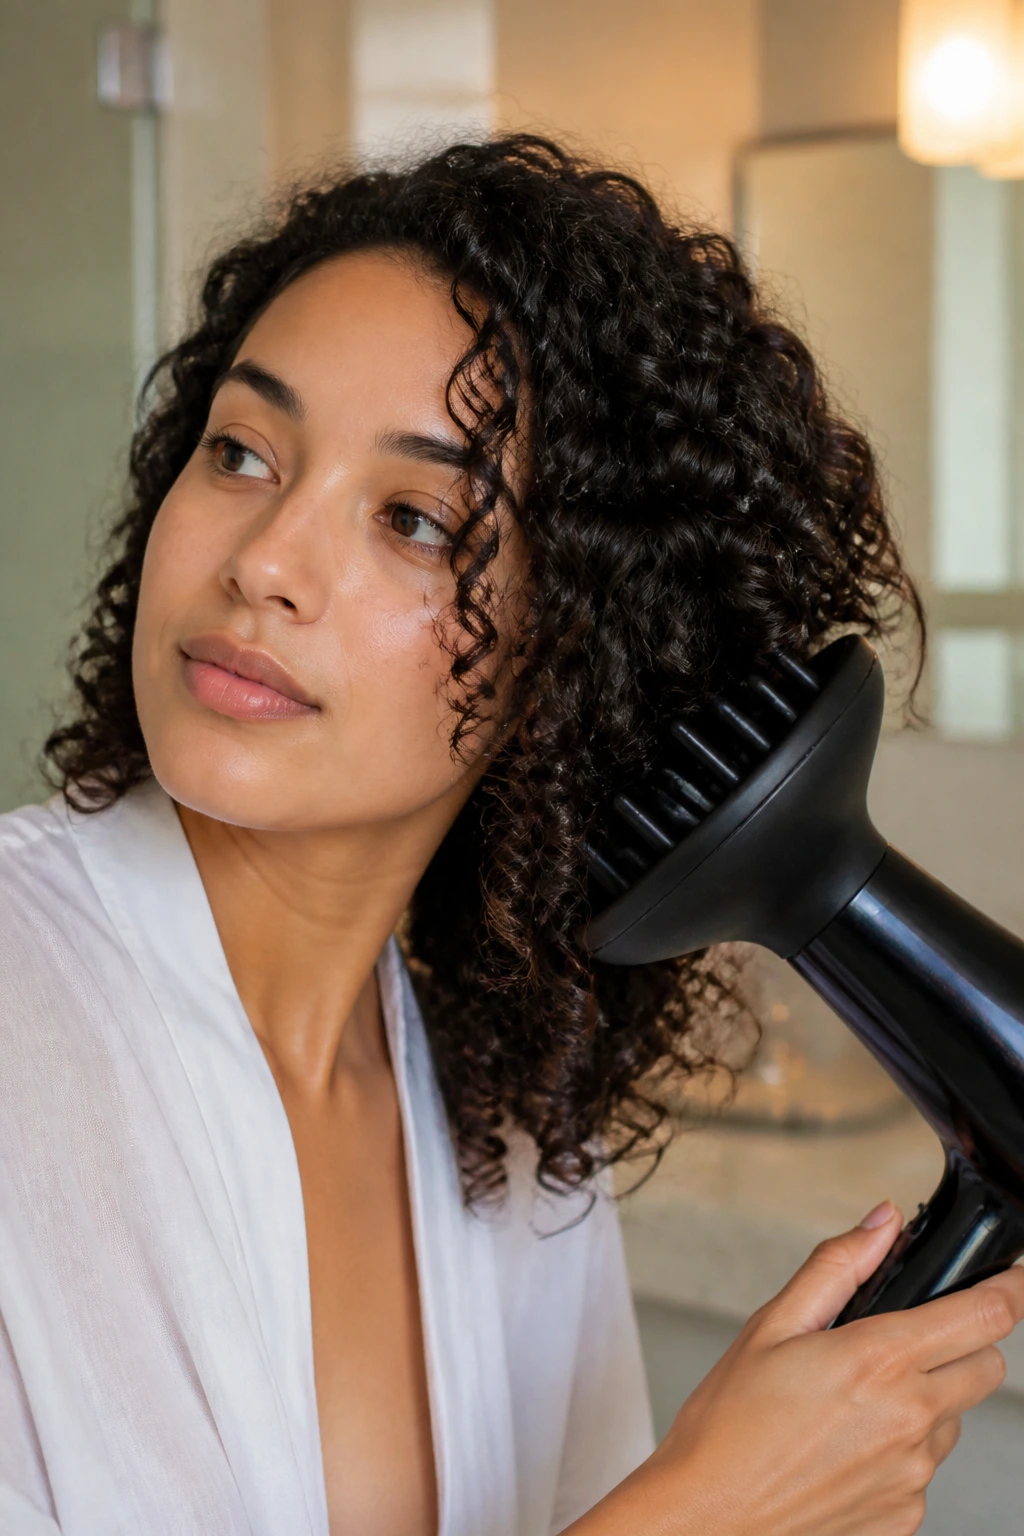
Day-two curls do not need a full reset. Sometimes they just need moisture in the right spots and a little heat from a diffuser to bring the shape back to life.
What to do
Mist the hair lightly with water, then smooth in a pea-size amount of leave-in or curl cream on the frizziest sections. Use the diffuser on low heat and low speed, cupping the curls without blasting them apart. Two to three minutes per section is usually enough to wake the pattern back up.
The key is restraint. Too much water can collapse the style, and too much heat can stretch the curl too far. If the roots need lift, flip the head for a minute and dry the crown first. That area usually needs help most.
This method is handy when you do not want to start over. And most days, you really do not.
18. Stretched Curls With a Blow-Dry Stretch
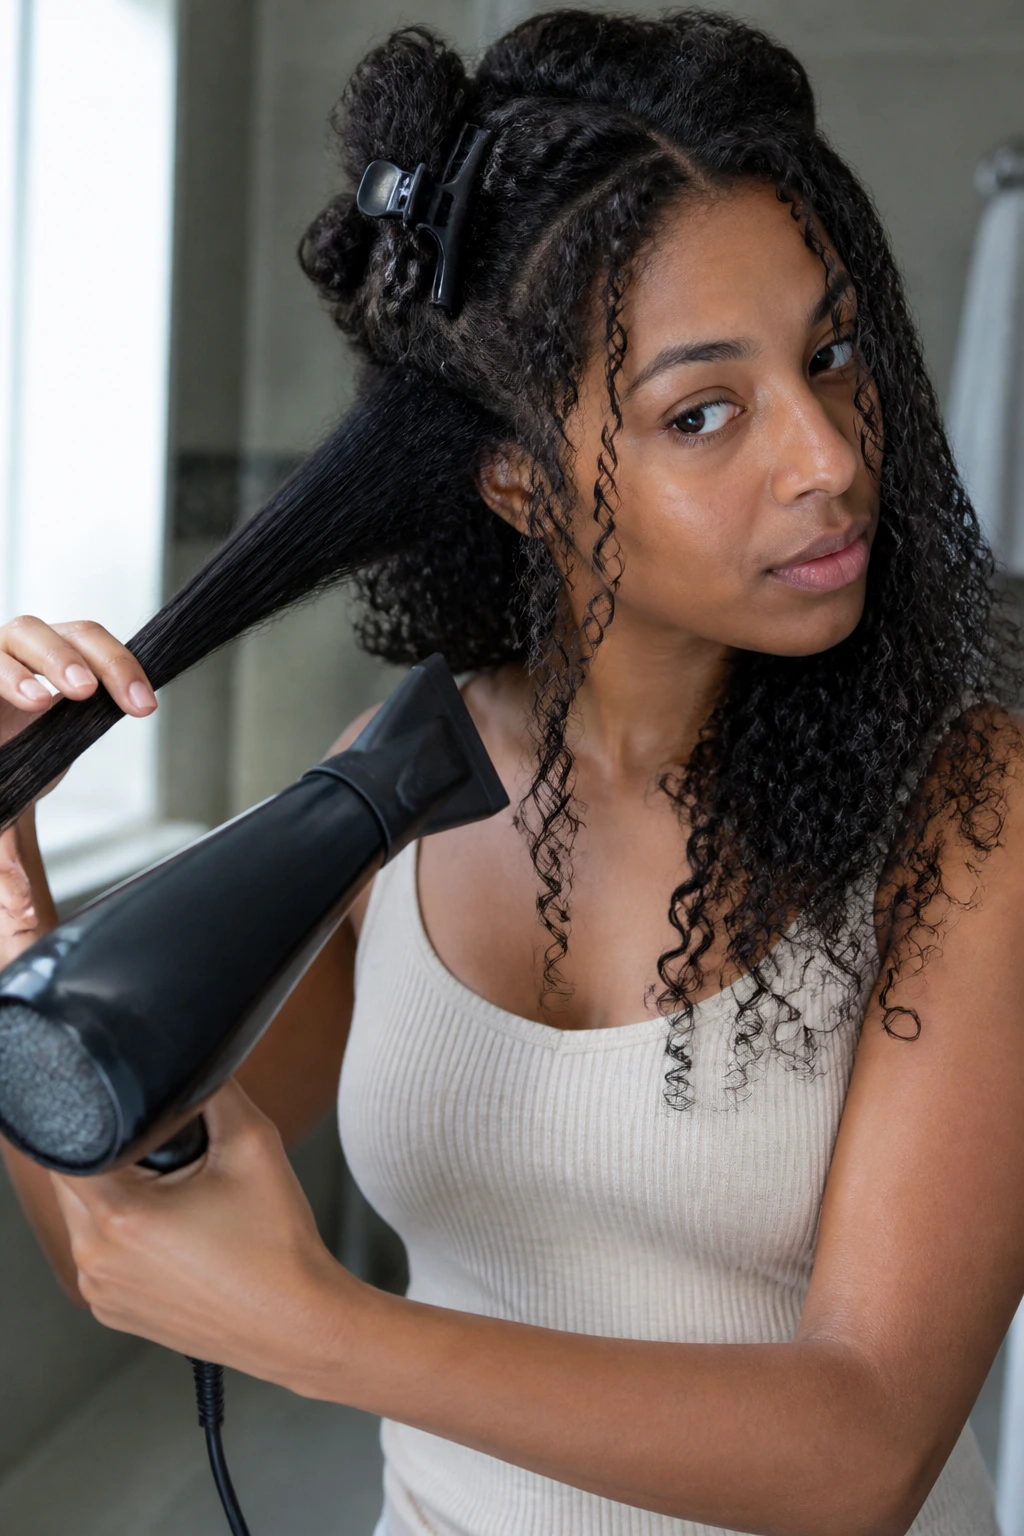
A blow-dry stretch keeps the curl pattern intact while taking some of the shrinkage out of the equation. It is not straight hair. It’s curly hair with a little more length showing, which is a useful middle ground for people who like shape without a huge halo of shrink.
Use 6 to 8 sections, and keep the dryer on low or cool if your hair is fragile. A tension method works well: hold the section taut with one hand and direct the airflow down the shaft with the other. The result should feel smoother and look longer, not flat.
This style is especially good before a twist-out, rod set, or braid-out because it gives the hair more room to set. It also makes long layers show better. If you hate shrinkage, this one earns its spot fast.
19. The Low Puff With a Sleek Front
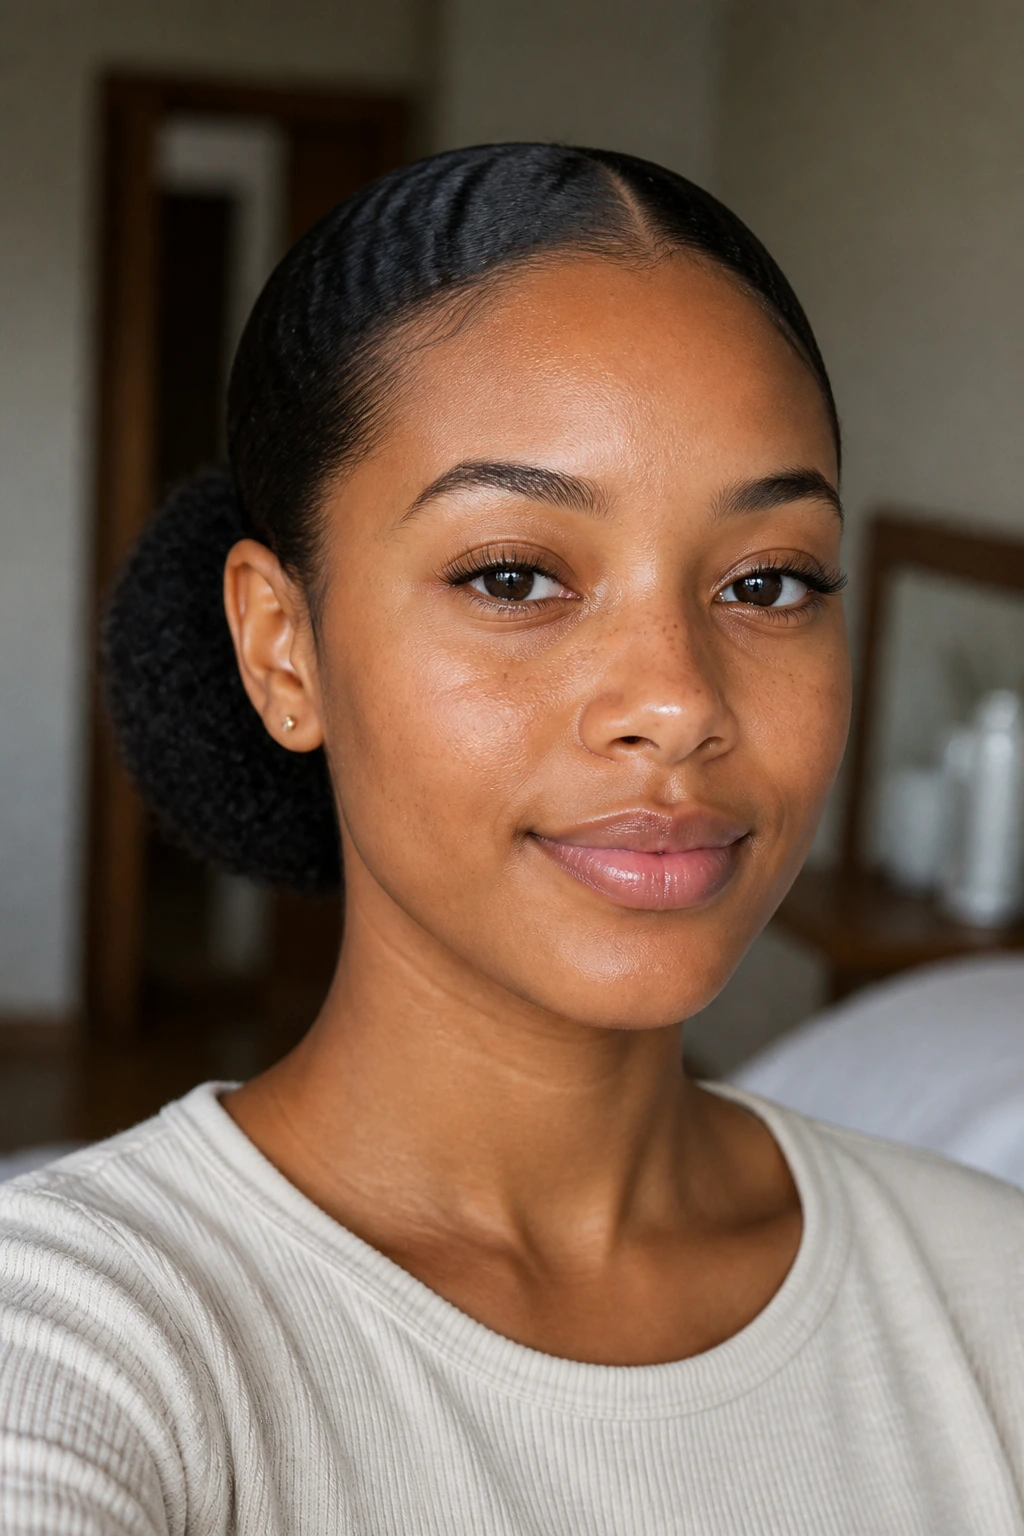
A low puff is quiet in a good way. The front is smoothed back, the puff sits near the nape, and the whole look feels clean without trying too hard.
Brush the front lightly with gel or edge control if you use it, but do not overdo the product. A hard, slick front can make the puff look disconnected from the rest of the hair. A soft, laid front with a fluffy back usually reads better. Secure the puff low and make sure the elastic sits comfortably, not dug into the scalp.
This style works nicely for events, office days, or any time you want to look finished without sacrificing comfort. A satin scarf for 10 to 15 minutes after styling can help the front set without leaving dents.
20. The Headband Tuck and Twist
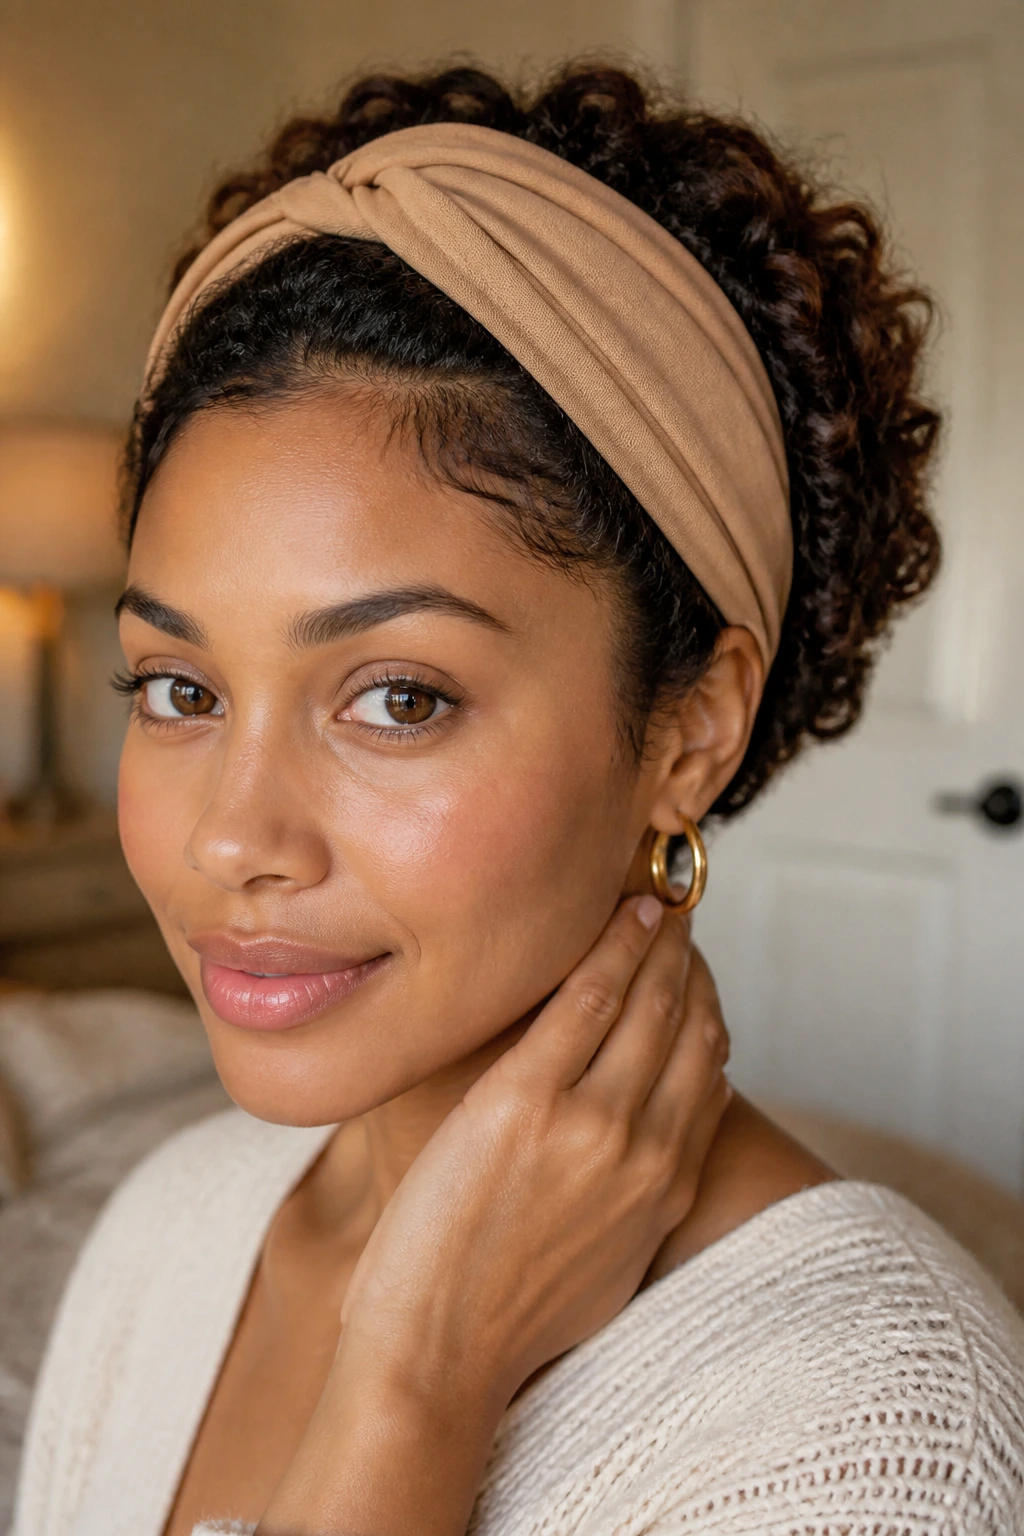
The headband tuck is one of those styles that saves you when the hair is midway between “fresh” and “needs help.” A wide fabric headband hides the front, and the length gets tucked, rolled, or twisted underneath until the shape looks deliberate.
It works best on medium-length curls that still have enough body to fold without flattening completely. If the hair is very thick, split it into two sections before tucking so the shape does not balloon. A little leave-in on the ends keeps them soft and helps them stay tucked.
You can wear the crown loose for volume or smooth it back for a neater effect. Either way, the style has a nice low-pressure feel. No heat. No tension. No drama.
21. Curly Bangs and Face-Framing Pieces
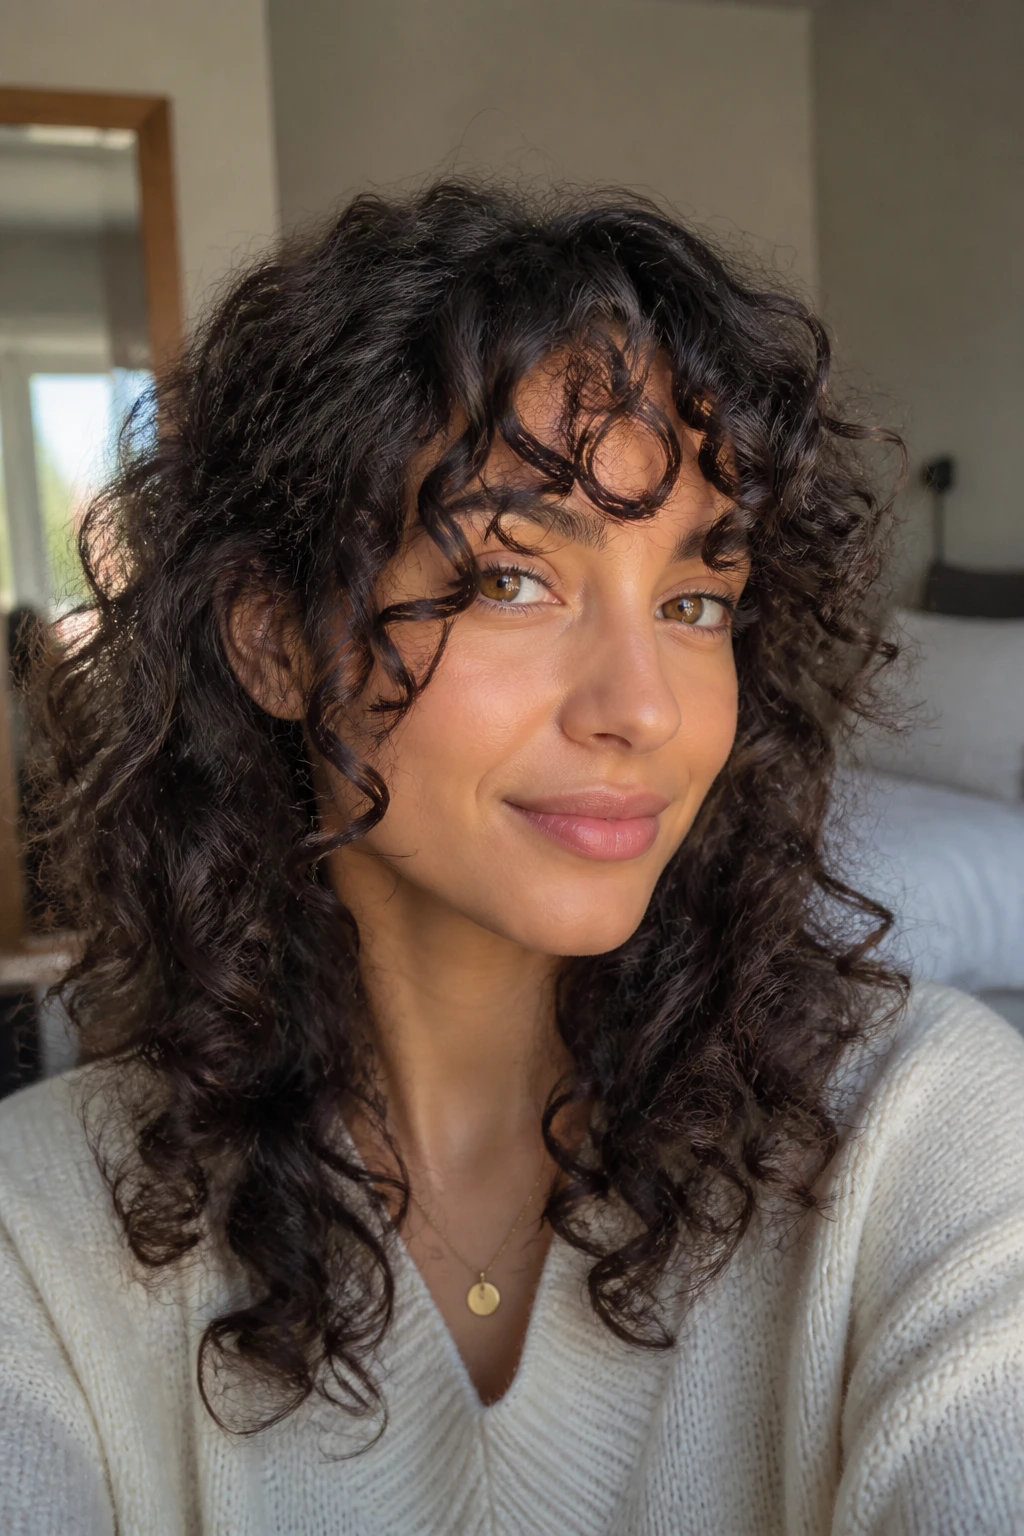
Curly bangs change a whole haircut. They pull attention upward, soften a strong forehead, and make the face look more open, but only if the shape is cut with shrinkage in mind.
Straight bangs and curly bangs are not the same animal. Curly bangs need room to spring up, so they are usually cut longer than you think. Face-framing pieces near the cheekbones can balance the shape and keep the front from feeling heavy. A curl specialist who cuts dry is often the safer bet here, because wet curls lie.
If you want a dramatic shift without losing length all over, this is one of the smartest moves. The style can be playful, soft, or bold depending on how tight the fringe sits. Small cut. Big effect.
22. The Day-Two Pineapple Updo
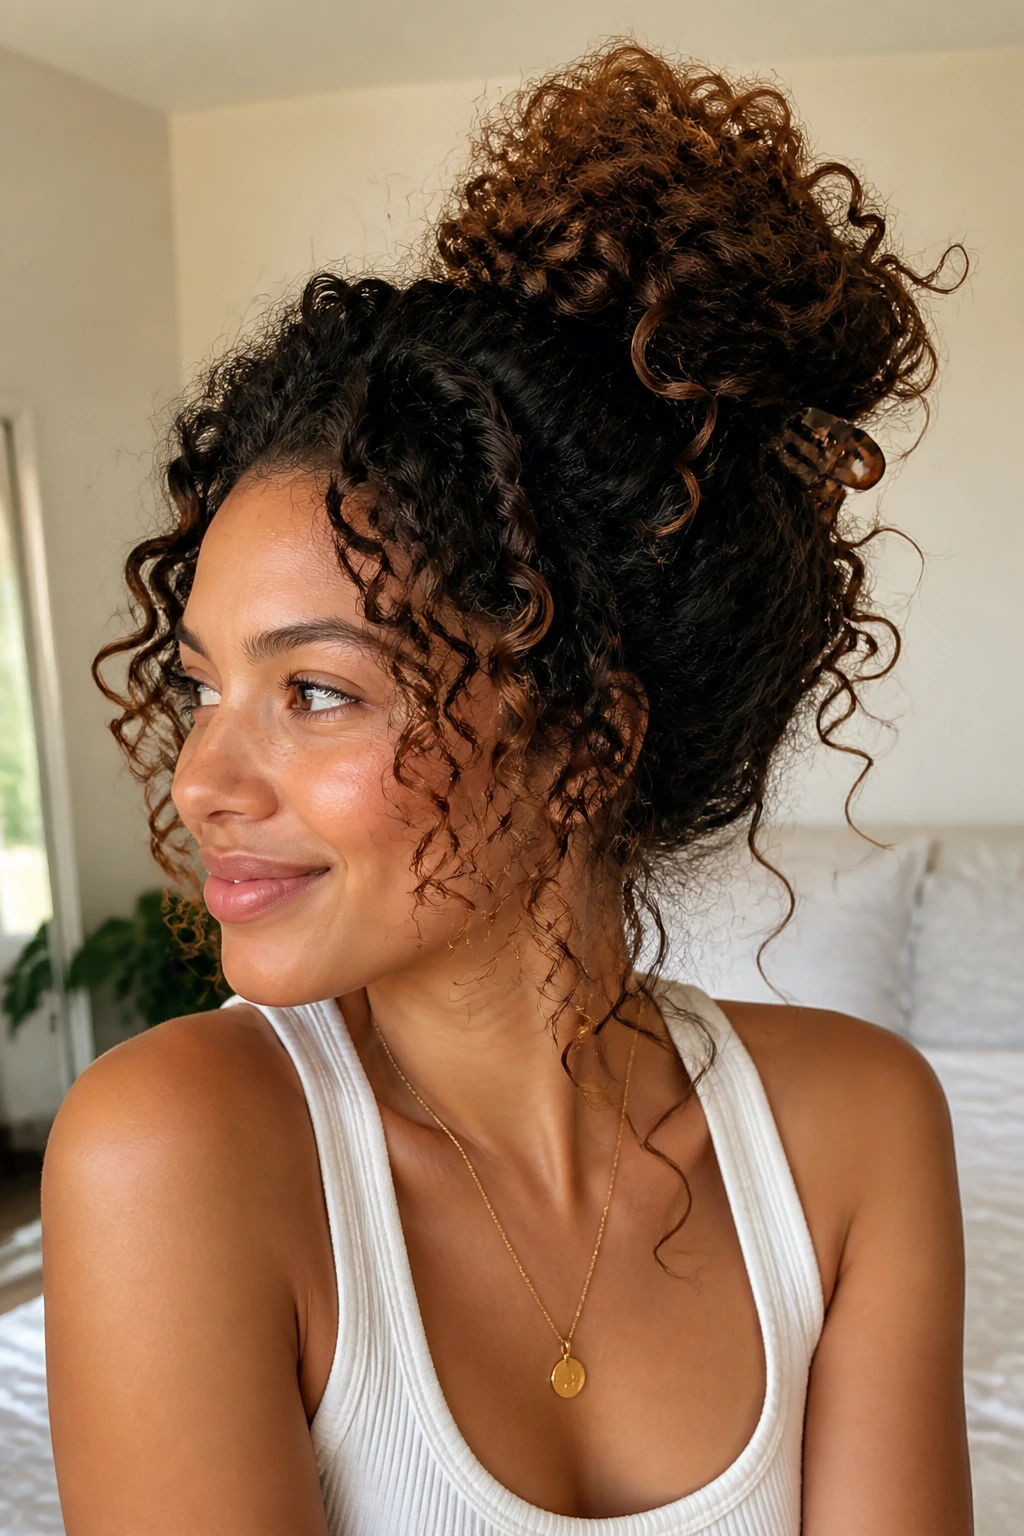
A second-day pineapple is not the same as the high puff above, and that difference matters. This version is looser, softer, and built around preserving whatever good shape the curls already have.
Gather the hair high, but leave the front and sides a little freer. A large clip often works better than a tight elastic because it causes fewer dents and less tension. If the curls are a little flat at the ends, mist them lightly and shake them out before clipping.
This is the style you wear when the roots need saving and the lengths still have life. It takes about a minute, maybe two if you’re being careful. That efficiency is the whole point.
23. Wet-Set Curls With a Gel Cast
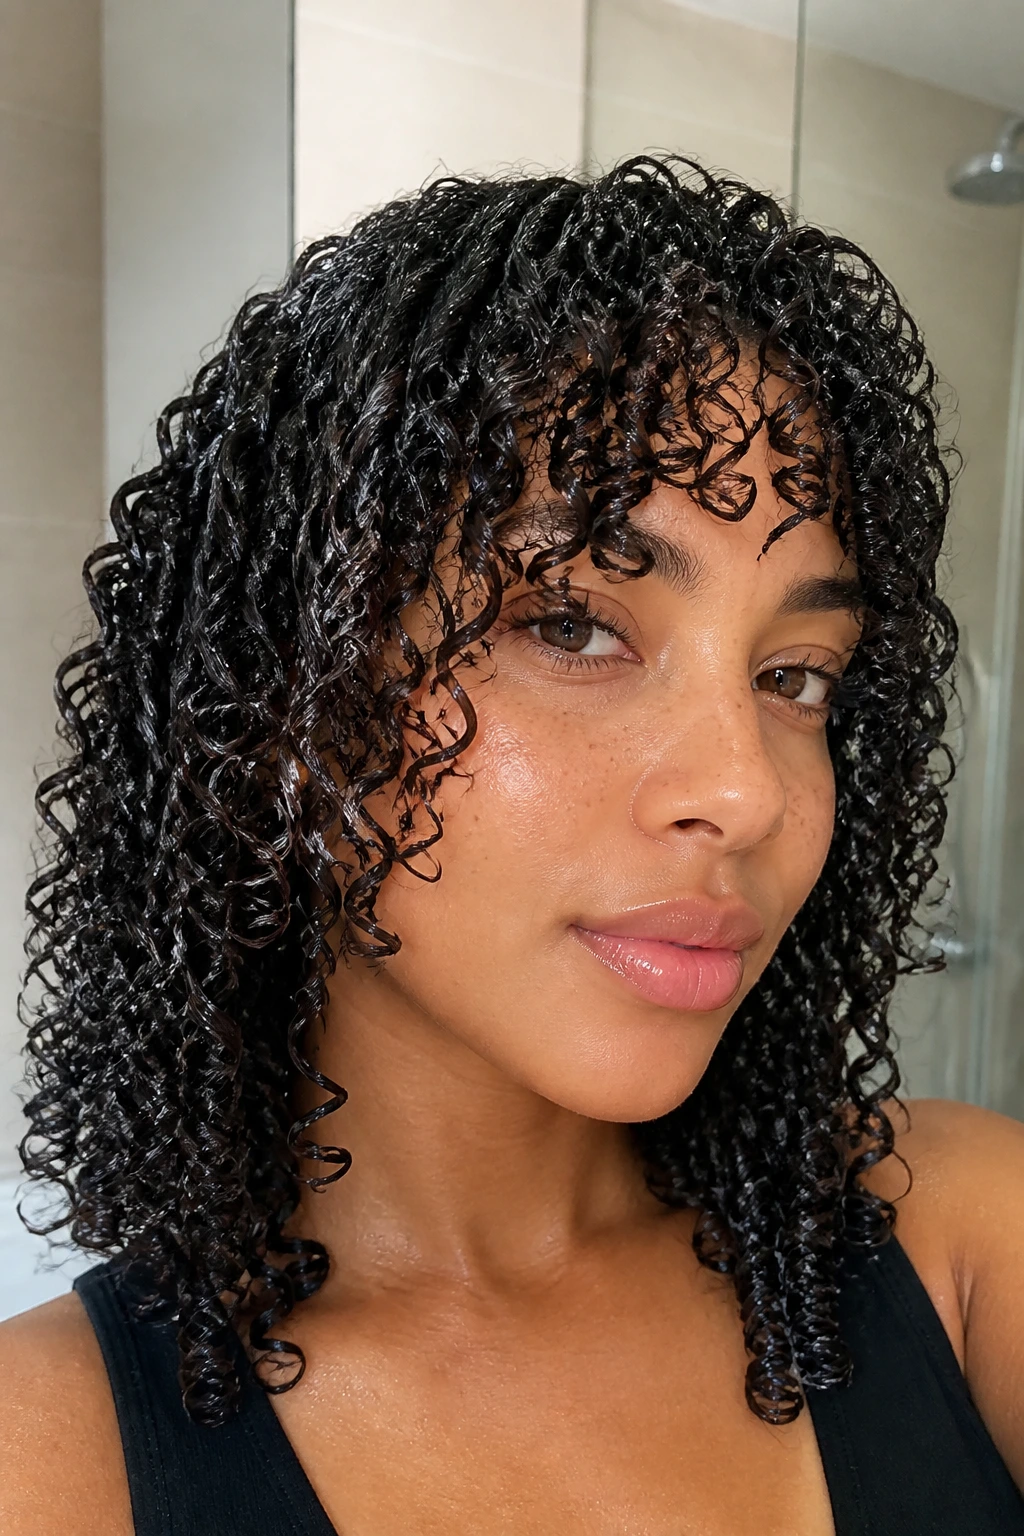
Wet-setting is for people who want definition that lasts. On soaking-wet hair, you apply a curl cream or leave-in, then seal the look with gel so the strands dry into a firm cast. Once the cast is broken, the curls stay defined for much longer than a loose style usually does.
The cast is the clue
If the hair dries and feels hard or crisp, you did it right. That stiff feeling is temporary. Scrunch it out gently with clean hands or a drop of lightweight oil, and the curls soften while keeping their shape.
A wet set works especially well for medium to high-porosity hair because it takes the hold quickly. Low-porosity hair may need a diffuser or a hooded dryer to finish the job. If the roots stay damp, the style can collapse early.
24. Side-Swept Curly Bob
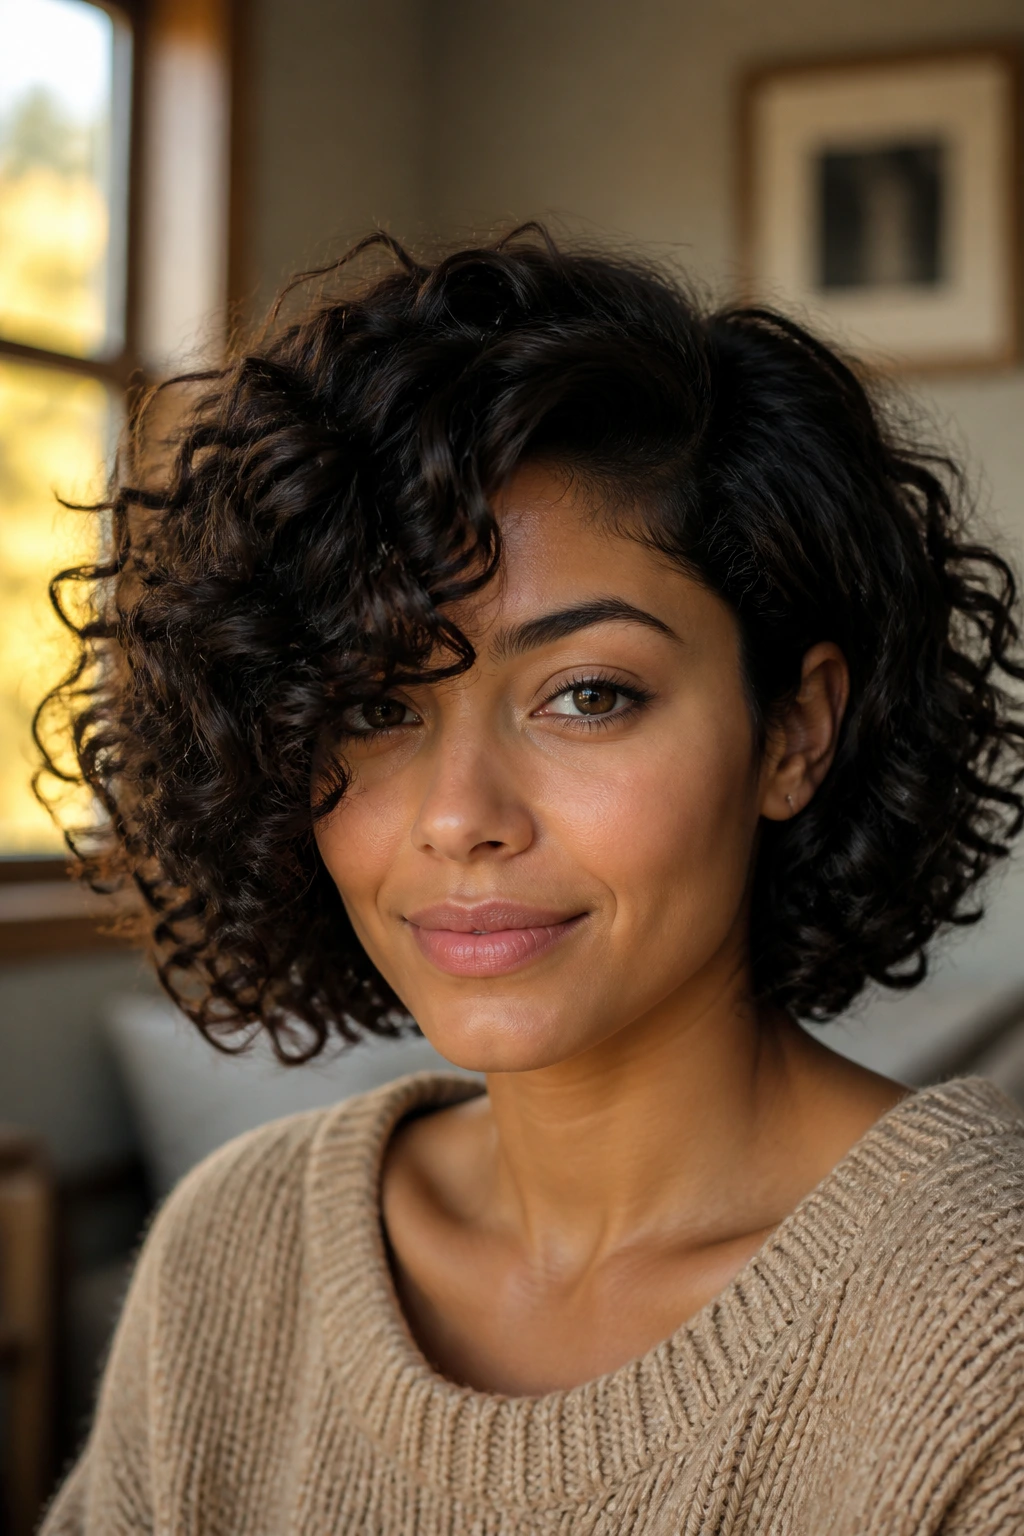
A side-swept curly bob has a little movement built into the cut itself. One side drops across the forehead or cheek, while the rest of the curls sit in a rounder, shorter shape that feels crisp and easy to wear.
This style is a favorite for shoulder-length curls that need structure without losing bounce. The side part creates instant asymmetry, which keeps the bob from looking too boxy. If the cut has soft layers, the shape usually sits better and the curls do not fight each other as much.
A curl cream and a diffuser can sharpen the line, but the haircut carries most of the work. That’s the honest truth with bobs. If the shape is off, no amount of product fixes it.
25. The Scarf-Accented Everyday Curl Style
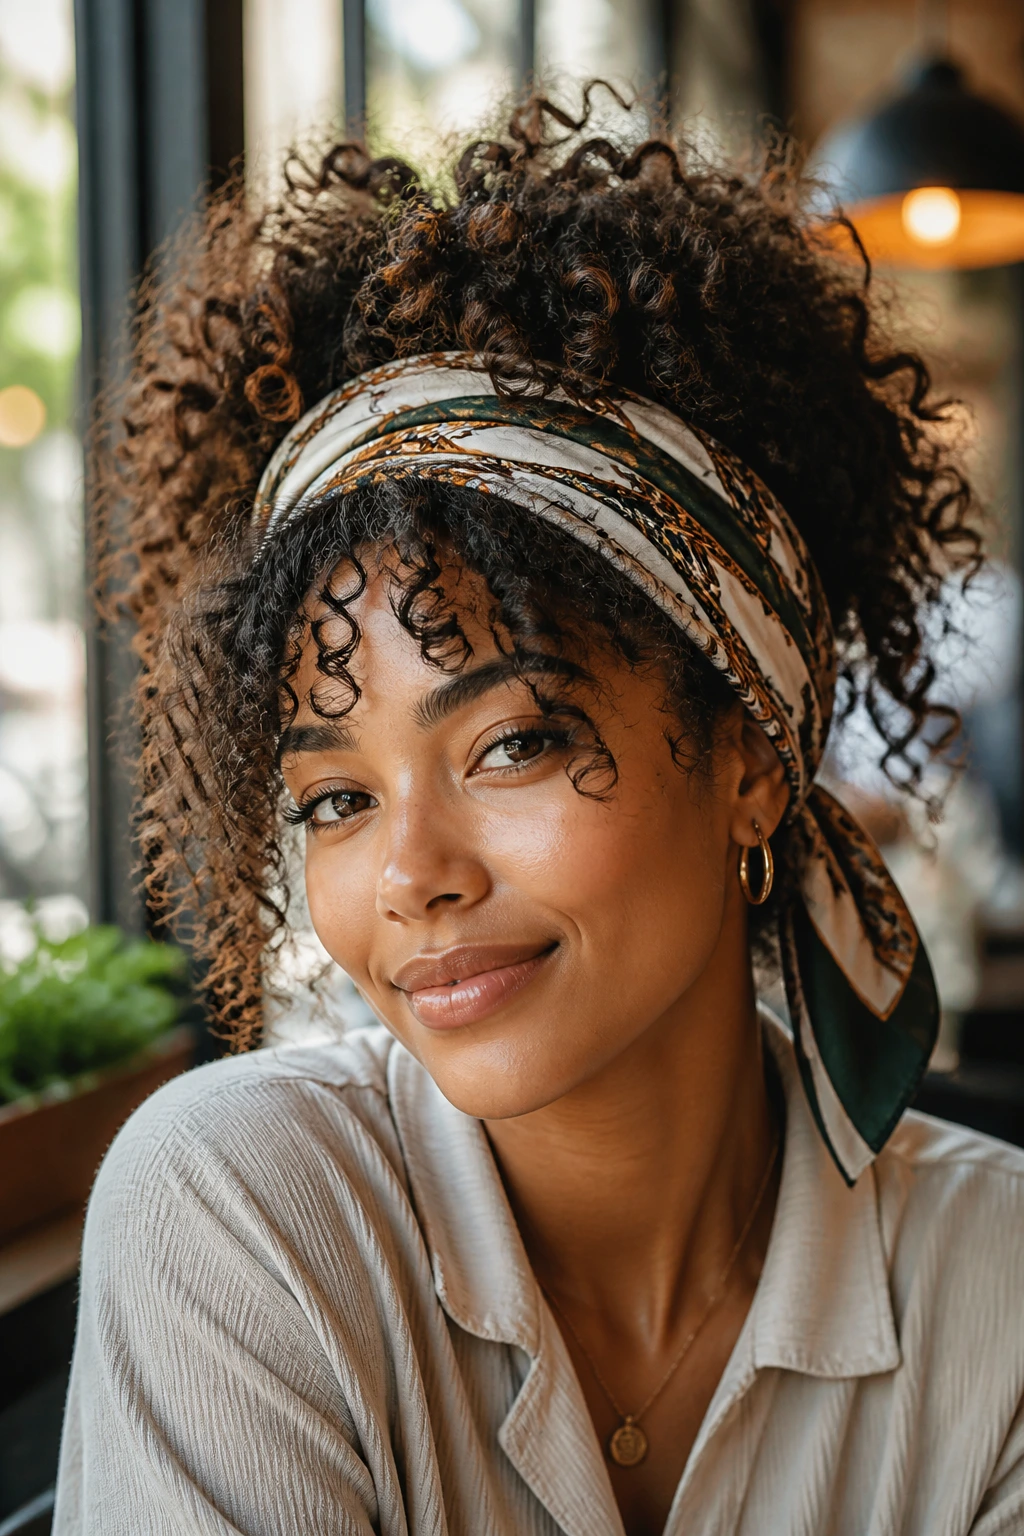
A scarf-accented style is what you wear when you want the curls to stay the focus but still need a little polish around the edges. Tie a silk scarf, fold a satin band, or wrap a printed strip around the hairline and let the curls spill free around it.
The nice part is that this works with almost any length. Short curls look intentional. Longer curls look styled. A scarf can hide a flat front, soften a rough hairline, or cover the spots that frizzed out during a long day. That makes it useful, not just pretty.
If you want one practical rule to carry forward, use the scarf as an anchor, not a mask. Let the texture show. Let the shape breathe. Curly hair looks strongest when it still looks like hair, not a helmet.
Final Thoughts
Natural curls do not need to be controlled so much as arranged. That difference sounds small, but it changes everything. Once you start choosing styles that match your curl pattern, density, and drying time, the whole routine gets easier to live with.
The styles that last longest are usually the ones with the least tension and the clearest shape. A good cut helps. So does drying fully before you touch anything. And yes, the boring parts matter: sectioning, patience, and a satin scarf at night are often what separate a nice curl style from a frustrating one.
Pick two or three looks that fit your real life, not your best hair day fantasy. That’s usually where curly hair stops feeling like work and starts feeling like yours.
