



Wavy curls for curly hair are tricky in the best way. They can look soft, airy, and polished in ten minutes, then go puffy the second you rough them up with the wrong towel or a heavy cream.
That’s the game with curly texture. Shape matters more than force. A good part, the right amount of hold, and a little root control will usually do more than another jar of product ever could.
What I like about this family of looks is how forgiving it is. You can wear one style when you want definition, another when you want lift, and a third when your hair has decided it wants to do its own thing. Some of these are quick fixes. Some need a diffuser, a satin scarf, or a few extra minutes of drying time. None of them ask you to fight your texture into submission. Good.
1. Side-Part Waves with a Soft Face Frame
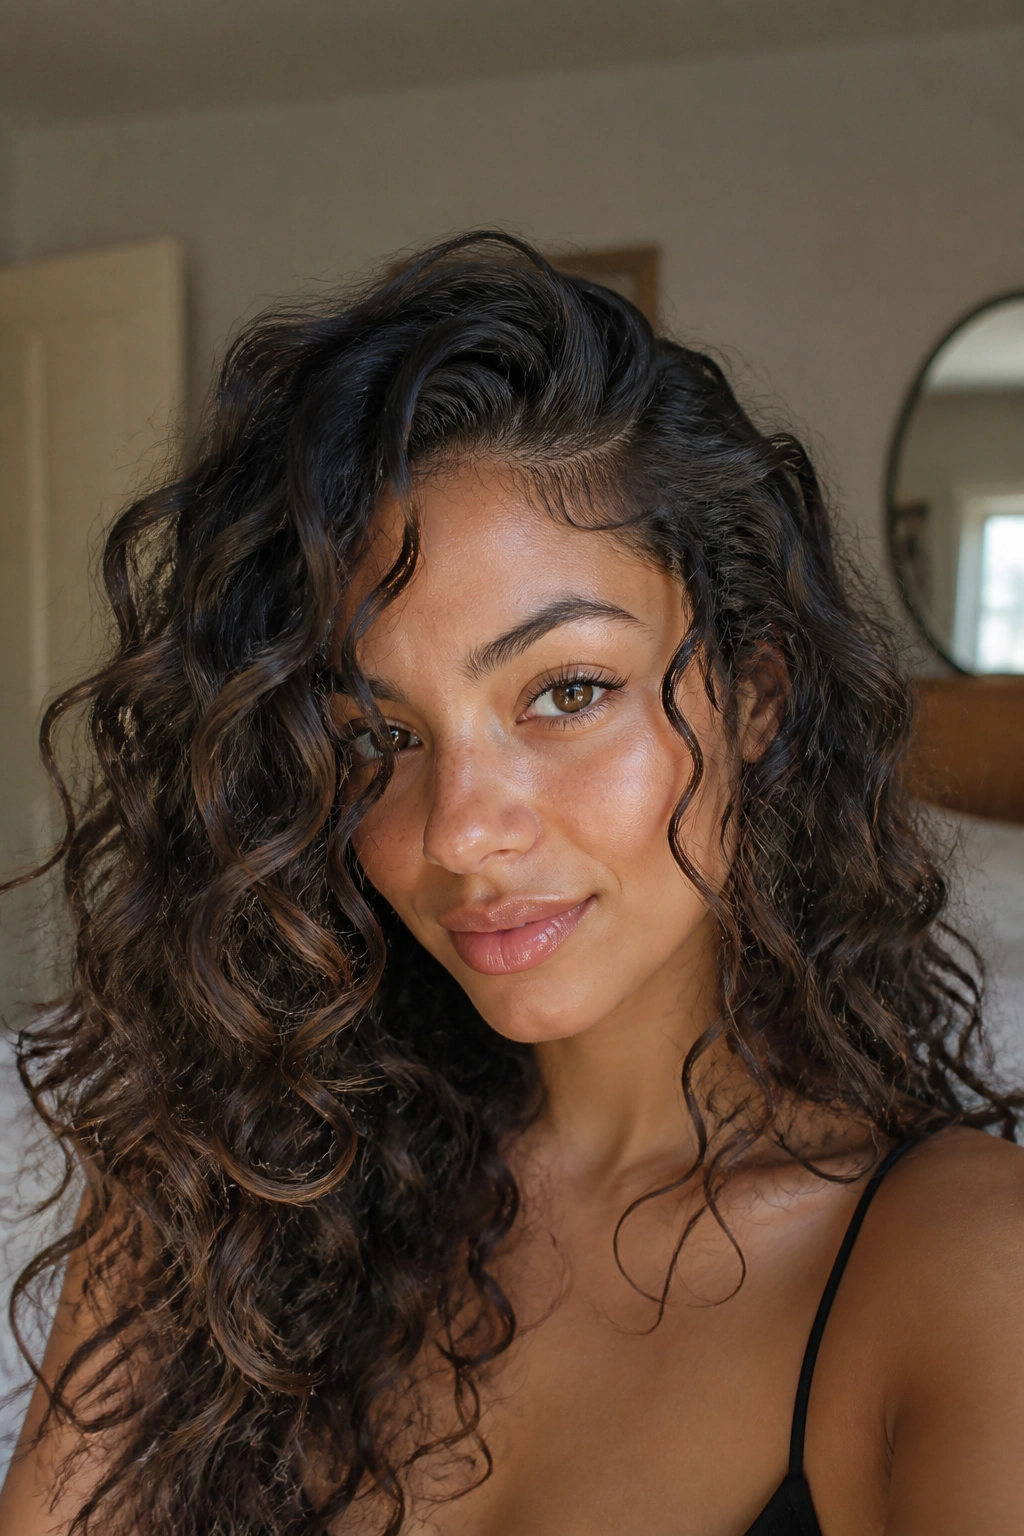
A deep side part changes the whole mood of curly hair. It gives the front pieces room to fall, which makes wavy curls look longer and a little more deliberate without flattening the rest of the shape.
Why it works
A side part creates a clean diagonal line, and that line is doing a lot of work. On round or square faces, it breaks up width. On longer faces, it keeps the style from feeling too vertical. I like this look on medium to long curls because the movement lands where people actually notice it first: around the cheekbones and jaw.
A small clip at the heavier side helps while the hair is drying. Two or three duckbill clips at the root is usually enough. Once the hair sets, remove them and let the curls drop naturally. Do not over-smooth the face frame or it loses that soft, lived-in bend.
- Best for: 2C to 3B textures
- Works well with: light gel, mousse, and a diffuser
- Finish with: a tiny dab of serum on the ends only
My favorite trick: tuck one side behind the ear for 10 minutes, then let it fall back. It gives the front a little memory without looking stiff.
2. Diffused Wash-and-Go with a Loose Curl Cast
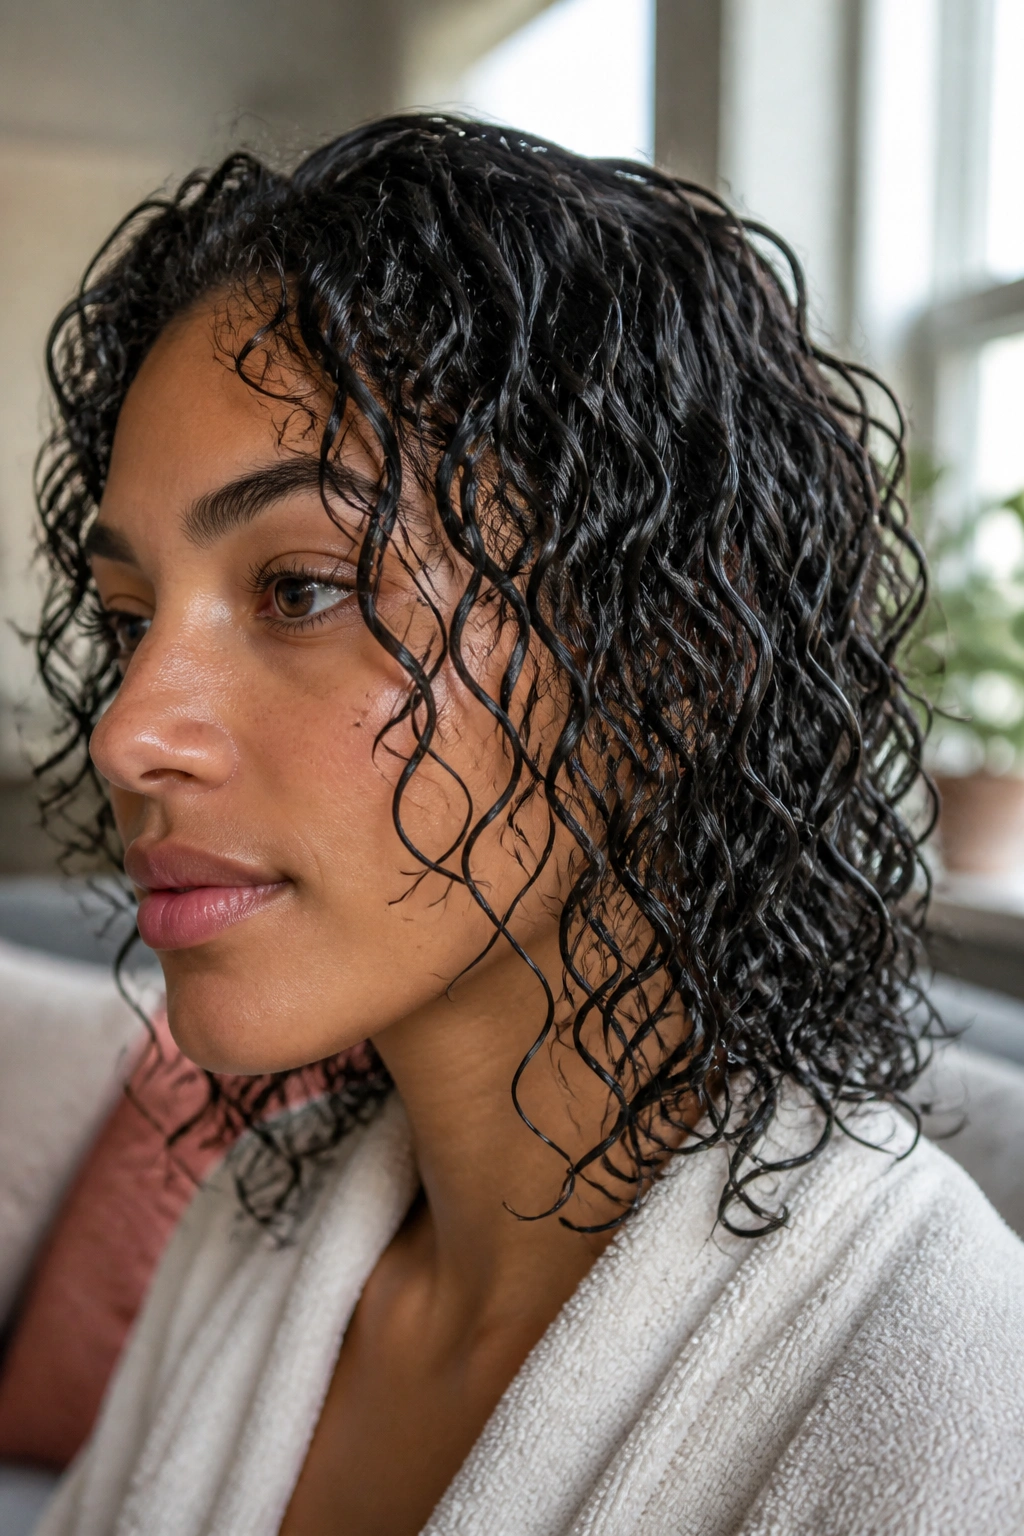
What if the simplest routine is also the one that gives the cleanest wave pattern? That’s the wash-and-go when you let it dry the right way.
Start on soaking-wet hair. Work in leave-in conditioner, then a foam or mousse at the roots and a medium-hold gel through the mids and ends. Scrunch once, maybe twice, and stop there. A diffuser on low speed helps the curls set without blasting the pattern apart, and the part people skip is the waiting. Let the cast form before you touch anything.
When the outer layer feels dry and a little firm, scrunch out the stiffness with clean hands or a drop of lightweight oil. That cast is the point. It keeps curl clumps separate while they dry, which is why the finished shape looks neater than air-dried fluff.
How to keep it from turning crunchy
- Use less gel near the roots if your hair is fine
- Diffuse in short bursts, not nonstop heat
- Don’t rake through the hair after the cast forms
This style is especially good when humidity is being rude.
3. Rope-Twist Stretch Set for Longer Hang
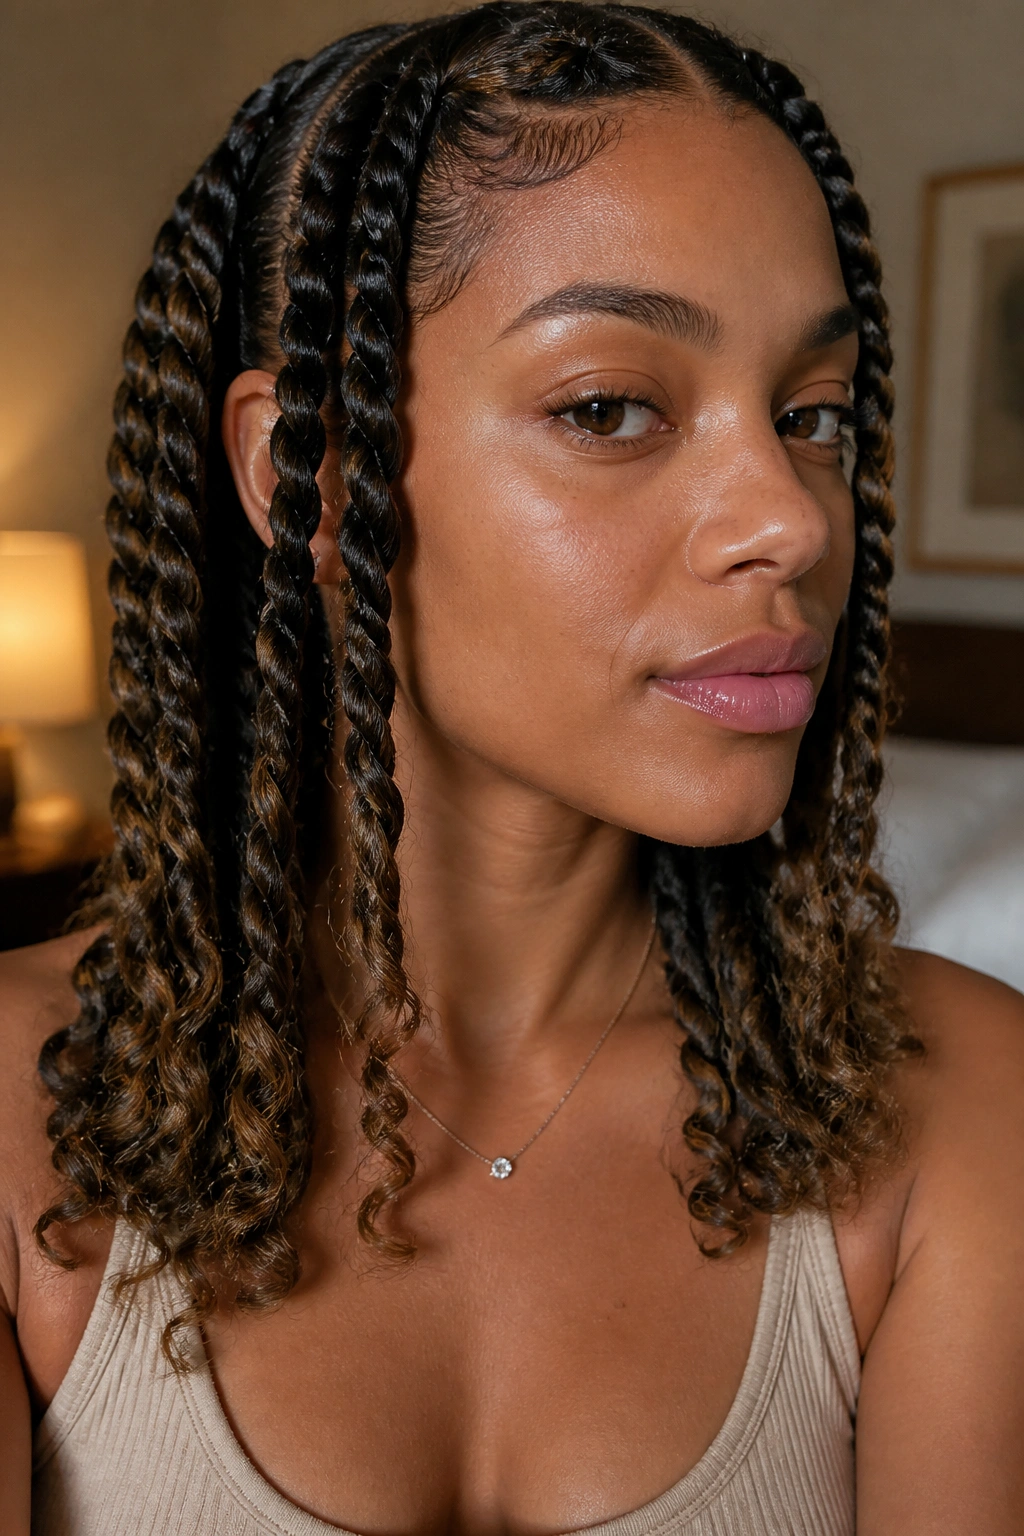
Two rope twists on each side can change shoulder-length curls from bouncy to polished in one dry-down. The trick is simple: split each section into two strands, twist them around each other, and keep the tension even all the way down.
Use this on damp hair with leave-in and a little mousse. If the hair is dense, make four twists instead of two. If it’s fine, keep the sections larger so the style does not turn into a bunch of tiny bends. Let the twists dry fully before unraveling. Fully. If they feel cool anywhere, they are not ready.
Rope twists stretch the curl pattern without ironing the life out of it. The result is a looser S-shape with a bit more length at the ends. That makes a big difference if your hair shrinks up fast and you want it to sit on the shoulders instead of bouncing up to the chin.
A satin bonnet or scarf overnight helps the bends stay clean. Skip heavy oil. It weighs this style down fast.
4. Half-Up Crown Twist with Loose Ends
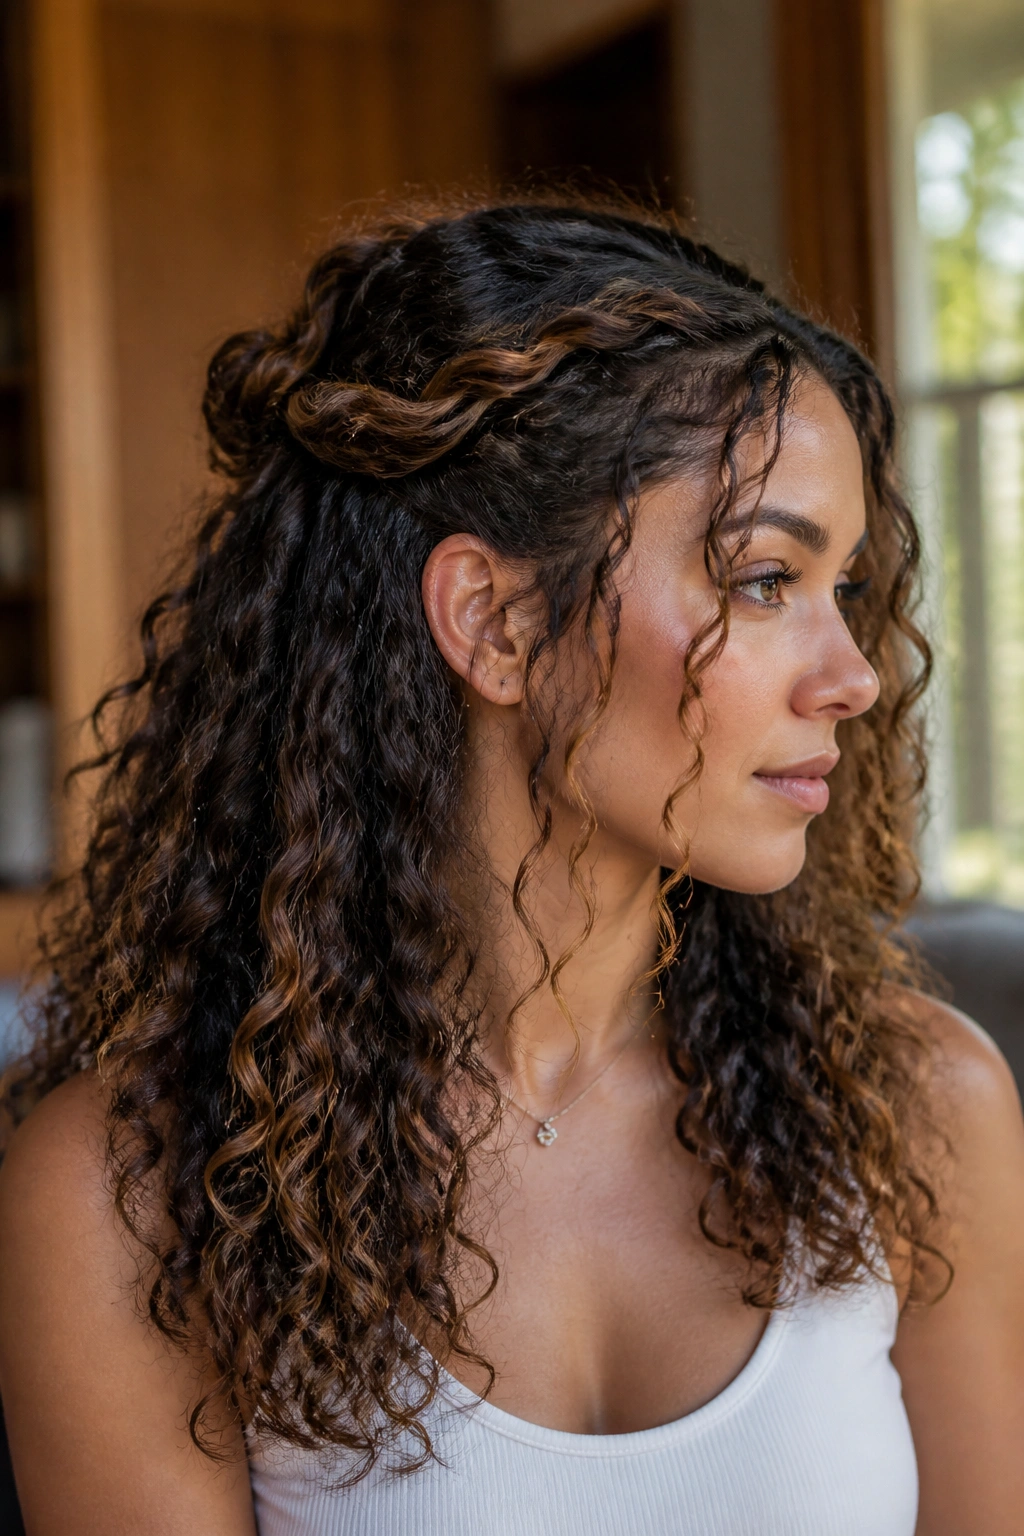
A half-up style is not lazy hair. It’s smart hair. It keeps the top from puffing out while leaving enough length down the back to show off texture.
Take two front sections, twist them back toward the crown, and pin or clip them together. Leave the rest loose. If the crown feels flat, lift it with your fingers and mist the root lightly before drying. A half-inch section of front hair left free on each side softens the look and keeps the style from feeling too tight.
This one is especially useful on second-day curls that need structure more than they need a full reset. You get shape at the top, swing at the bottom, and less hair falling into your face every ten minutes. Nice.
Best part: it hides uneven texture from day to day. One side can be a little frizzier than the other and nobody needs to know.
5. Curtain Bang Waves on Shoulder-Length Hair
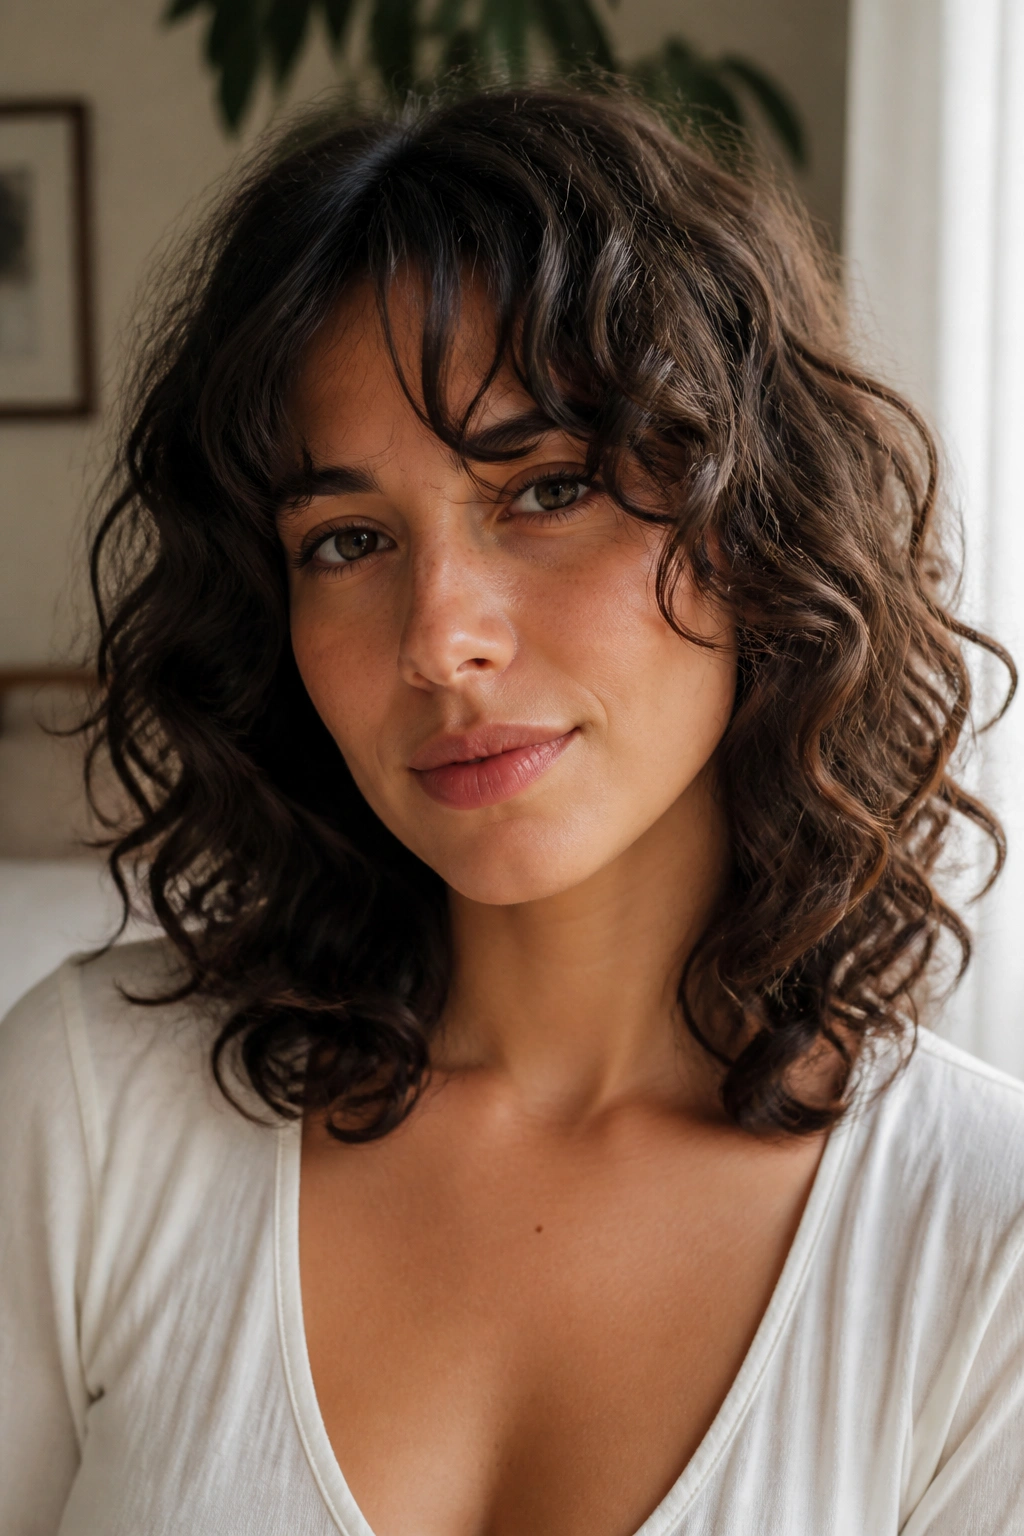
Curtain bangs sit around the eyes like soft bends, not hard lines. On curly hair, that little difference matters more than people expect.
The cut needs care. Too short, and the curls spring straight up. Too long, and they disappear into the rest of the shape. The sweet spot usually lands between the brow and the cheekbone when the hair is dry, because curls always shrink more than straight hair does. A dry cut is safer here, or at least a cut done by someone who understands curl pattern and shrinkage.
Styling is simple. Encourage the bang area with a small round brush or finger wrapping while diffusing on low heat. Keep the product light. A heavy cream on bangs is a fast way to end up with flat pieces that separate in odd ways.
This look does a nice job of softening the face without hiding the curl pattern. It feels a little romantic, a little casual, and not fussy. Those are the best bangs, in my opinion.
6. Pineapple Puff with Curled Tendrils
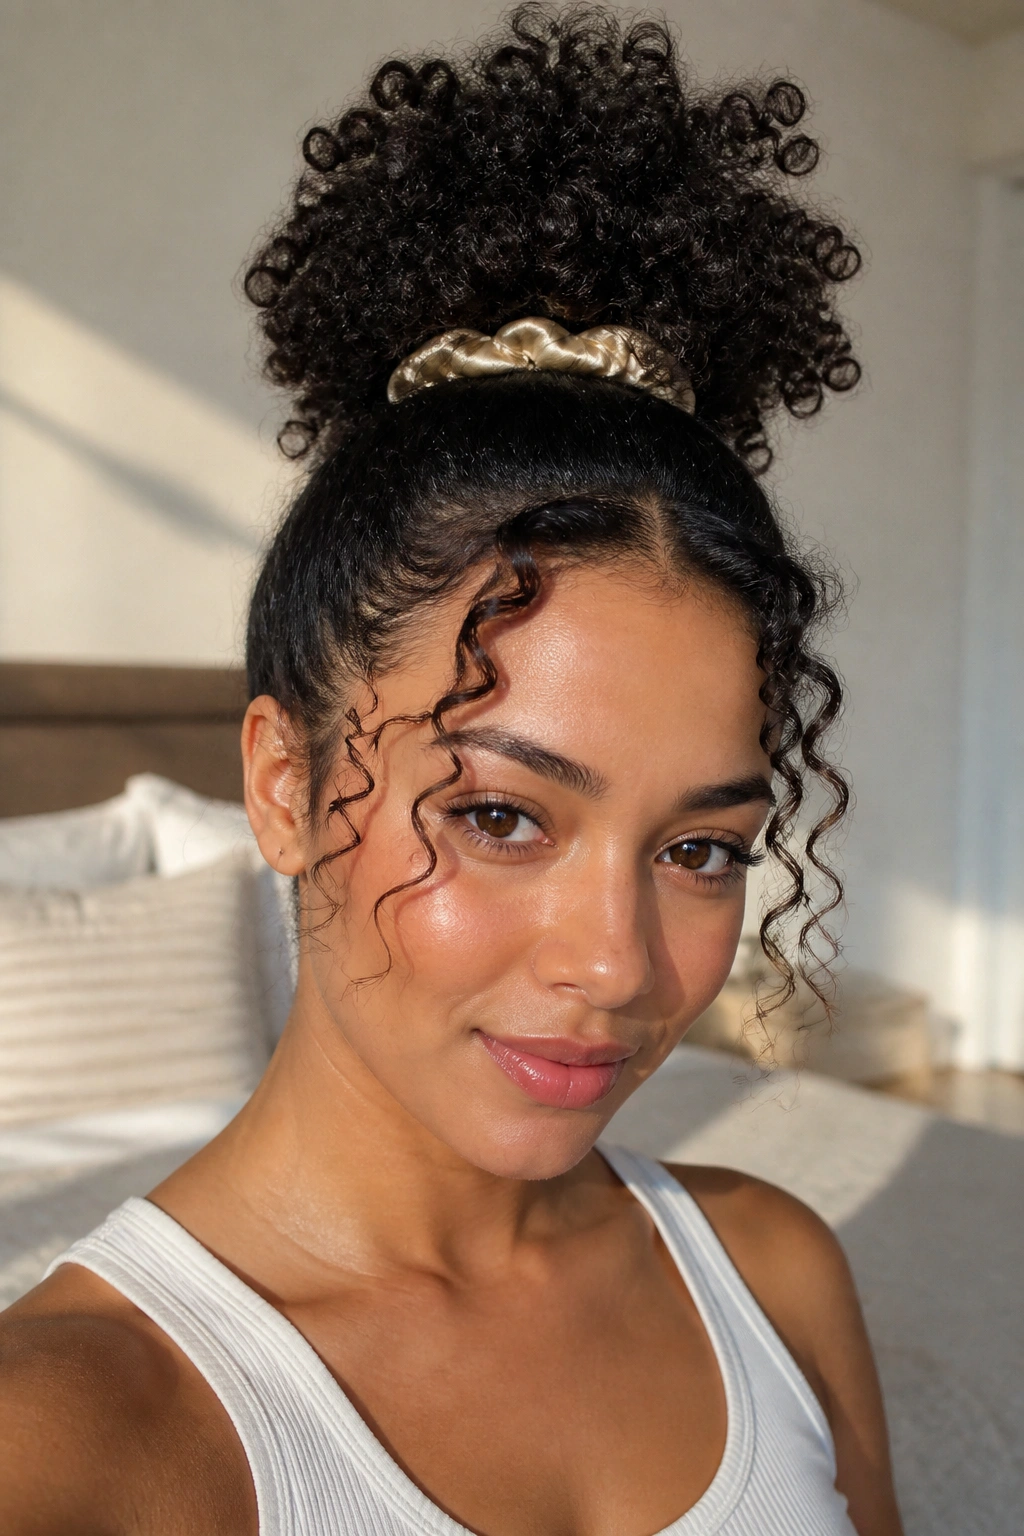
You need your hair out of the way, but a tight bun would crush everything. That’s where the pineapple puff wins.
Gather the hair high on the head with a satin scrunchie, but do not pull it tight enough to flatten the crown. Leave the ends loose enough to keep their curl. Pull out a few face-framing pieces and refresh them with water and a pea-size bit of leave-in if they look dry. That tiny detail keeps the style from looking like an afterthought.
Compared with a tight topknot, the pineapple puff protects curl shape better and keeps more height at the roots. It’s one of those styles that works for errands, dinner, or the kind of day where you want zero hair on your neck.
The loose tendrils matter. They keep the look soft. Without them, the puff can feel harsh and top-heavy.
7. Twist-Out Waves Finished with Finger Fluffing
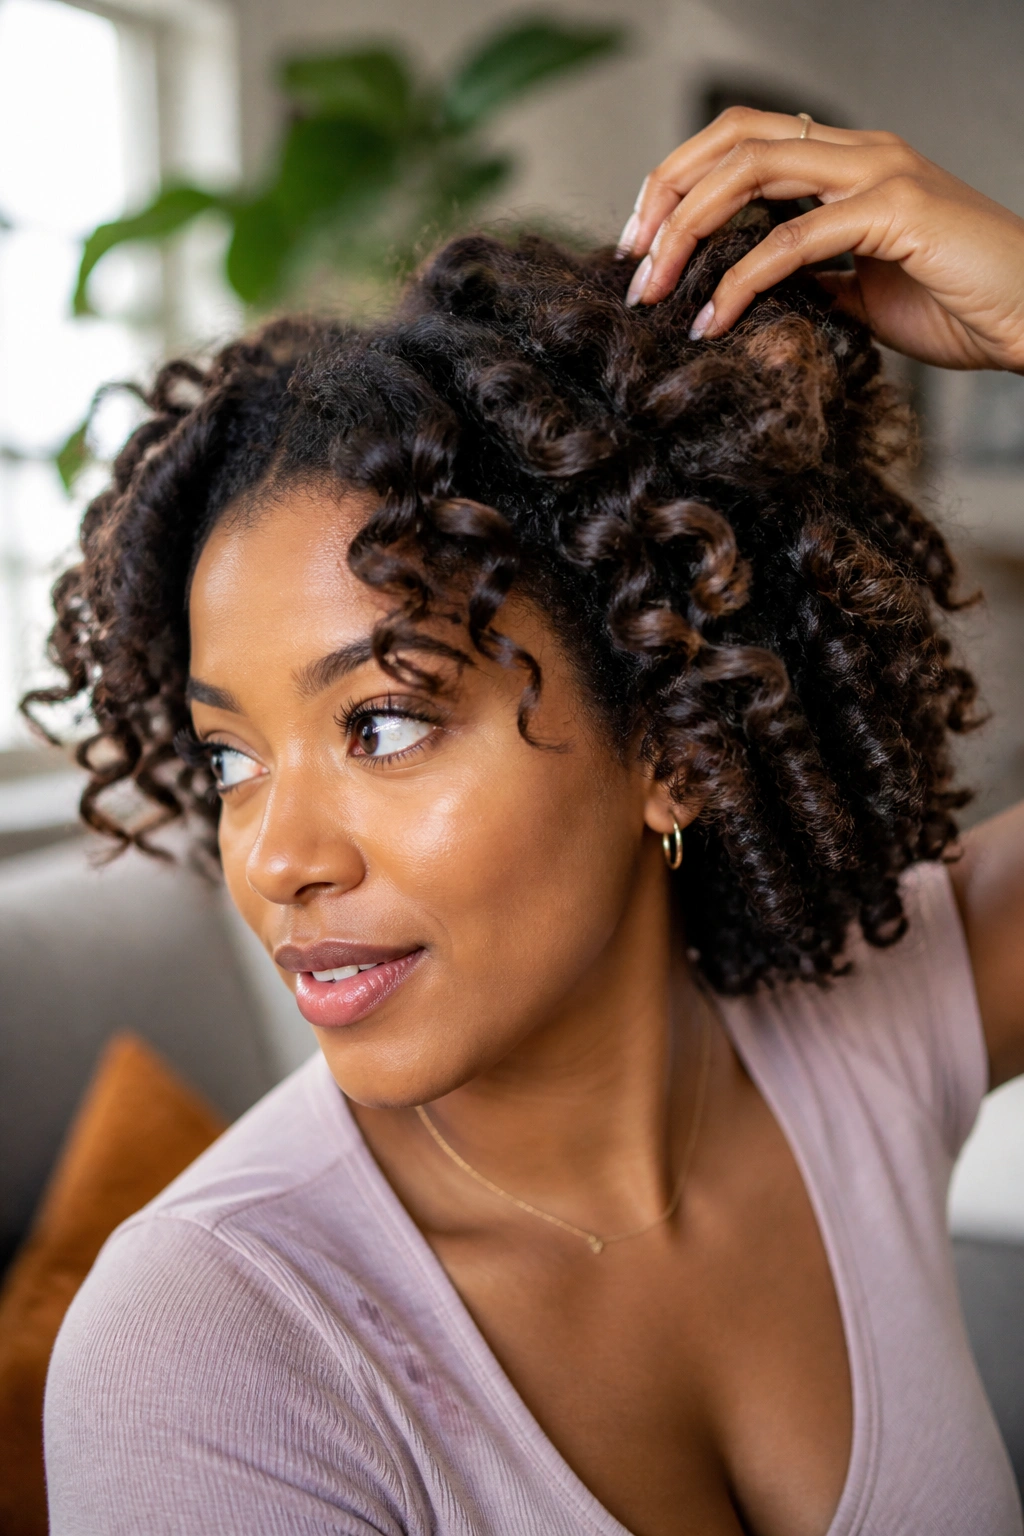
A twist-out can look softer than a wash-and-go if you stop separating it too much. That’s the whole trick.
Set the hair in medium twists while it’s damp, not dripping. Use enough product to hold the twist pattern, but not so much that the hair feels gummy. Once the twists are fully dry, unravel them with oiled fingertips. Then leave the curls alone for a minute. Seriously. Let them settle before you start pulling at the shape.
After that, lift the roots gently with a pick or your fingers. Do not separate every little curl clump. That is how a neat twist-out becomes frizz with a headband. Keep the separation to a minimum and focus on volume at the crown.
This style is great when you want a looser, wavier finish without losing definition. It also lasts well if you pineappling at night and sleep on satin.
8. Bantu Knot-Out Ripples
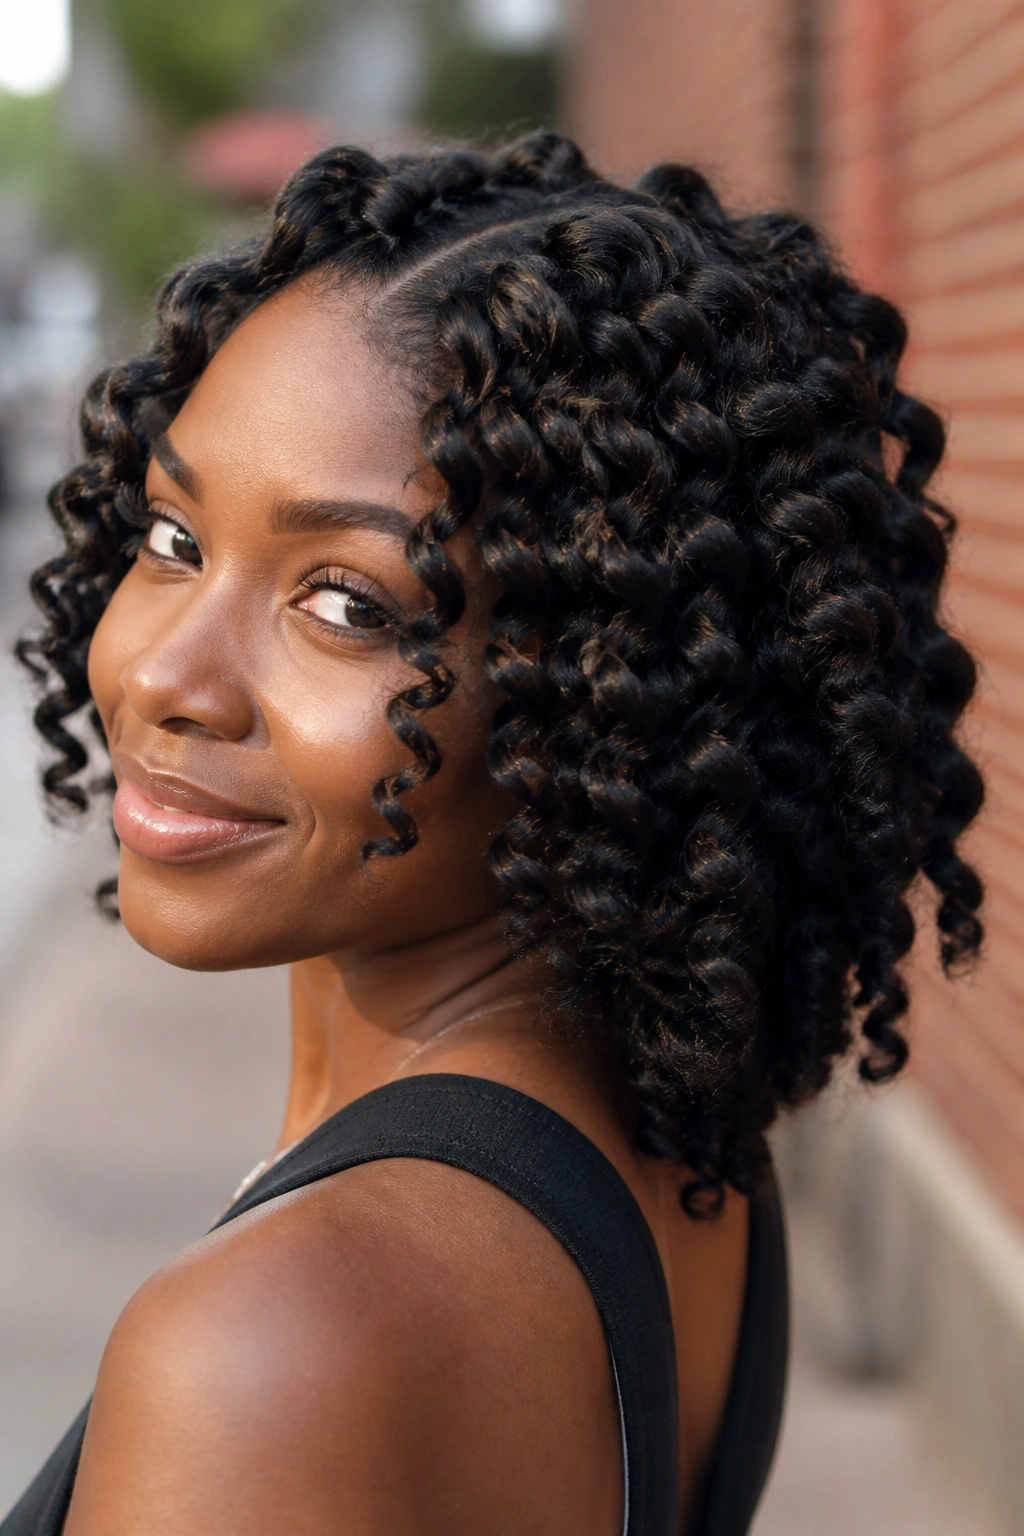
Why do Bantu knot-outs give that springy ripple you cannot fake with a brush? Because the curl is being set into a very specific shape, right from the start.
Section the hair evenly, twist each piece, then wrap it into a compact knot close to the scalp. Smaller knots give tighter texture. Larger knots give softer bends. Let them dry all the way before taking them down. If you rush the unraveling, you lose the shape and get fuzzy ends instead of clean ripples.
A little shine product on the fingers makes the separation cleaner. I like this style when the goal is body and movement without a ton of frizz. The roots stay controlled, the mids carry the shape, and the ends have enough freedom to move.
Quick details that help
- Use medium-sized sections for shoulder-length hair
- Dry time matters more than product here
- Separate once, maybe twice, and stop
This is one of the few styles that can look polished and playful at the same time.
9. Curly Shag with Airy Layers
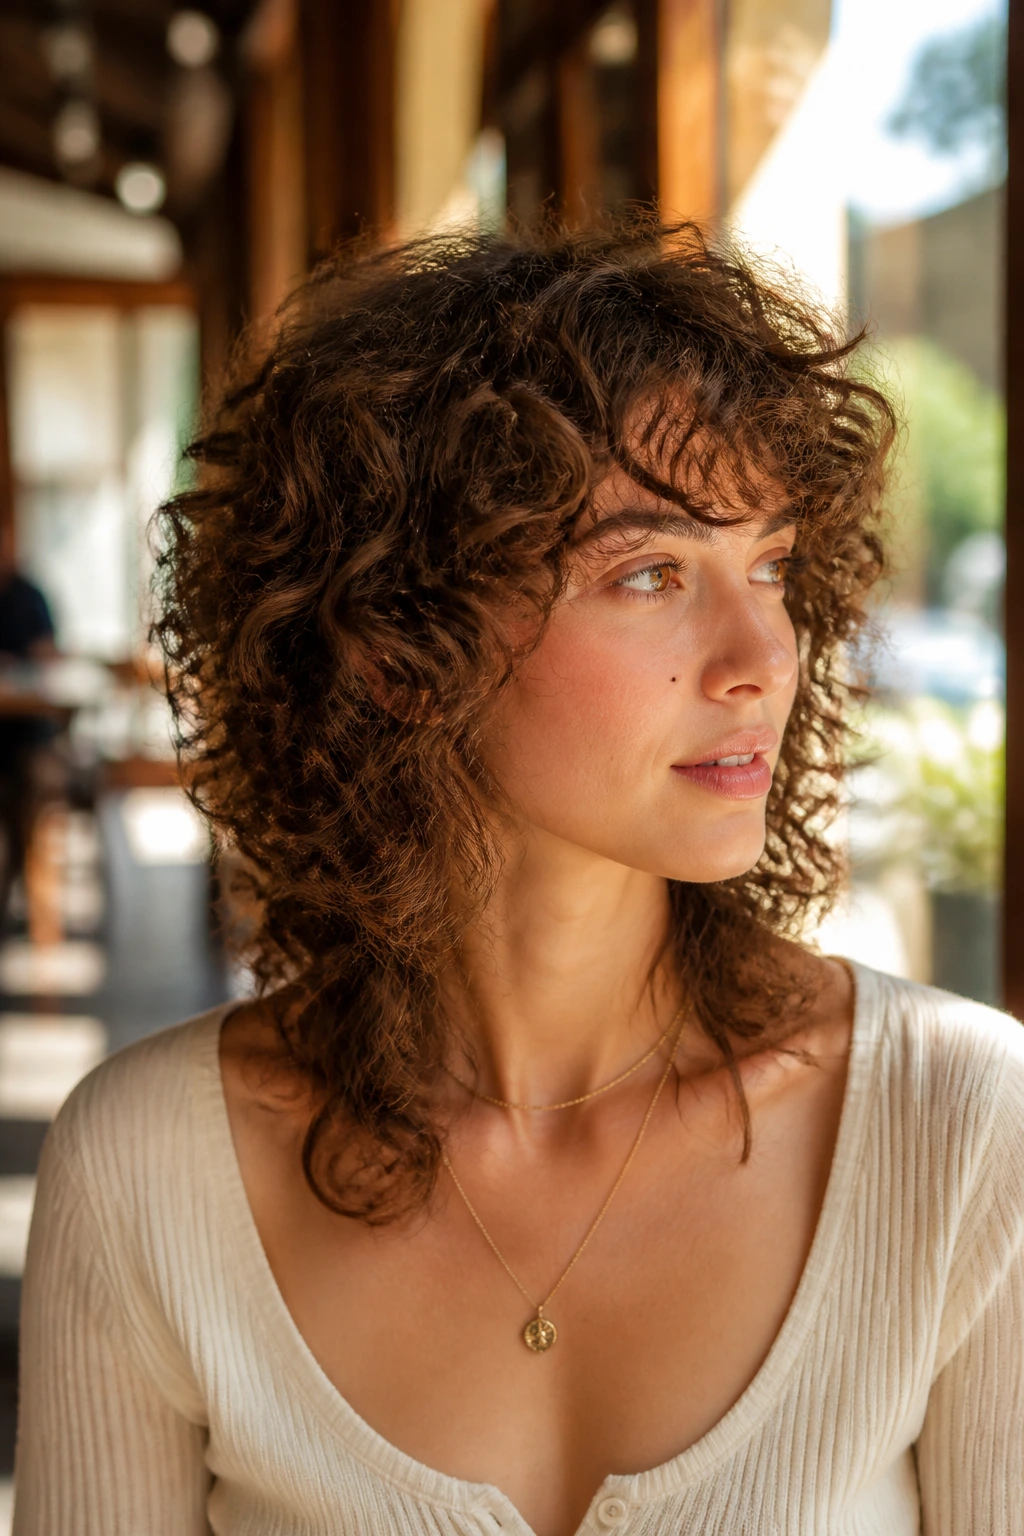
A shag cut can make wavy curls feel lighter before you even reach for a cream.
The whole point is to remove bulk in the right places. Shorter layers around the crown build lift. Longer layers through the sides keep the outline from getting boxy. On curly hair, that means less triangle shape and more movement through the whole head. I like it on dense hair that tends to swell outward when it dries.
Ask for a curl-aware cut, not a blunt chop. The layers need to match the way your hair springs, or the shape can turn lopsided fast. A good shag should look good with minimal styling, which is exactly why people keep coming back to it.
It’s a shape that feels easy but not careless. That matters. Hair with this cut still needs moisture and hold, but it stops fighting you so hard.
10. Wet-Look Gel Cast for a Sleek Curl Pattern
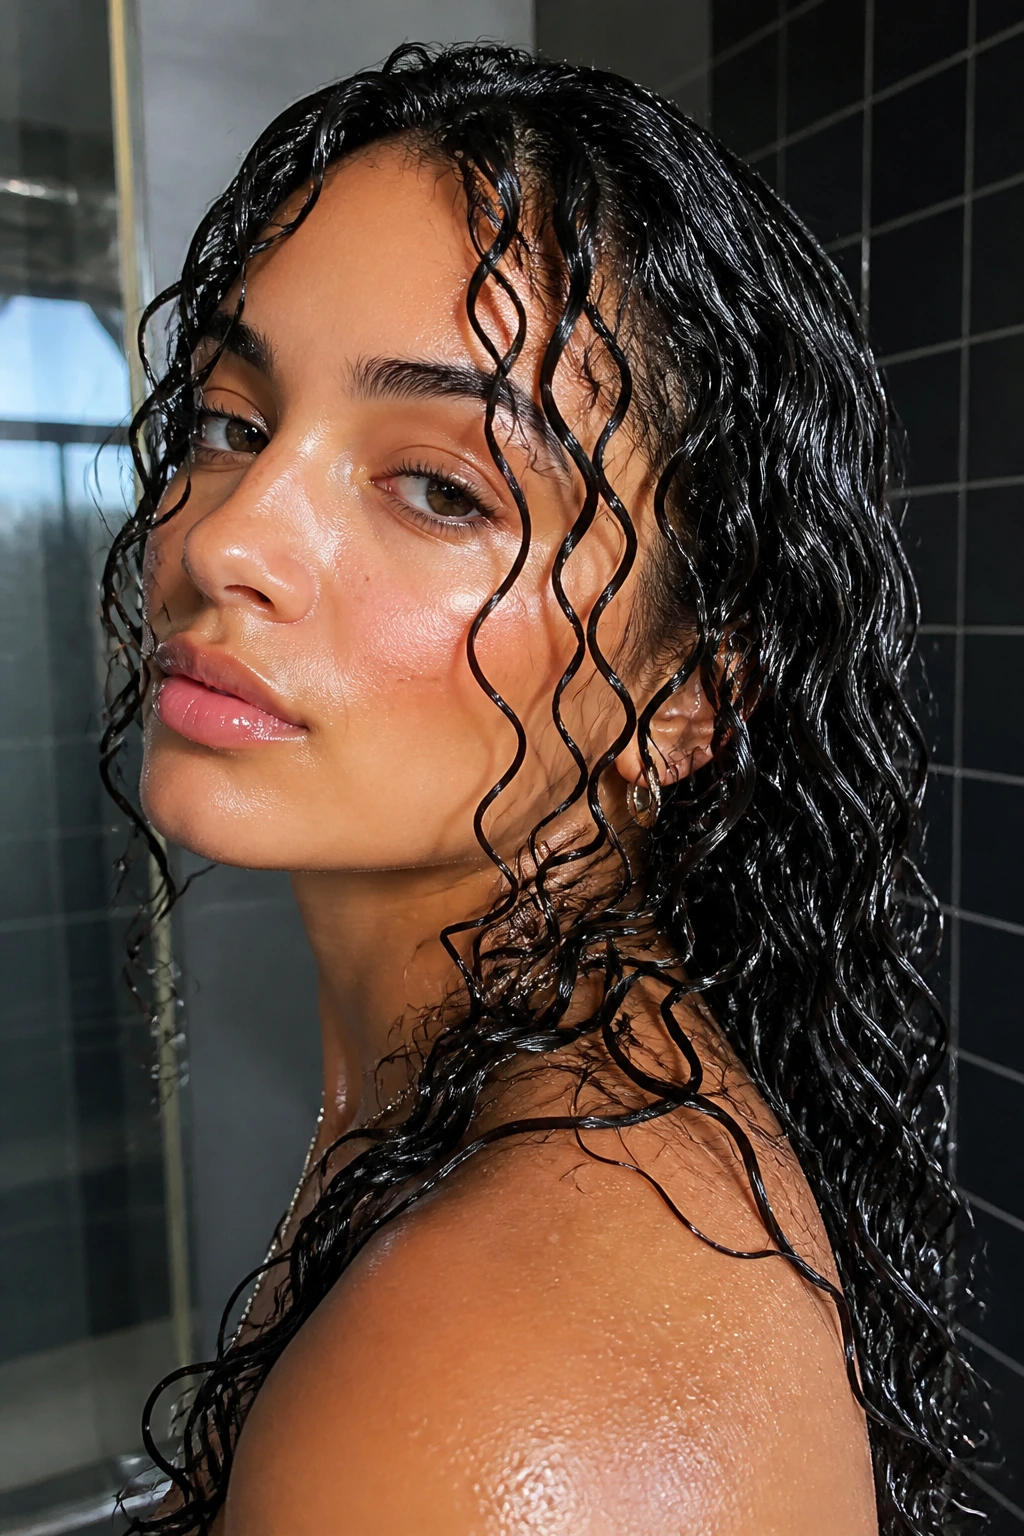
Crunchy is not a curse. Sometimes it is the price of a clean curl pattern.
For a wet-look finish, apply a strong-hold gel to soaking-wet hair and smooth it down with praying hands. Follow with a little scrunching at the ends, then leave it alone. Air-dry or diffuse on low heat until the cast is fully set. If you touch it too soon, the surface gets rough and the shine disappears.
This style suits frizz-prone hair, humid weather, and nights when you want your curls to look intentional. The result is glossy, separated, and a little dramatic. That’s the point. It is not meant to look soft and fluffy.
When the hair is dry, break the cast gently with a drop of oil. Just a drop. Too much and the root area goes flat. The finish should look smooth, not greasy.
11. Finger-Coiled Face Framing Pieces
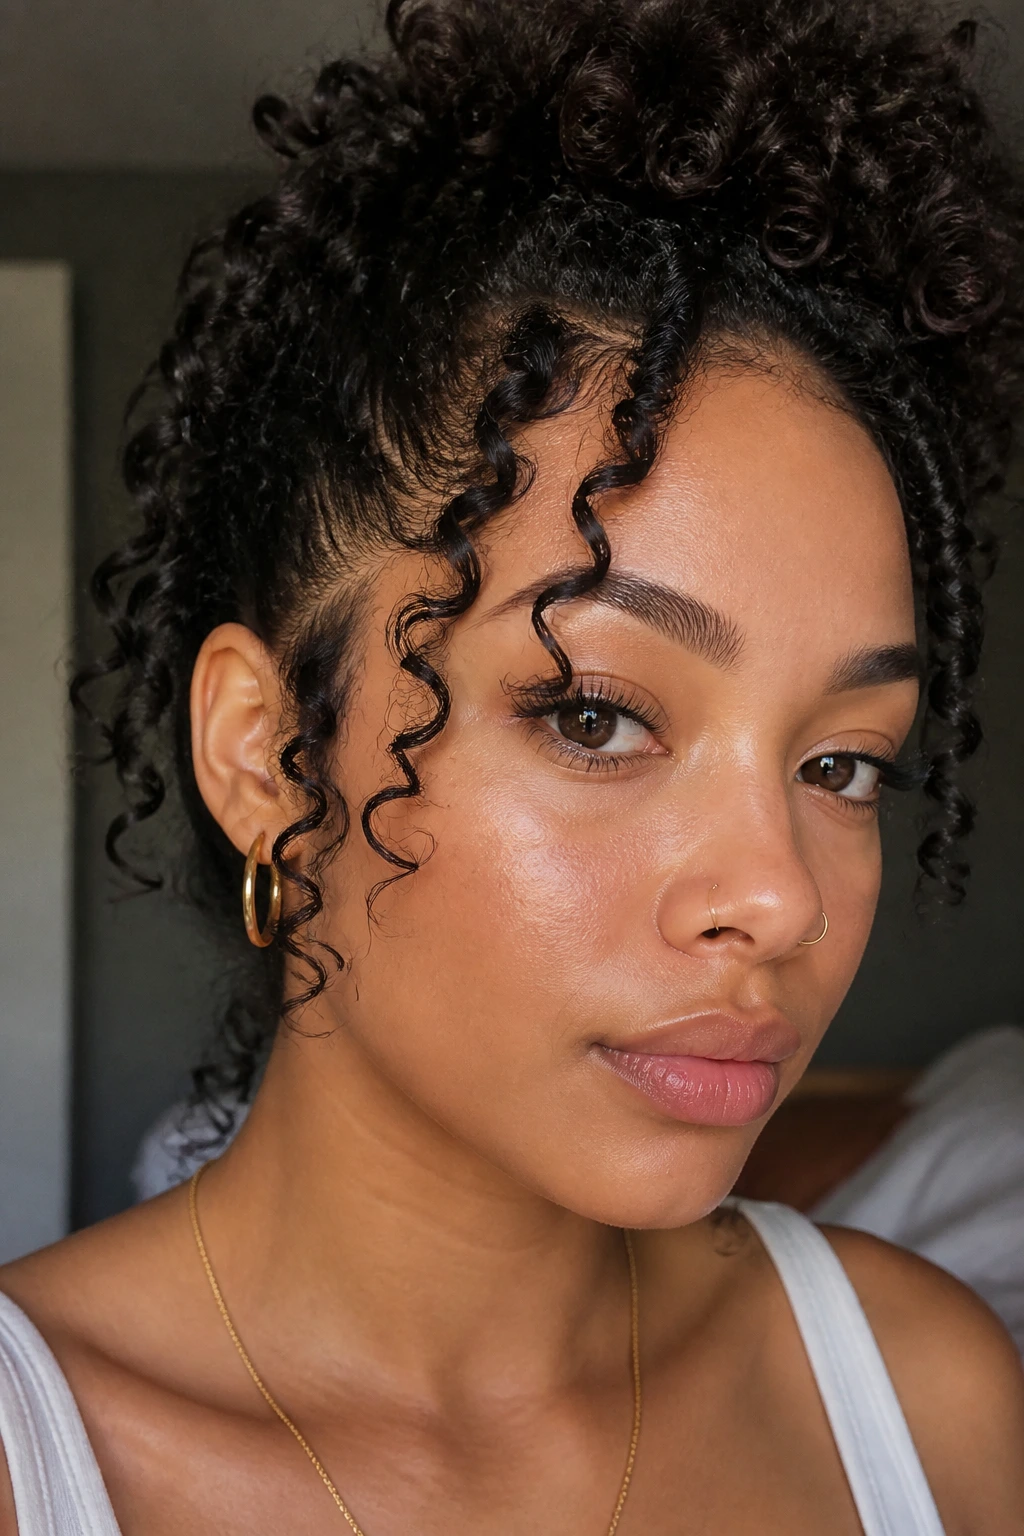
Two or three tiny finger coils around the front can fix an uneven refresh fast.
Take the pieces closest to the face, mist them lightly, add a small amount of cream, and wrap each section around your finger until it springs into a neat coil. Let them set while the rest of the hair dries. That tiny bit of structure pulls the eye forward and makes the whole style feel cleaner, even if the rest of the hair is having an off day.
I like this on wash-and-go hair that has lost its shape at the front but still looks fine everywhere else. It’s also a good move when one side dries flatter than the other. The coil doesn’t need to be perfect. It just needs to be more defined than the surrounding pieces.
This is one of those details that people notice without knowing why. Small fix. Big payoff.
12. Side-Swept Volume Bob with a Deep Part
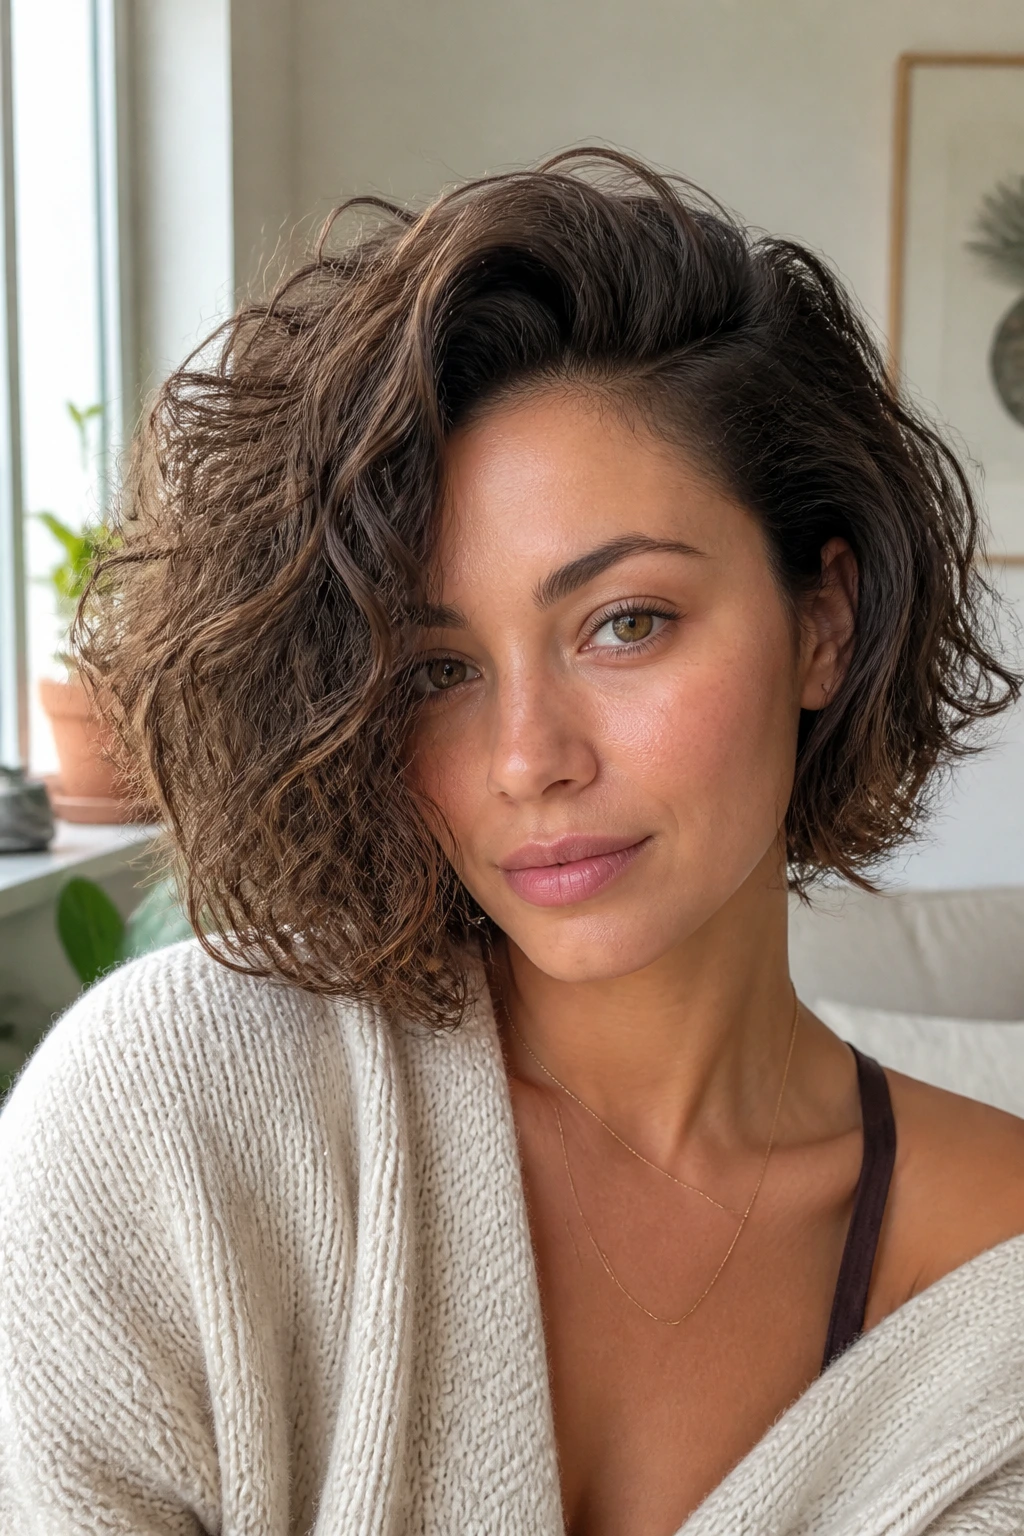
Can a bob still feel soft and wavy if the curl pattern is strong? Absolutely. A deep part does most of the work.
Short curls love shape, and a side-swept bob gives it to them. The longer side falls across the cheekbone, while the shorter side opens up the face and keeps the outline from looking too round. Use a diffuser to lift the roots at the crown, then let the rest air-dry as much as possible. For fine hair, that root lift is the whole story.
This cut is sharp when it needs to be and loose when it wants to be. It is not the kind of bob that sits still. That’s why it works for wavy curls and tighter curls alike. If you want low-maintenance shape with movement, this is a strong option.
A center part can look neat, sure. But the deep side part gives this bob a little attitude.
13. Halo Braid with Loose Curly Ends
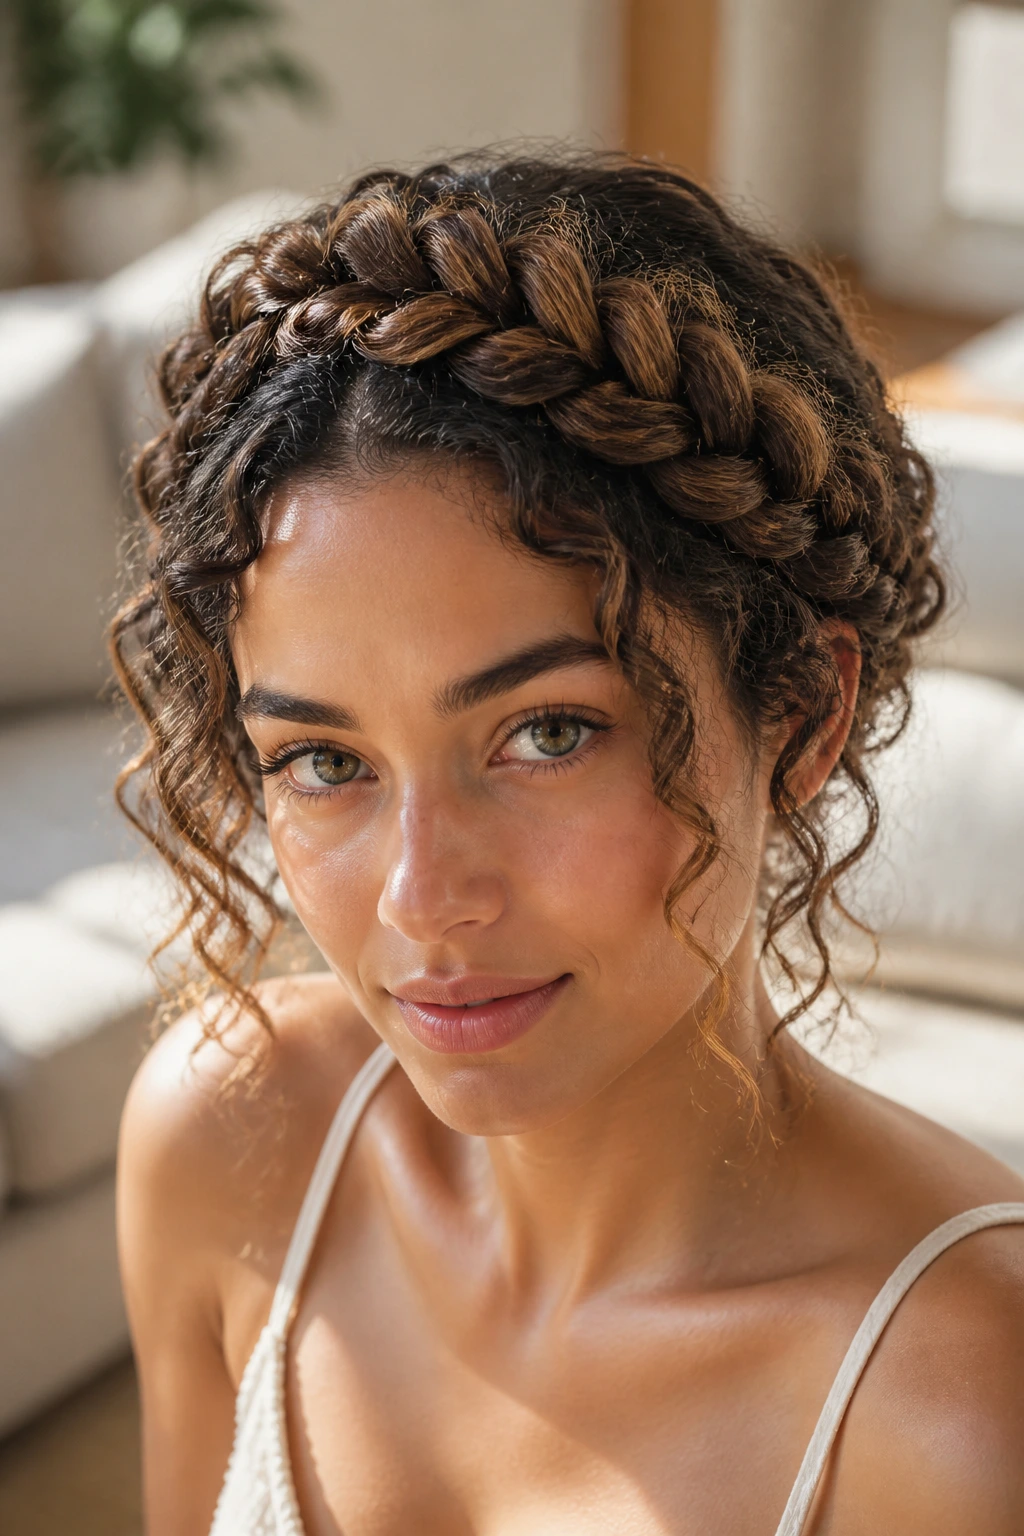
A braid wrapped near the hairline keeps the front smooth while the ends stay springy and free.
That contrast is what makes this style work. The top stays controlled, which is handy on windy days or when you want your curls away from your face. The loose ends keep the look from turning into a strict updo. You get both polish and movement, which is a rare combination in curly styling.
Best for
- Medium to long curly hair
- Days when you want the front protected
- Styles that need to last through dinner or a long workday
Braid the front sections loosely so they do not tug at the scalp. If the braid is too tight, the style loses softness and can leave dents where you do not want them. I’d also keep the braid line a little imperfect. Perfect braids on curly hair often look too rigid.
This style looks especially good when a few tendrils escape around the temples. Tiny detail. Makes a difference.
14. Low Puff with a Refreshed Crown
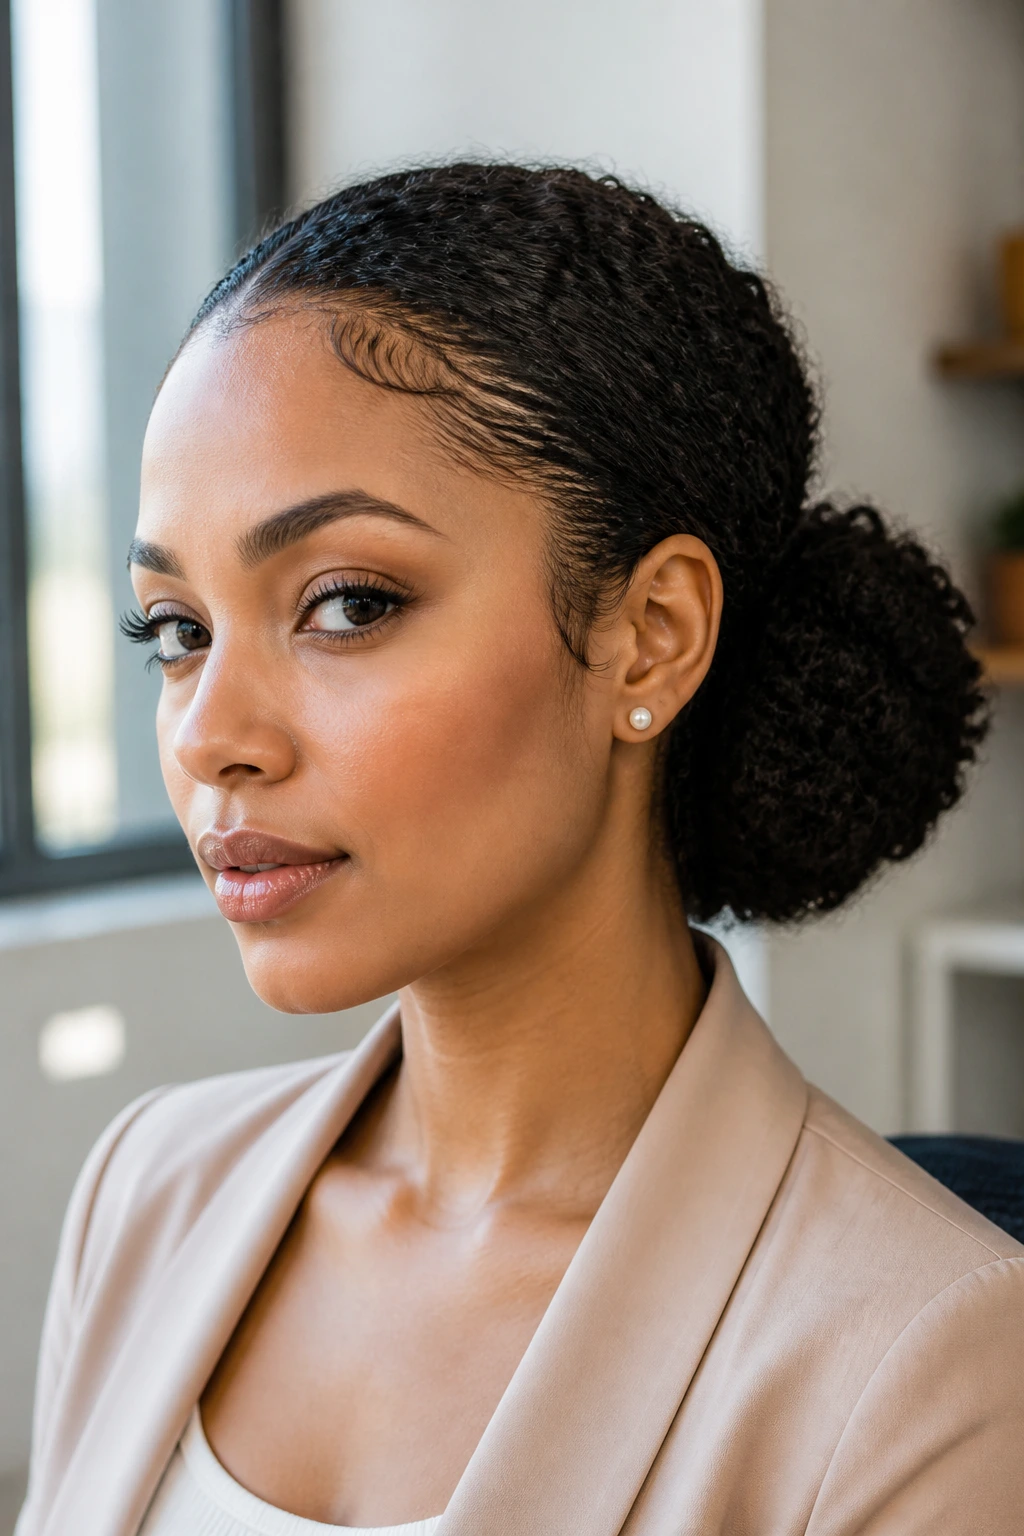
A low puff is often more elegant than a tight ponytail. The difference is in the tension.
Smooth the crown with a small brush and a light gel, then gather the curls low at the nape with a soft tie or stretched elastic. Keep the puff itself loose so the texture stays visible. If the front is dry, mist it first and reshape it with your fingers before you pull everything back.
This style is useful when your hair needs to be controlled, not flattened. It works for office days, dressier plans, and any moment when you want the face open but the texture still obvious. The crown should lie neat, not slicked to the point of looking stiff.
Leave the edges alone unless they need taming. Overworking the hairline is one of the fastest ways to make a simple puff look tired.
15. Braided Damp Set for Soft S-Bends
Four loose braids done on damp hair can leave a bend that lasts through the next day.
The braids do not need to be tiny. In fact, larger braids usually create a softer wave, which is better if you want movement instead of crimped texture. Work in leave-in conditioner, braid gently, and let the hair dry all the way before taking it down. If any section is still damp, it will puff out before lunch.
This is one of my favorite options for hair that feels too fluffy after a wash. The braid pattern reins it in without making it look over-styled. You get smooth bends, a little stretch, and enough body to keep the hair from lying flat.
A satin scarf overnight helps the waves hold their shape. If the ends look too sharp, twist them with your fingers after release. That softens the line without ruining the pattern.
16. Tapered Cut with a Short Fringe
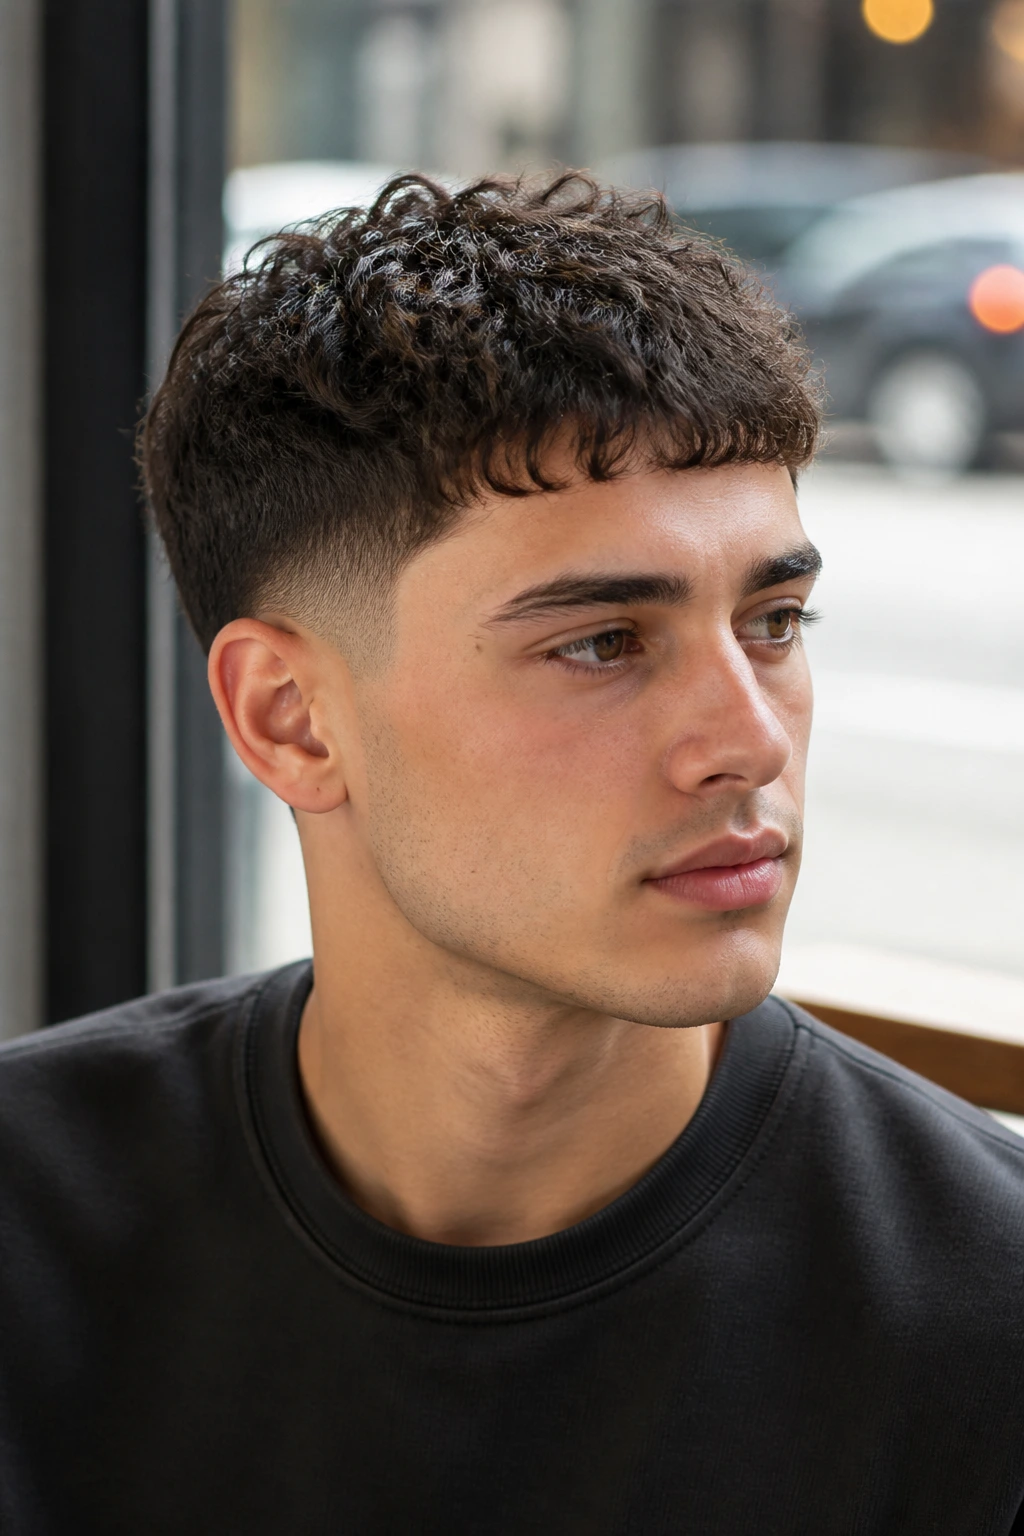
Short hair is not the enemy of wavy curls. If anything, it can make the texture look sharper.
A tapered cut removes bulk from the sides and back, then leaves the top and fringe free to move. On curly hair, that gives the whole shape a cleaner outline. The fringe adds a bit of softness around the forehead, while the taper keeps the neckline neat. That balance is hard to beat.
This cut works well for dense hair that tends to balloon out when it gets longer. It also means less product, less dry time, and less morning fuss. You still need moisture, of course, but the styling load is lighter.
The only catch is maintenance. Tapers grow out fast enough that the shape needs trims to stay crisp. If you want low volume with a little edge, though, this is a strong answer.
17. Satin-Set Overnight Waves
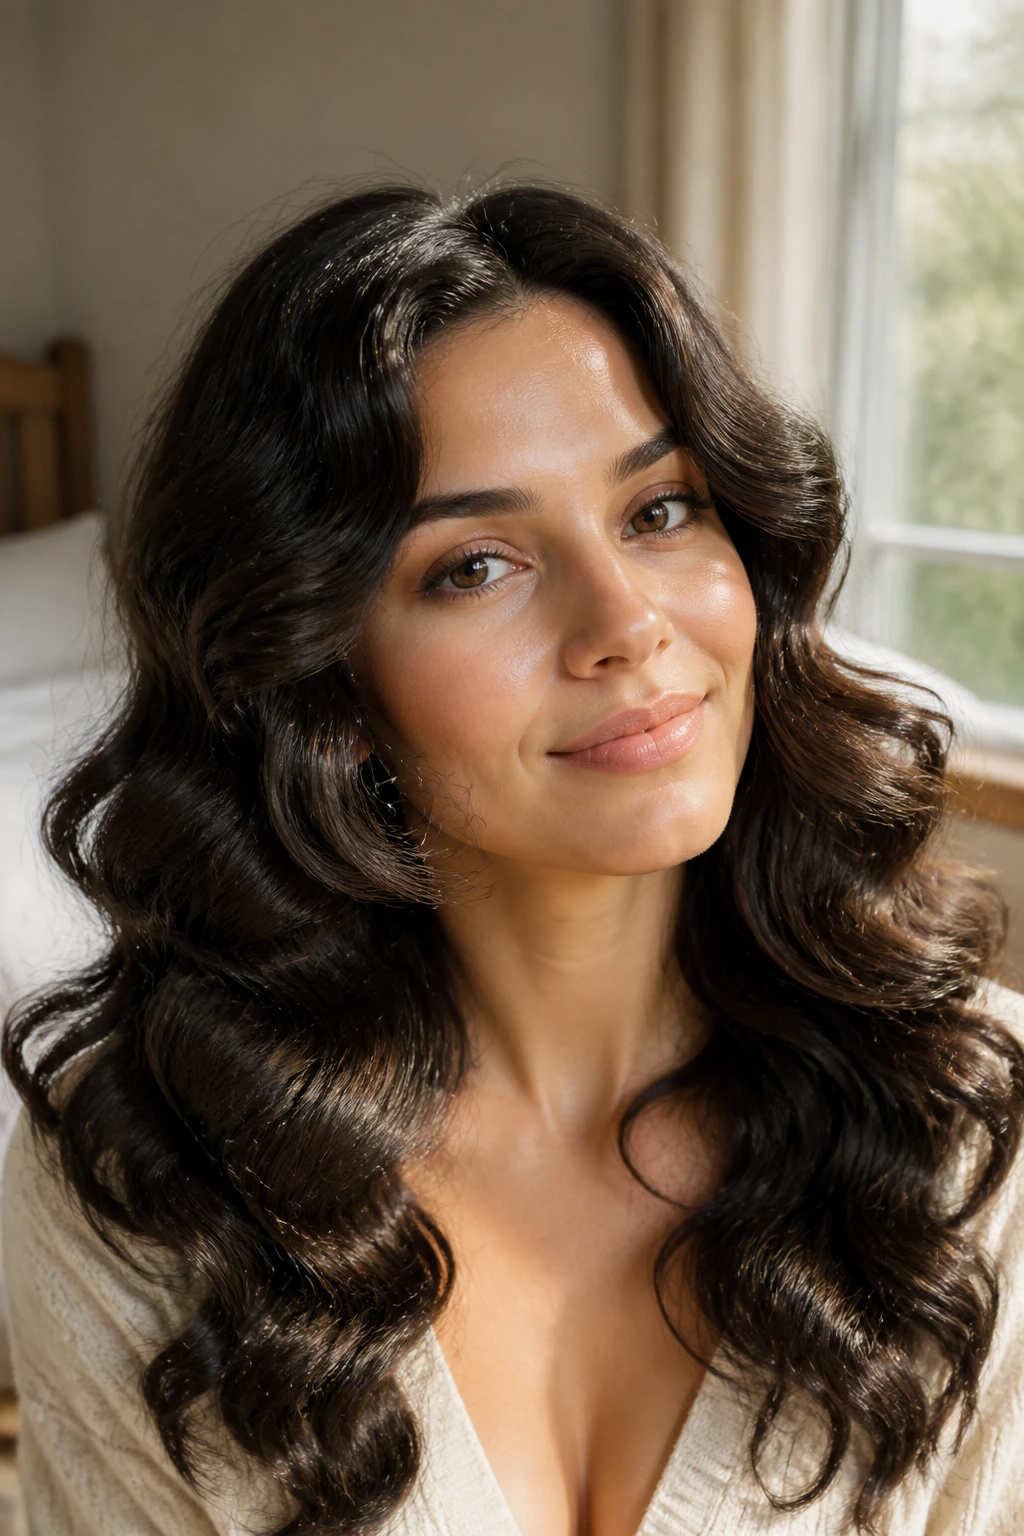
Rollers still earn their place. They smooth the bend in a way that sleeping loose hair never quite does.
Large flexi rods or satin rollers work best for this. Set small sections on hair that is dry or only slightly damp, wrap them evenly, and cover everything with a satin scarf or bonnet overnight. In the morning, remove them carefully and separate the curls only after they’ve settled for a few minutes. That pause matters. It keeps the wave from turning into a puff of fuzz.
What to keep in mind
- Bigger rollers give softer bends
- Smaller sections create more uniform waves
- Dry hair before bed if your strands take a long time to dry
This style is especially useful when you want a smoother finish than a regular air-dry. It gives the curls a more even curve, which can be a nice break from irregular texture. And yes, it takes a little patience. Still worth it.
18. Big Volume Pick-Out with a Rounded Shape
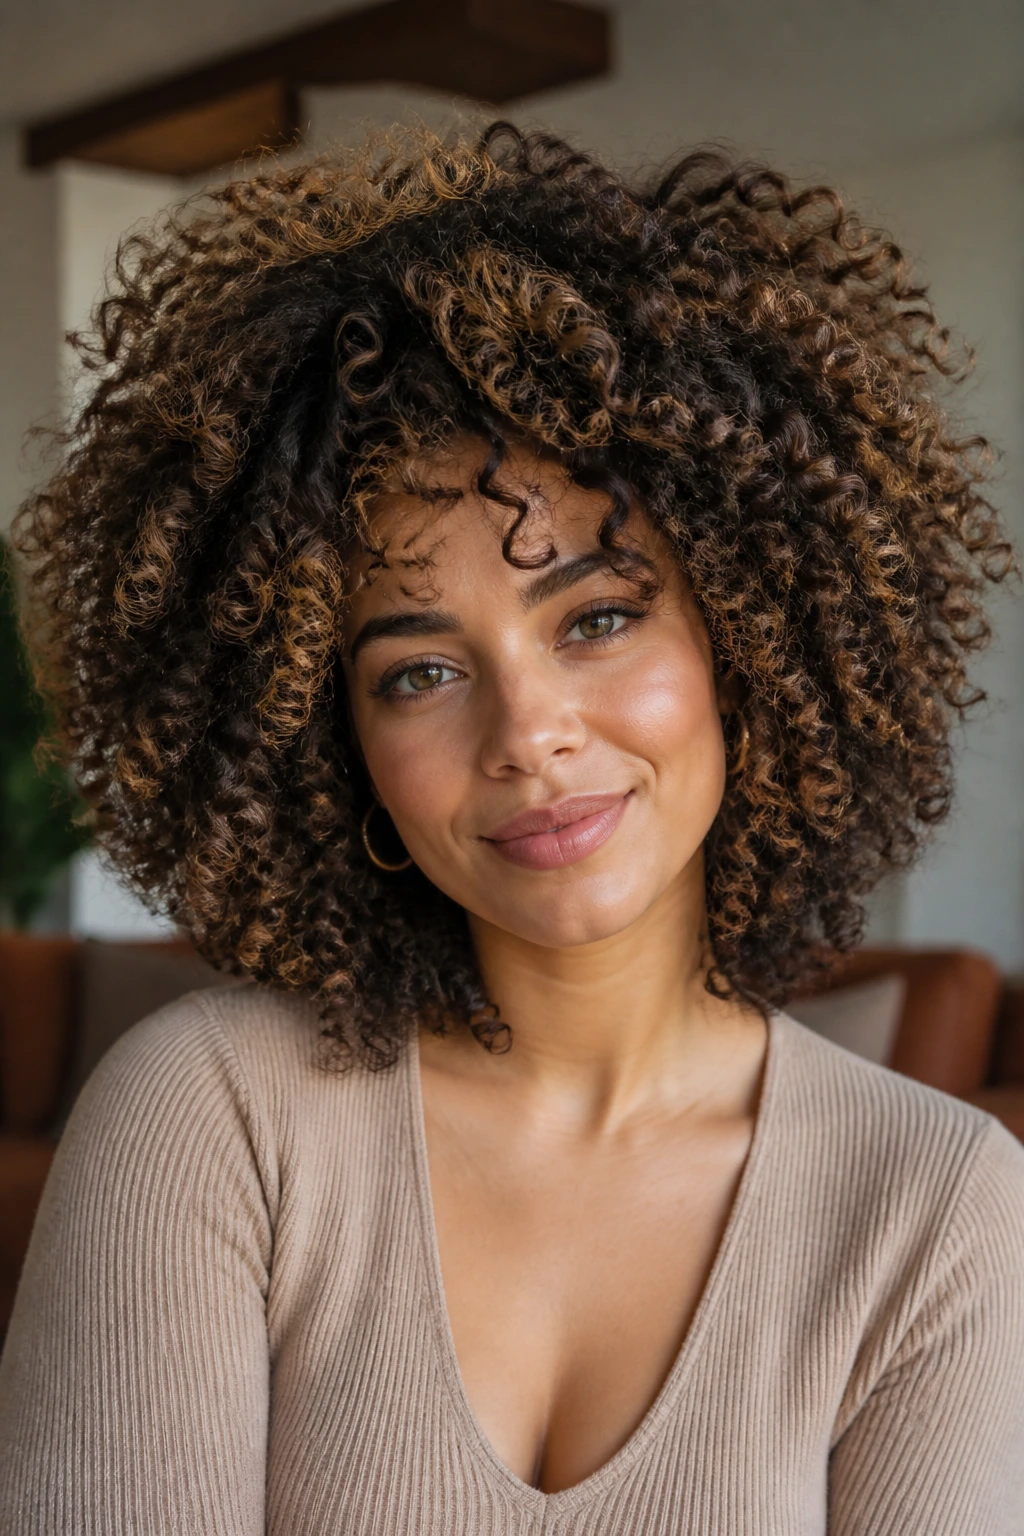
A wide-tooth pick at the root can turn compact curls into a rounded halo.
Start only when the hair is fully dry. Use the pick under the root layer, lift gently, and stop before you reach the mid-lengths. Do not drag the tool through the ends. That’s how you ruin definition and make the style look tired fast. Focus on the crown and around the sides where the shape tends to collapse.
This works best on dense curly hair that can handle expansion. If your hair is fine, a small pick and a lighter hand are safer. A few drops of oil on the palms can help the surface look smoother after the lift.
I like this style because it respects volume instead of pretending volume is a problem. Some days the goal is not sleekness. Some days the goal is big hair with a clear shape. That’s a perfectly fine choice.
19. Mini Twists Released at the Ends
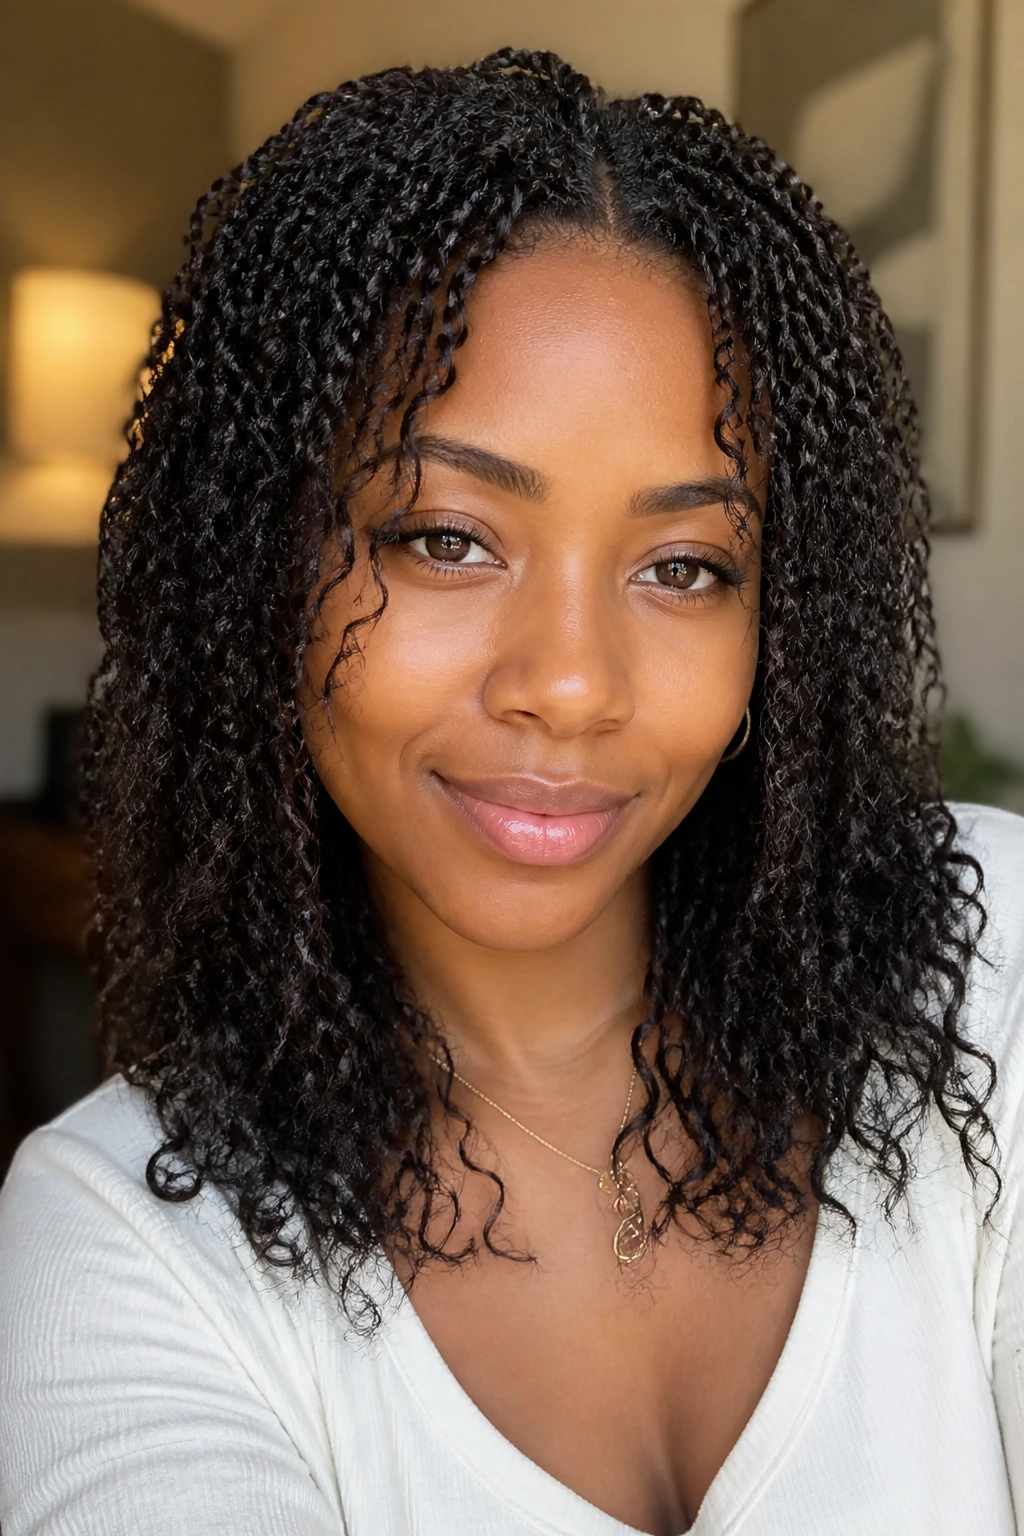
What if you want a style that sits between a protective look and a loose wave? Mini twists with free ends handle that middle ground nicely.
Twist small sections from the root down, but stop about an inch before the end. Let the tips stay loose so they fall into a softer bend when the hair dries. The result is less rigid than a full twist set and more controlled than pure air-drying. It also gives the style a little movement when you walk, which sounds small until you see it.
This look is useful when you want to stretch the root but keep the ends alive. It also buys you time between wash days, because the twists help reduce tangling without hiding the whole curl pattern.
If the parts are neat, the style feels intentional. If the parts are slightly uneven, it still works. Curly hair forgives a lot when the twist direction is consistent.
20. Root-Clipped Diffused Curls
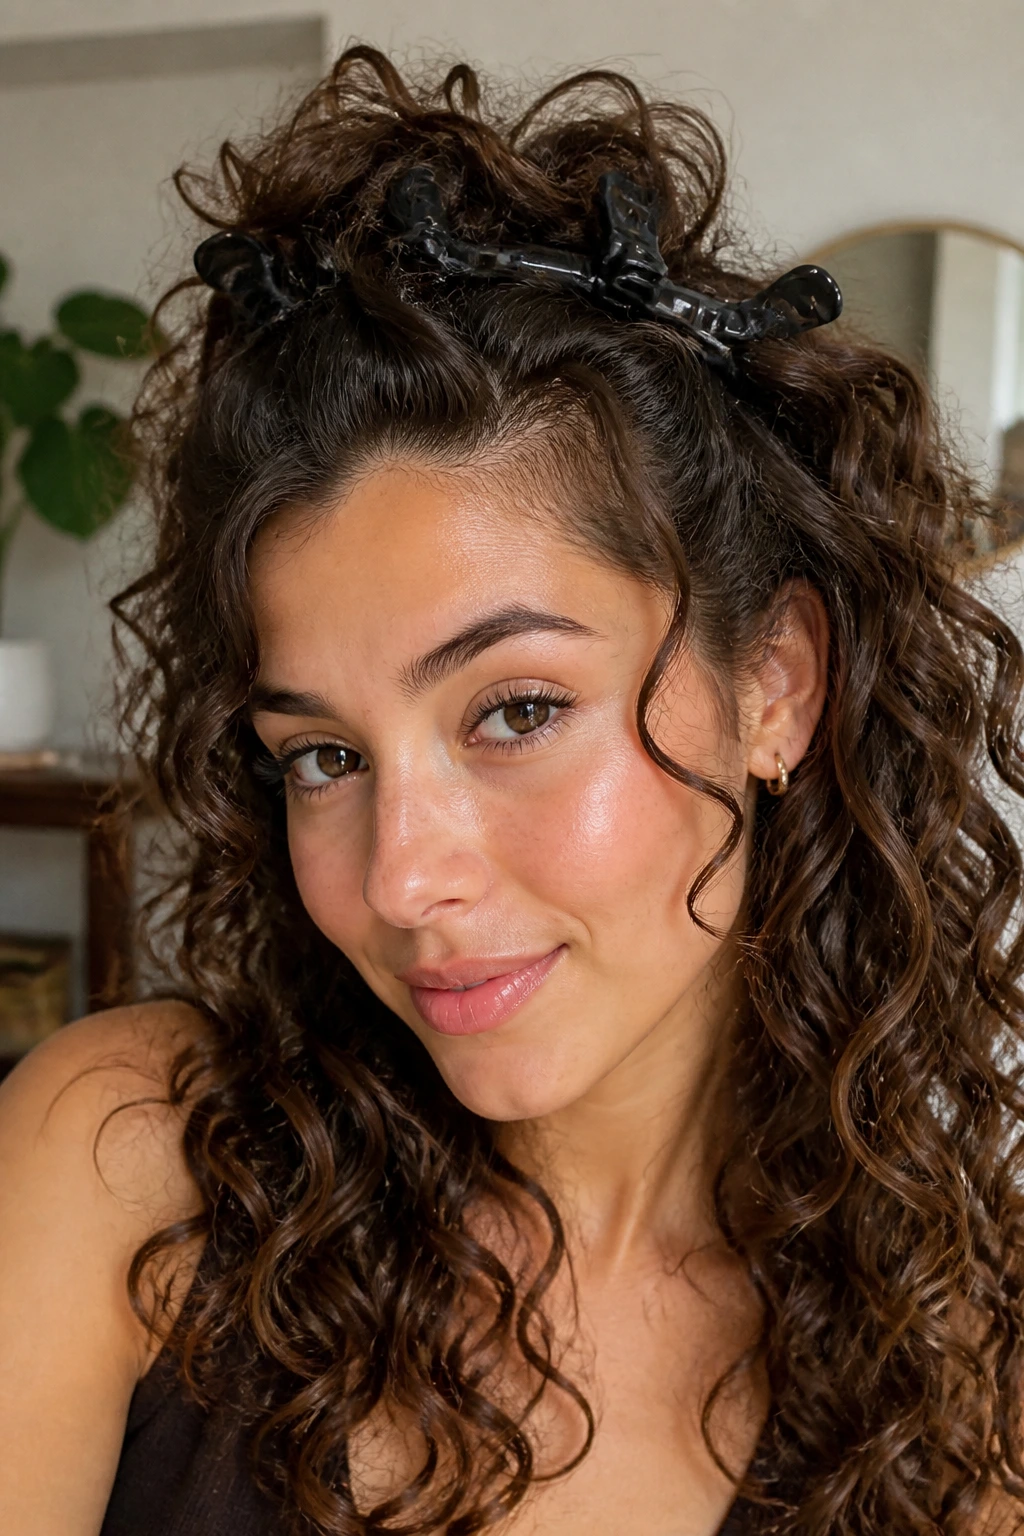
A few clips at the crown can matter more than another teaspoon of mousse.
Set the hair with your usual curl product, then place duckbill clips at the roots where the hair tends to lie flat. I usually think in zones: crown, sides, and the front corners. Diffuse on low heat until those roots hold their lift. Remove the clips only after the hair is mostly dry and the shape has set.
This is one of the easiest fixes for curls that look good everywhere except the top. It adds height without teasing, which is a relief if your hair tangles easily. The clips make the root stand away from the scalp for a few minutes, and that extra space turns into volume once the hair dries.
A lot of people skip this because it seems small. It isn’t. Flat roots can drag down an otherwise good style.
21. Headband Tuck with Soft Front Pieces
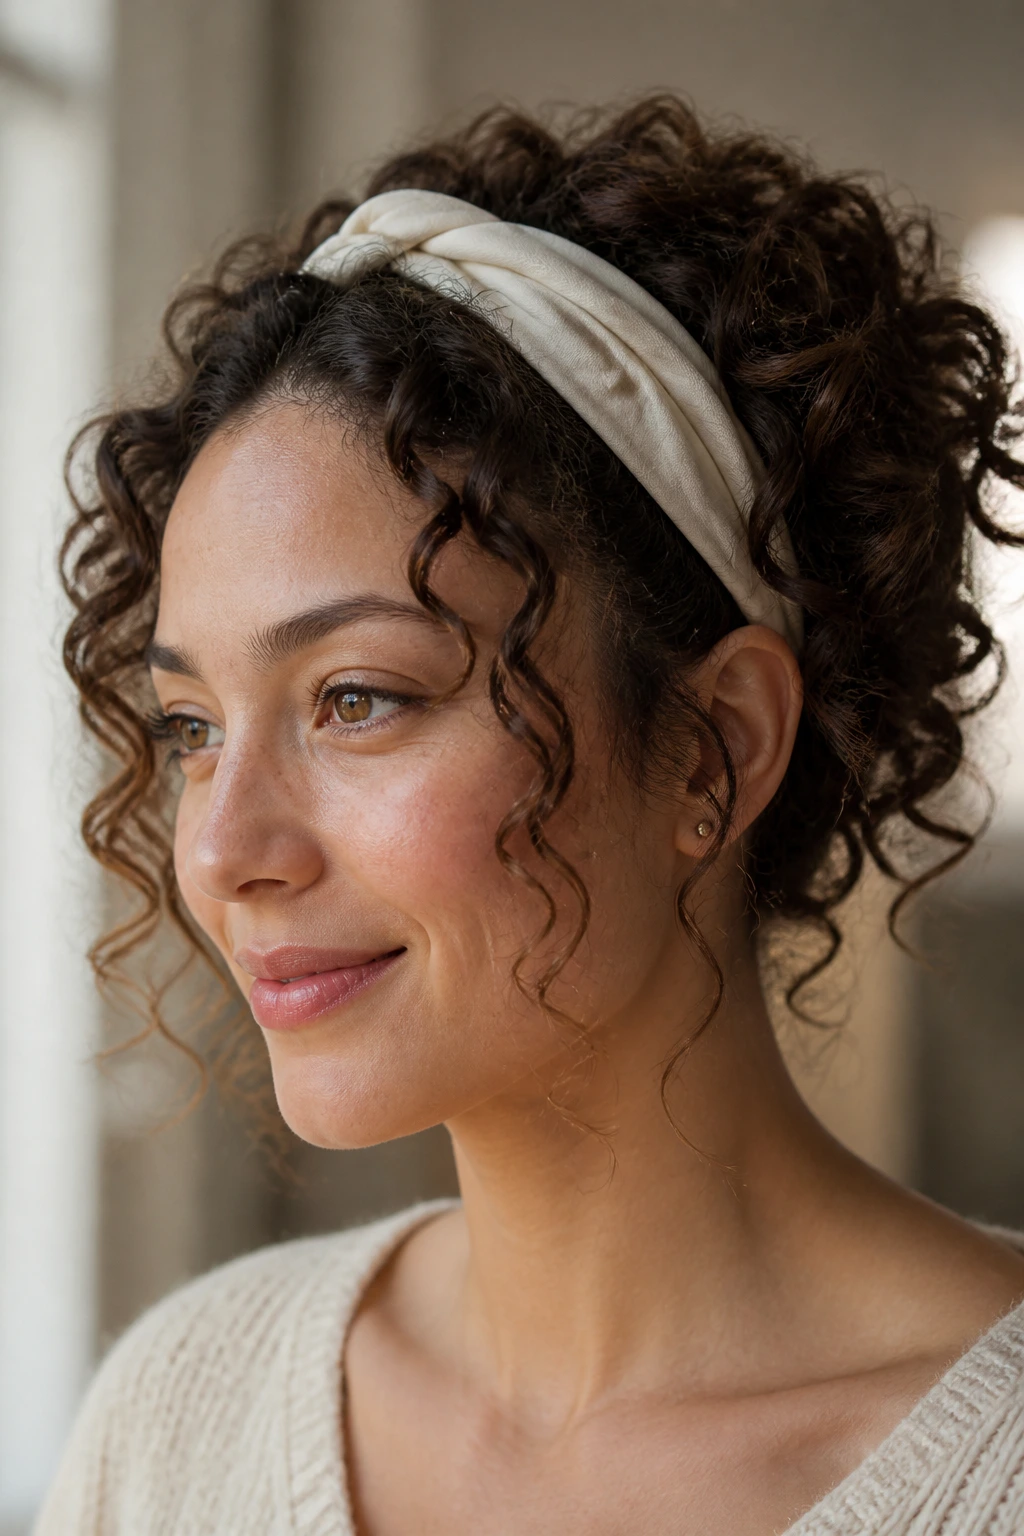
A headband style does not have to look like a gym shortcut.
Choose a wide, soft band—jersey or satin works well—and slide it over the hairline. Tuck the sides back gently, then pull a few curls forward around the face so the style still feels airy. If the top starts to compress, lift the hair at the crown with your fingers before the band goes fully in place.
This is a good answer for second-day curls that need quick control. It keeps the front from falling everywhere while still showing the texture you actually want to wear. I like it because it avoids the hard line that some ponytails create.
The headband should sit snug, not tight. If it leaves a deep mark on the forehead, it’s too much. Curly hair already does enough on its own.
22. Two-Strand Flat Twists Across the Crown
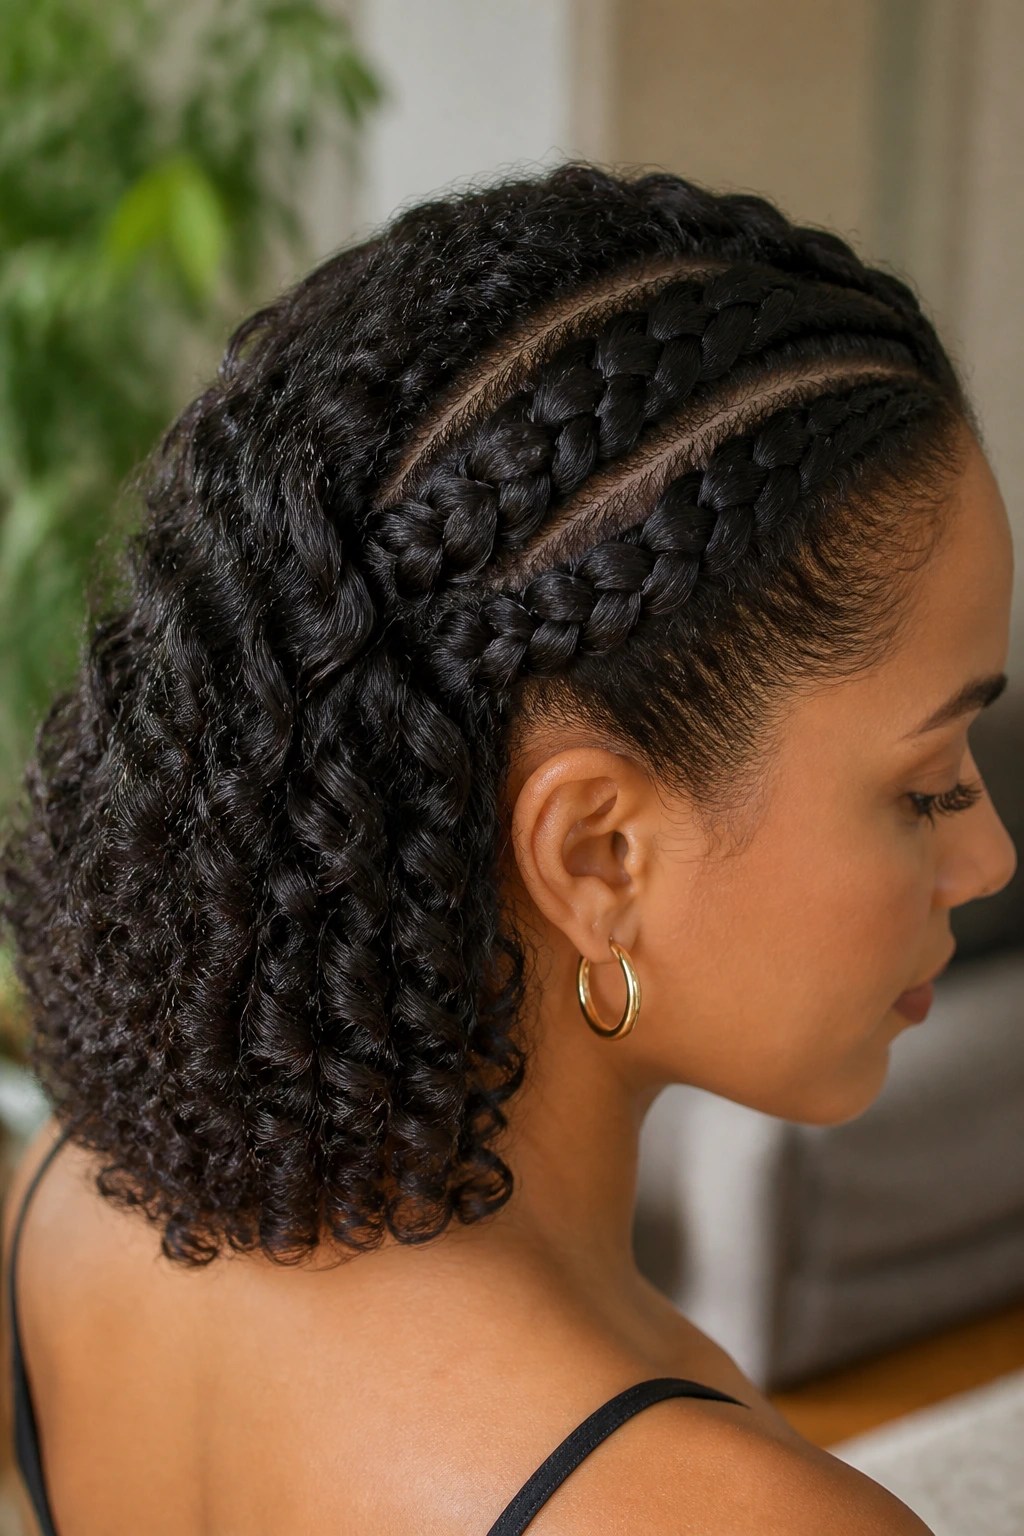
Flat twists across the crown keep the front smooth and let the back do its own thing.
That’s the appeal. You control the most visible section of the hair without locking the entire style into place. Start near the temple, feed in hair as you twist, and keep the rows close to the scalp. Finish at the crown and pin the ends, or leave them free if you want a softer look.
This style is especially handy when the top area frizzes faster than the rest. It keeps the front neat, stretches the root a little, and gives the back room to bounce. The twist lines also add a clean pattern that reads polished without trying too hard.
If your hair is very slippery, use a bit more hold at the roots. If it’s dry, a small amount of cream will help the sections stay smooth while you braid.
23. Cream-and-Gel Air-Dry Routine
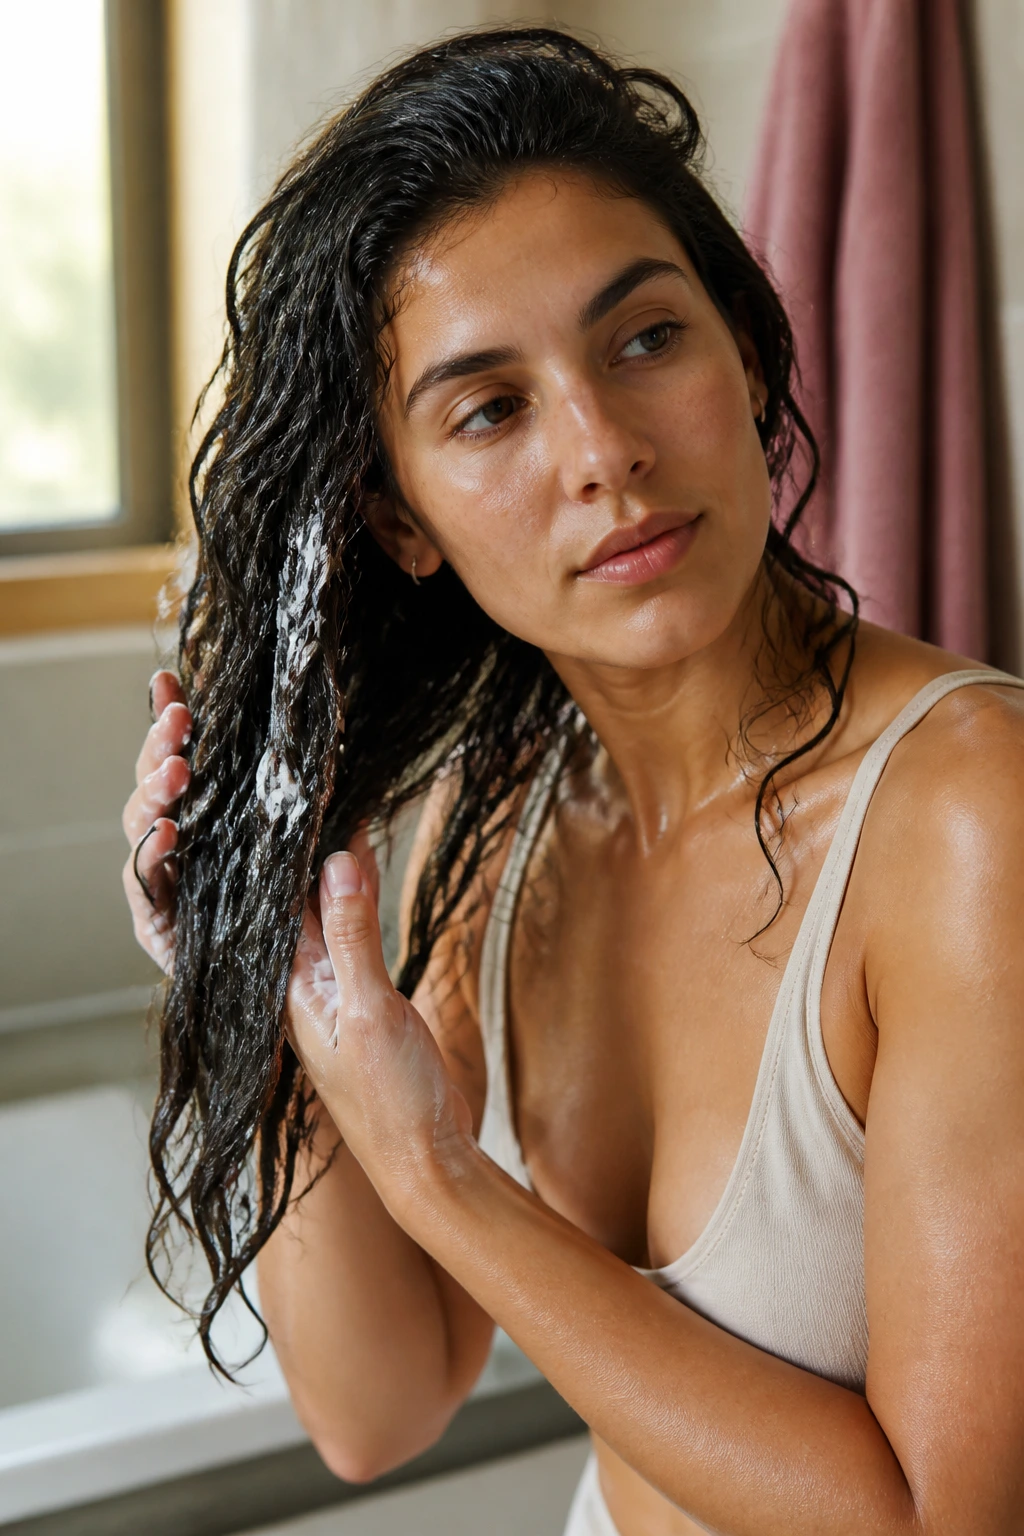
The best air-dried curls feel soft first, then settle into shape.
Start with leave-in on soaking-wet hair. Add a small amount of curl cream—pea-sized for fine hair, a little more for thick hair—then seal the mids and ends with a light gel. Rake the product through only enough to coat the strands, then scrunch. After that, stop touching it. That part matters more than people want to admit.
The basic order
- Leave-in first
- Curl cream second
- Gel last
- Air-dry without touching the curl clumps
This routine gives you wavy curls that stay touchable instead of shellacked. It works well for hair that likes softness but still needs enough hold to keep the bends separate. If the roots dry too flat, clip them for the first 20 minutes. That small window can change the final shape.
I prefer this routine when the goal is movement, not hard definition. It’s easy to overdo the cream, though, and then the hair sits heavy. Less is usually better here.
24. Midweek Water Refresh and Re-Scrunch
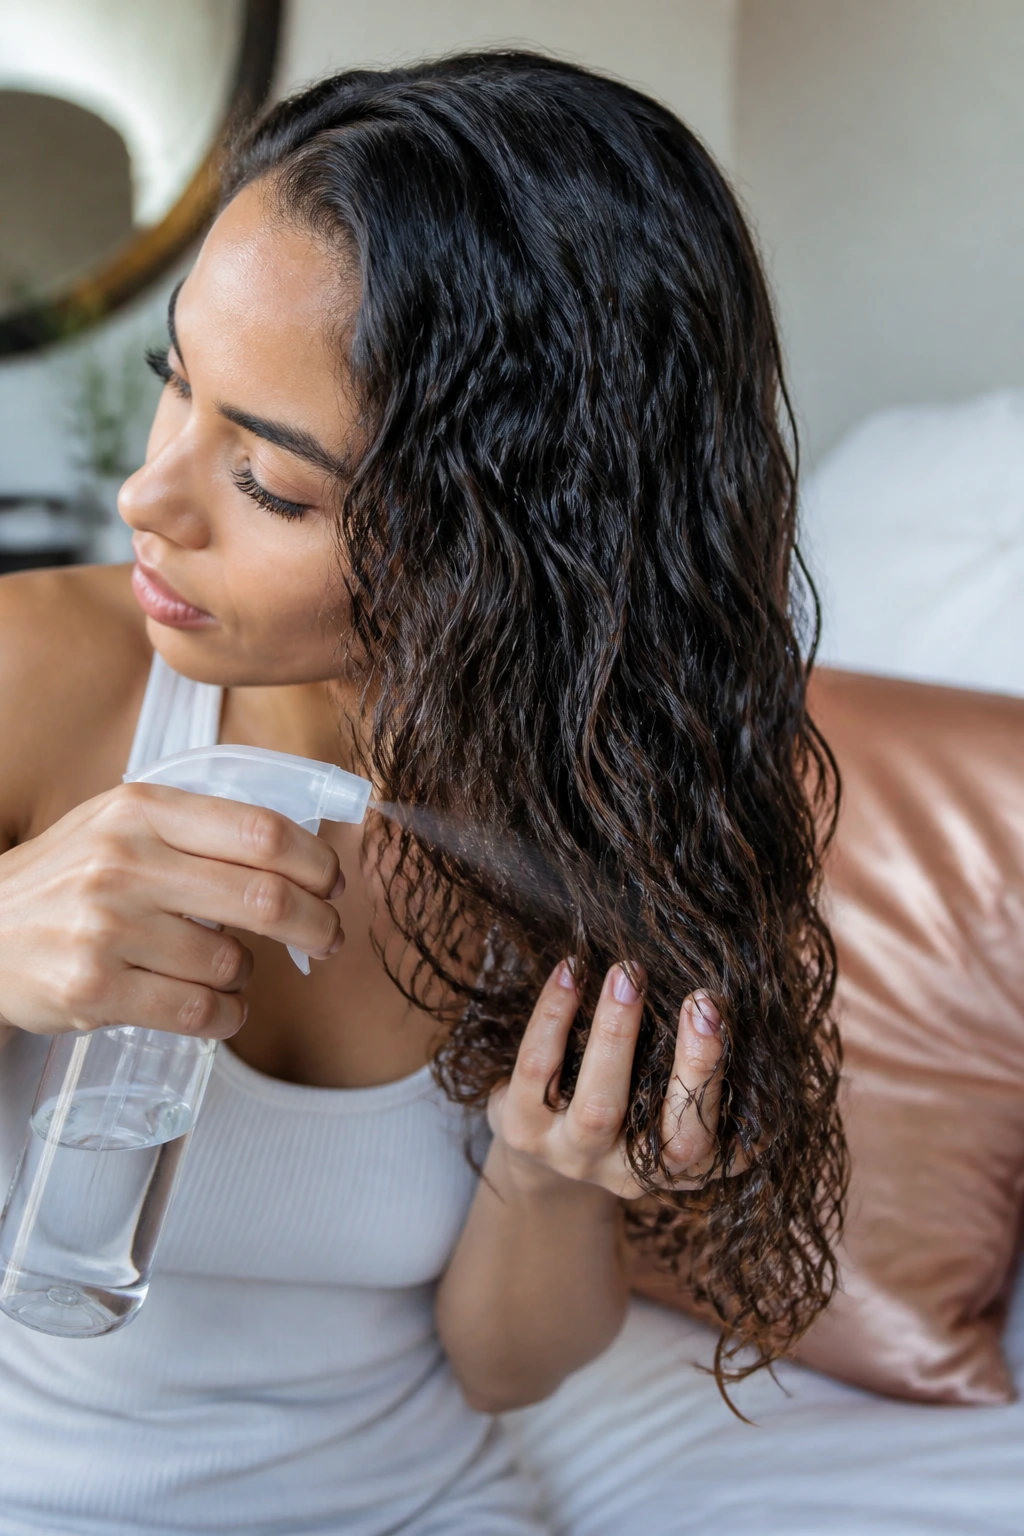
Why does day-three hair look better after a mist than after a full wash? Because you are waking the product back up, not stripping everything away.
Use a spray bottle with water and a little leave-in—just enough that the mist feels light, not soaking. Focus on the outer layer and the ends first. Then scrunch the curls back into shape with your hands. If the roots have gone limp, add one or two clips at the crown while the hair dries again.
This is the move that keeps wavy curls wearable between washes. It cuts the puff, revives the bend, and saves you from starting over every time the shape gets messy. The trick is restraint. Too much water will make the hair swell and frizz. Too little won’t reactivate the style.
A satin pillowcase helps this routine work better because the curl clumps stay closer to their original shape overnight. That means less fixing in the morning. Nice trade.
25. Glossed Ends with a Soft Crown Finish
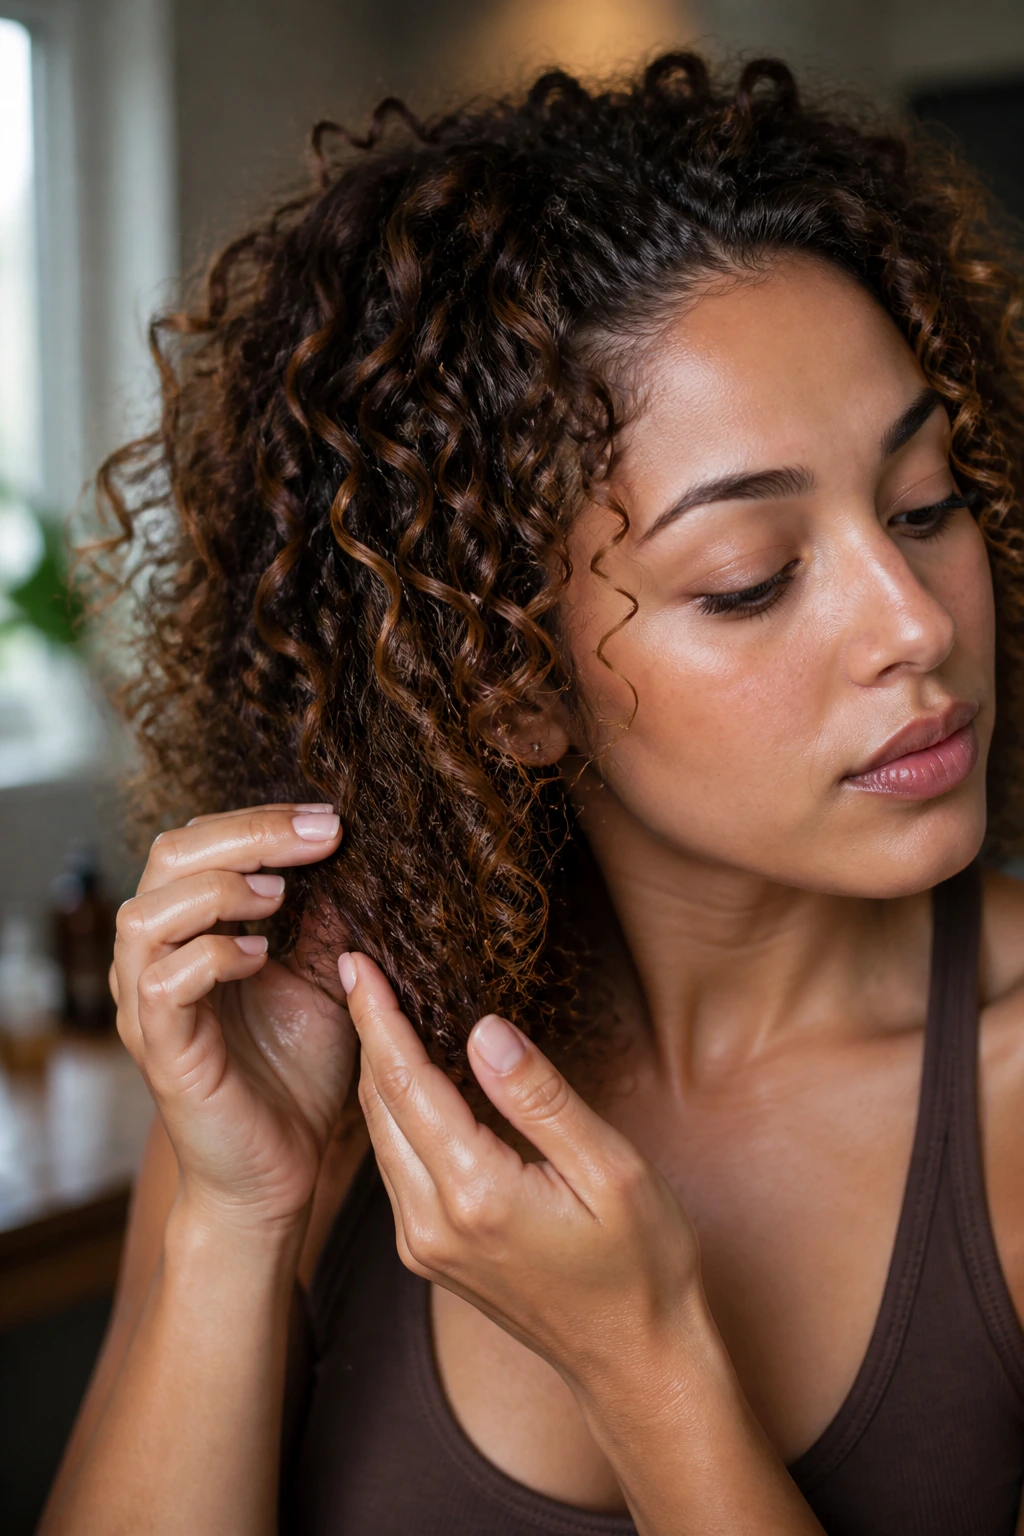
Dry ends can ruin an otherwise good wave pattern. They pull the eye straight to the places that need help.
Take one or two drops of lightweight oil or serum, rub it between your palms, and glaze the ends only. Then smooth any flyaways at the crown with whatever’s left on your hands. The goal is not shine everywhere. The goal is a cleaner edge where the hair tends to look rough first.
This finish works with almost every style on this list. It can calm a twist-out, soften a gel cast, or pull a braided set together before you walk out the door. I like it because it does not pretend curls are supposed to look identical from root to tip. They aren’t. The crown needs lift. The ends need softness.
A tiny amount is enough. Too much oil and the whole head goes limp. One drop can fix a lot.
The Bottom Line
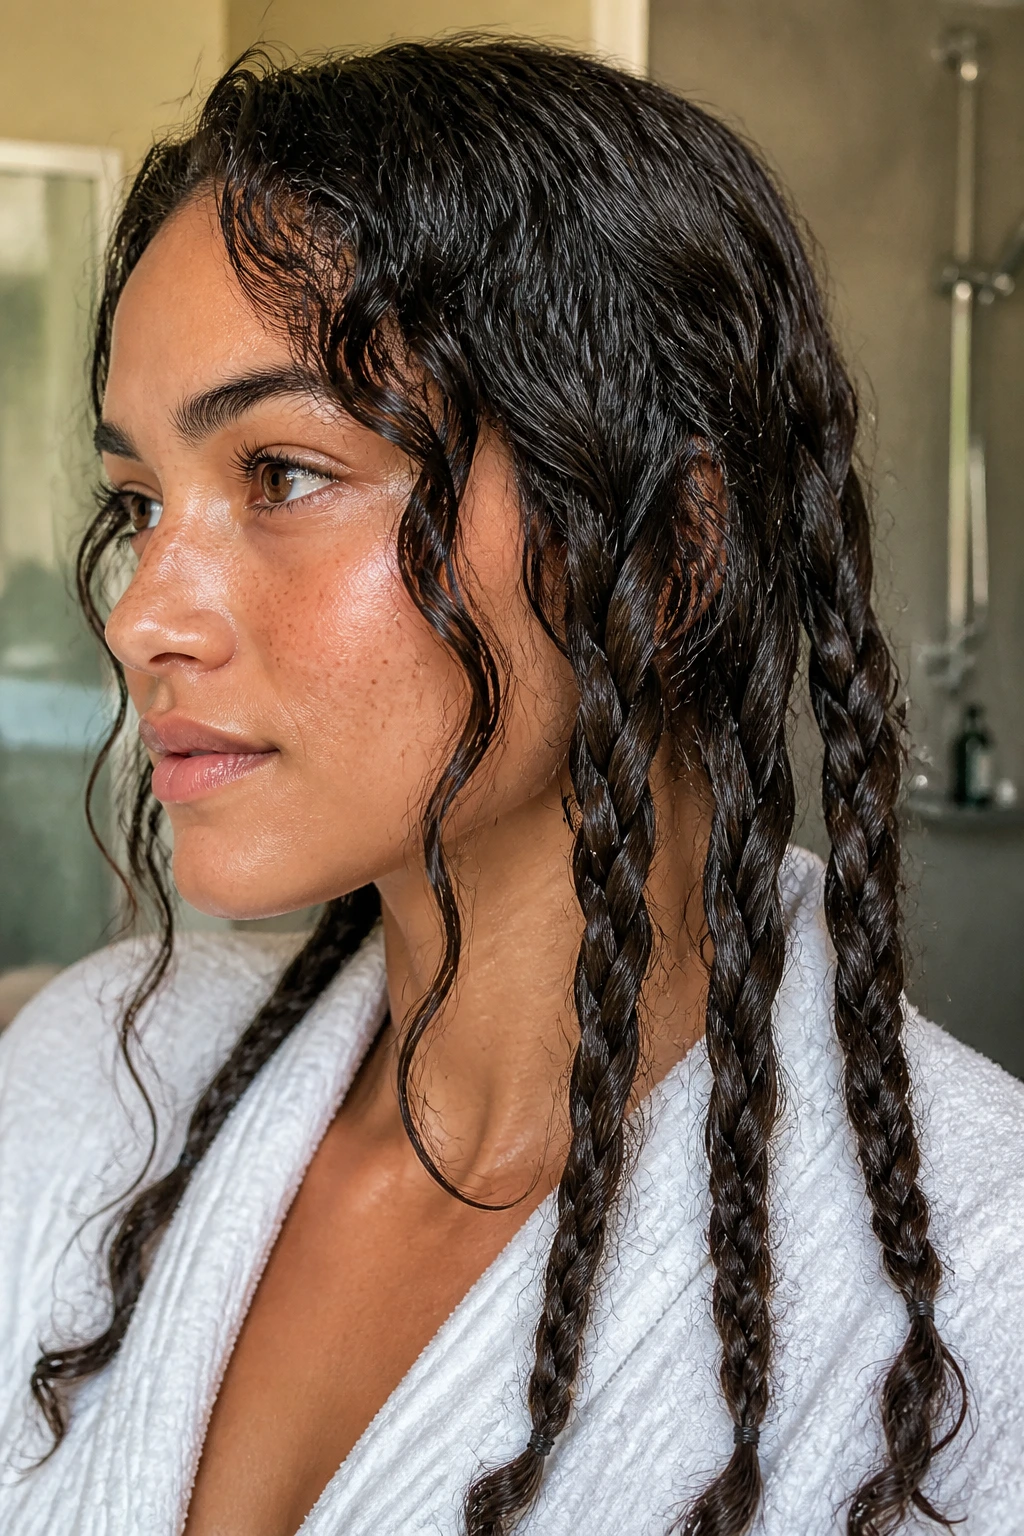
The strongest wavy curls for curly hair usually do two things at once: they keep the curl pattern loose enough to move and give the crown enough lift to stop the whole shape from collapsing.
If you only change one part of your routine, start with the root. A side part, a few clips, or a better dry-down method can change the entire look faster than a new product ever will.
Pick the style that fits your real life. Hair that survives a bus ride, a nap, or a humid hallway is the hair style worth keeping.
