



Medium length hair is widely misunderstood. It is often labeled as the “awkward stage” of growing out a bob or struggling to reach long-hair goals, but that couldn’t be further from the truth. In reality, this length is the sweet spot for texture. It provides enough weight to hold a shape but enough freedom to bounce and move without dragging the style down. If you are stuck in a styling rut, textured hair waves might be the exact change you need to breathe new life into your routine.
We often overcomplicate styling, assuming that waves require a professional kit, hours of heat, or expensive products that leave hair feeling crunchy and artificial. The truth is much simpler. Achieving great texture is about understanding how your hair behaves when manipulated, choosing the right tool for your specific hair density, and—more importantly—knowing when to stop touching it. Whether you want a polished look for an event or a messy, lived-in vibe for a casual weekend, the right wave pattern changes everything.
Let’s look at how to tackle these styles with confidence.
1. The Classic Beach Wave
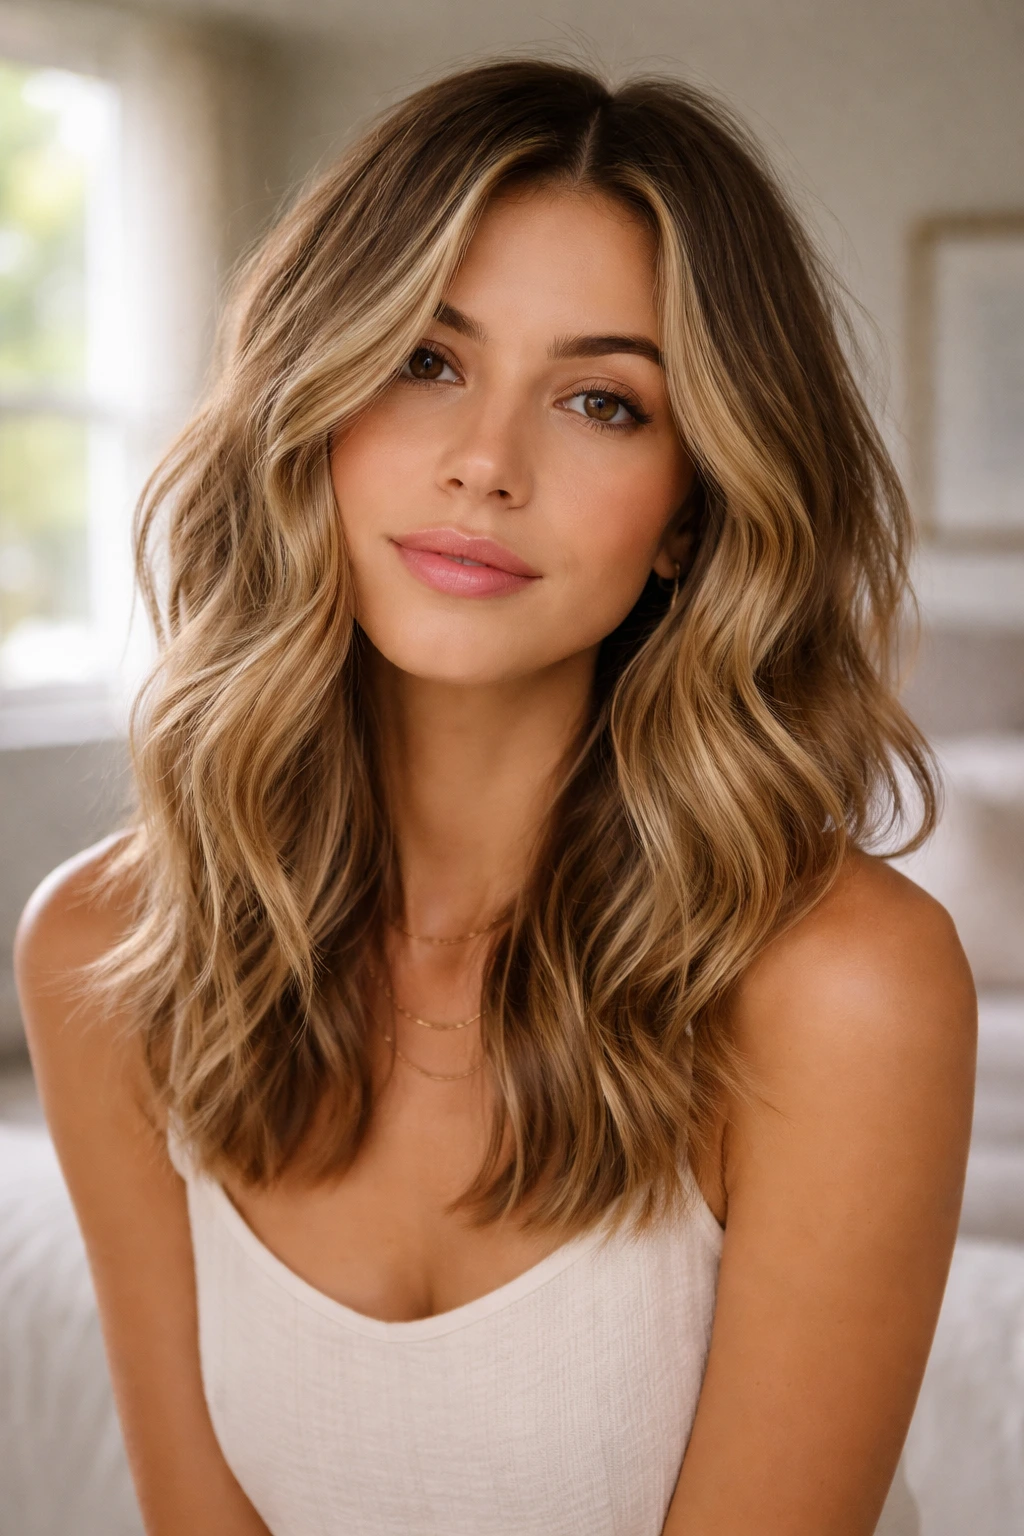
This style is the foundation of modern textured hair waves. It mimics the look of air-dried hair after a day at the ocean, but with a bit more intentionality. The key here is not perfection; it is about creating a “S” pattern that looks like it formed naturally rather than by a mechanical device.
Why It Works for Medium Length Hair
Because medium length hair has enough weight to keep the wave from turning into a full ringlet, the beach wave maintains a relaxed, effortless appearance. You aren’t fighting gravity as much as you would be with long, heavy layers, which means the style holds its shape longer without needing excessive hairspray.
How to Style It
- Start with damp hair and apply a texturizing sea salt spray from mid-lengths to ends.
- Rough-dry your hair using your fingers rather than a brush to keep the natural texture alive.
- Use a 1-inch curling iron, wrapping hair horizontally around the barrel while leaving the ends out for 1 to 2 inches.
- Alternate the direction of each section—one away from your face, one toward your face—to prevent the curls from clumping together.
- Once cooled, rake your fingers through the hair to break up the waves.
Pro tip: If your hair is very straight and struggles to hold a curl, wait until it is 100% dry before using the iron. Damp hair just creates steam and damage, not long-lasting texture.
2. The S-Wave
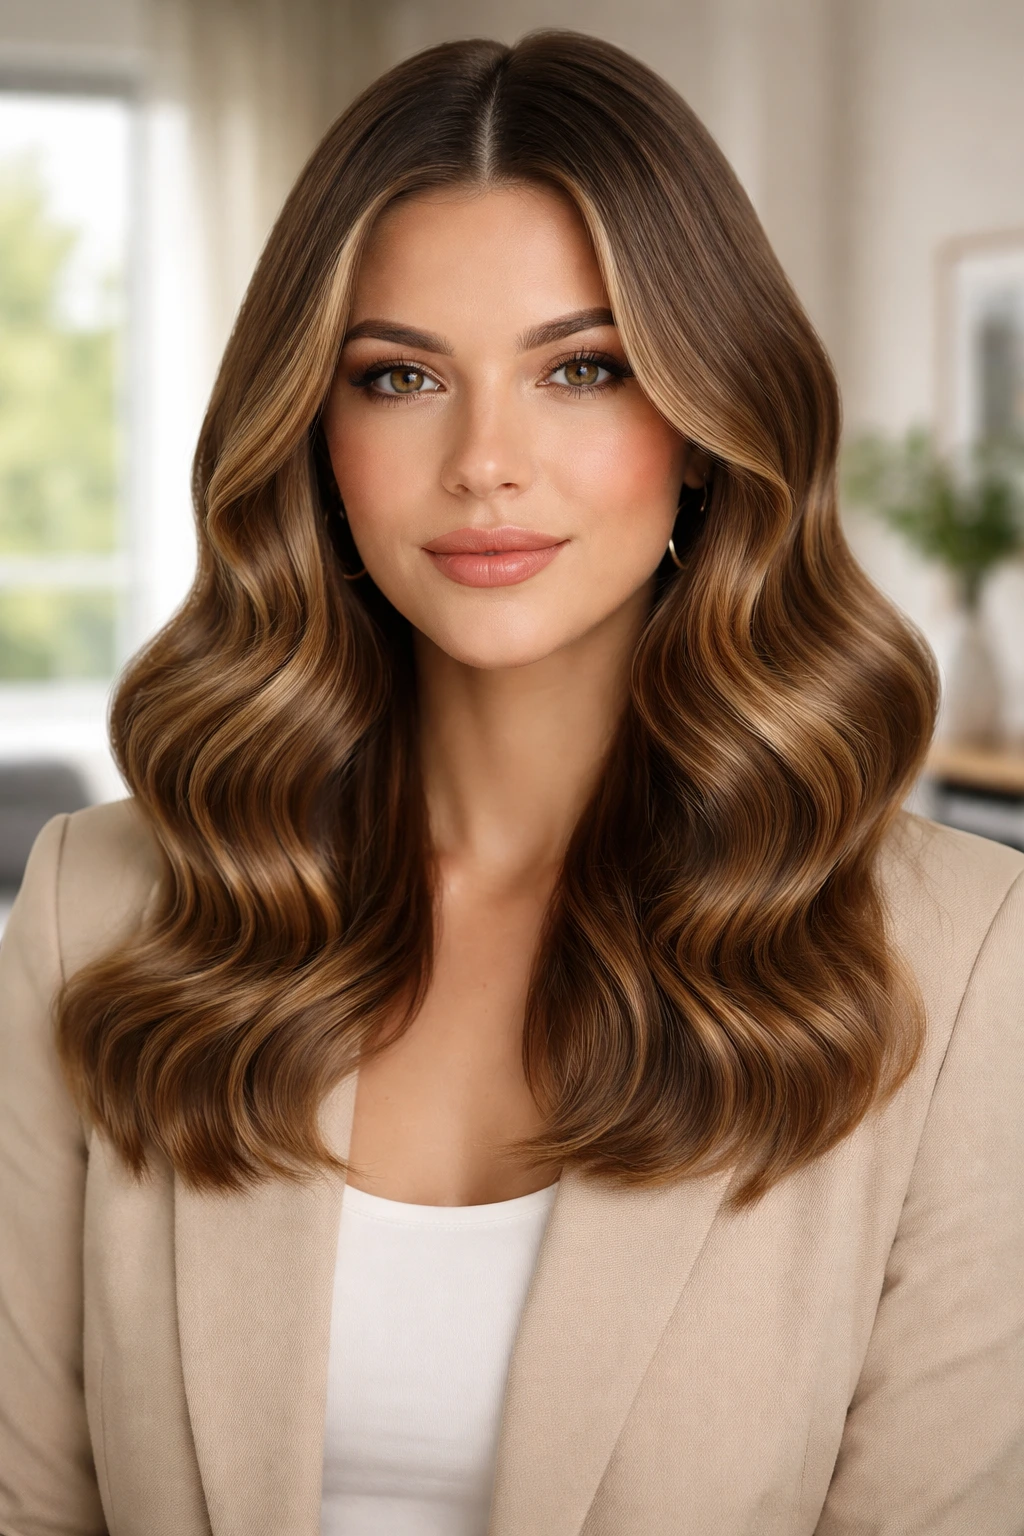
The S-wave is a polished, consistent pattern that moves across the hair in a smooth, continuous wave rather than a spiral. It feels a bit more refined and is perfect for a work setting or a dinner out where you want to look put-together but not overly formal.
Mastering the Technique
This style is usually best achieved with a flat iron rather than a curling wand. You need to create a bend in the hair using the iron’s plates, rotating your wrist back and forth as you move down the hair shaft. It takes a bit of practice to get the rhythm right, but once you find it, it’s much faster than traditional curling.
Essential Details for Success
- Use a heat protectant spray first; you will be clamping the hair directly, so protection is non-negotiable.
- Take sections that are about 1-to-2 inches wide.
- Clamp the hair near the root, twist your wrist 180 degrees, pull down a half-inch, then twist the opposite direction.
- Continue this motion until you reach the ends.
- Let the hair cool completely before you touch it, or you will lose the distinct “S” shape.
3. Tousled Bedhead Waves
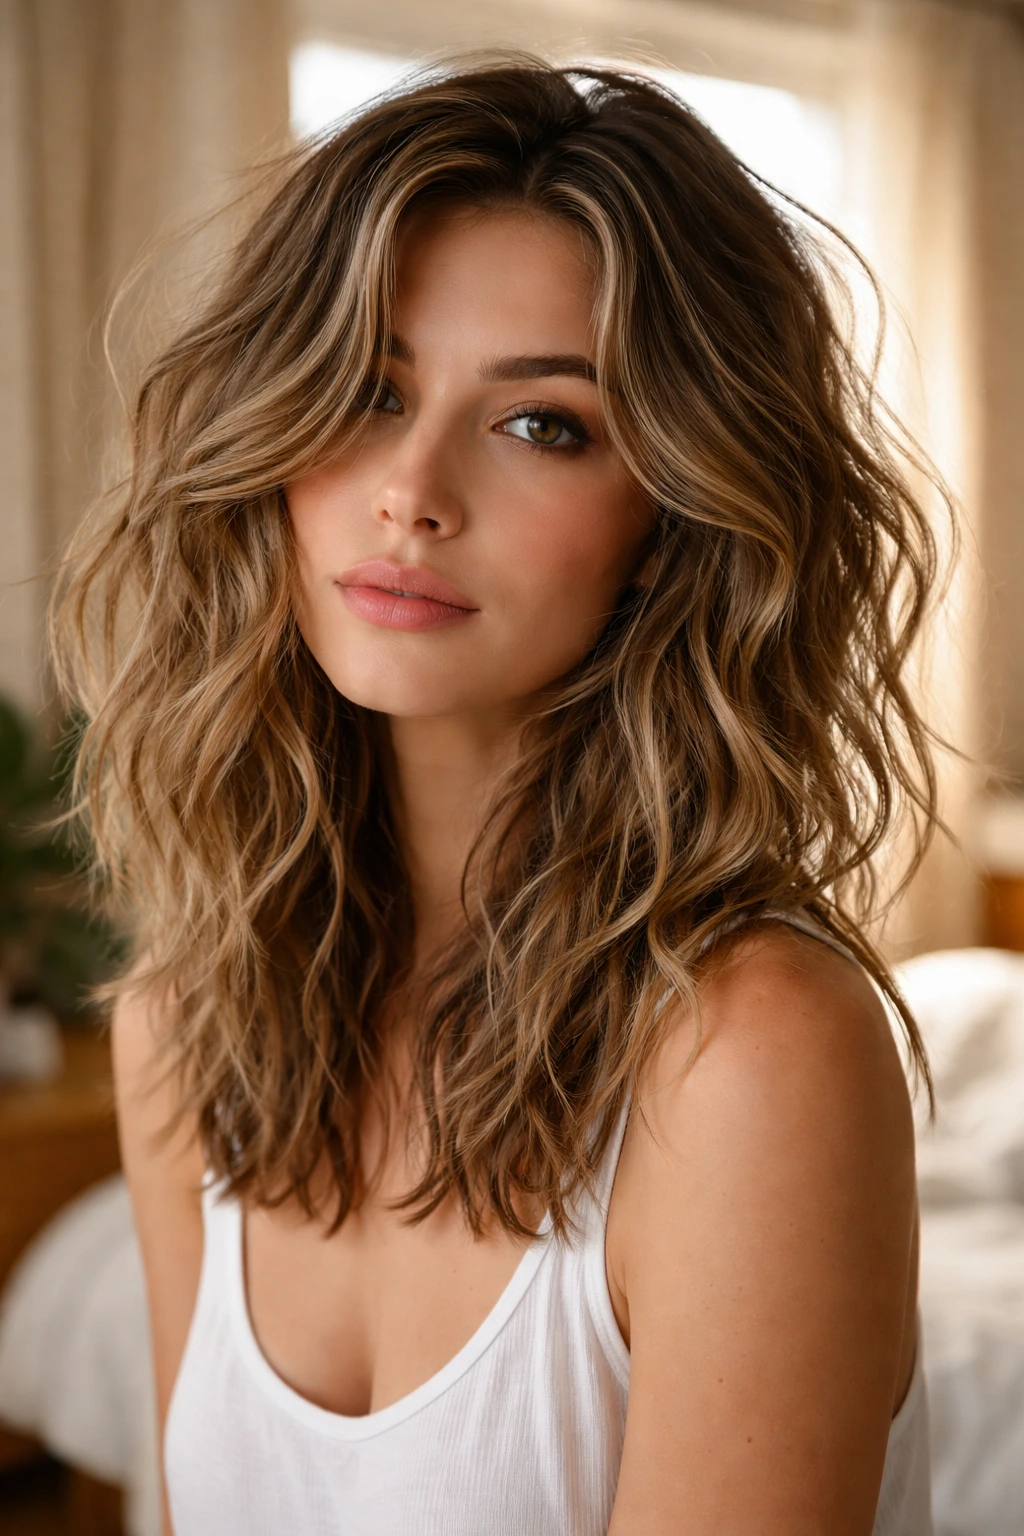
This is the anti-styling style. It relies on volume, grit, and a deliberate lack of precision. If you hate looking like you spent an hour in front of a mirror, this is the wave pattern for you. It relies on hair that is slightly “dirty”—a day or two after washing is ideal because the natural oils provide the necessary grip.
The Product Foundation
You cannot achieve this look with clean, slippery hair. If your hair is freshly washed, use a dry shampoo or a texturizing powder at the roots and mid-lengths to add volume and grit. This creates the “second-day” texture needed to hold the style.
Styling for the Messy Look
- Skip the curling iron entirely.
- Braid your damp hair into two loose, low braids before you go to sleep.
- In the morning, release the braids and use a small amount of matte pomade on your fingertips to separate the waves.
- Shake your head upside down to force volume at the roots.
- Avoid using a brush at all costs, as it will turn this texture into a frizzy mess rather than a defined wave.
4. Crimped Retro Waves
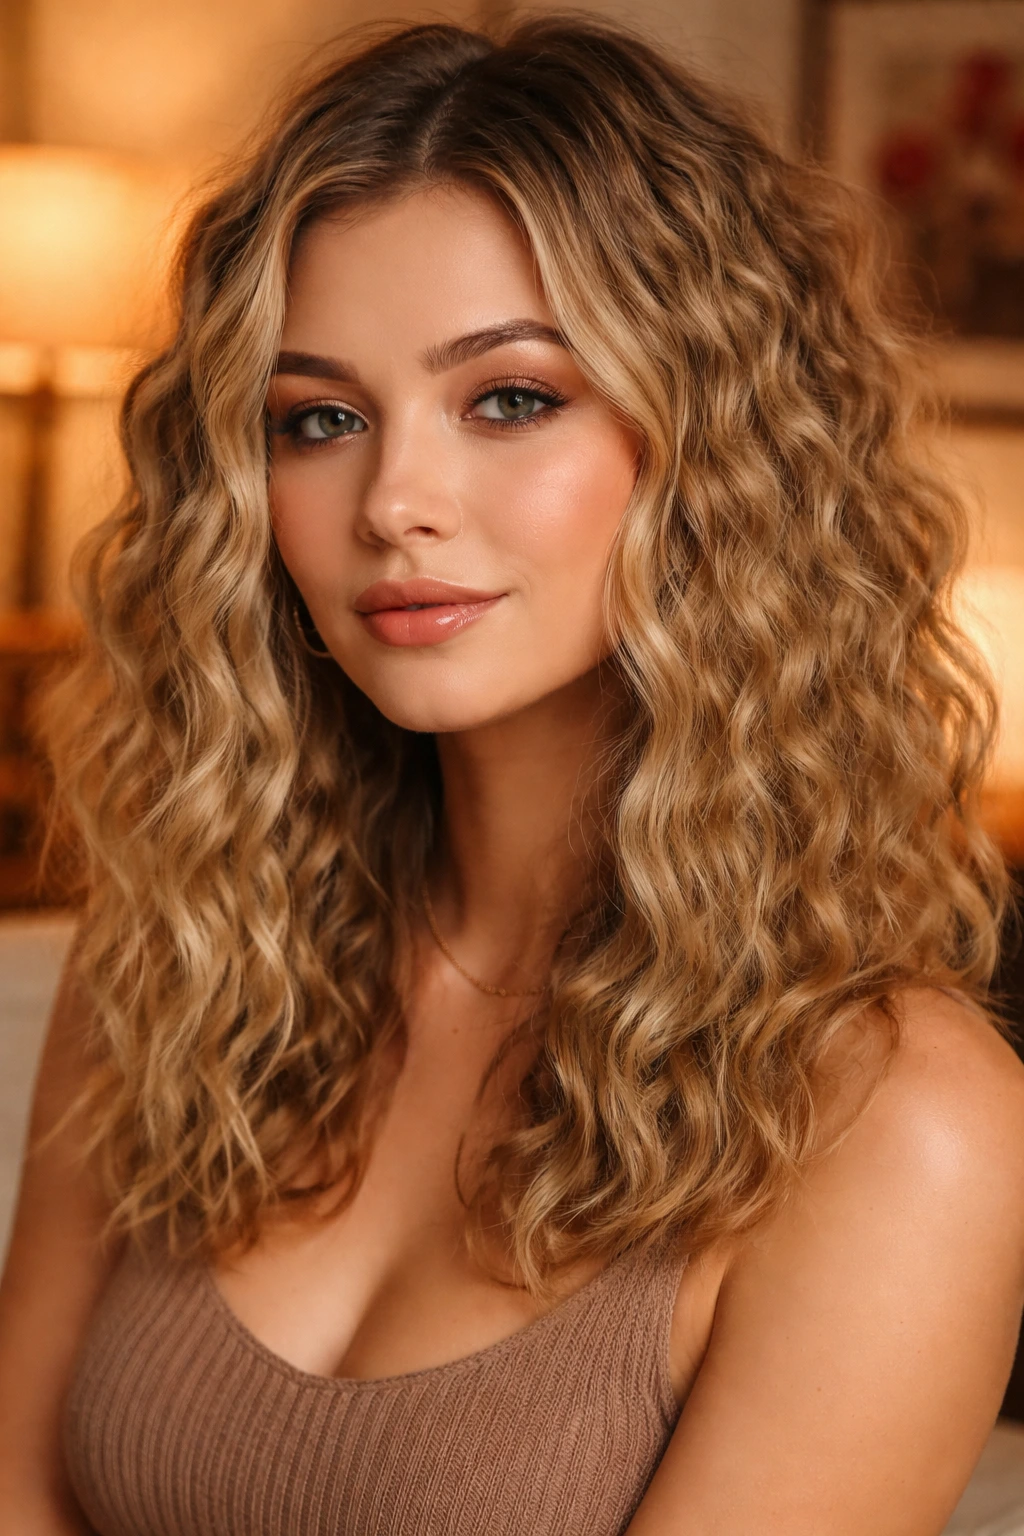
Crimping has returned, but it is not the aggressive, tight zig-zag you might remember from decades past. Modern crimping uses larger plates, resulting in a softer, more undulating wave that feels vintage but still modern enough for today. It creates incredible density in medium length hair.
When to Use This Style
Crimping is an excellent way to fake volume if you have fine hair. The physical bending of the hair shaft adds physical width to each strand, making the overall head of hair appear much thicker than it actually is.
Achieving the Modern Crimp
- Start by prepping with a light mousse.
- Work in horizontal sections, starting from the nape of the neck.
- Hold the crimping iron in each spot for no more than 3 to 4 seconds to avoid scorching the hair.
- Focus the crimping on the mid-lengths rather than the roots, as you want to maintain some smoothness near the scalp for a cleaner look.
- Finish with a light, flexible-hold hairspray to keep the waves from dropping as the day goes on.
5. Soft Undone Waves
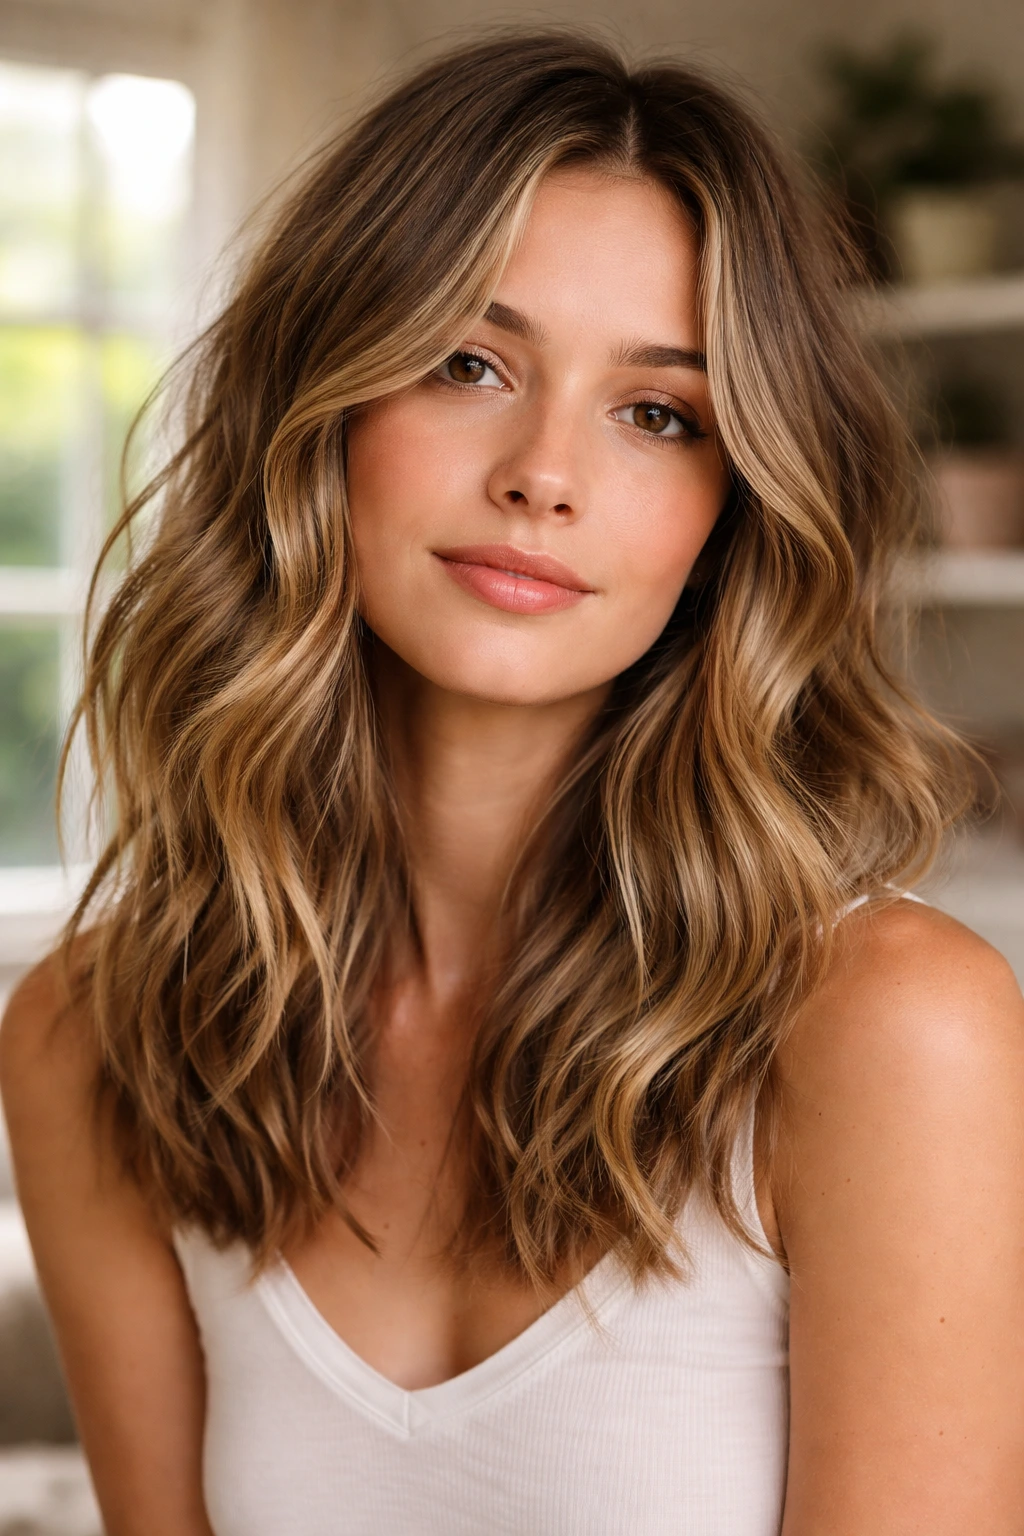
These waves are the “I woke up like this” ideal. They are loose, barely there, and focus more on the bend of the hair than a defined curl. They look best on hair that has a natural wave pattern already, as you are simply enhancing what is already there.
How to Enhance Natural Texture
- Apply a leave-in conditioner to damp hair to control frizz.
- Use a diffuser attachment on your blow dryer, setting it to low heat and medium speed.
- Gently scrunch your hair into the diffuser bowl, lifting it toward your roots.
- Avoid flipping your head too much during the process, as this can create unnecessary flyaways.
- Once dry, use a lightweight finishing oil to smooth out the ends, which are usually the driest part of the hair.
Mistake to avoid: Do not touch your hair while it is drying. Any manipulation while the hair is damp will break the curl pattern and lead to fuzziness. Patience is the secret ingredient here.
6. Tight Spiral Waves
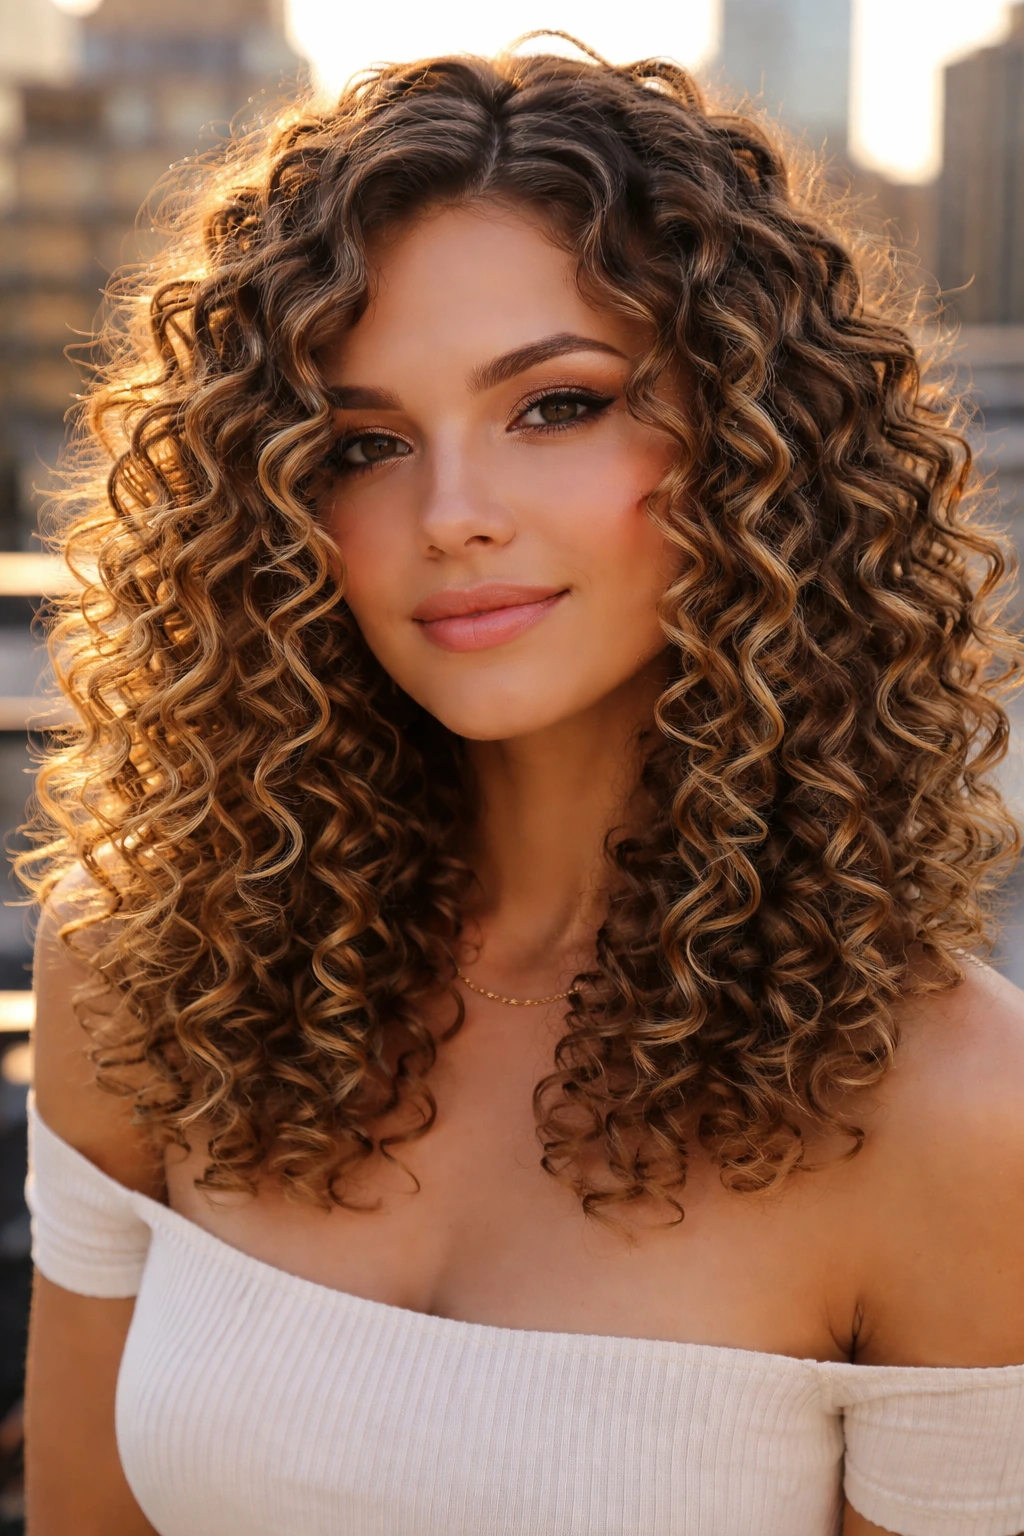
If you want a bold, high-drama look, tight spiral waves provide the most texture. This style uses a thin curling wand or a small-barrel iron to create coils that are narrow and defined. It transforms the appearance of medium length hair entirely, making it look much shorter and denser.
Creating Uniformity
- You need to be methodical with your sectioning. Smaller sections are required for this look to ensure the heat penetrates all the way through the hair.
- Work in quarter-inch sections.
- Wrap the hair tightly against the barrel, ensuring the hair lies flat against the iron rather than crossing over itself.
- Hold for about 5-8 seconds, then release the curl into your palm for a few seconds to let it set.
Maintenance and Care
Tight spirals can be prone to dryness. Use a moisturizing serum before you start styling, and avoid washing your hair every single day, as the natural oils will actually help these curls keep their shape over time.
7. Mermaid Waves
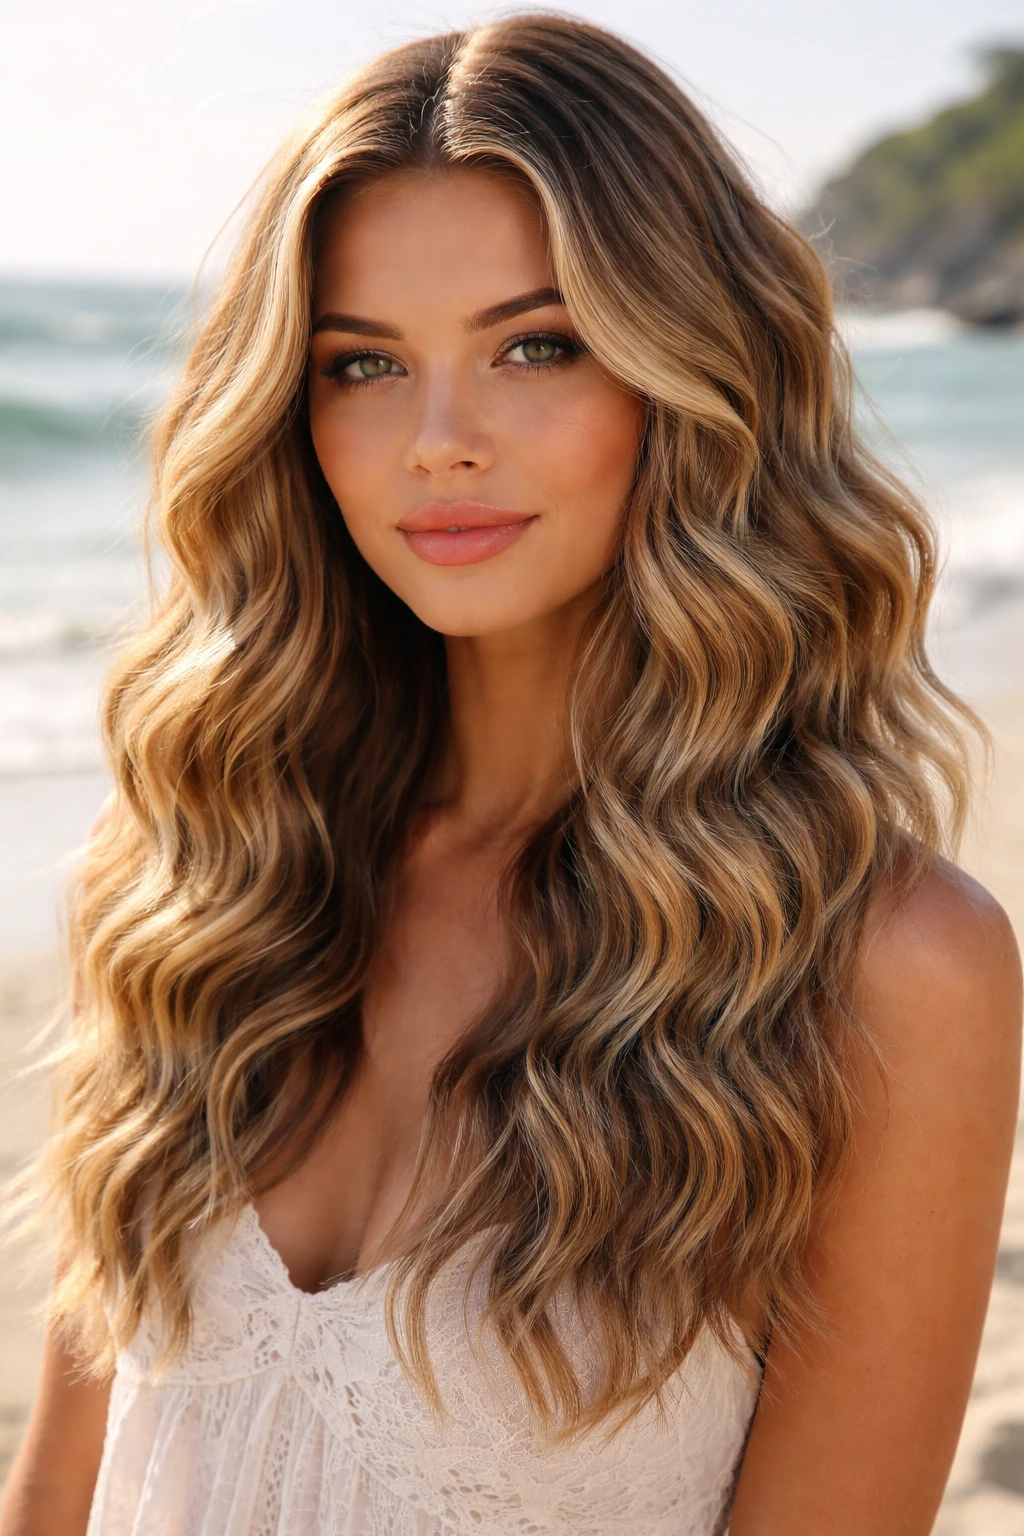
Mermaid waves are essentially large, continuous, loose waves that look like you’ve been swimming in the ocean. This style is characterized by its uniform shape, usually achieved with a triple-barrel iron. It is one of the easiest styles to execute once you have the right tool.
Mastering the Triple-Barrel Tool
- Ensure your hair is thoroughly dried and heat-protected before starting.
- Start at the temple area, clamping the iron down on the hair and holding for a few seconds.
- Move the iron down, aligning the top barrel with the last wave you created to ensure a seamless transition.
- Continue down to the ends.
- This style looks best when the waves are left slightly undone at the very bottom, so don’t feel the need to clamp the very tips of your hair if they are already straight.
8. Deeply Defined Wavy Bob
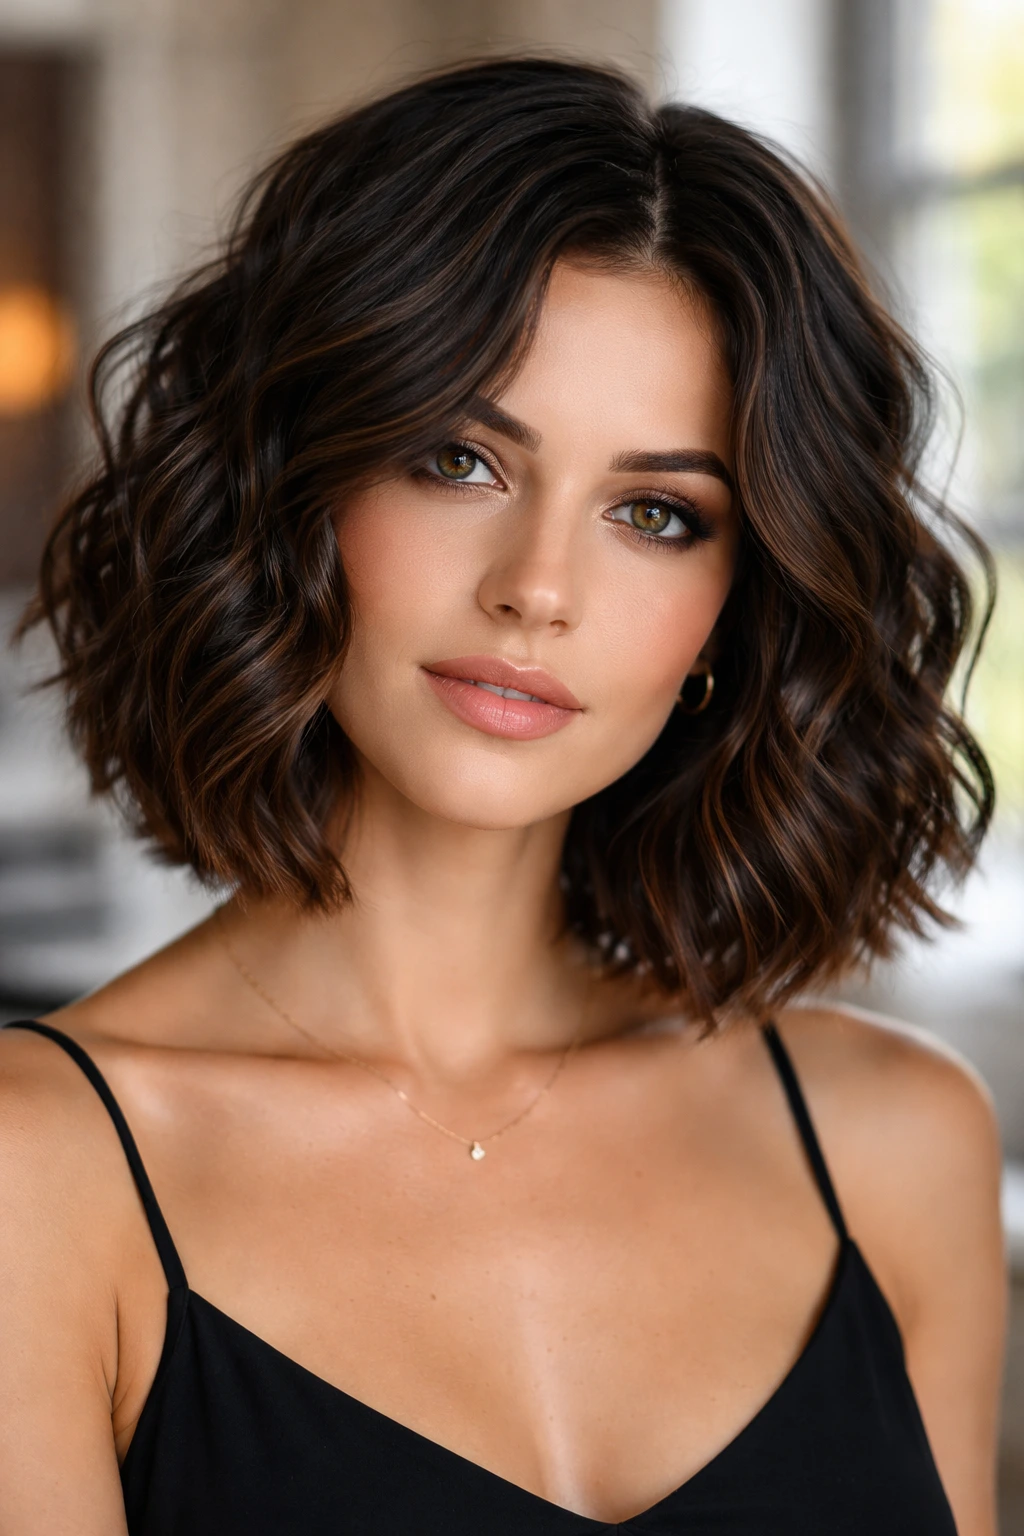
If your medium length hair is cut into a bob or a lob (long bob), deep waves add an edge that straight hair sometimes lacks. The goal here is high-impact texture that sits just above or at the shoulders.
The Role of Cut and Texture
This style relies heavily on the cut. If your hair is all one length, you need to use a curling wand to create waves that start closer to the root. If you have layers, you can concentrate the waves on the layers to create a stacked, voluminous effect.
Styling Strategy
- Apply a root-lifting spray to damp hair before blow-drying.
- Once dry, use a wand with a tapered barrel to create curls of varying sizes.
- Use a texturizing paste to define individual pieces around your face.
- Don’t be afraid to pull some of the hair behind your ear to break up the shape and add a casual, “cool-girl” finish.
9. Face-Framing Curtain Waves
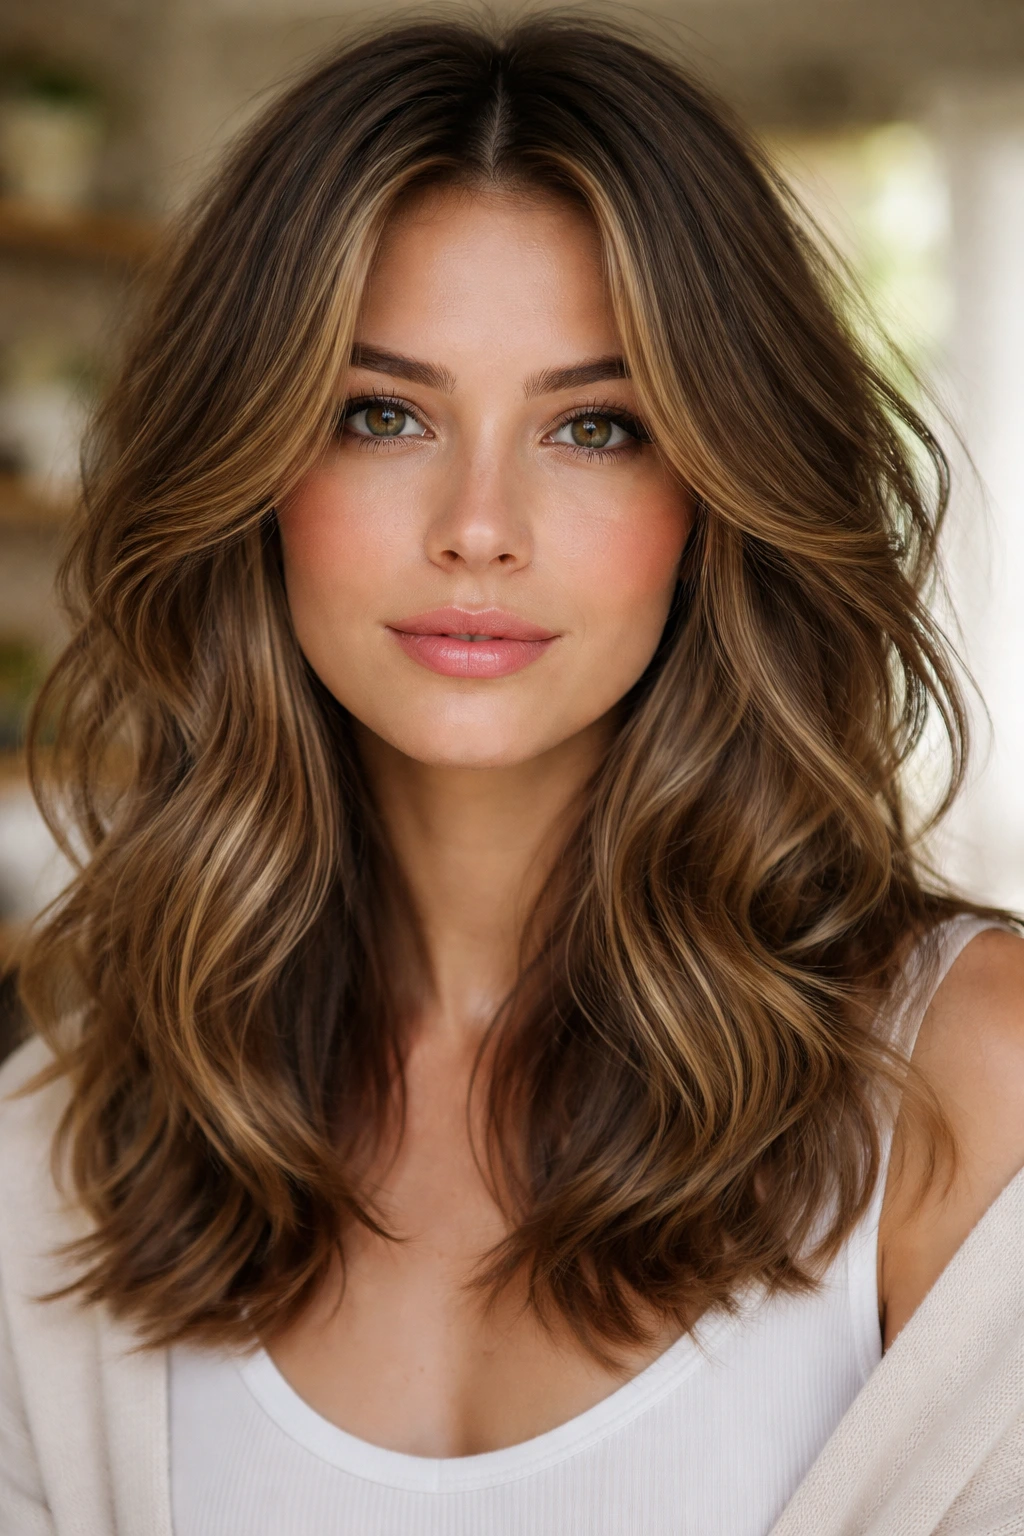
The fringe or “curtain” bangs are a classic way to frame the face, and adding a wave to them changes the entire vibe of your medium length hair. These waves are soft, flicked away from the face, and require a bit of styling precision to get the direction right.
The Technique
- Use a round brush or a hot-air brush for this specific section.
- Blow-dry the bangs while pulling them upward and away from your forehead.
- Once dry, use a flat iron to give the ends of the bangs a subtle “C” curve backward.
- Leave the rest of your hair in a looser, natural wave pattern to contrast the structured face-framing pieces.
Why this works: It draws attention to the eyes and cheekbones, making the rest of the hair look like a beautiful, soft frame rather than just a curtain of hair.
10. Glamorous Hollywood Waves
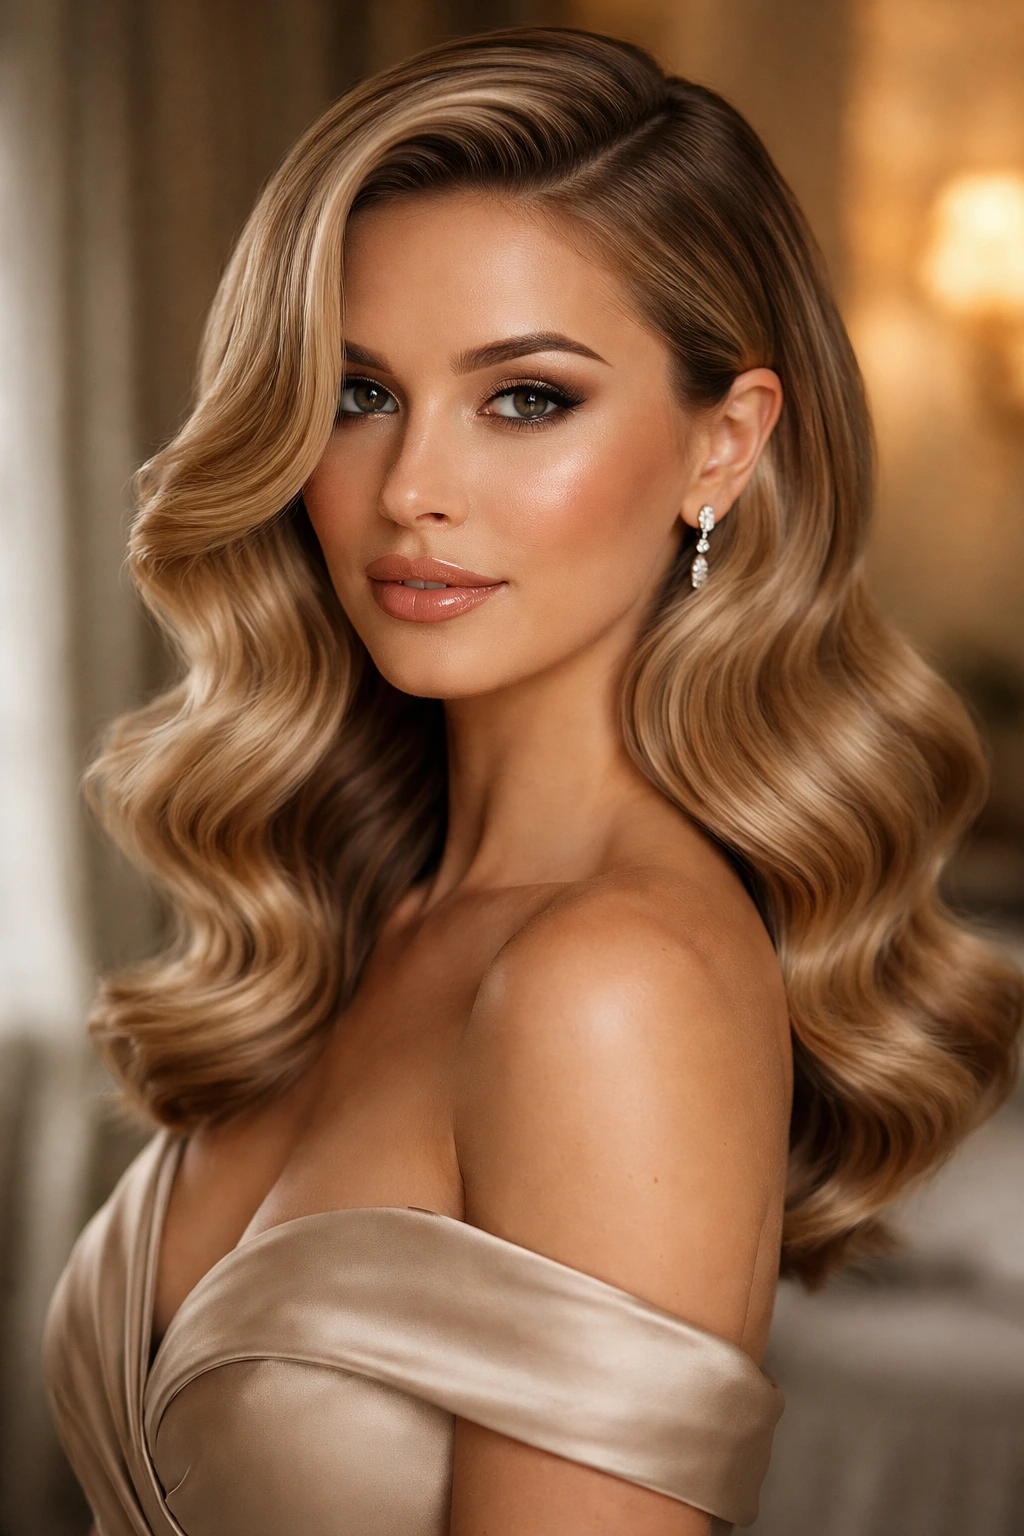
Hollywood waves are the most formal on this list. They are brushed-out, uniform, and incredibly sleek. While typically associated with long hair, they look striking on medium length hair because the waves don’t have enough length to lose their shape.
Achieving the Polish
- This requires a deep side part to start.
- Use a large-barrel curling iron and curl all your hair in the same direction, away from the face.
- Clip each curl in place while it cools. This is crucial—letting them cool in a clip creates a stronger memory in the hair strand.
- After all curls have cooled, take a boar-bristle brush and gently brush through the curls until they merge into a single wave pattern.
- Smooth the top with a lightweight pomade to eliminate flyaways.
11. Messy Shag Waves
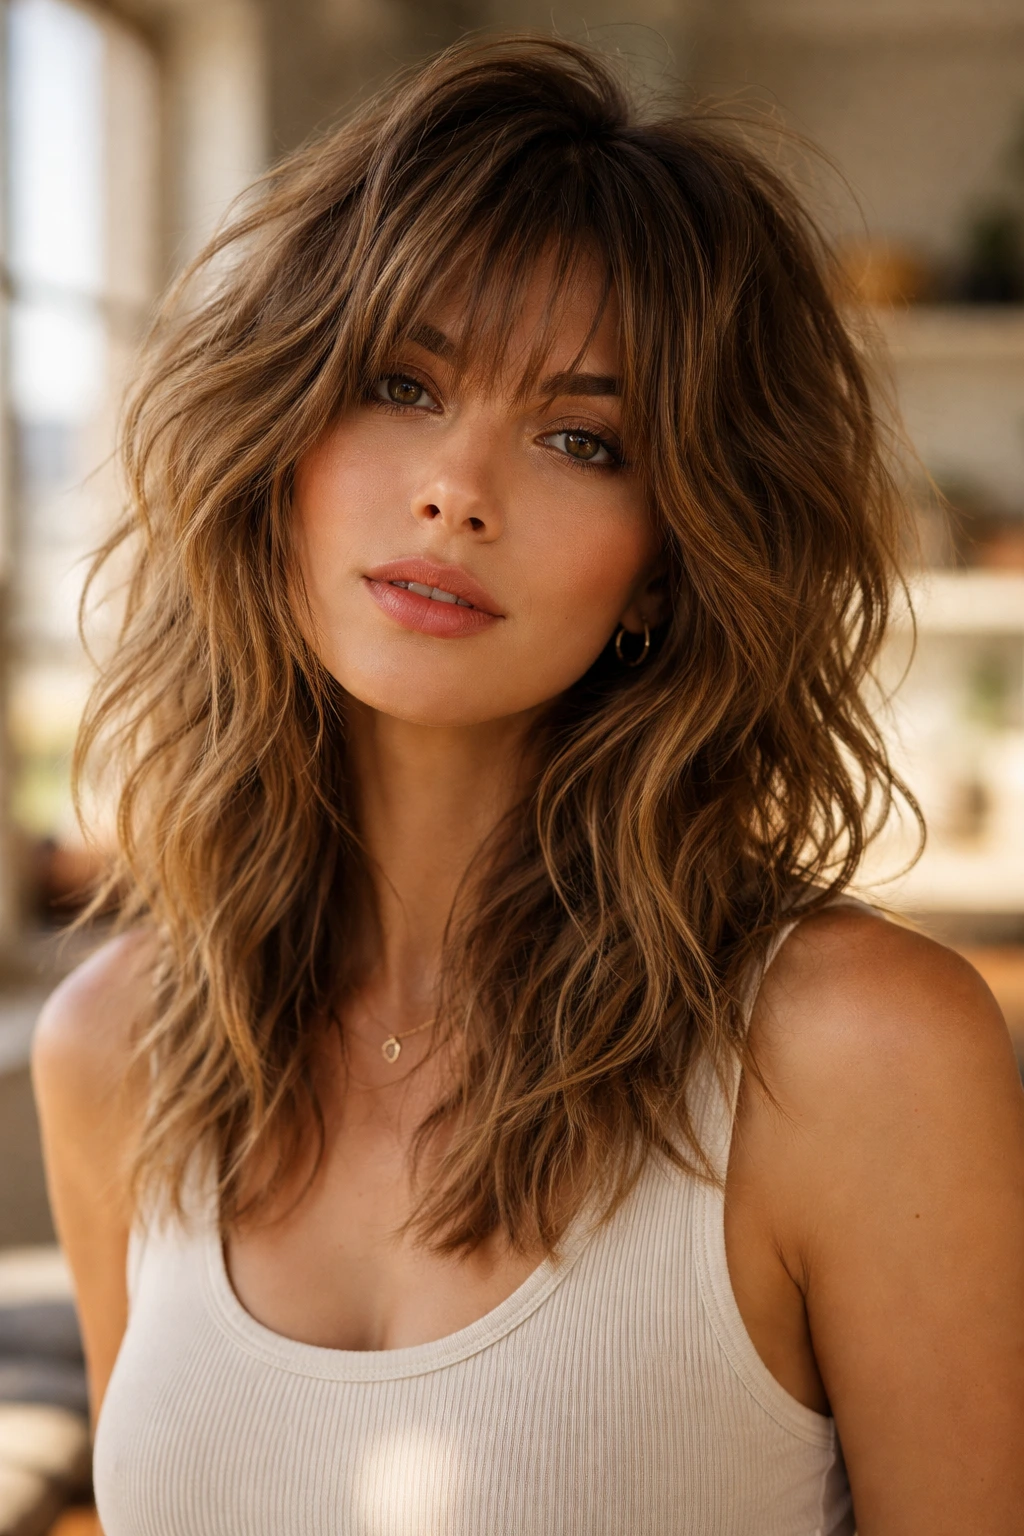
The shag cut is a style defined by choppy layers and a lot of texture, and it is practically made for waves. If your medium length hair has a shag cut, you shouldn’t be trying to make it smooth. You should be leaning into the chaos.
Enhancing the Layers
- Use a salt spray on damp hair and let it air dry about 80% of the way.
- Use a texturizing cream on the ends to separate the layers.
- If you need a bit more definition, use a curling wand only on the shorter, top layers to add volume at the crown.
- Let the bottom layers do their own thing, keeping the texture natural and a bit wild.
12. Blunt Cut Textured Waves
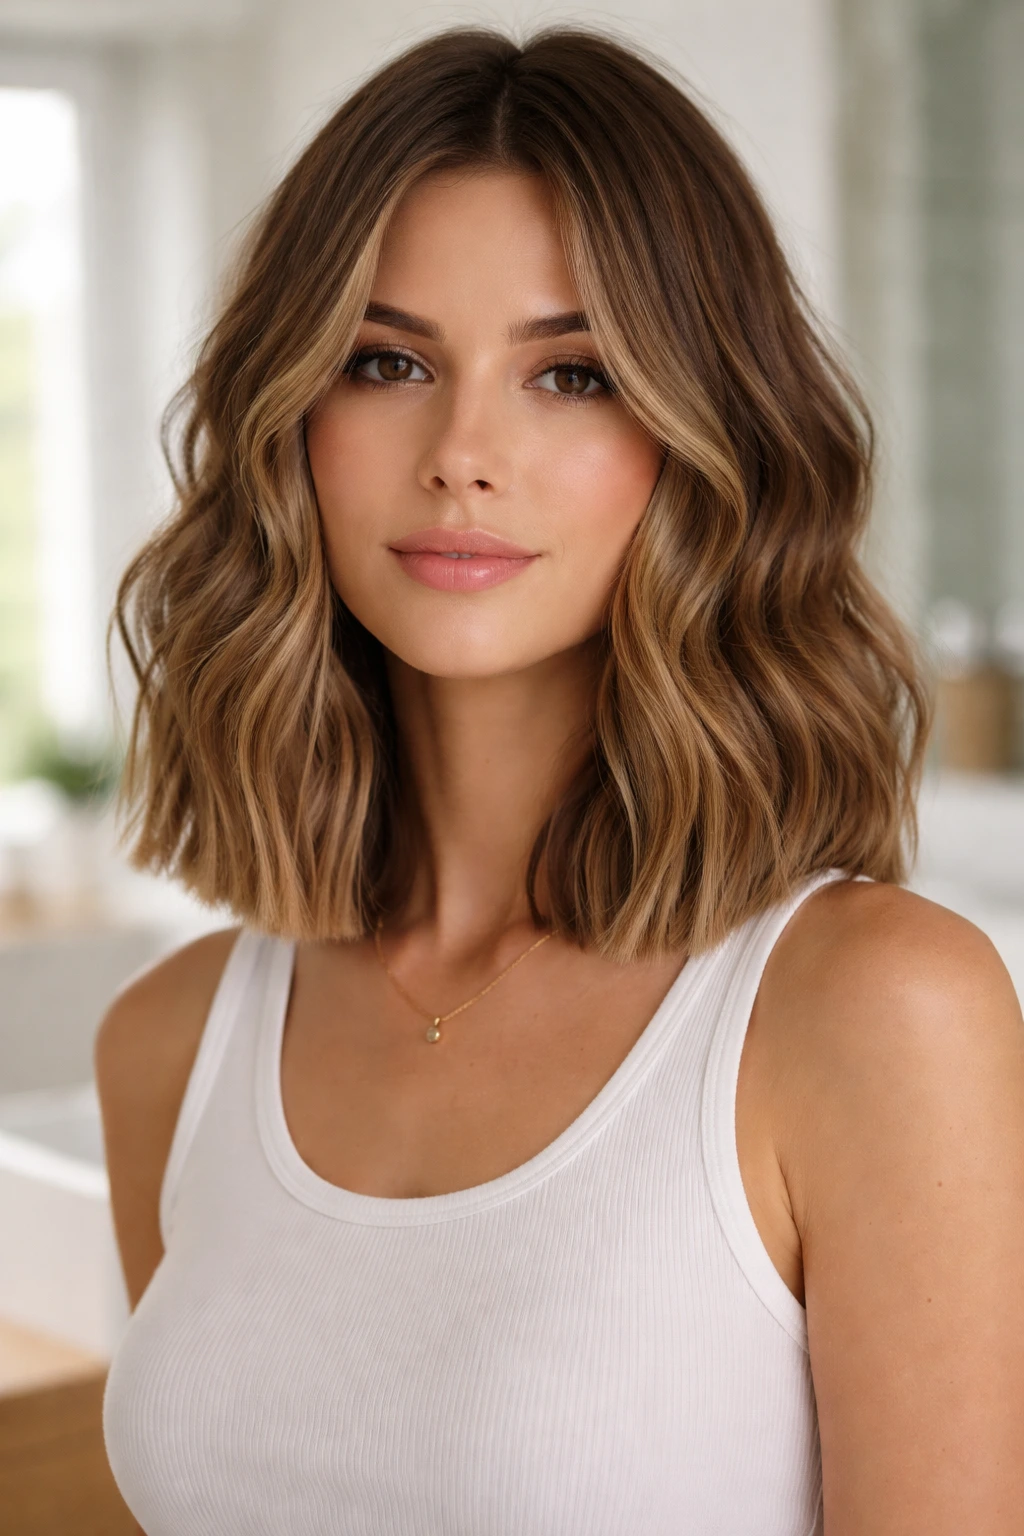
Blunt cuts—where the hair is cut in a precise, straight line at the bottom—can look a bit severe when worn stick-straight. Adding texture breaks up that heavy bottom line and makes the cut feel modern and intentional.
Balancing Sharpness with Softness
- Use a waver tool to add texture from the mid-lengths down.
- Avoid adding too much volume at the roots; you want the interest to be at the bottom of the cut where the blunt line exists.
- The contrast between the sleekness of the upper section and the jagged, wavy line at the bottom is what makes this style stand out.
13. Brushed-Out Voluminous Waves
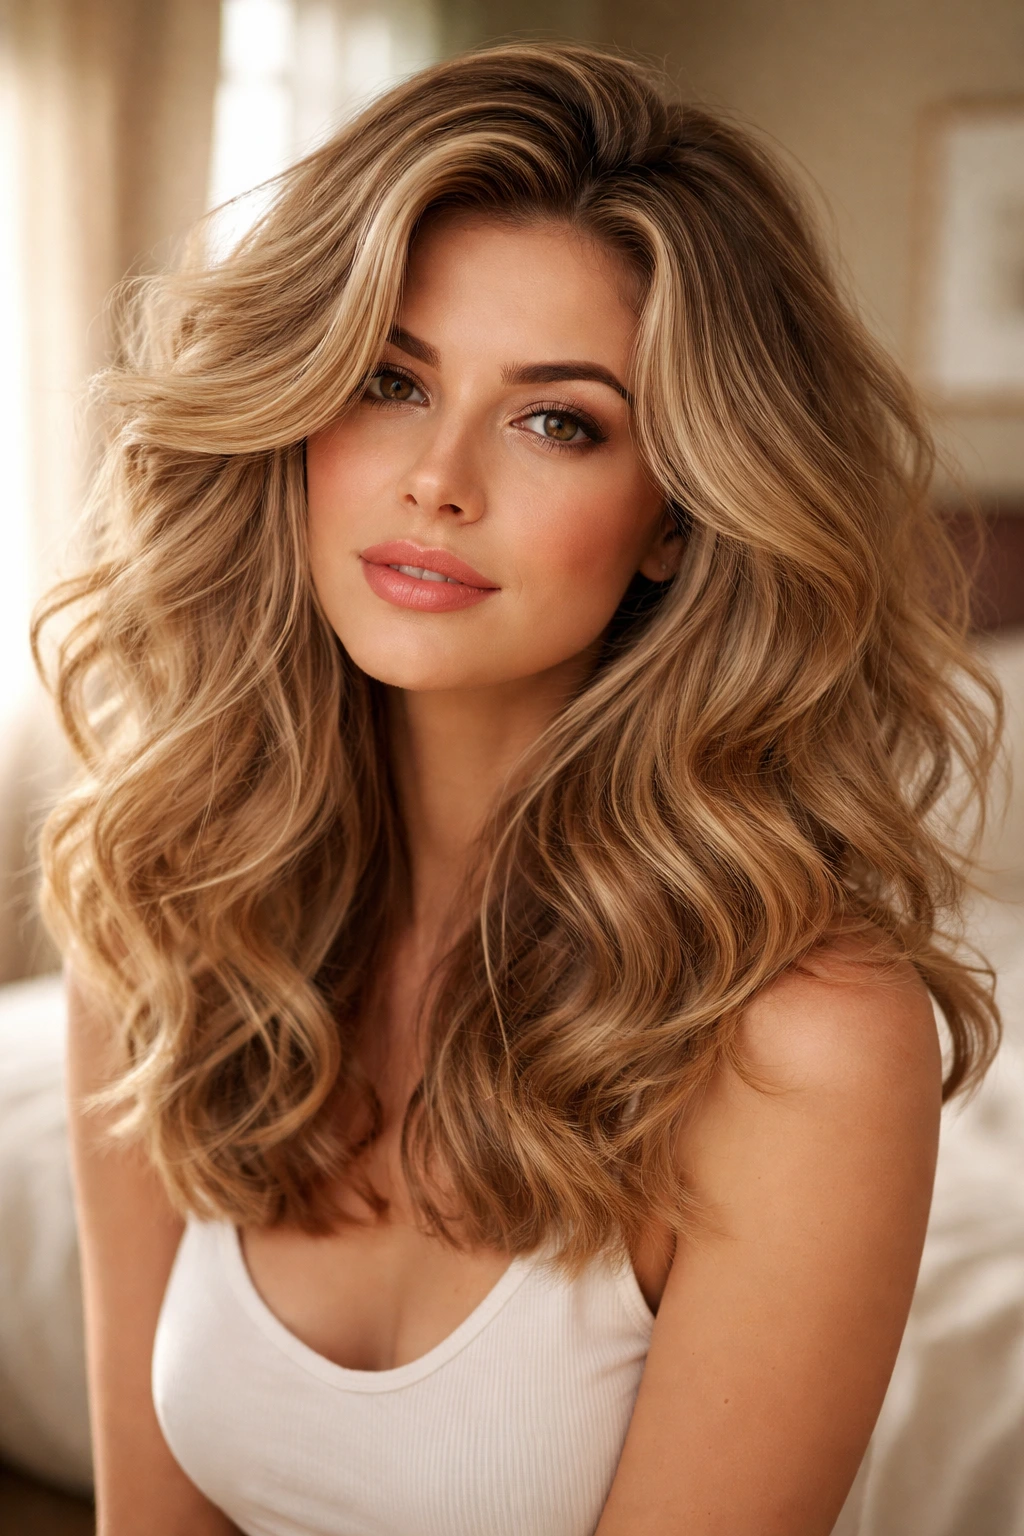
Sometimes, the goal is just pure, unadulterated volume. This style isn’t about defined curls; it’s about a mass of wavy hair that feels luxurious and full. It is the ultimate style for thin or fine medium length hair that needs a boost.
Maximizing Volume
- Start with a volumizing mousse on wet hair.
- Blow-dry your hair using a large round brush, focusing on lifting the roots.
- Once dry, curl your hair in large sections using a 1.5-inch curling iron.
- Instead of using your fingers to break them up, flip your head upside down and brush the hair vigorously with a wide-tooth comb or a paddle brush.
- The result will be a cloud of wavy, voluminous hair that looks incredible.
14. Salt Spray Natural Waves
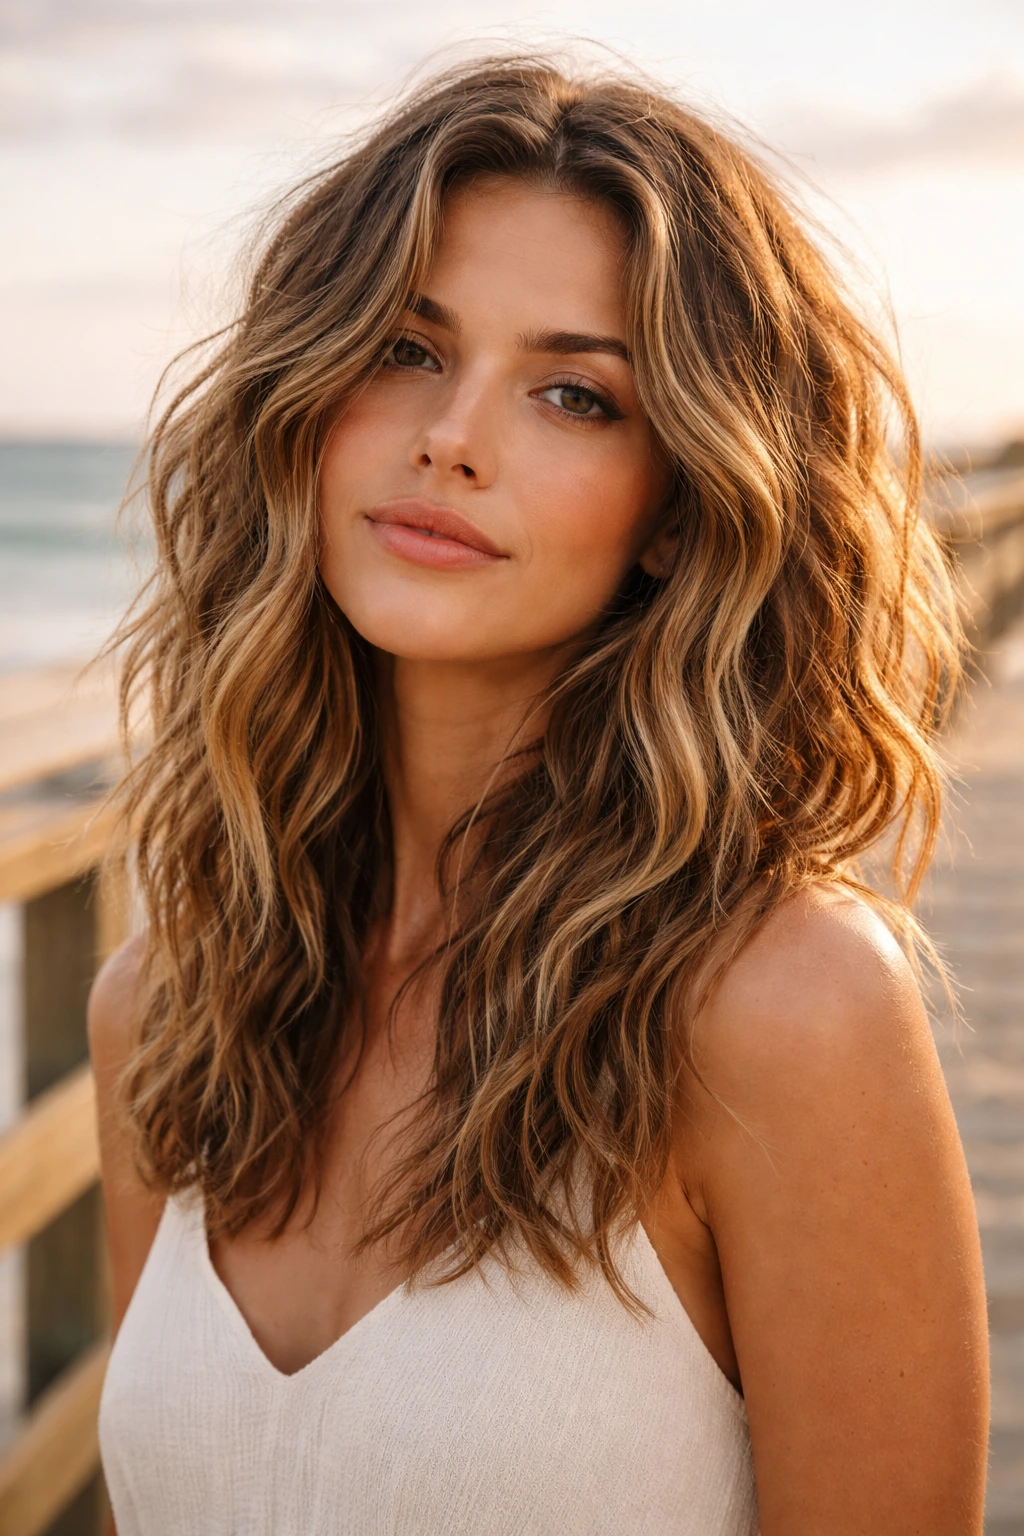
This is the most authentic way to style your hair if you already have some natural wave. It skips heat tools entirely, relying on product to encourage the hair’s natural bend.
The Air-Dry Method
- Towel-dry your hair, but do not rub it; just gently squeeze out the moisture.
- Apply a generous amount of sea salt spray or a curl-enhancing cream while the hair is still very wet.
- Use a scrunching motion with your hands to help the waves form.
- Let it air dry completely. Resist the urge to touch it! If you touch your hair while it’s drying, you are introducing frizz.
- Once fully dry, you can shake it out for a natural, beachy look.
15. Half-Up Half-Down Wavy Style
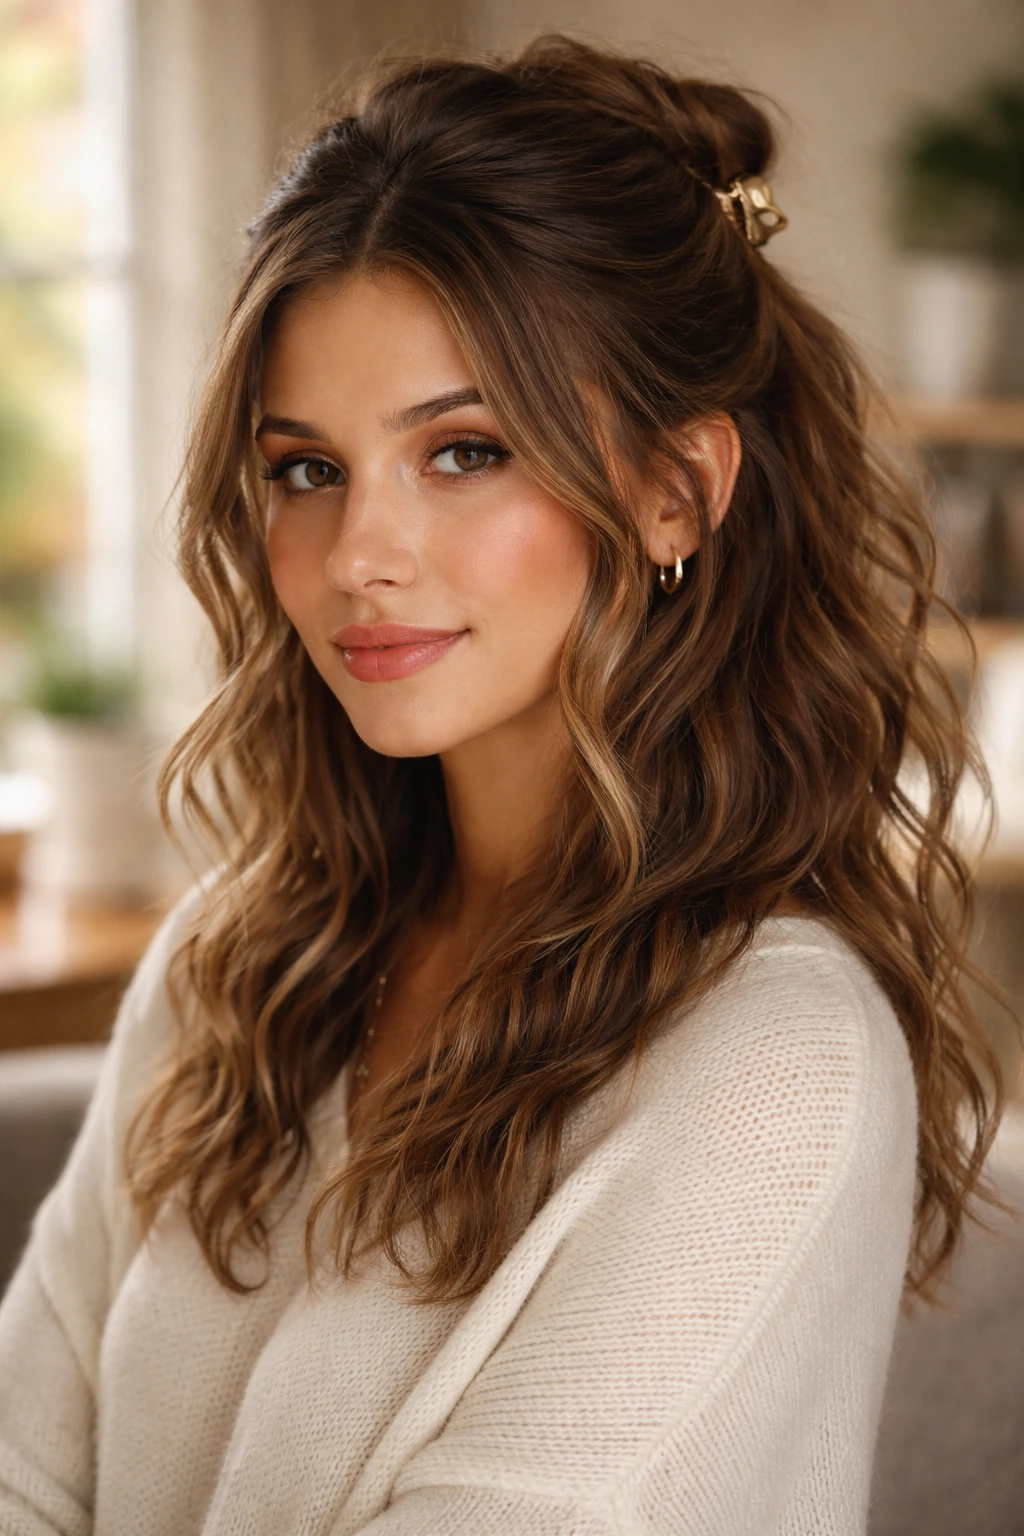
Medium length hair often falls in your face, which is why half-up styles are so popular. When you add waves to this style, it transforms from a “practical” hair-do into a deliberate, romantic look.
Styling the Waves
- Style your waves first using your preferred method (classic beach wave works well here).
- Gather the top section of your hair, starting from the temples.
- Secure it with a decorative clip or a silk scrunchie.
- The key is to leave some loose tendrils around the face to soften the look.
- Because the top is pulled back, you can get away with making the waves in the back a little messier, as they aren’t framing your face directly.
16. Defined Finger Waves
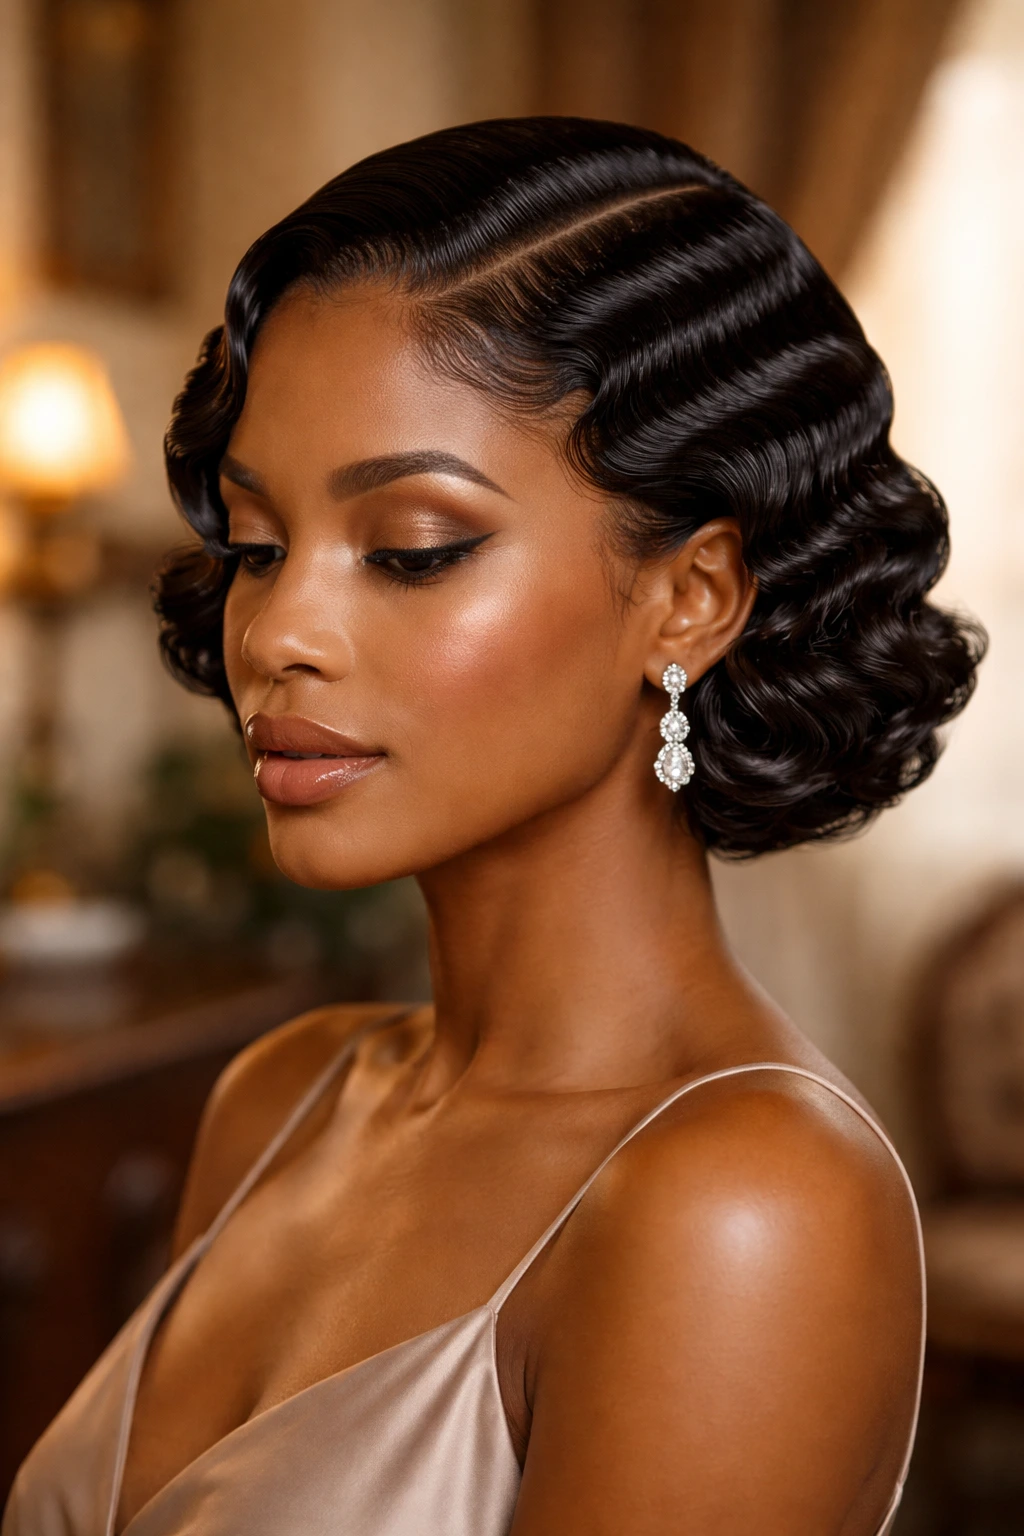
Finger waves are a vintage, 1920s-inspired look that is notoriously difficult to master but looks stunning on medium length hair. They require patience and a good setting lotion, but the result is a work of art.
The Technique
- This is best done on wet hair with a strong-hold setting lotion.
- Use your fingers and a fine-tooth comb to push the hair into “C” shapes, pinning them in place to dry.
- It is a slow process, but it creates a sleek, wave-like pattern that sits close to the head.
- This is a style for special occasions, as it requires a significant time commitment to execute properly.
17. Braided Overnight Waves
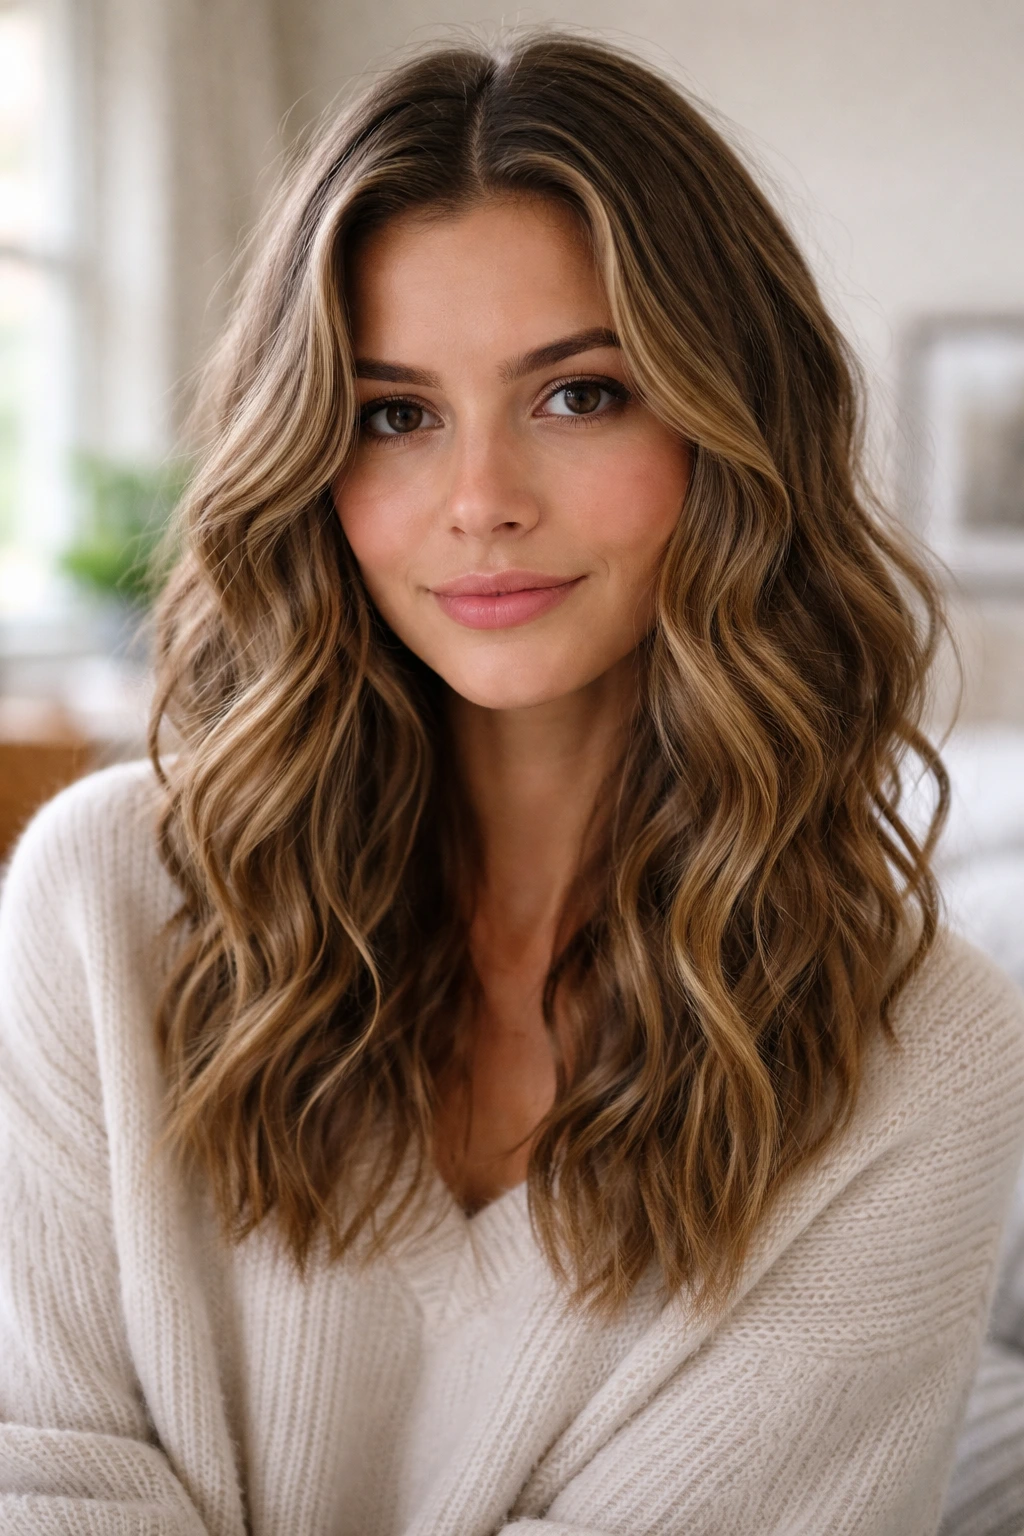
The oldest trick in the book is often the most effective. Braiding damp hair before sleep creates a crimped, consistent wave pattern by morning. It is a completely heatless method, making it the healthiest option for your hair.
The Variable Result
- If you want tight, small waves, braid your hair into 4-6 smaller braids.
- If you want looser, larger waves, stick to two big Dutch braids.
- Make sure your hair is damp, not soaking wet, otherwise it won’t dry by morning and you’ll be left with damp, flat hair.
- Once you take the braids out, run a tiny amount of hair oil through the ends to combat any potential frizz from the overnight friction.
18. Heatless Ribbon Waves
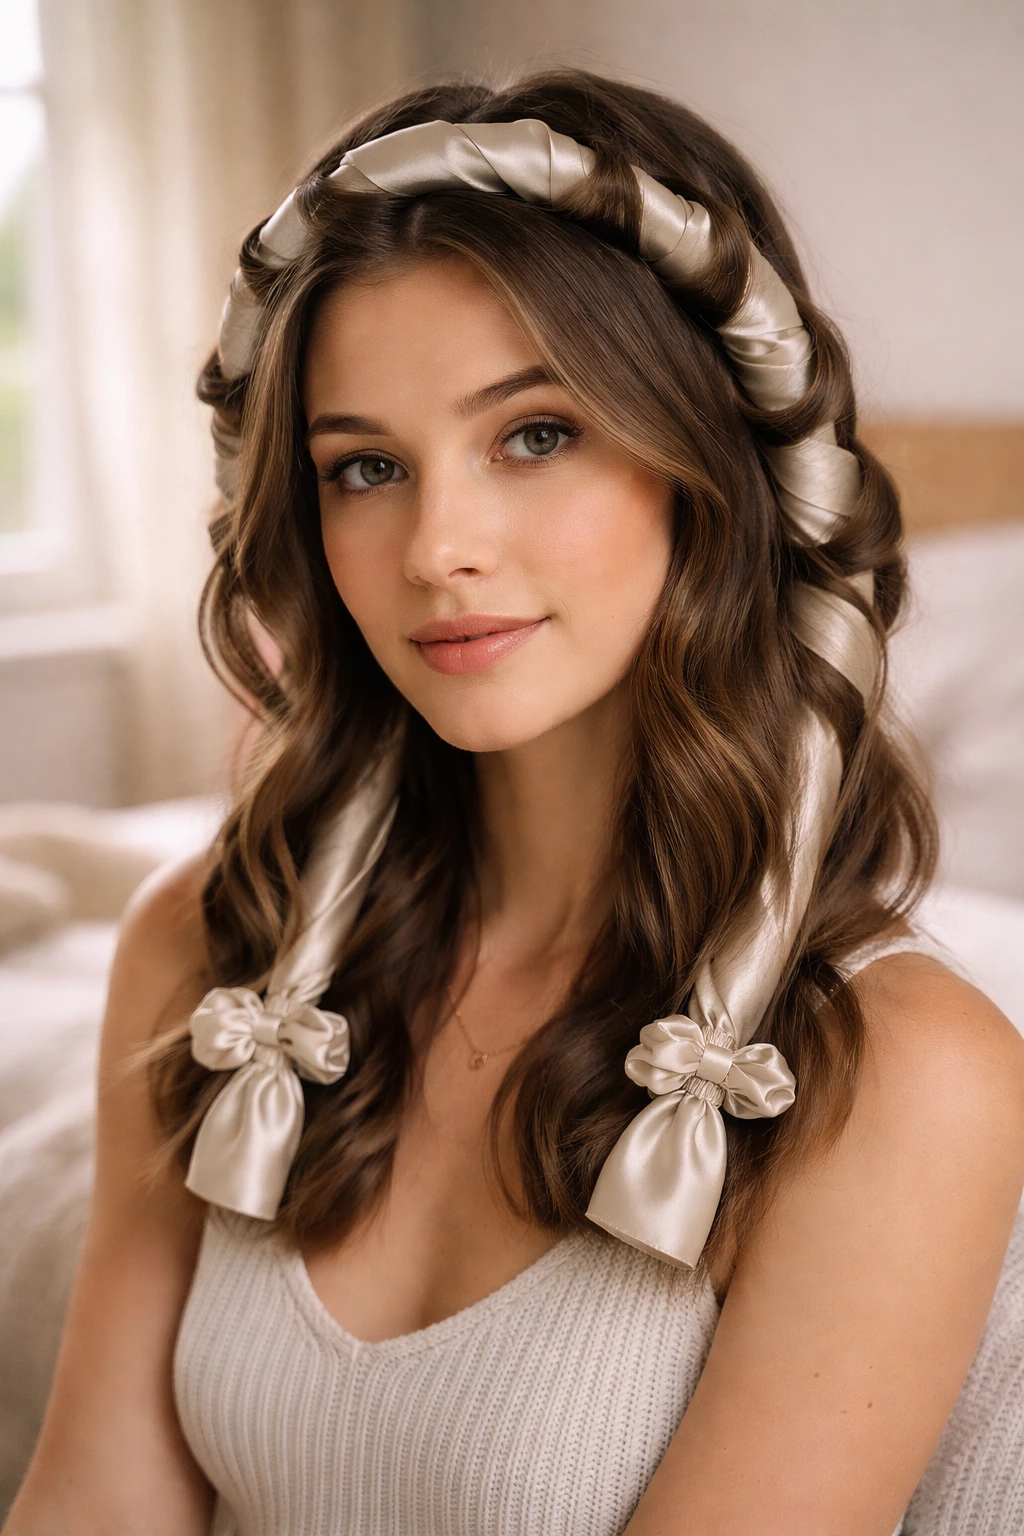
A newer method that has gained popularity involves wrapping dry or slightly damp hair around a silk or satin ribbon rod. It creates a very soft, “blowout” style wave without any heat damage.
The Execution
- Place the ribbon rod on top of your head like a headband.
- Take small sections of hair and wrap them around the rod, adding a new piece of hair as you go (like a French braid).
- Secure the ends with silk scrunchies.
- Leave it in for several hours or overnight.
- When you unwrap it, the waves will be voluminous and smooth, with a shine that is hard to achieve with heat tools.
Final Styling Thoughts
Finding the right textured wave for your medium length hair is ultimately a process of elimination. You might try the salt spray method and find your hair goes flat, or you might struggle with a flat iron S-wave only to realize you prefer the look of braided waves. That is perfectly fine. The beauty of medium length hair is that it grows back quickly and can be restyled endlessly.
Don’t feel pressured to master all 18 of these styles. Find the three that work for your specific hair texture—fine, coarse, straight, or naturally wavy—and get really good at them. Once you have a few reliable techniques in your arsenal, the “awkward” medium length becomes the most versatile, fun, and manageable stage your hair will ever go through. Just remember to use heat protection, prioritize the health of your ends, and never be afraid to let your hair be a little bit messy. Real hair has texture; sometimes, the best style is the one that looks the least “perfect.”
