



Medium-length hair is the sweet spot for tousled waves. It has enough length to bend, flip, and loosen in a flattering way, but it usually is not so heavy that every curl collapses under its own weight five minutes later. That balance is exactly why tousled hair waves for medium length hair keep showing up again and again in salons, on street-style feeds, and in the mirror on days when you want your hair to look done without looking stiff.
The trick is that “tousled” does not mean random. It means there’s a shape to the wave pattern, even if the finish looks relaxed. Medium hair is especially good at this because the ends can skim the shoulders, the bends can sit at the cheekbones, and the whole thing can move without turning into one big triangle. When the cut has layers, face-framing pieces, or blunt ends, the wave pattern changes a lot — sometimes in a good way, sometimes not. That’s where a little strategy matters.
I’ve always thought medium-length waves work best when they look like they happened by accident, but were quietly controlled the whole time. Not curly. Not flat. Just soft, bendy, and touchable. The 18 looks below keep that sweet spot in mind, with styles that work for fine hair, thick hair, air-dried textures, heat styling, second-day refreshes, and the kind of mornings when you have about ten minutes and zero patience.
1. Soft Beachy Bends with a Clean Middle Part
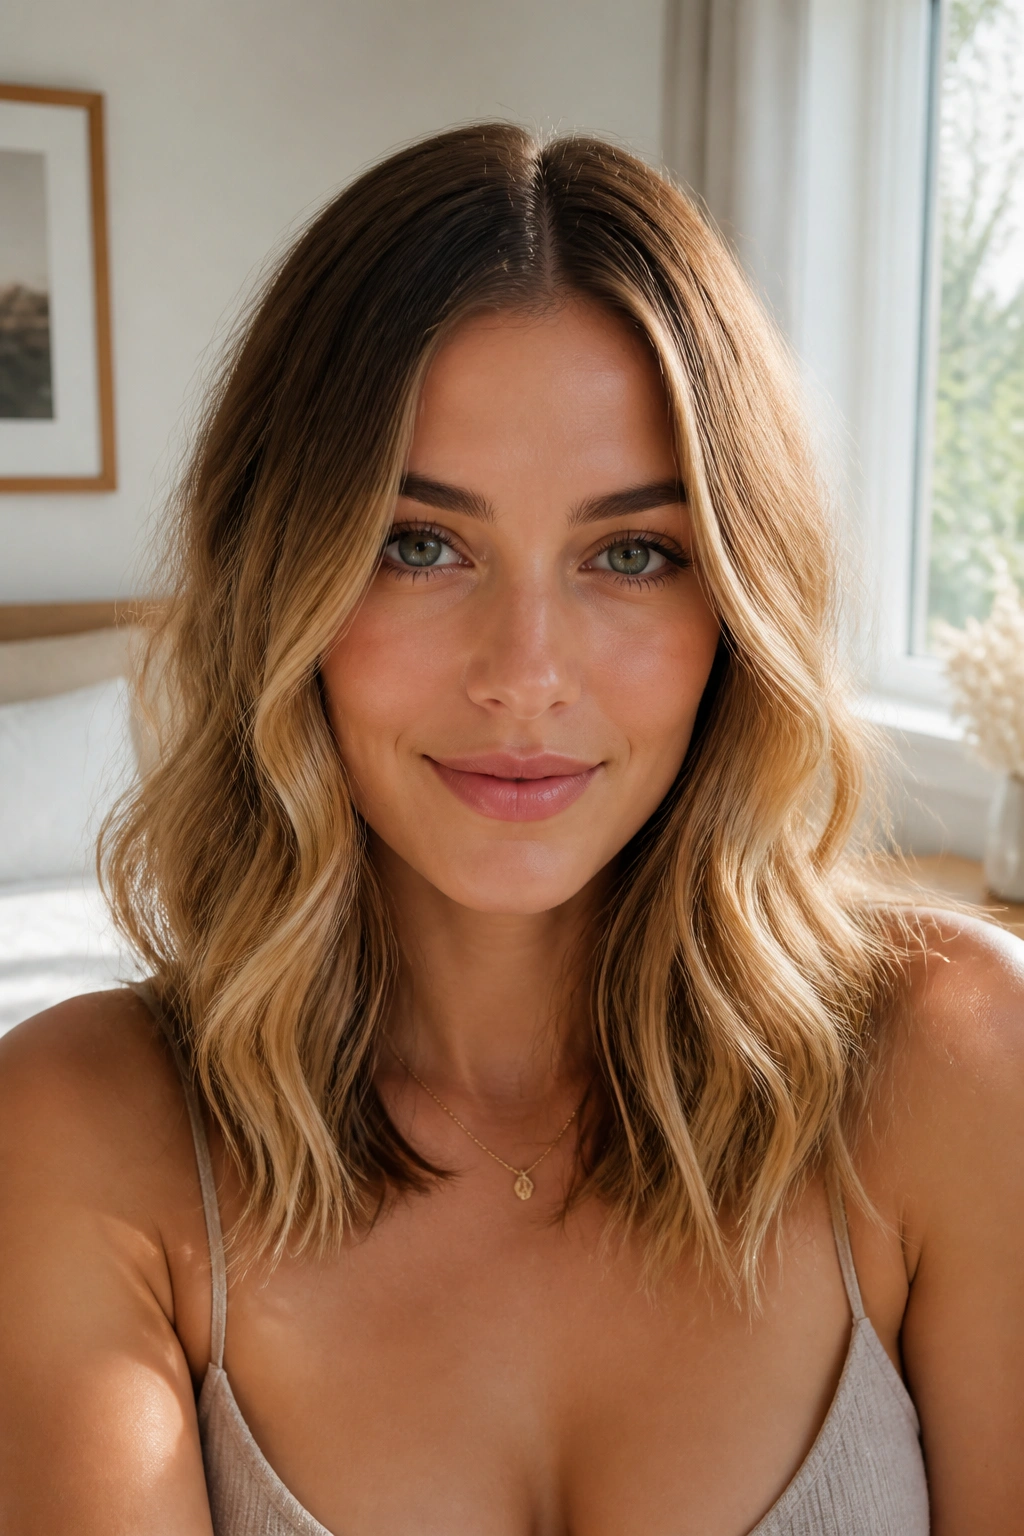
A clean middle part gives medium-length waves a calm, easy frame. It keeps the style from tipping into “too playful,” which matters when your hair sits right at the collarbone and can easily puff out at the sides. The wave pattern itself should stay loose — think wide bends rather than tight curls.
Why It Works
This look is built on soft, alternating bends instead of uniform ringlets. That matters because medium hair has enough length to show the wave pattern clearly, but not enough length to hide mistakes. If the curls are too tight, they spring up shorter than you expect. If they’re too loose, they vanish by lunch.
I like this style most on hair that already has a little natural texture. A 1-inch curling iron or a wand around that size gives you enough curve without making the ends look stuck on. Leave the last inch of hair out on every section. That tiny omission keeps the finish relaxed instead of curled.
Quick Setup
- Start with dry hair and a heat protectant that dries light, not sticky.
- Take 1-inch sections and wrap them away from the face.
- Let each wave cool fully before touching it.
- Finish with a light mist of texture spray, then shake the roots with your fingers.
Best tip: Curl the front pieces last, and keep them one notch looser than the rest. They frame everything.
2. Deep Side-Part Waves with a Bit of Drama
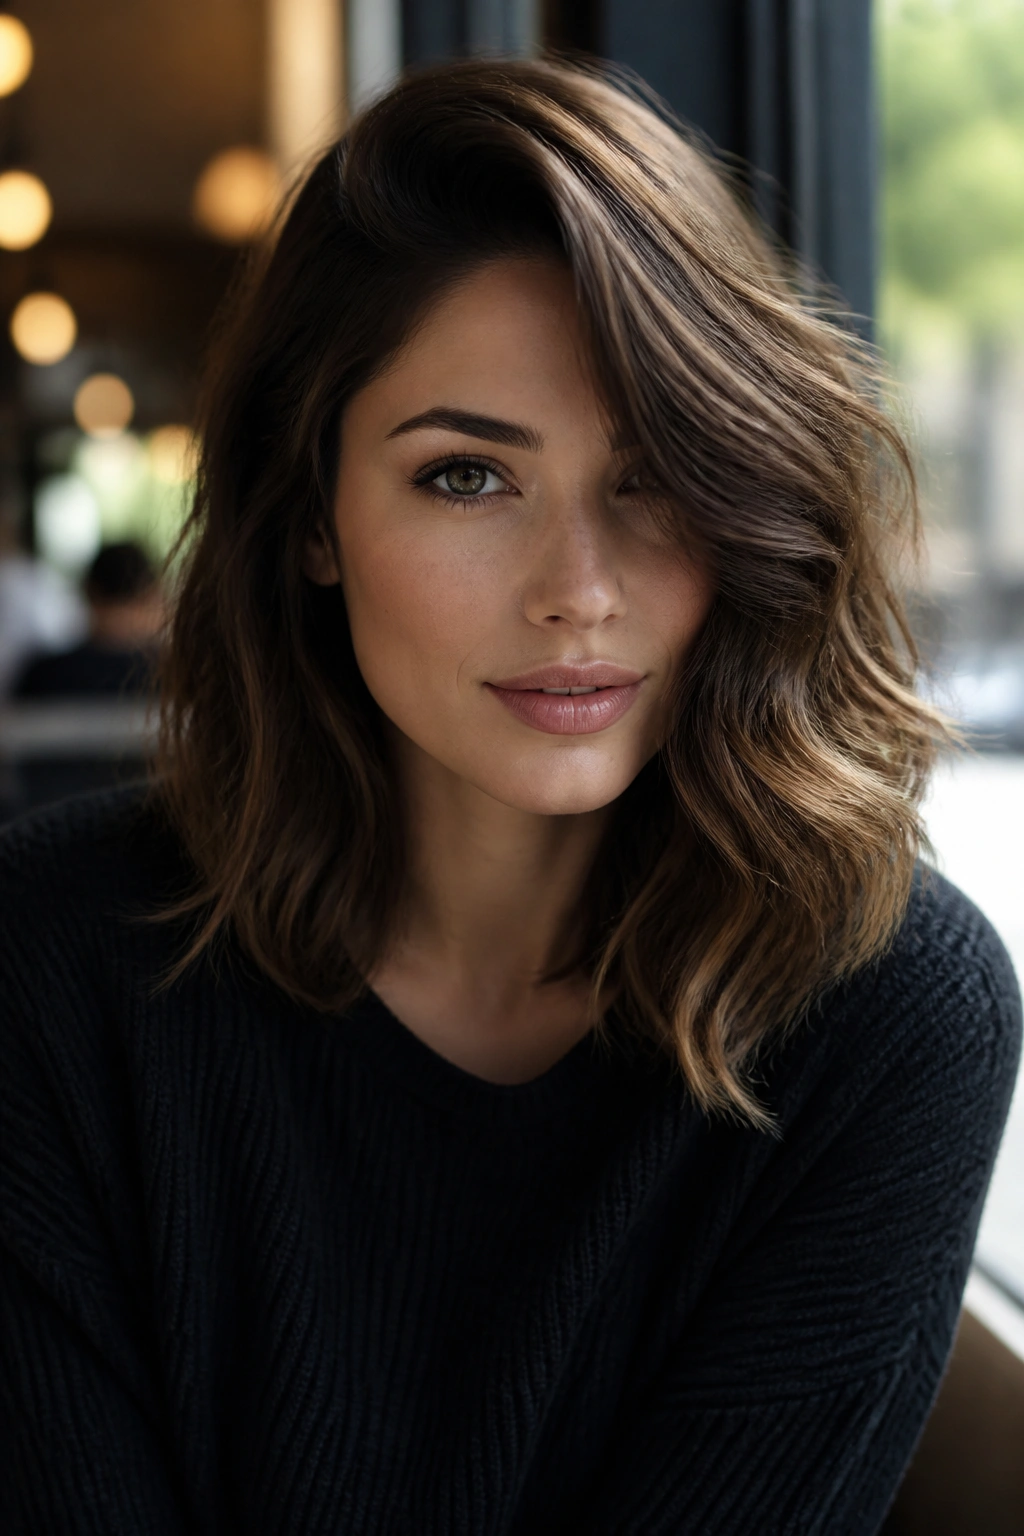
A deep side part changes the whole mood. It gives medium-length hair more swing on one side and a little lift at the crown, which is handy if your hair tends to sit close to the scalp. The style feels more polished than beachy, but it still keeps that undone edge.
The best version is soft, not pageant-stiff. You want the root at the heavy side to stay smooth, then let the wave fall into a loose S-shape around the jaw and shoulder. If the hair is all one length, the deep part makes it look denser. If you have layers, it creates a nice cascade.
A flat iron can do this well, especially if your hair is already straight and you want a bend rather than a full curl. Clamp, twist a quarter turn, glide, release. That’s enough.
3. S-Shaped Flat-Iron Waves That Look Effortless
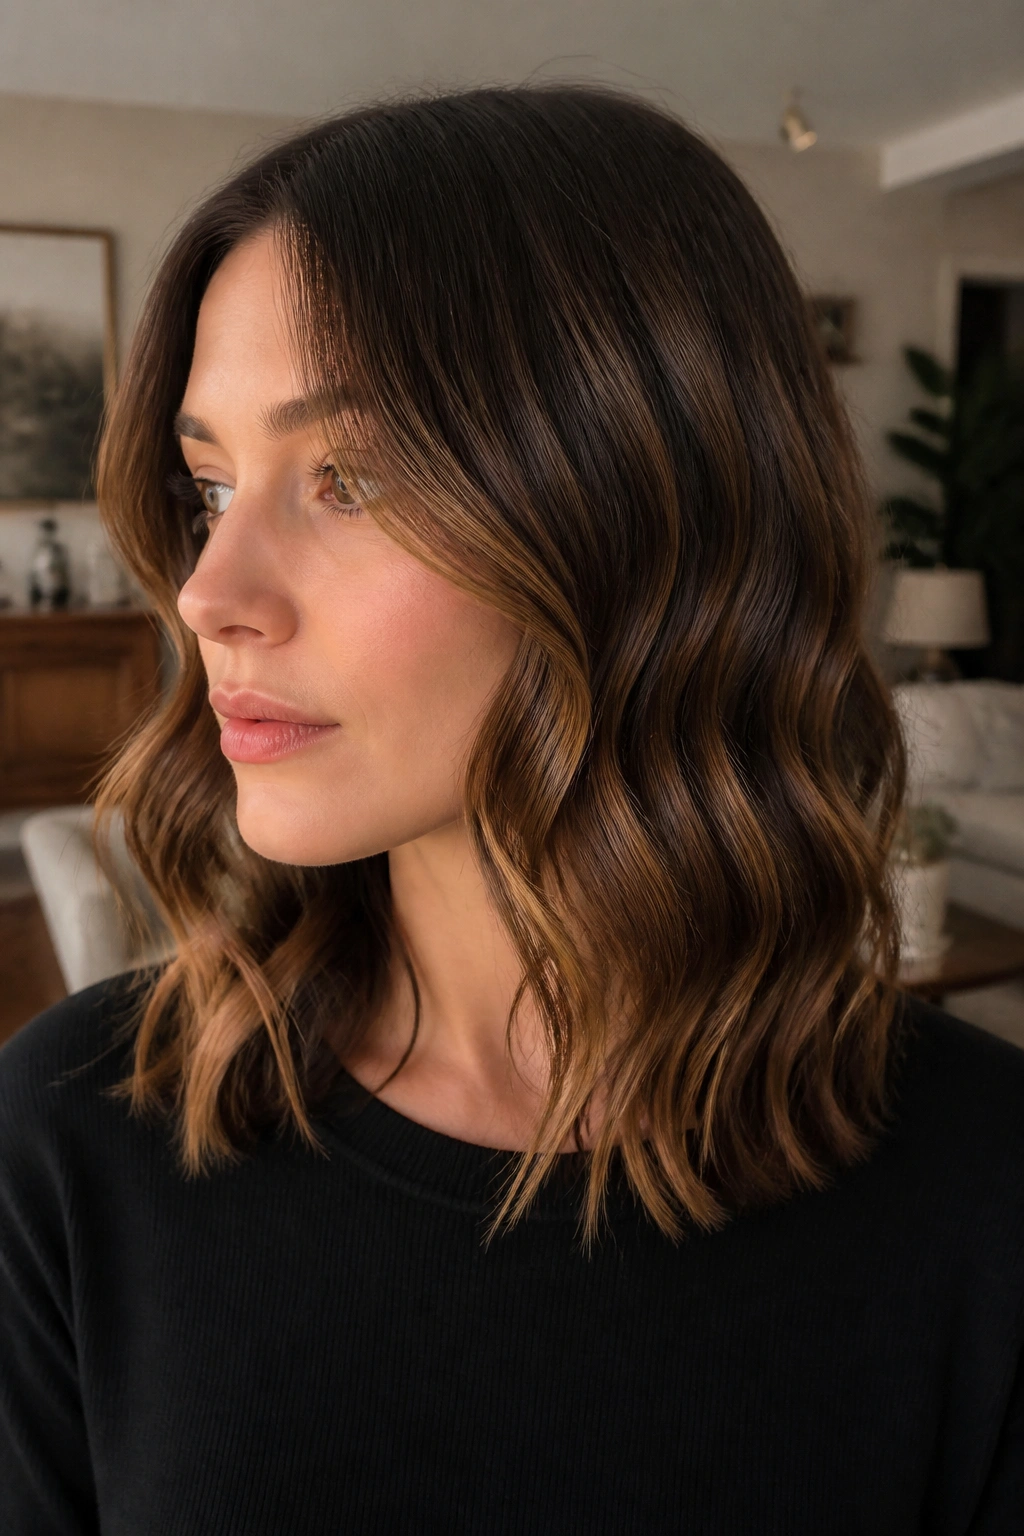
Why do these waves look so expensive? Because they are the least obvious kind of texture. The hair doesn’t scream “I used a curling tool.” It just falls into a soft rhythm that moves when you turn your head.
The secret is the flat iron bend. You make small, controlled turns in opposite directions as you move down each section, almost like drawing a loose S in the air. On medium-length hair, this creates width through the body without tightening the ends too much. The result is especially good if your cut has blunt edges, because the bend softens that straight line.
How to Use It
- Work with 1-inch vertical sections.
- Clamp near the root, twist away from the face, then back again halfway down.
- Keep the iron moving; lingering too long makes a crease.
- Once cool, rake through with fingers and a drop of lightweight oil on the ends.
This style suits hair that is straight to slightly wavy. Very curly hair can do it too, but you’ll spend more time smoothing first. That’s the trade-off. Still, when it works, it looks clean and slightly airy, not overdone.
4. Curtain-Bang Waves with a Face-Softening Finish
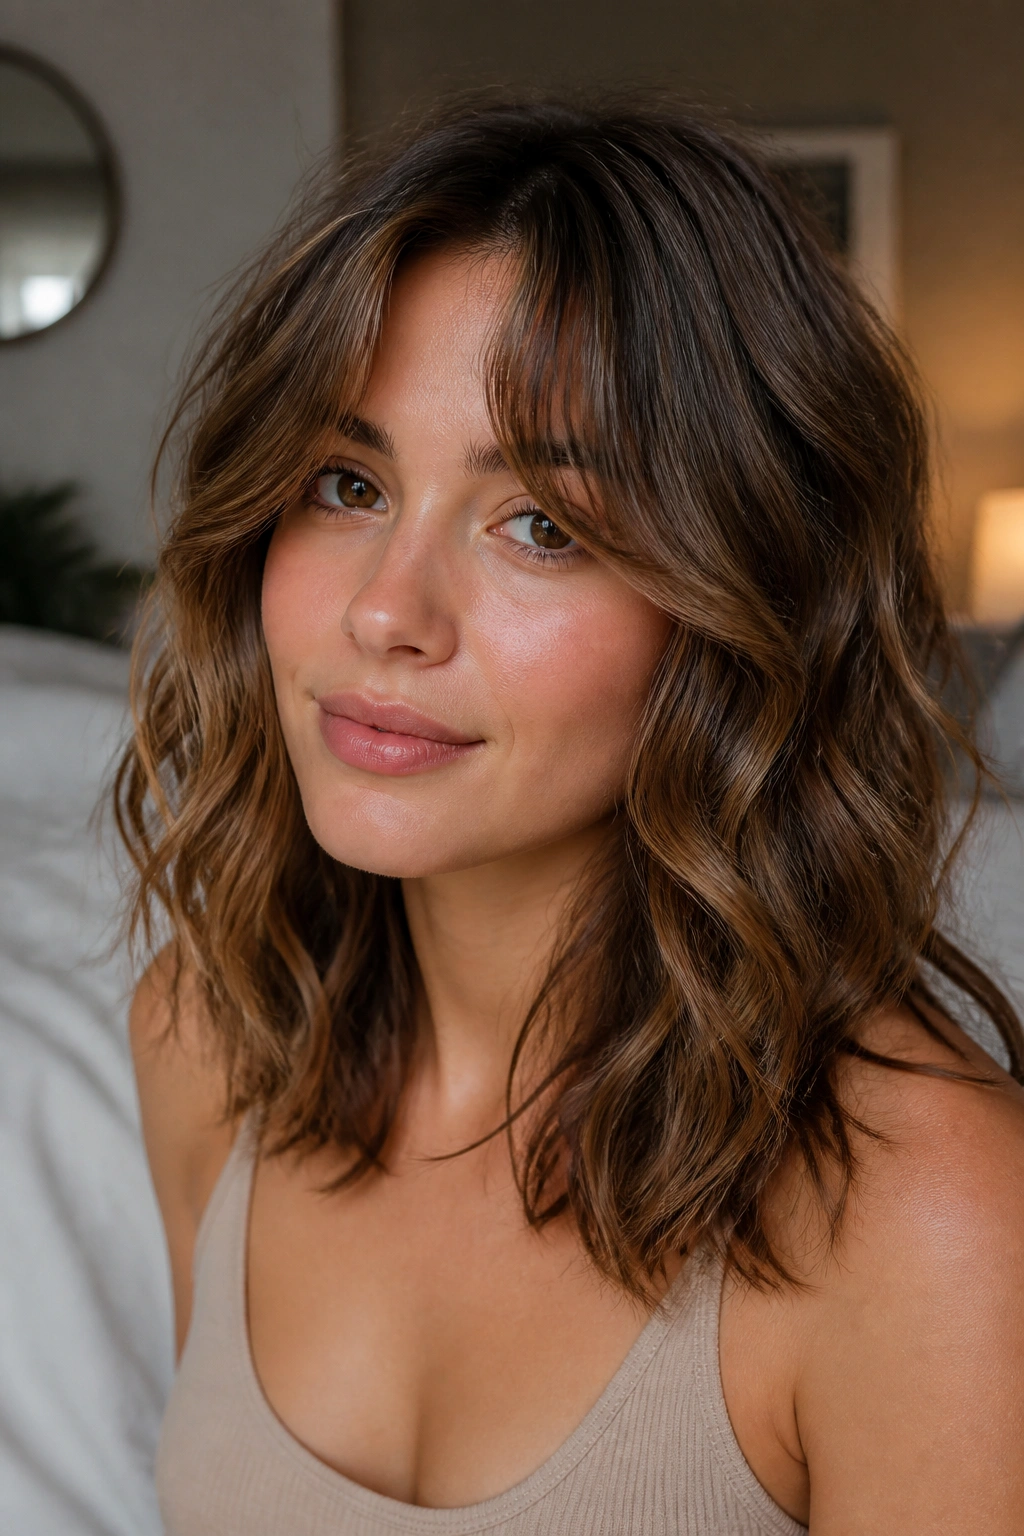
Curtain bangs and tousled waves are a good pairing because both pieces want movement. The bangs soften the forehead, and the waves soften the rest. On medium-length hair, that balance stops the style from feeling heavy around the face.
Picture someone with shoulder-length layers, a bit of bend around the jaw, and curtain bangs that split just enough to show the brows. That’s the sweet spot. The bangs should be curved, not curled into spirals. If they flip too far under, they can make the face look shorter than you want.
The easiest way to handle the front is with a round brush or a blow-dry brush. Dry the bangs first, directing them away from the center, then let the rest of the hair follow. A touch of velcro rollers at the front for five to ten minutes can help, too, especially if the hair slips flat fast.
What to Watch For
- Don’t overheat the bangs. They go from soft to puffy fast.
- Keep the wave around the face a little looser than the back.
- Use a tiny amount of texture spray at the roots, not the lengths.
It’s a small detail, but it matters. The front sets the tone.
5. Brushed-Out Glam Waves for a Softer, Fuller Shape
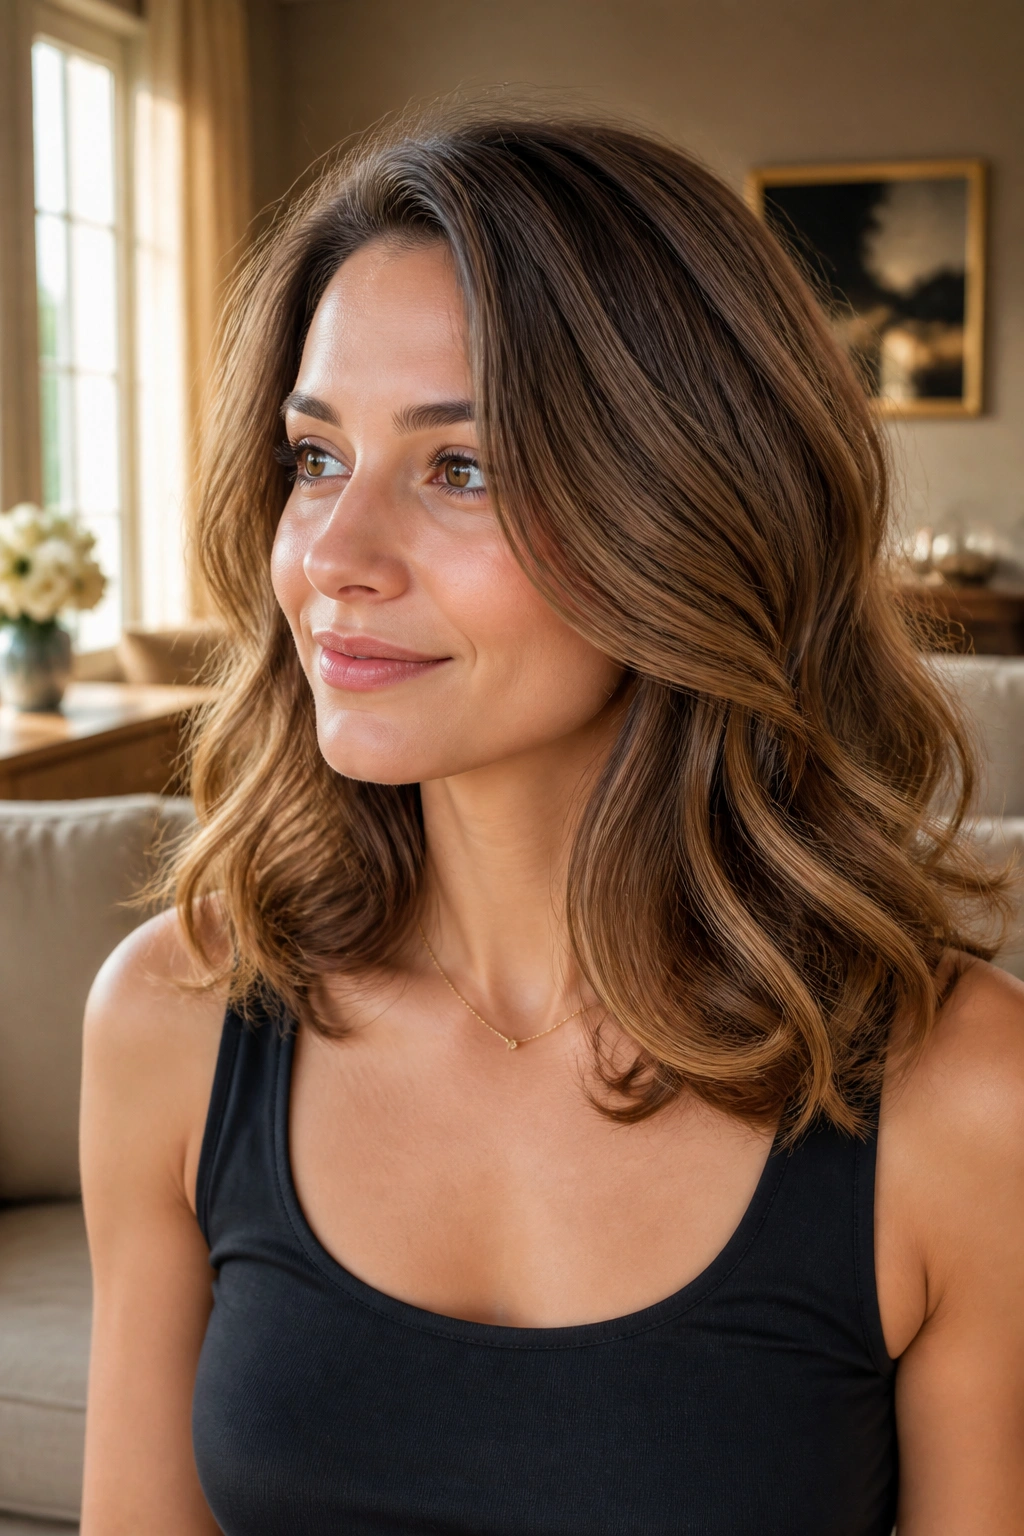
Brushed-out waves are the answer when you want movement with a little more polish. They start with heat, but they end in softness. On medium-length hair, this look can give the illusion of thicker hair because the wave clumps widen once they’re brushed apart.
The trick is to make the waves first, let them cool, and then break them up. If you brush too early, you erase the pattern before it sets. If you brush too hard, the hair puffs. A boar-bristle brush or a mixed-bristle brush works better than a paddle brush here because it loosens the wave instead of flattening it.
I like this style on hair that has blunt ends or a shoulder-grazing lob. The shape looks fuller, almost plush, and it holds well for events or long days. Add a light mist of flexible hairspray from underneath, then smooth the surface with your palms. It should feel touchable, not crunchy.
6. Air-Dried Layers with a Little Mousse at the Roots
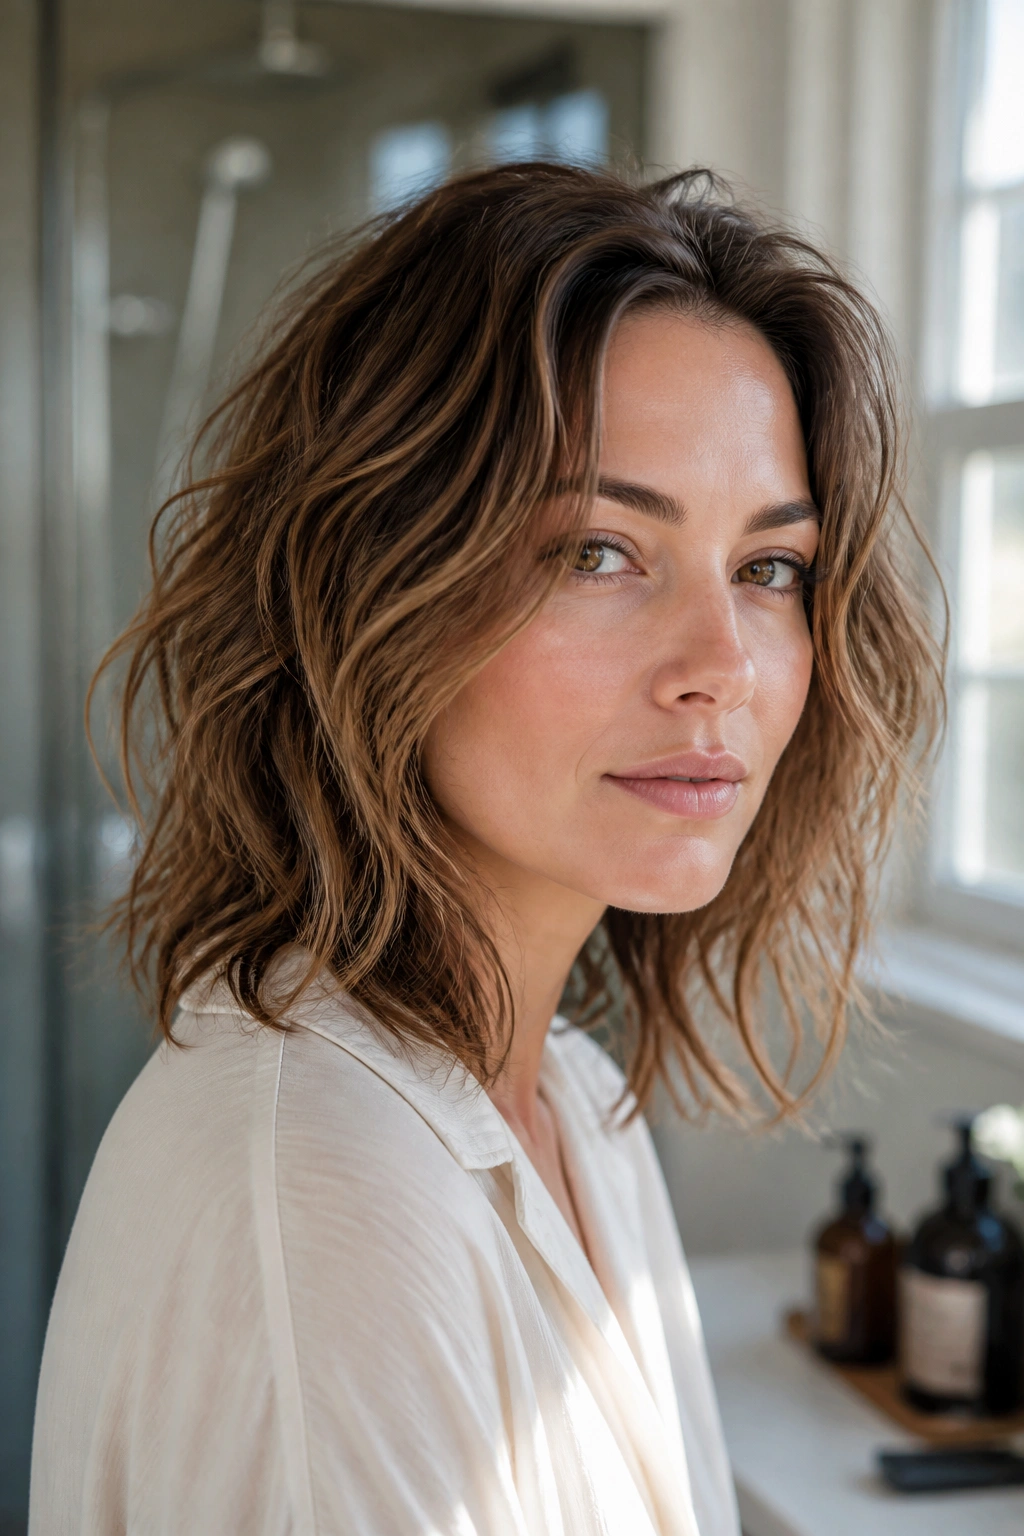
Air-dried waves are not lazy hair. They’re controlled hair that happens to dry without a blowout. That distinction matters, because medium-length cuts can look flat when air-dried badly and fantastic when air-dried on purpose.
The best setup starts in the shower. Work mousse through damp hair, concentrating near the roots and mid-lengths. Scrunch a little, twist a few sections around your fingers, then let it dry in peace. If your hair is layered, the bends will break up the outline in a nice way. If it’s one length, the mousse keeps the crown from collapsing.
This style is especially good for people who hate too much heat. It also gives you a natural base for later styling. If the roots are too flat once dry, a quick blast from a diffuser for 3 to 5 minutes is enough to lift them. You do not need a perfect finish here. A little irregularity is the whole point.
7. Piecey Texture Waves with a Salt Spray Finish
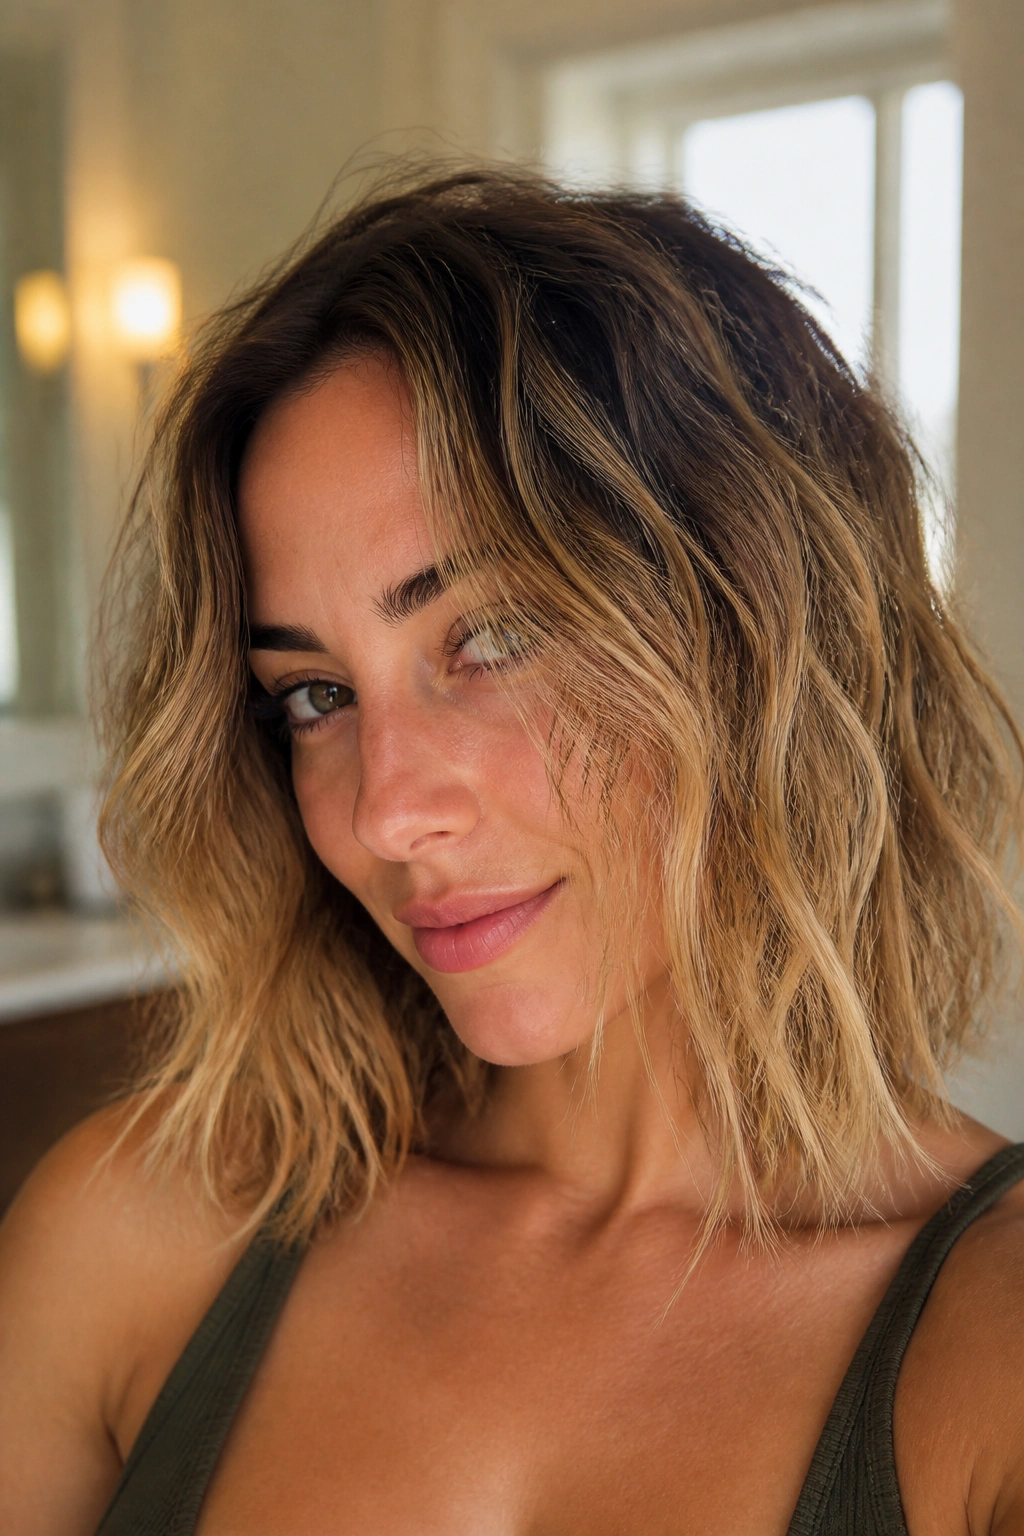
Salt spray can be brilliant on medium-length hair. Can also be a disaster. The difference is how much you use. Too much, and the hair feels rough and dry. Just enough, and the waves gain separation and grip.
This look works when the wave pattern is already there but needs more definition. Spray from the mid-lengths down, then scrunch and let the ends dry with a slight bend. A diffuser helps, but even air-drying can work if you twist a few random pieces around your fingers while the hair is still damp.
A Few Details That Matter
- Use salt spray on damp, not soaking wet hair.
- Pair it with a leave-in conditioner if your ends get crispy fast.
- Keep the roots lighter so the crown doesn’t look dusty.
- Finish with a tiny bit of serum only on the ends.
This style has a lived-in, textured feel that sits well on collarbone cuts and shaggy lobs. It is not the right choice if your hair is already very dry. Then again, if your hair is smooth and stubbornly slippery, a salt spray wave may be exactly what you need.
8. Flipped-Out Ends with Loose Waves Through the Middle
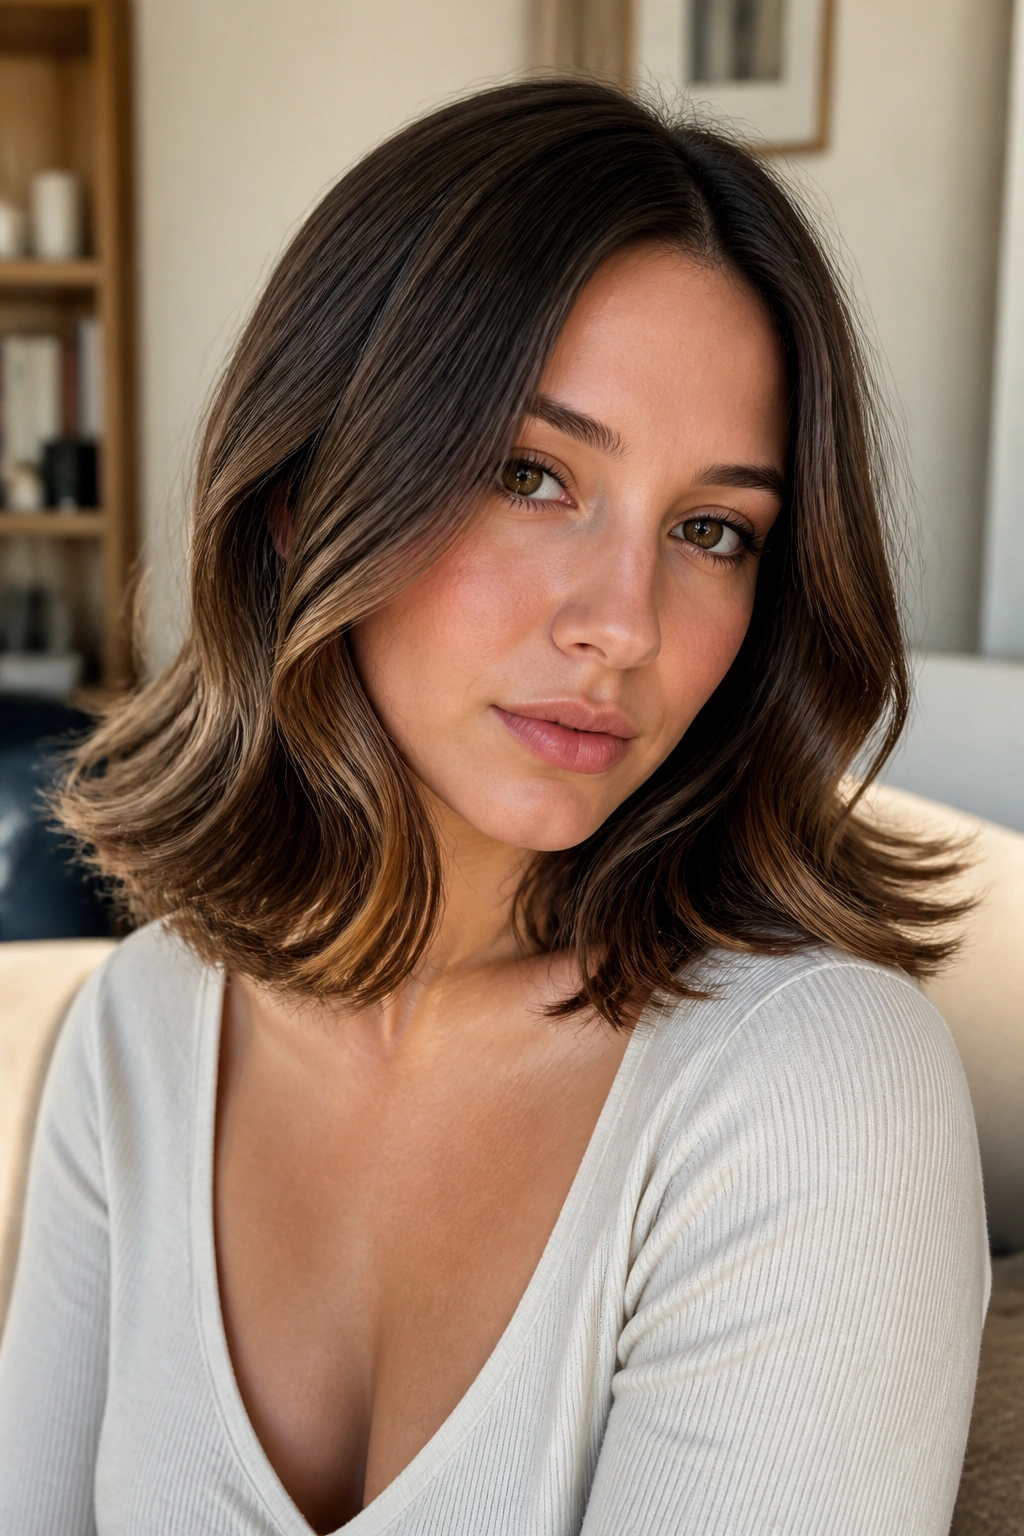
Flipped-out ends give medium-length waves a bit of attitude. They keep the style from sinking into a plain old curl pattern, which is useful when your haircut sits right on the shoulders and can otherwise look a little too neat. The flip at the bottom creates movement in the last two inches, where a lot of medium cuts need help.
I prefer this look when the top stays smooth and the wave starts around the ear. That way, the ends do the interesting work. Use a curling iron or flat iron to bend the mid-lengths, then flick the ends outward instead of tucking them under. It sounds small. It changes everything.
This is a nice choice if you wear your hair with a center part or a soft side part and want something that feels fresh without being loud. It also plays well with layers, since the flipped pieces catch the eye and keep the shape from feeling heavy.
9. Half-Up Waves with a Crown Lift
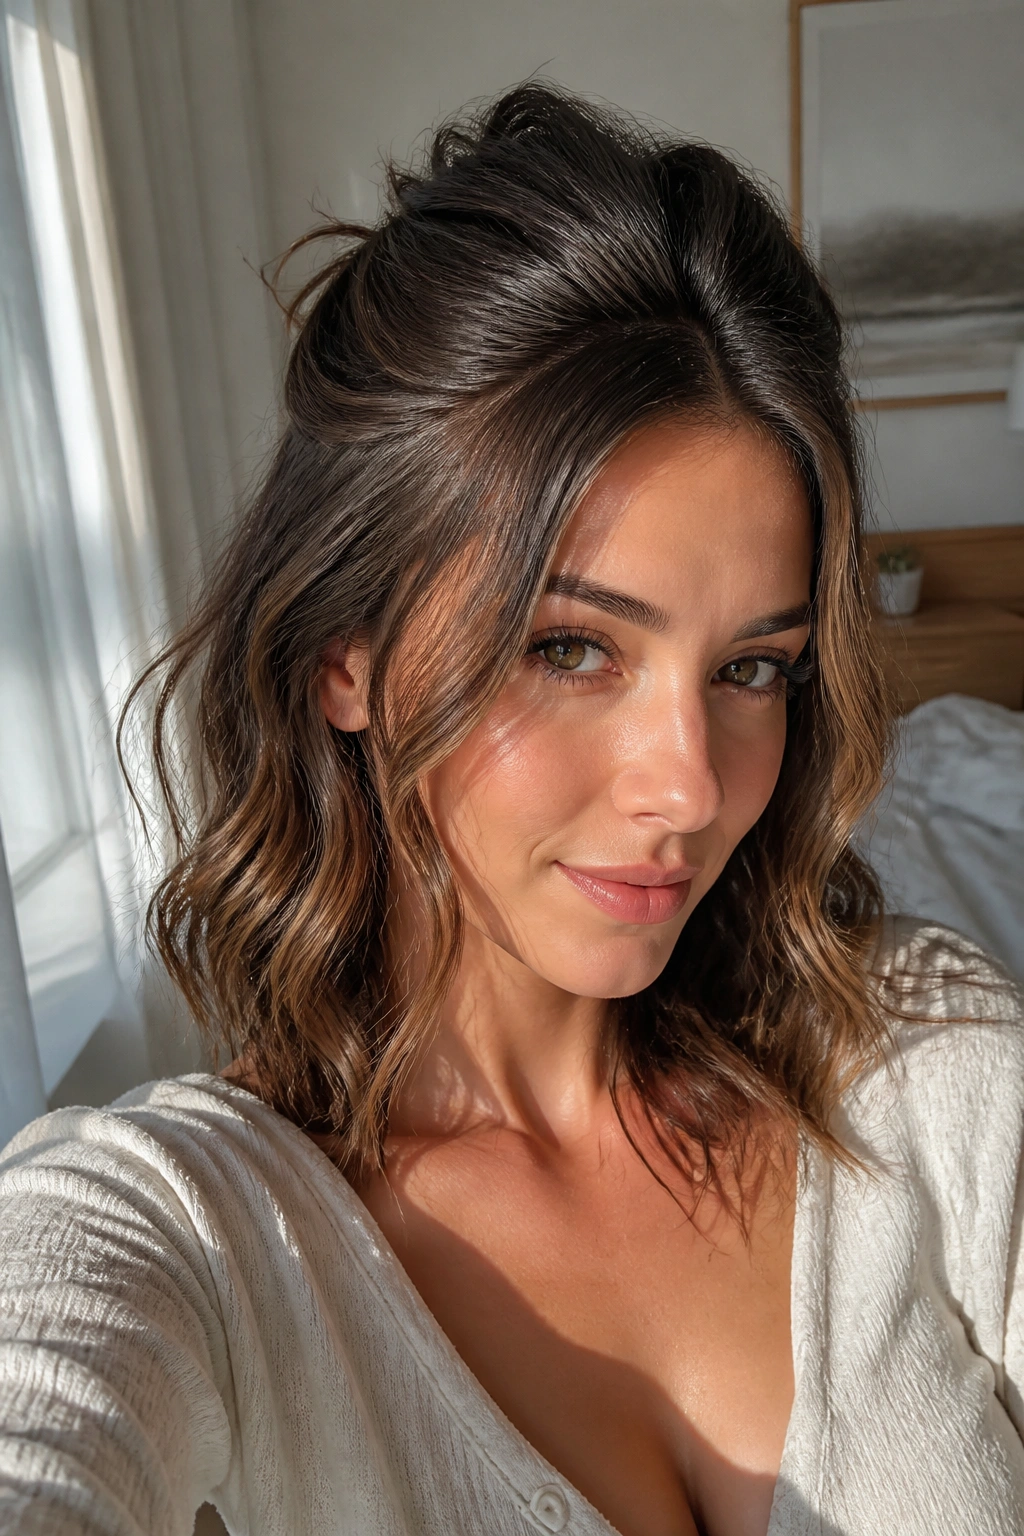
Half-up waves are practical, yes, but they also solve a real problem: the top of medium-length hair often falls flat before the ends do. Pulling the crown back gives you lift where you need it and leaves the wave pattern visible through the rest of the hair.
The key is not to pull too much hair back. If you gather the top section too low, it looks plain. If you take it too tight, the front loses its softness. Take the hair from temple to temple, secure it loosely, and leave a few small pieces out around the hairline. That makes the style feel easy, not formal.
This version works especially well with loose barrel waves or brushed-out bends. The combination of crown height and movement through the lengths creates shape from every angle. A tiny clip, a wrapped elastic, or even a knot at the back all work. Use whatever looks least fussy.
10. Cheekbone-Framing Waves That Start Higher Up
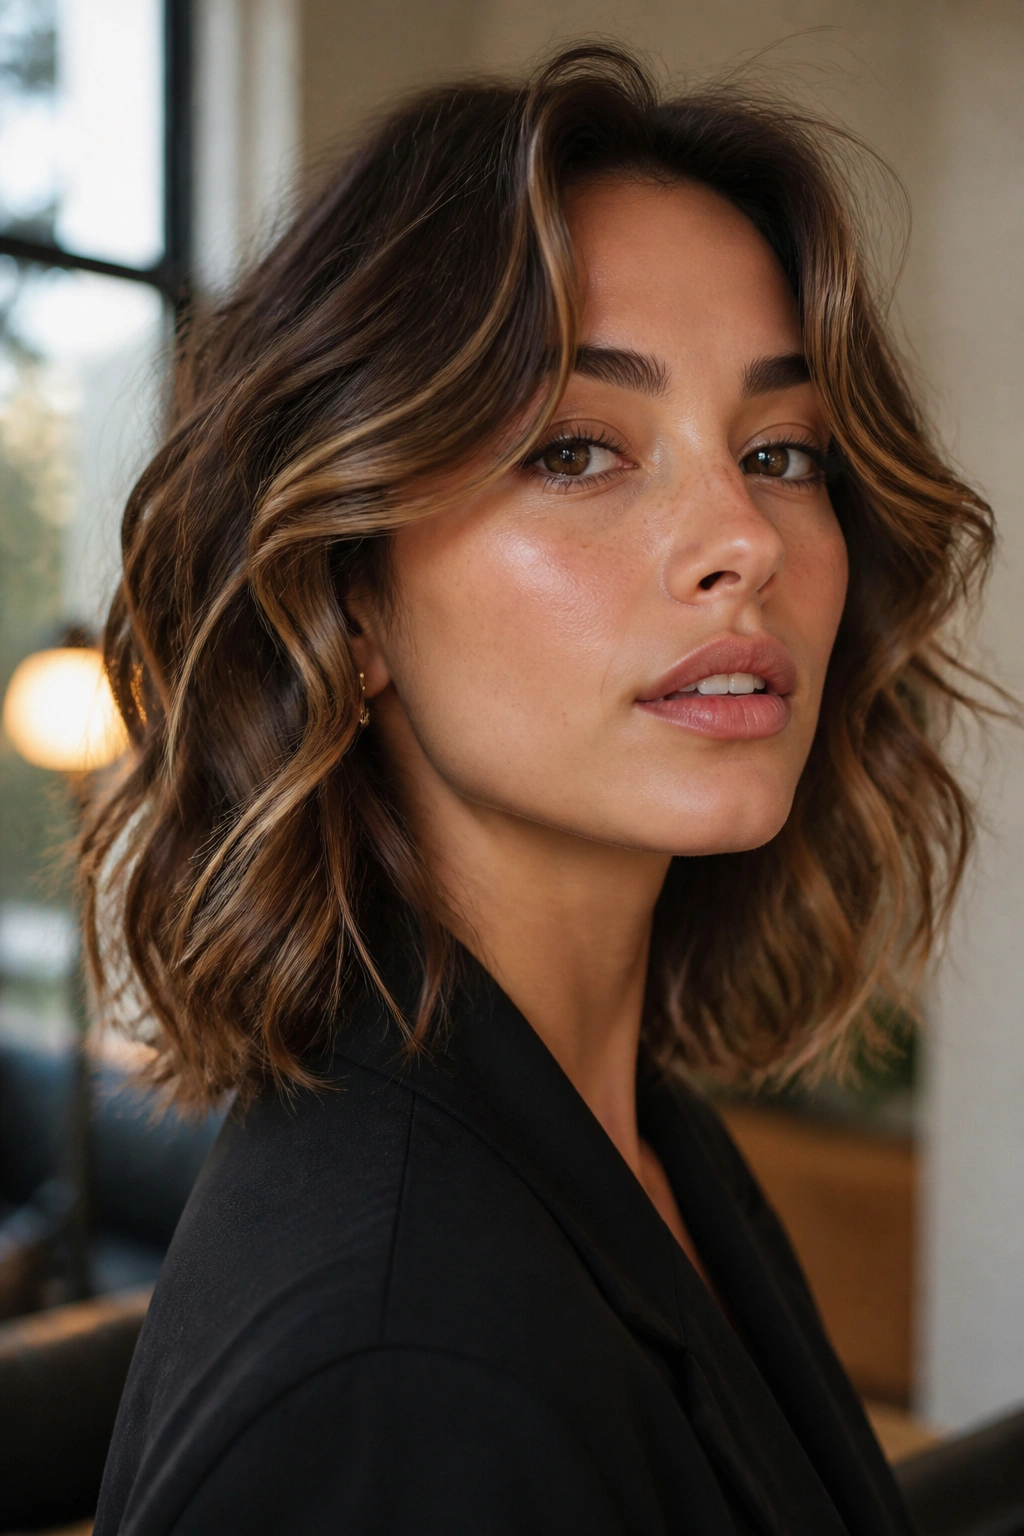
Some wave patterns look better when they begin higher than expected. That’s true for medium hair with strong cheekbones, because a wave that starts near the ear can frame the face in a way that feels almost architectural. Soft. But still shaped.
The trick is to curl or wave the front sections away from the face, starting closer to the root than you normally would. Leave the lower third a little straighter so the wave falls into the shoulder instead of bouncing outward. That contrast is what gives the style its shape.
I reach for this when the haircut has long layers and the front pieces need more purpose. Without that extra bend, those shorter bits can disappear. With it, they highlight the eyes and cheeks, which is usually what people want when they ask for movement around the face. Not more volume everywhere. Just a better frame.
11. Boho Braided Prep Waves with a Loose Finish
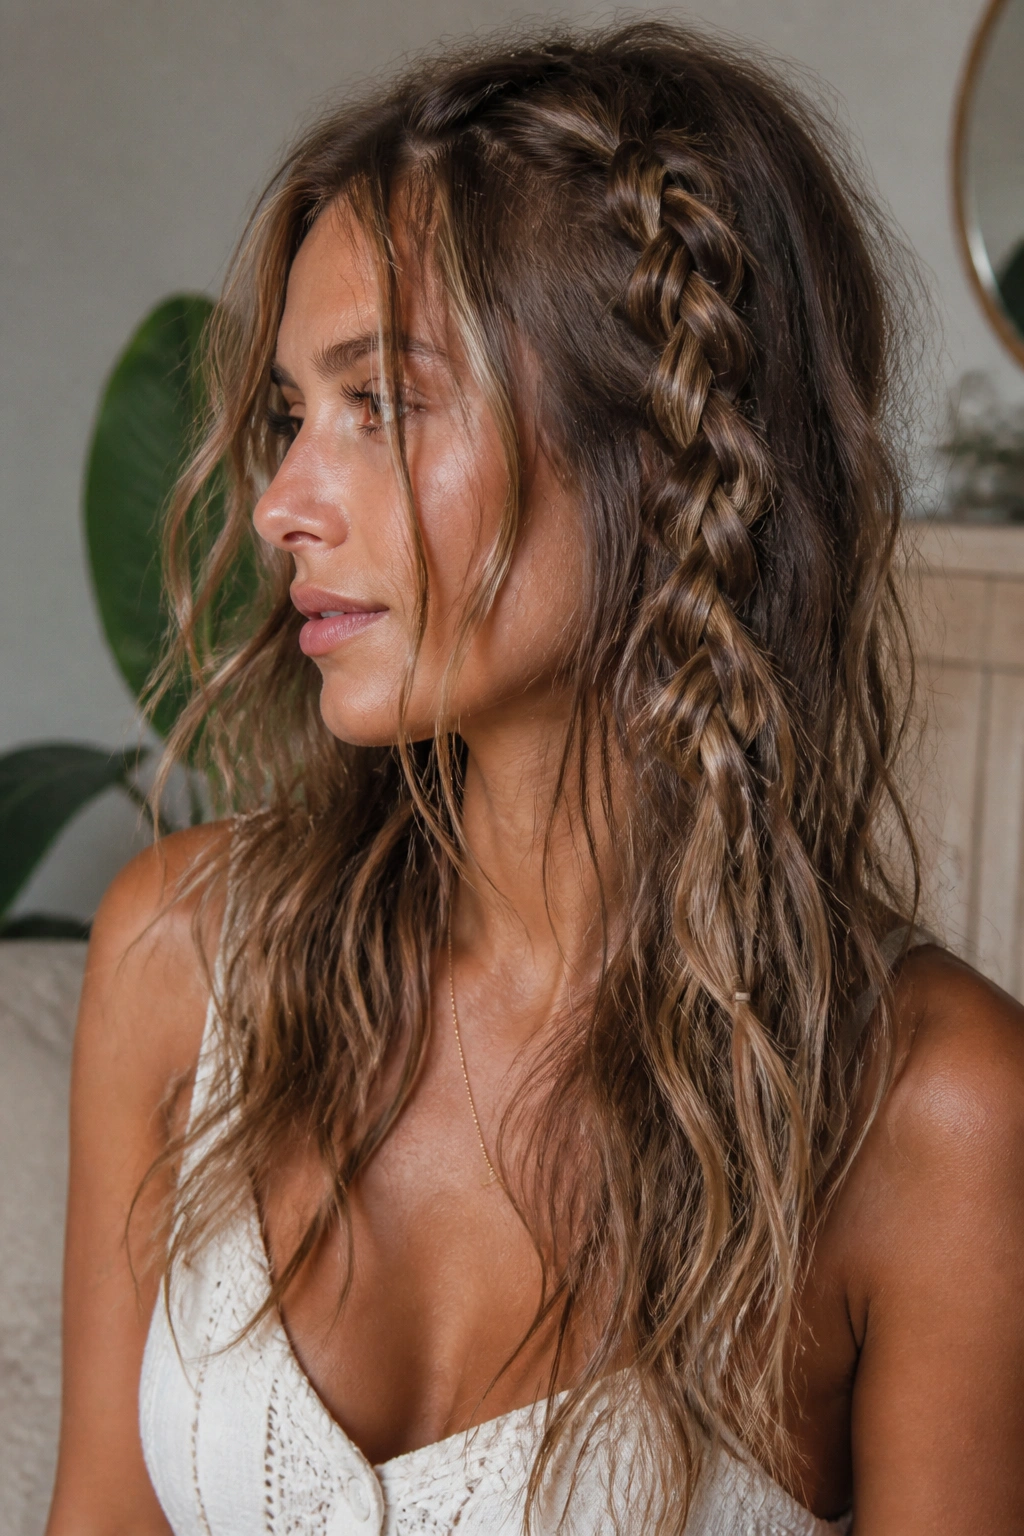
Braids are underrated as a wave tool. A couple of loose braids on damp medium-length hair can leave behind a gentle zigzag texture that feels softer than a curling iron wave and less random than plain air-drying. It’s one of the easiest ways to get a lived-in result without heat.
What works best is not tight braiding. Keep the plaits loose and slightly uneven, then unravel them only when the hair is fully dry. If your hair is very smooth, a little mousse or leave-in product before braiding helps the wave hold. If it’s thick, braid sections that are no wider than two fingers so the shape shows up.
The finish is rarely perfect. Good. That’s why it looks interesting. Some pieces will be smoother, some will be more bent, and a few ends may stay straight. On medium-length hair, that mix makes the style feel natural instead of forced.
12. Airy Waves for Fine Hair That Needs Lift
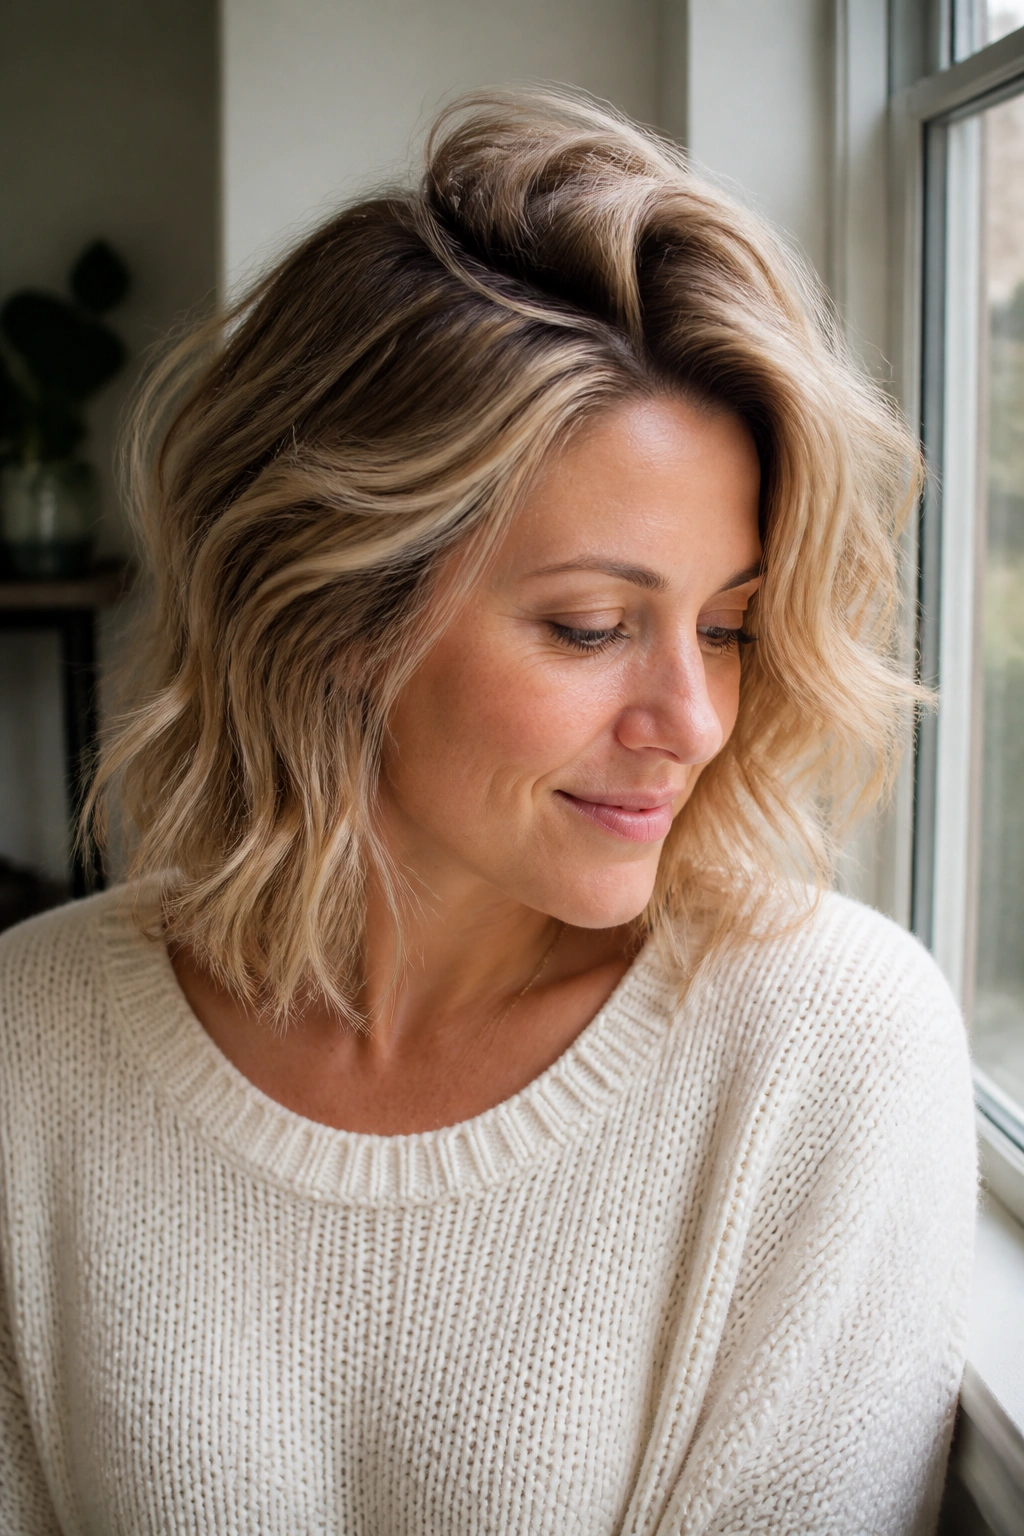
Fine hair needs a different kind of tousle. Heavy waves can drag it down fast, leaving the lengths flat and the roots limp. Airy waves solve that by using less product, smaller sections, and a little more strategic lift at the crown.
This is where a clipless wand or a 3/4-inch iron can be useful. Wrap only the mid-lengths, keep the roots free, and leave the last half-inch straight if the hair tends to fall limp. Once the waves cool, shake them out with your fingers and stop. Don’t keep brushing. That’s where the volume disappears.
Why This Version Works Better
- Smaller sections hold shape better on fine strands.
- Light texture spray gives grip without heaviness.
- Root clipping while cooling can keep the crown off the scalp.
- A dry shampoo mist at the roots can add body the next day.
Fine hair often looks best when the wave is loose but deliberate. Tiny, overdefined curls can make it look even thinner. Soft movement, though? That’s the sweet spot.
13. Controlled Tousled Waves for Thick Hair
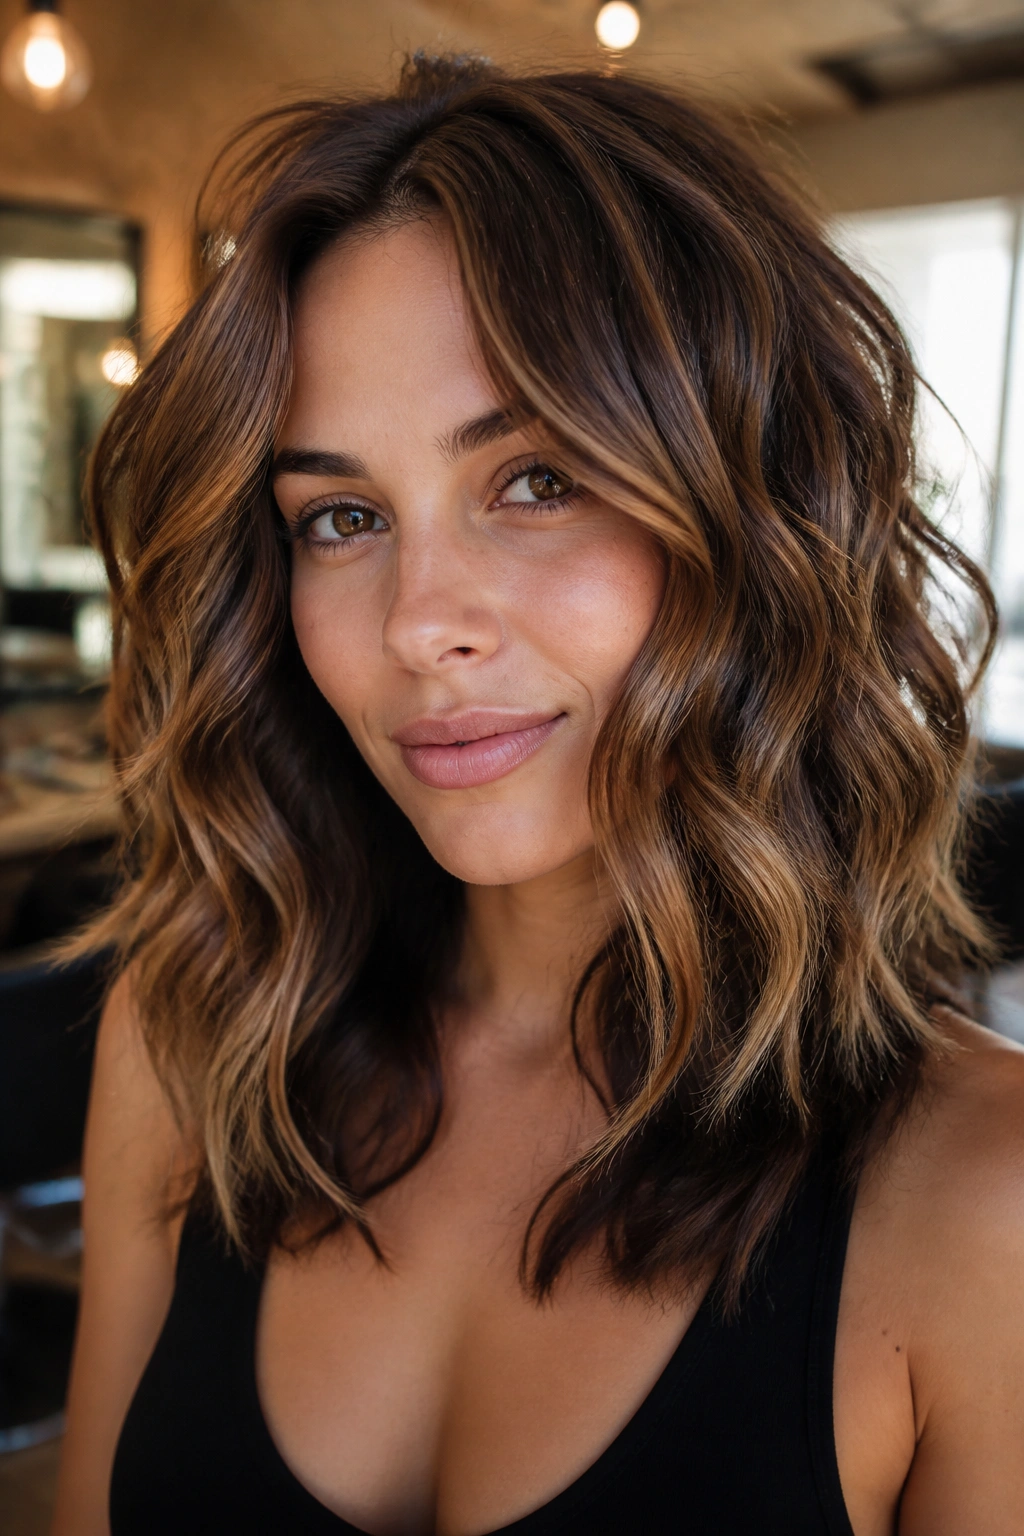
Thick hair can handle a stronger wave pattern, but it still needs control. Otherwise, medium-length cuts can balloon out around the sides and lose their shape. The trick is to work in larger sections and use a product that keeps frizz from taking over.
Start with a smoothing cream or lightweight blow-dry lotion on damp hair. Then make waves with a bigger barrel iron, around 1¼ inches, or use a flat iron to bend the hair in wider turns. Thick hair usually holds a pattern longer, so you do not need to overdo it. Two or three passes per section is plenty.
I like this style with some separation at the ends and a little lift at the roots. It keeps the hair looking full, but not puffy. If you have a blunt lob, the wave softens the edge. If you have layers, the bend lets them move instead of sitting in a block. That’s the real payoff.
14. Heatless Overnight Waves with a Soft Morning Shake-Out
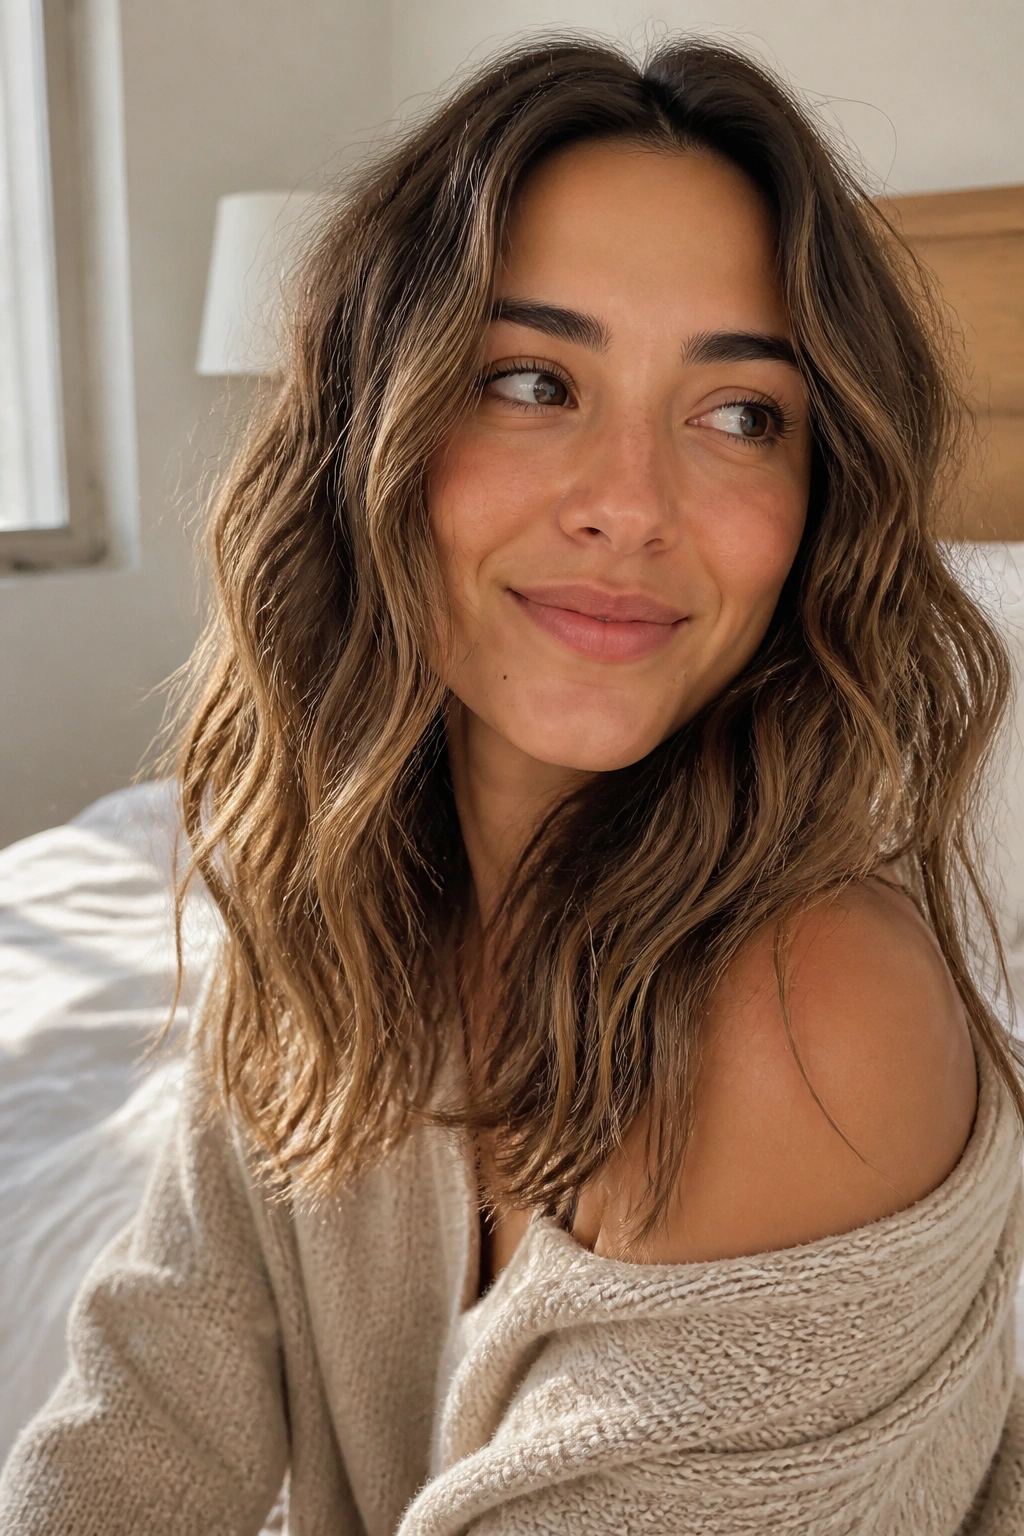
Heatless waves are a gift on days when your scalp feels tired. Medium-length hair is long enough to wrap around a robe tie, a soft headband, or a loose braid, but short enough that the shape usually sets faster than on long hair. That makes overnight styling worth the trouble.
The best result comes from hair that is slightly damp, not wet. Too much water and you’ll wake up with a puffy mess that needs rescue. Too little and the wave won’t hold. Use a light leave-in, then wrap or braid the hair in a way that keeps the pattern loose. In the morning, let it sit for a minute before you shake it out. Cold hair frizzes more when you rush it.
This style is not always perfect on the first try. The wave can land unevenly near the ends, and that’s fine. A little dry texture spray, a tiny touch of oil on the tips, and a quick finger twist on any stubborn pieces usually smooth it out.
15. Second-Day Waves That Come Back With a Mist and a Twist
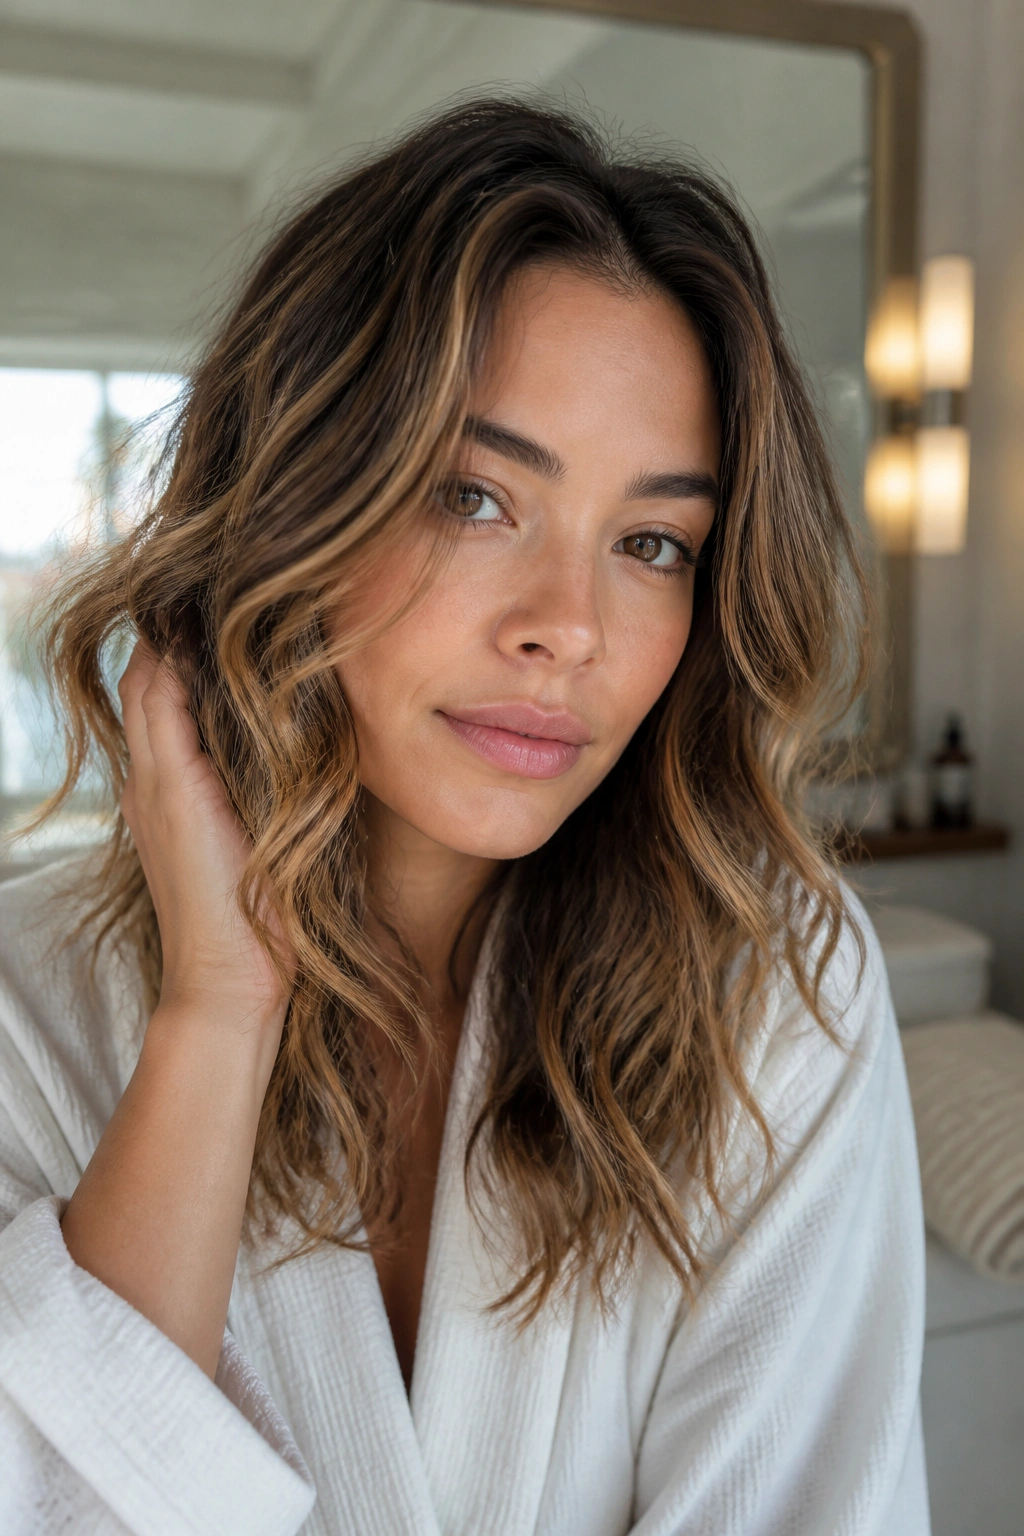
Second-day hair is where medium waves often look best, if you treat them right. The hair has less slip, more grip, and a wave pattern that can be revived instead of rebuilt from scratch. That is a good thing, because a full restyle is annoying.
A fine mist of water mixed with a little leave-in conditioner can wake the bends back up. Spray only the flattened sections, then twist them around your finger or re-curl them with a small iron for 5 to 10 seconds. Do not soak the hair. You want a reset, not a wash.
This look is best when the previous day’s style was already soft and loose. Tight curls rarely refresh well; they usually need too much reworking. Looser waves, though, can come back with almost no effort. Add a touch of dry shampoo at the roots and a little texturizing spray through the mid-lengths, and the whole shape gets a second life.
16. Low-Key Office Waves That Look Polished at the Crown
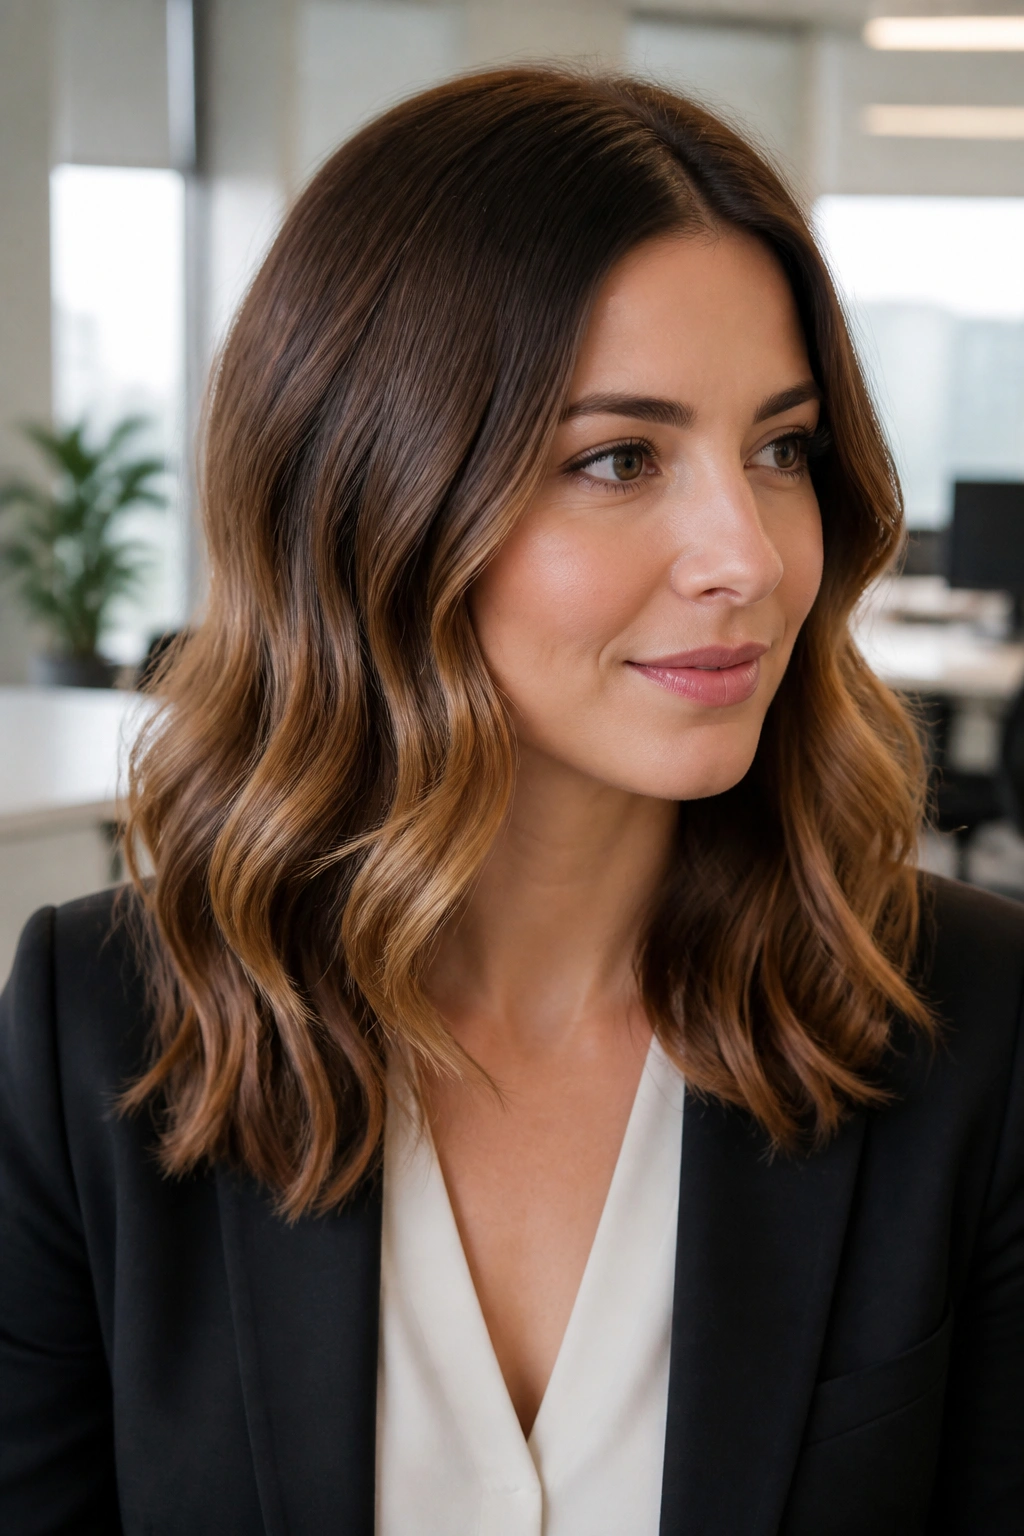
Not every tousled style needs to look beachy. Sometimes you want medium-length hair to have movement while still looking calm enough for a blazer, a meeting, or a day when you don’t want your hair to be the loudest thing in the room. This is where a controlled, low-key wave earns its keep.
Keep the top section smooth and let the movement start lower, around the ears or jaw. The waves should be soft and consistent, with the ends tucked into a gentle curve rather than a sharp bend. A touch of shine spray can help the finish look neat, but use it sparingly. Too much and the hair goes flat.
What Makes It Different
- The crown stays sleek.
- The wave is concentrated in the lower half.
- The finish leans polished instead of undone.
- It works well on a blunt lob or lightly layered cut.
This is one of those styles that looks expensive because it behaves itself. Barely.
17. Minimal-Heat Waves with a Clamp-and-Bend Pattern
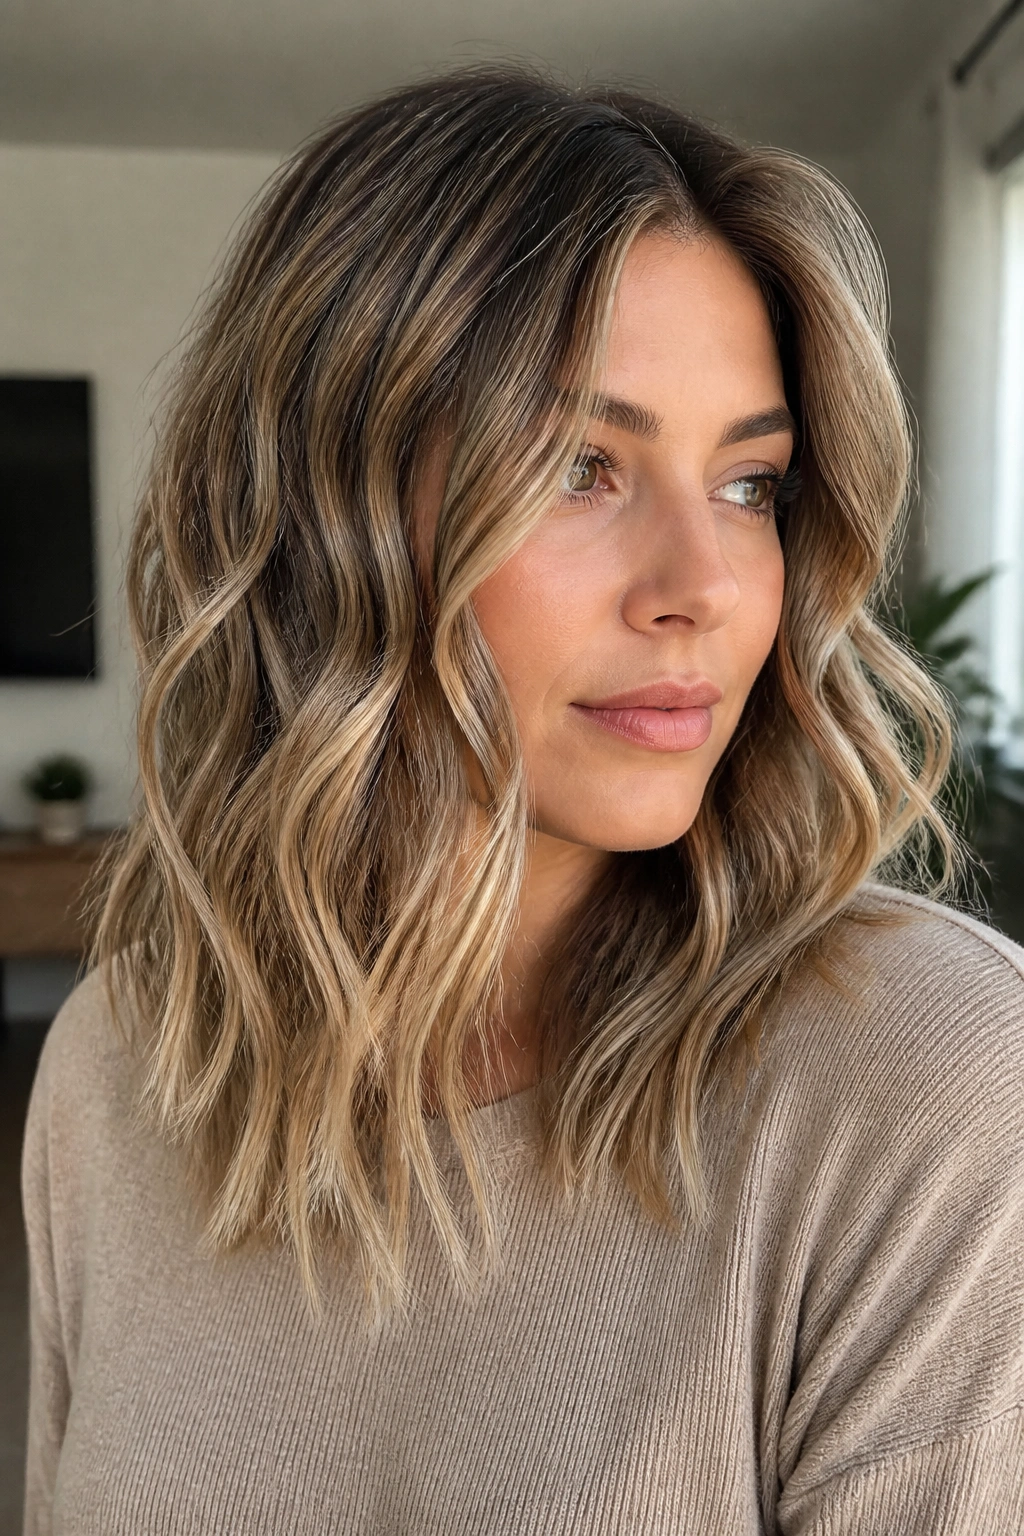
If you dislike curling, try the clamp-and-bend method. It uses less heat than a full wrap and gives medium-length hair a more irregular, modern wave. The shape comes from changing direction every few inches, not from forming one perfect curl.
A flat iron works well here. Clamp a section, bend outward, slide a few inches, bend inward, then continue. The bends do not need to match exactly. In fact, they should not. The slight inconsistency is what makes the style look soft and lived in. On medium hair, this technique keeps the body through the mid-lengths while letting the ends stay easy.
I like this especially for hair that doesn’t hold a round curl for long. A bend tends to last better than a polished spiral because it has less tension in it. It also grows out more gracefully over the day, which is handy if you do not have time to fix it between errands and dinner.
18. Everyday Tousled Waves with a Soft, Undone Edge
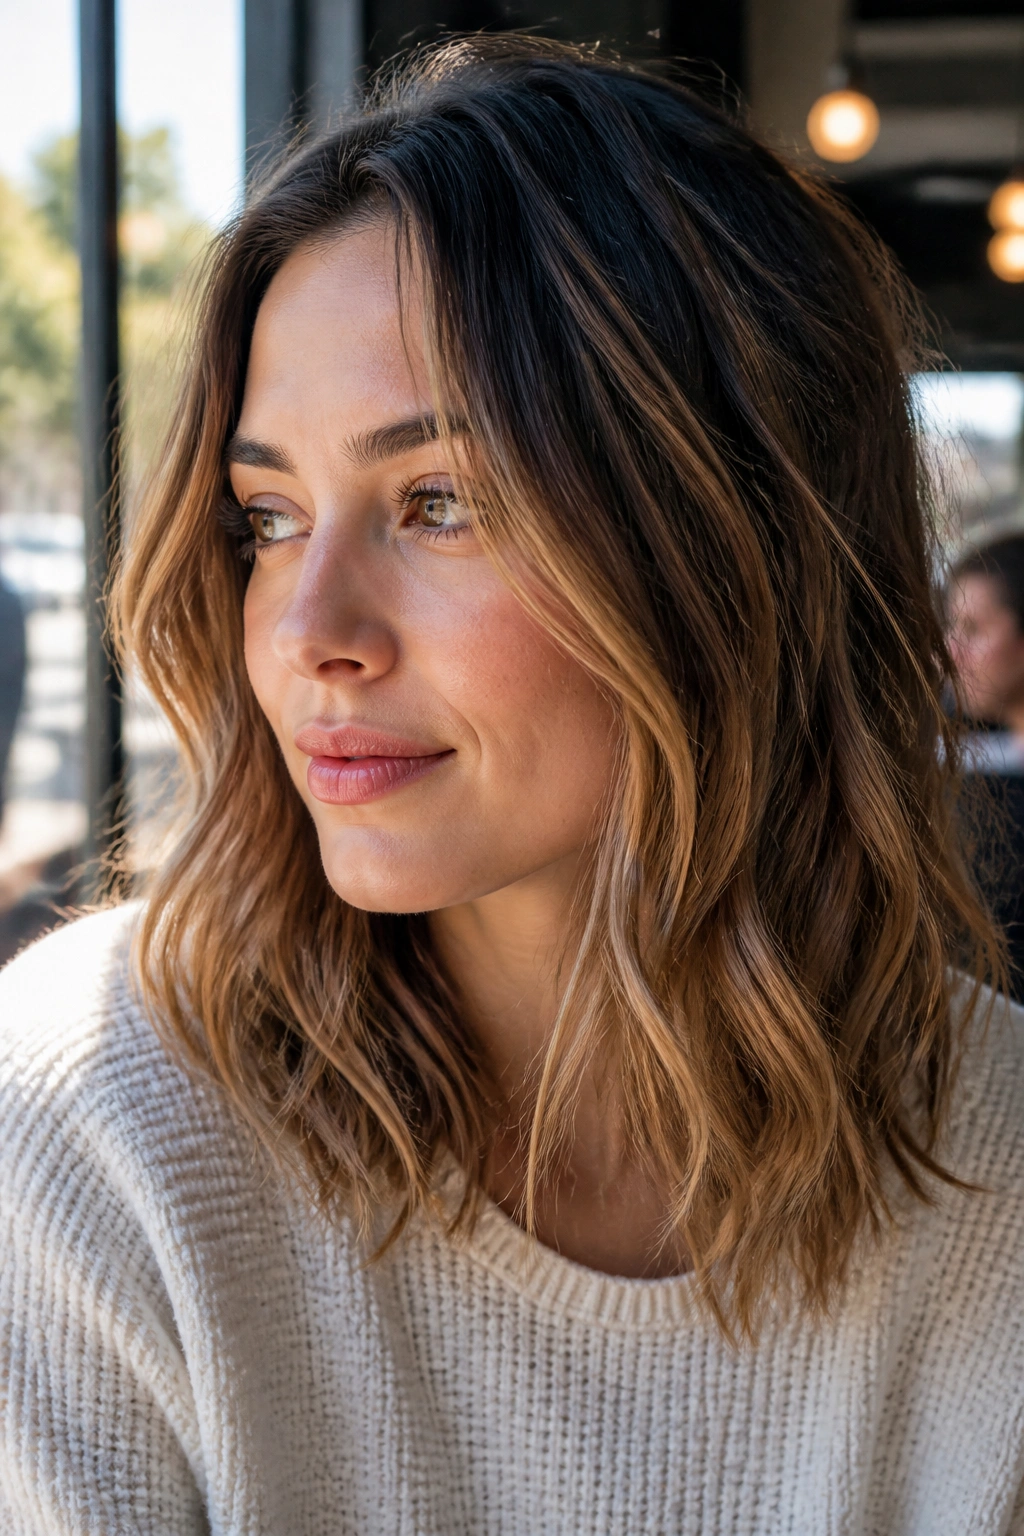
Some styles are for special plans. This one is for regular life. It’s the kind of medium-length wave that can work with a sweatshirt, a work shirt, or a dress without needing a different personality each time you leave the house.
The best version is loose at the roots, bendy through the middle, and a little straighter through the last inch or so. That keeps the hair from looking overly styled. Use whatever method your hair tolerates best — iron, wand, braid, or air-dry — then stop before the shape gets too neat. A few flyaways are fine. They make the style feel human.
This is the look I’d choose if I had to pick one wave pattern and wear it repeatedly. It forgives a slightly uneven curl, handles day-two texture well, and sits nicely on most medium cuts, from blunt lobs to soft layered shags. Some styles are fussier. This one isn’t.
Final Thoughts
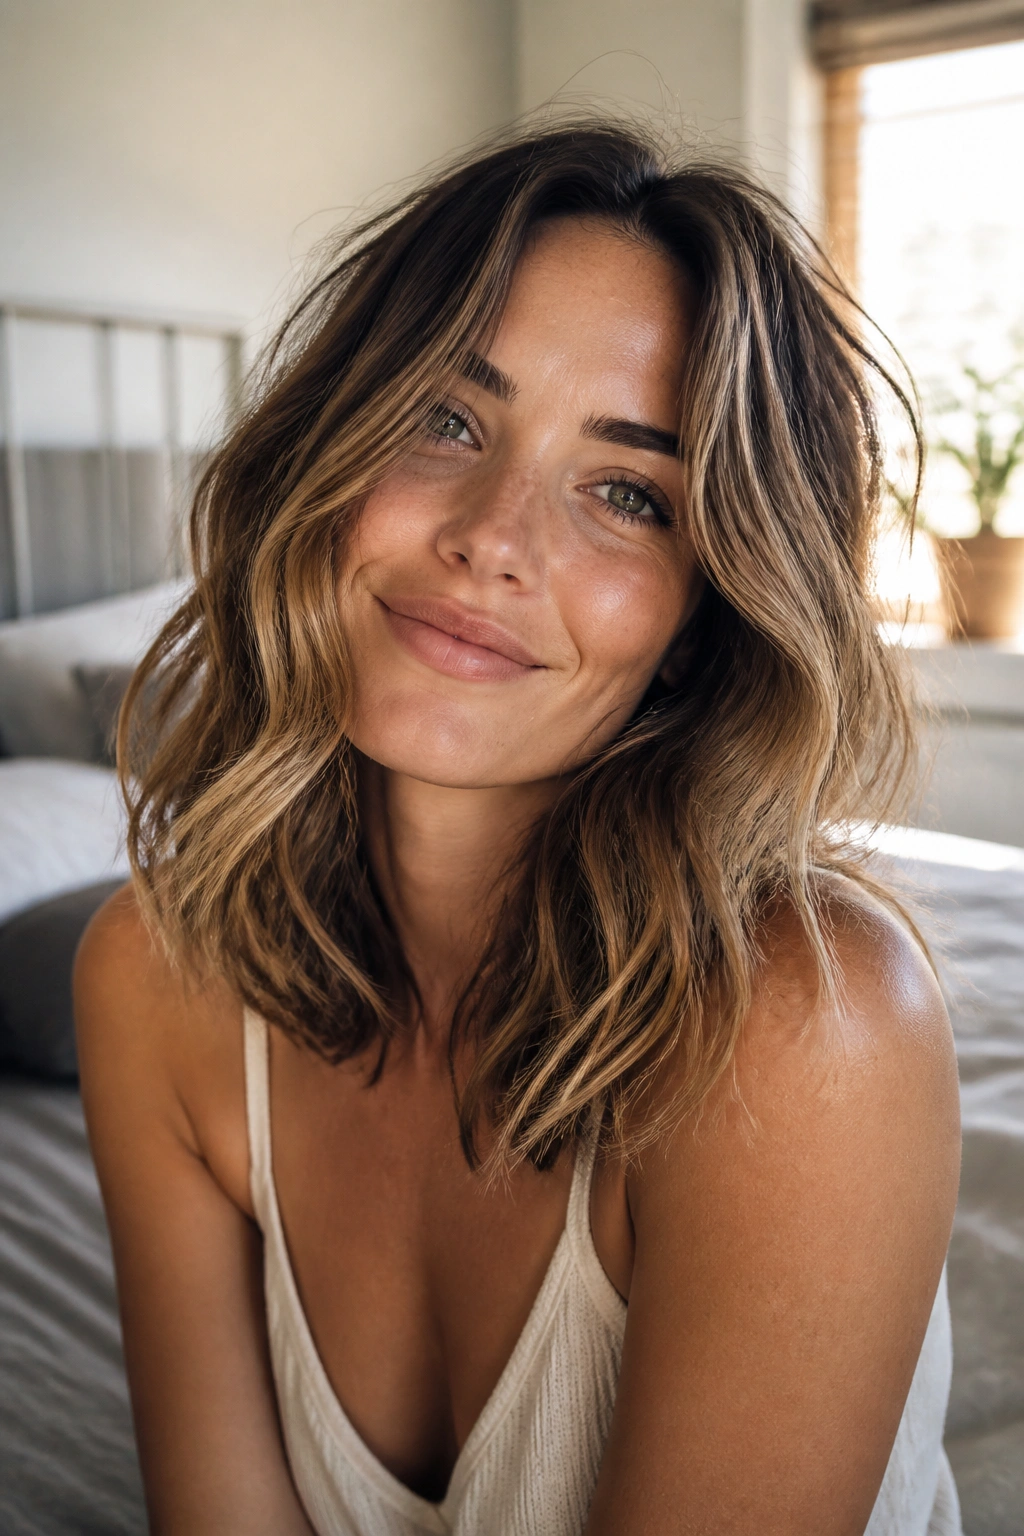
Medium-length waves live or die by balance. Too tight, and the hair shrinks. Too loose, and the shape disappears. The styles that work best are the ones that keep a clear bend, a soft finish, and enough variation to make the hair look touched, not manufactured.
If you only try one thing, start with the version that matches your hair’s natural behavior. Fine hair usually likes airy waves and a lighter hand. Thick hair usually needs more control and a stronger product base. Either way, the smartest finish is rarely the most perfect one.
That’s the part people miss. Tousled waves look best when they can move.
