



Messy curls for curly hair work best when they look like they were styled by touch, not force. The strongest versions keep the curl pattern visible, let the roots breathe, and leave a little movement around the face so the whole thing feels alive instead of stiff.
A lot of curly styling goes sideways because people try to tame every strand at once. That usually leaves the crown too flat, the ends too controlled, and the whole shape a little tired. A better approach is to protect the curl clumps you already have, lift the roots where the hair naturally falls flat, and decide where you want the “messy” part to live — at the crown, in the fringe, in the bun, or through the length.
That idea works on loose waves, springy ringlets, and tight coils alike. It also works on wash-day hair, day-two hair, and those in-between days when your curls have plenty of personality but not much cooperation.
Messy is not sloppy.
The styles below lean into that difference. Some take two minutes and a clip. Some need a diffuser, a scrunchie, or a few pins. All of them keep the texture front and center, which is really the whole point.
1. Half-Up Puff with Loose Face Framing
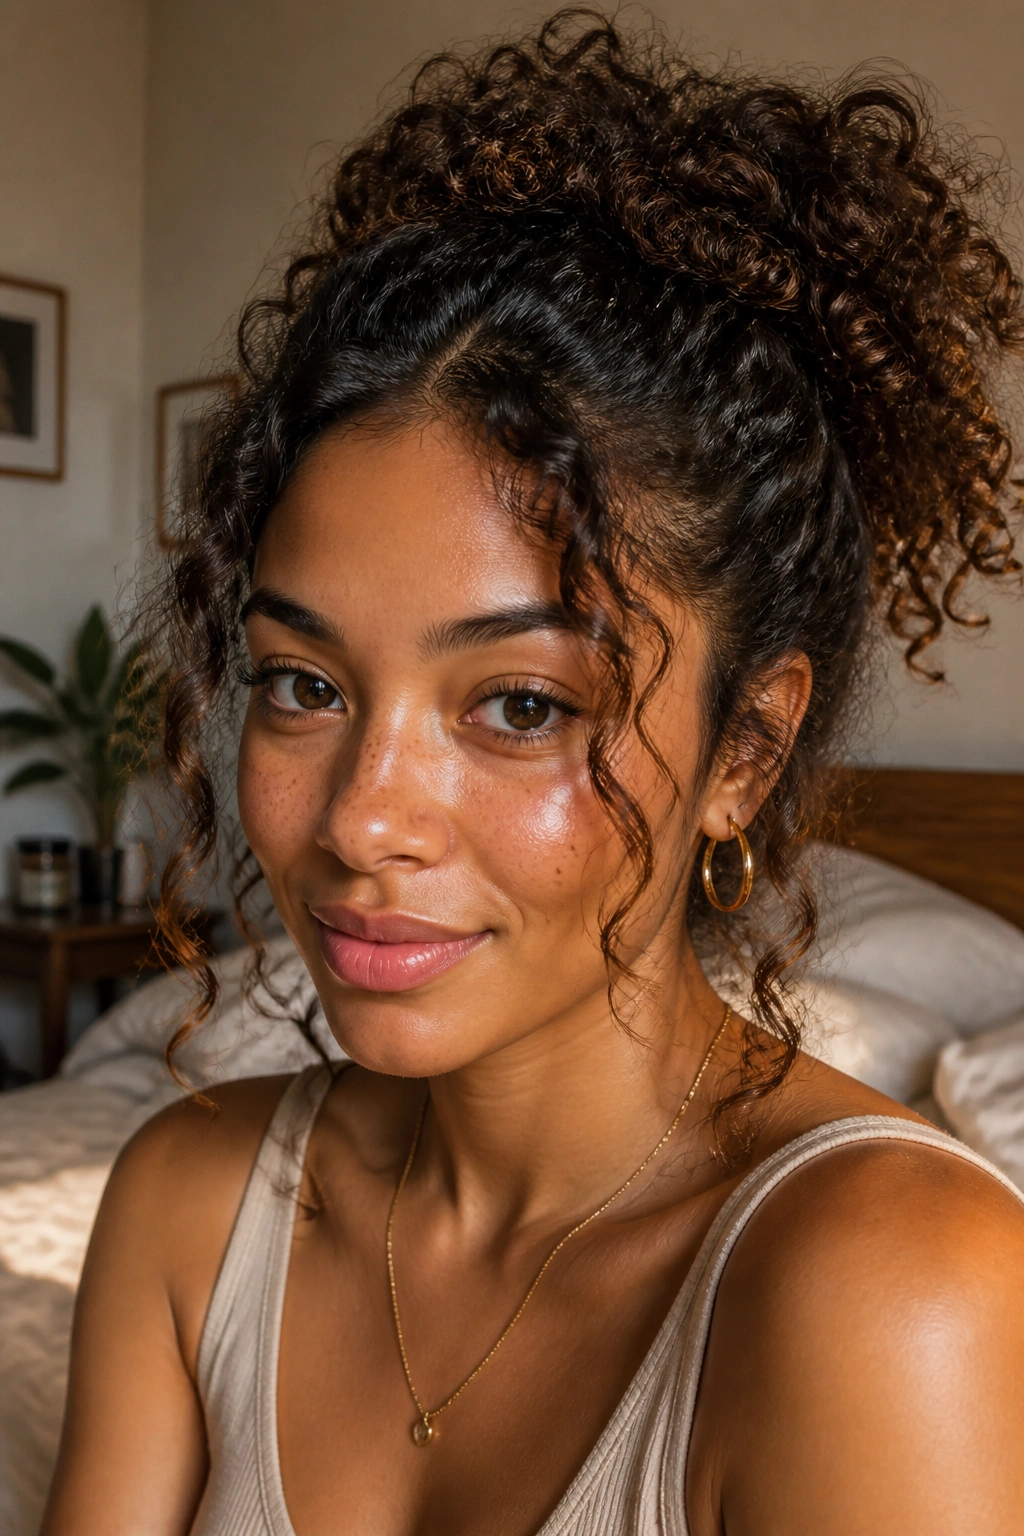
A half-up puff is the easiest way to rescue curls that have flattened at the crown but still look lively through the lengths. Pull the top section back, leave the bottom layer free, and let a few curl pieces fall near the cheekbones. That little bit of looseness keeps the style from looking too neat.
Why It Works
The shape gives you height without taking away the curl pattern. If your hair starts to collapse around the roots by midday, this is the kind of style that brings it back to life fast. It also suits shoulder-length curls especially well, because the contrast between lifted top sections and loose ends adds shape.
Use a soft scrunchie or a small coil tie so the top section does not get kinked. A puff that sits too low can look accidental, so place it just above the crown. A one-inch lift makes a bigger difference than people expect.
- Best for curls with flat roots and lively ends
- Good on second- or third-day hair
- Works with medium to high density
- Looks better with a few face-framing pieces left out
Pro tip: lift the top section with your fingertips before you tie it off. That tiny bit of root volume keeps the whole style from sagging by noon.
2. The Soft Pineapple
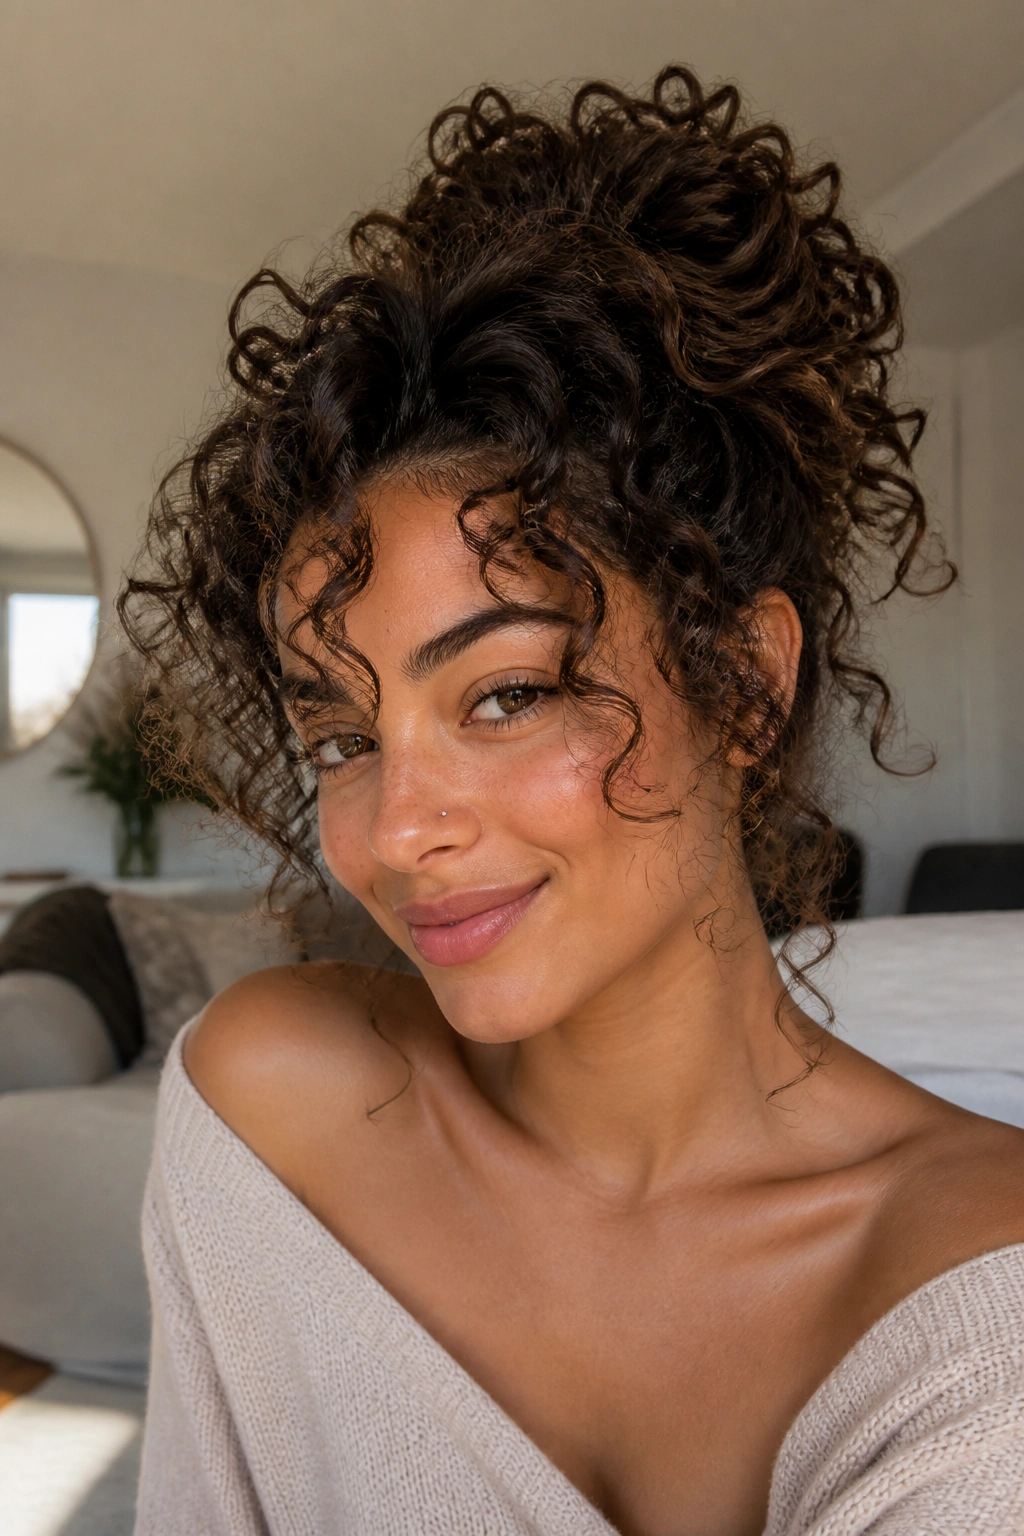
The pineapple works because it protects the curl clumps you already have. Gather your curls high, near the top of the head, and secure them loosely so the ends fan out instead of getting crushed. Done right, it looks casual in the best way — especially when a few coils fall around the hairline.
This is the style I reach for when the back of my hair still has good shape but the underneath layers are getting grumpy. It keeps the bulk off your neck, saves definition, and makes morning refreshes easier later. The elastic should hold, not squeeze.
A silk or satin scrunchie helps, but a stretched-out coil tie works too. Leave the front loose if you want more softness. Pull it tighter and you get a more lifted, sporty shape; keep it loose and it turns into one of those styles that looks intentionally undone without trying too hard.
The best part is how little precision it asks of you. Messy curls like this are forgiving. They want height, not perfection.
3. The Clipped Crown Lift
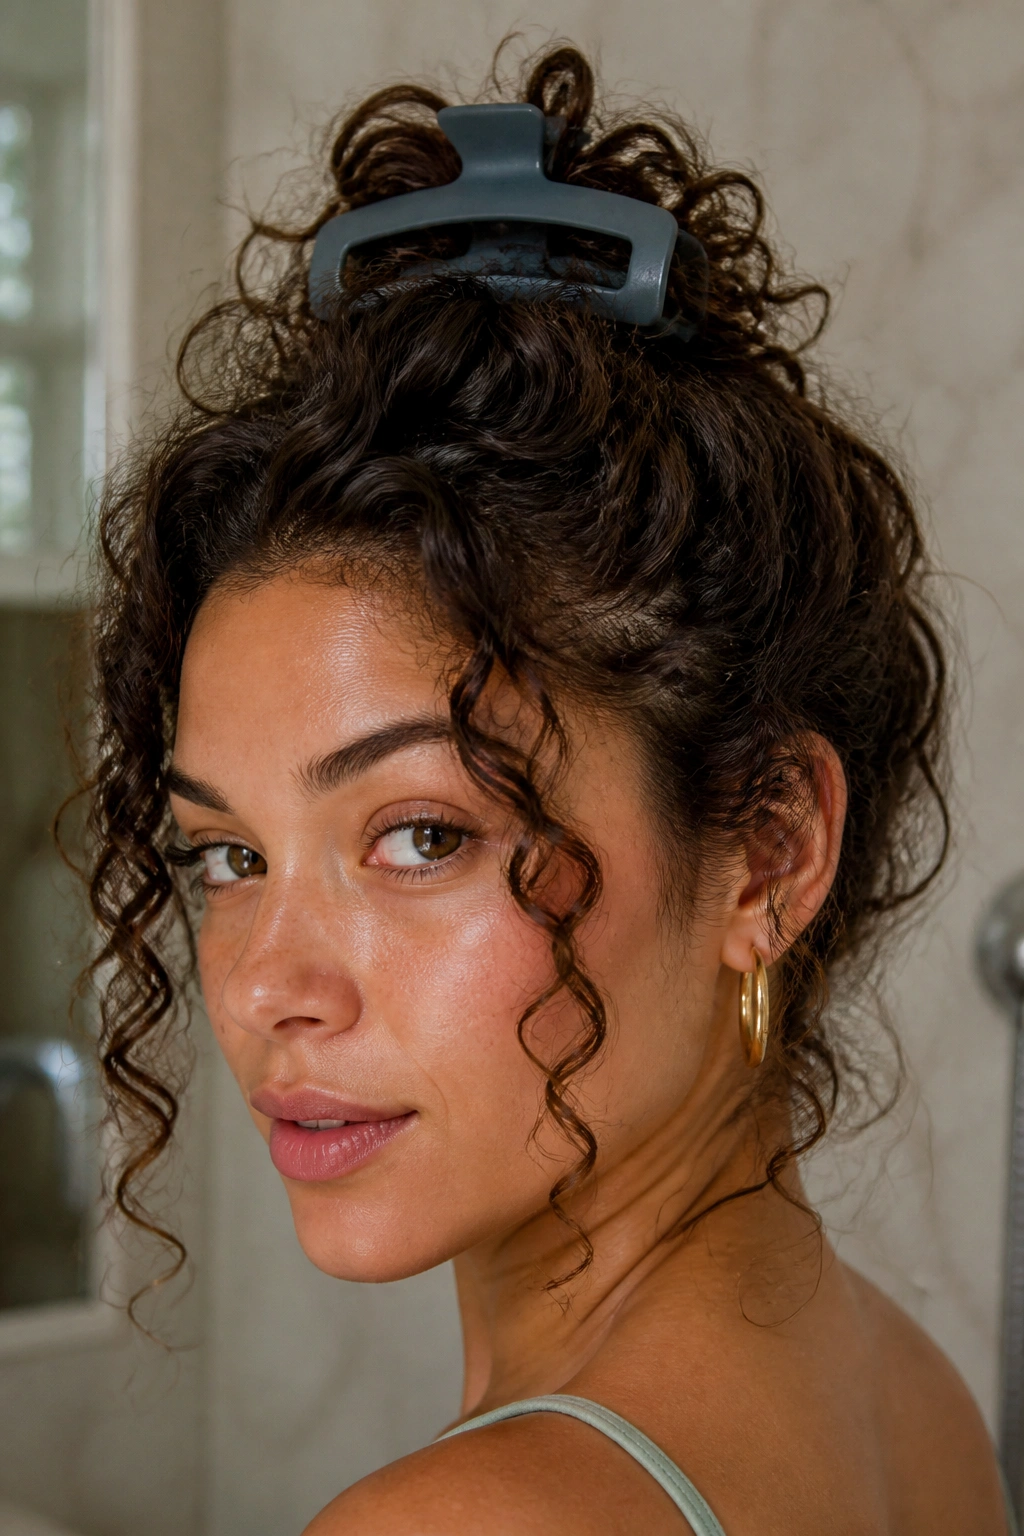
A single oversized claw clip can turn “I don’t know what to do with this” hair into a shape that looks surprisingly put together. Twist the top half or all of the hair upward, catch it with the clip, and let the lengths spill out a little. That spill is the charm. If every curl is tucked in, the style loses its edge.
What to Watch For
A weak clip slides. A tiny clip looks fussy. You want something with enough grip to hold thick curls, and the teeth should be spaced wide enough to catch texture without flattening it. Matte clips usually grip better than glossy ones, at least in my experience.
- Place the clip at a slight angle, not straight up and down
- Leave a few curls out around the temples
- Use it on dry or mostly dry hair
- Avoid clipping a huge wet section unless you want a dent later
The nice thing about this style is how fast it changes the mood of the hair. One minute it’s hanging everywhere. The next, it has shape, height, and a little attitude. Not bad for one clip.
4. Side-Parted Wash-and-Go
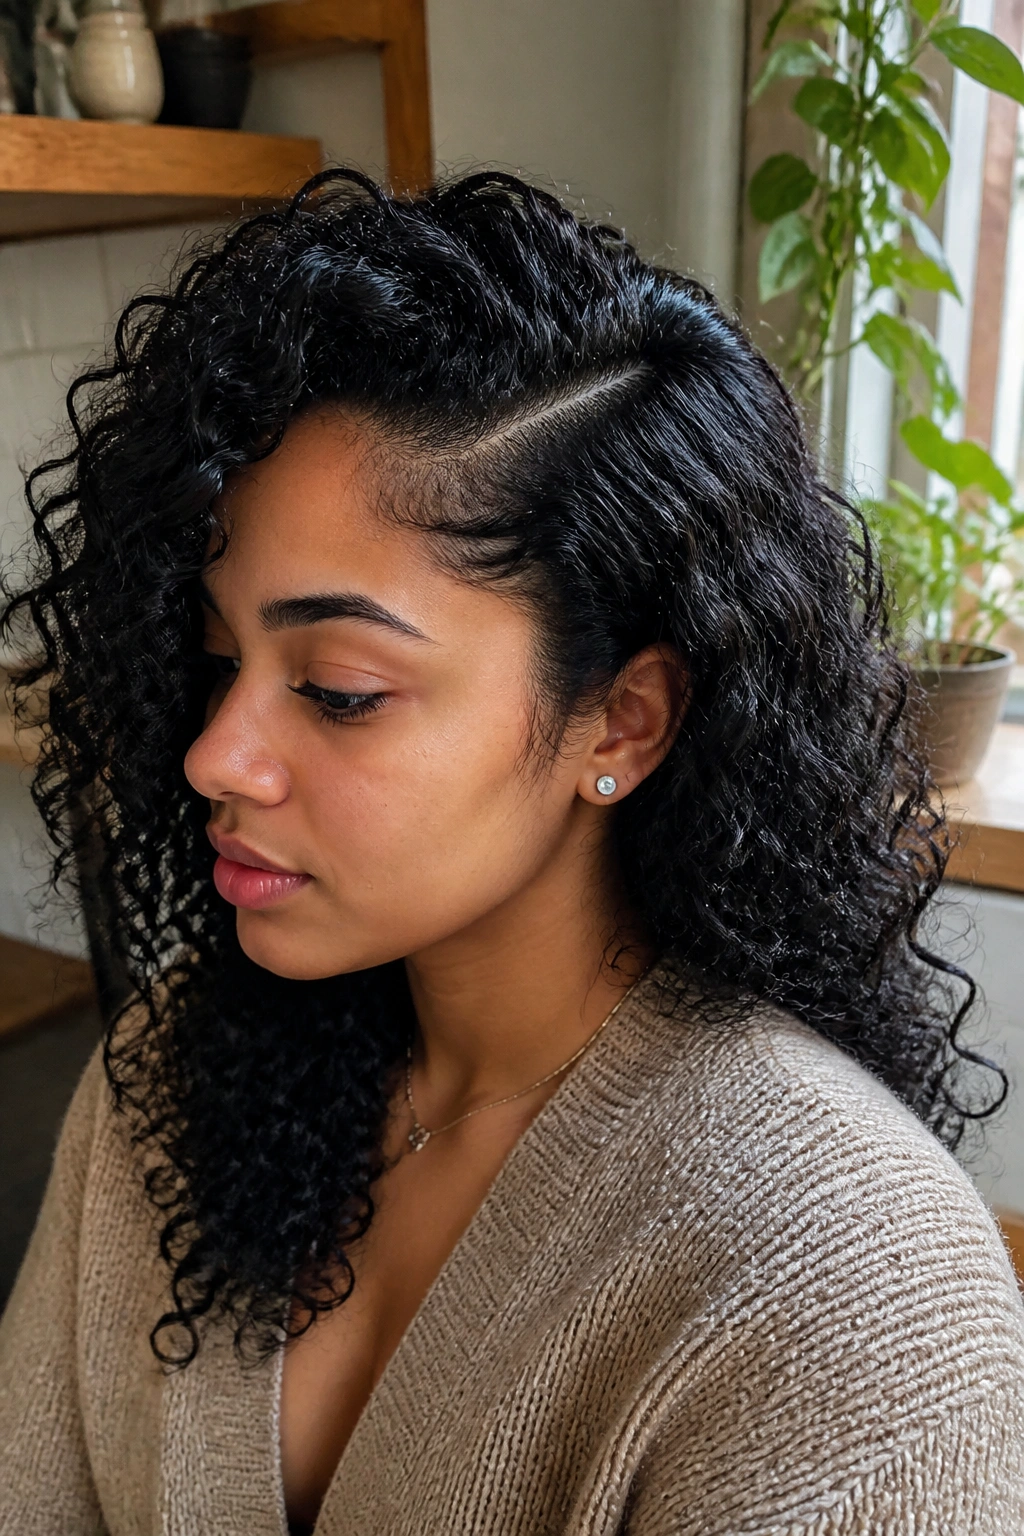
Why does a side part make messy curls look more intentional? Because it gives the eye a clear place to land. Instead of a flat, centered shape, you get lift on one side and a softer fall on the other, which makes the curls look fuller even if you did almost nothing.
A wash-and-go with a deep or medium side part works especially well when the roots are a little sleepy. Flip the hair while it’s damp, rake in your leave-in or mousse, and let the curls set in that direction. A diffuser on low heat helps, but air-drying works too if you don’t keep touching it.
How to Shape It
Clip the roots on the heavier side if you want extra lift. Then leave the front pieces alone. The curl line around the face should look soft, not carved.
A side part can also hide uneven curl pattern. One side may clump tighter than the other. Fine. That asymmetry is part of the appeal.
5. The Curly Bun with Soft Flyaways
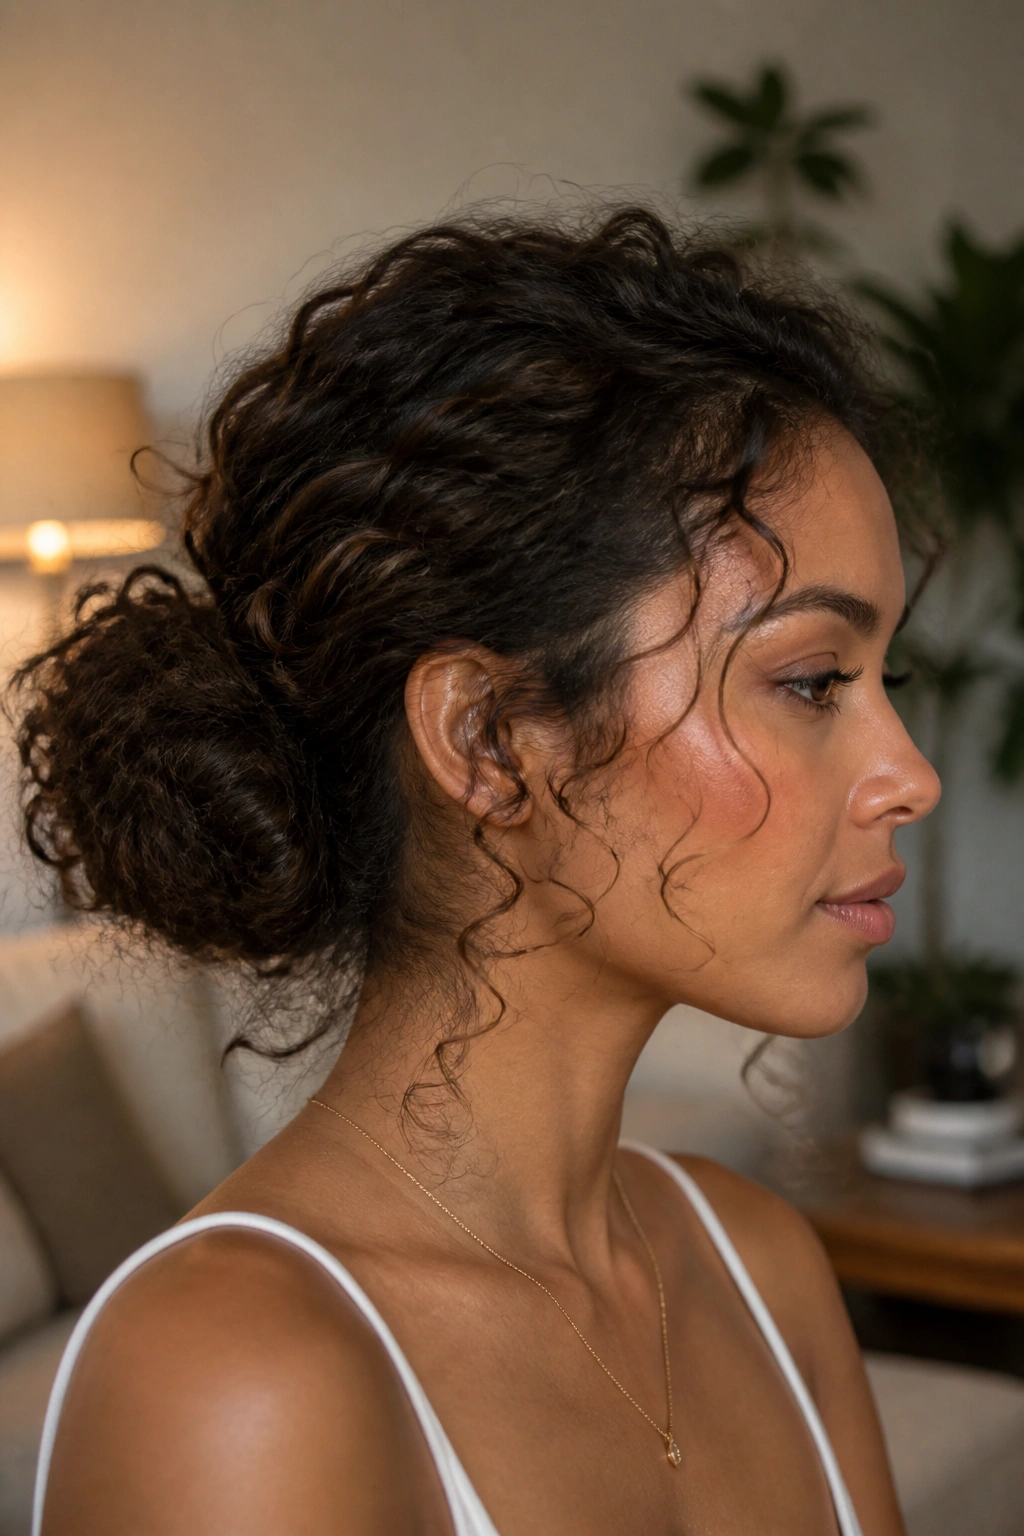
A curly bun with flyaways is not the same thing as a slick bun. The whole point is to keep some curl texture visible around the edges while the main shape sits at the nape or the mid-back of the head. It looks a little loose, a little relaxed, and much better than a bun pulled so tight it stretches the life out of the curls.
This style is especially useful on humid days when the crown starts puffing up faster than you want. Twist the hair into a bun, but do not smooth every strand into place. Let the front fuzz stay. Let one or two spirals escape near the ears.
The easiest version uses a scrunchie and two pins. Gather the hair low, twist it once or twice, and pin the loose end under the bun. If the bun feels too severe, tug it apart with your fingers after it’s secured. That little looseness makes it feel lived-in instead of overworked.
6. The Curly Shag With Piecey Front Layers
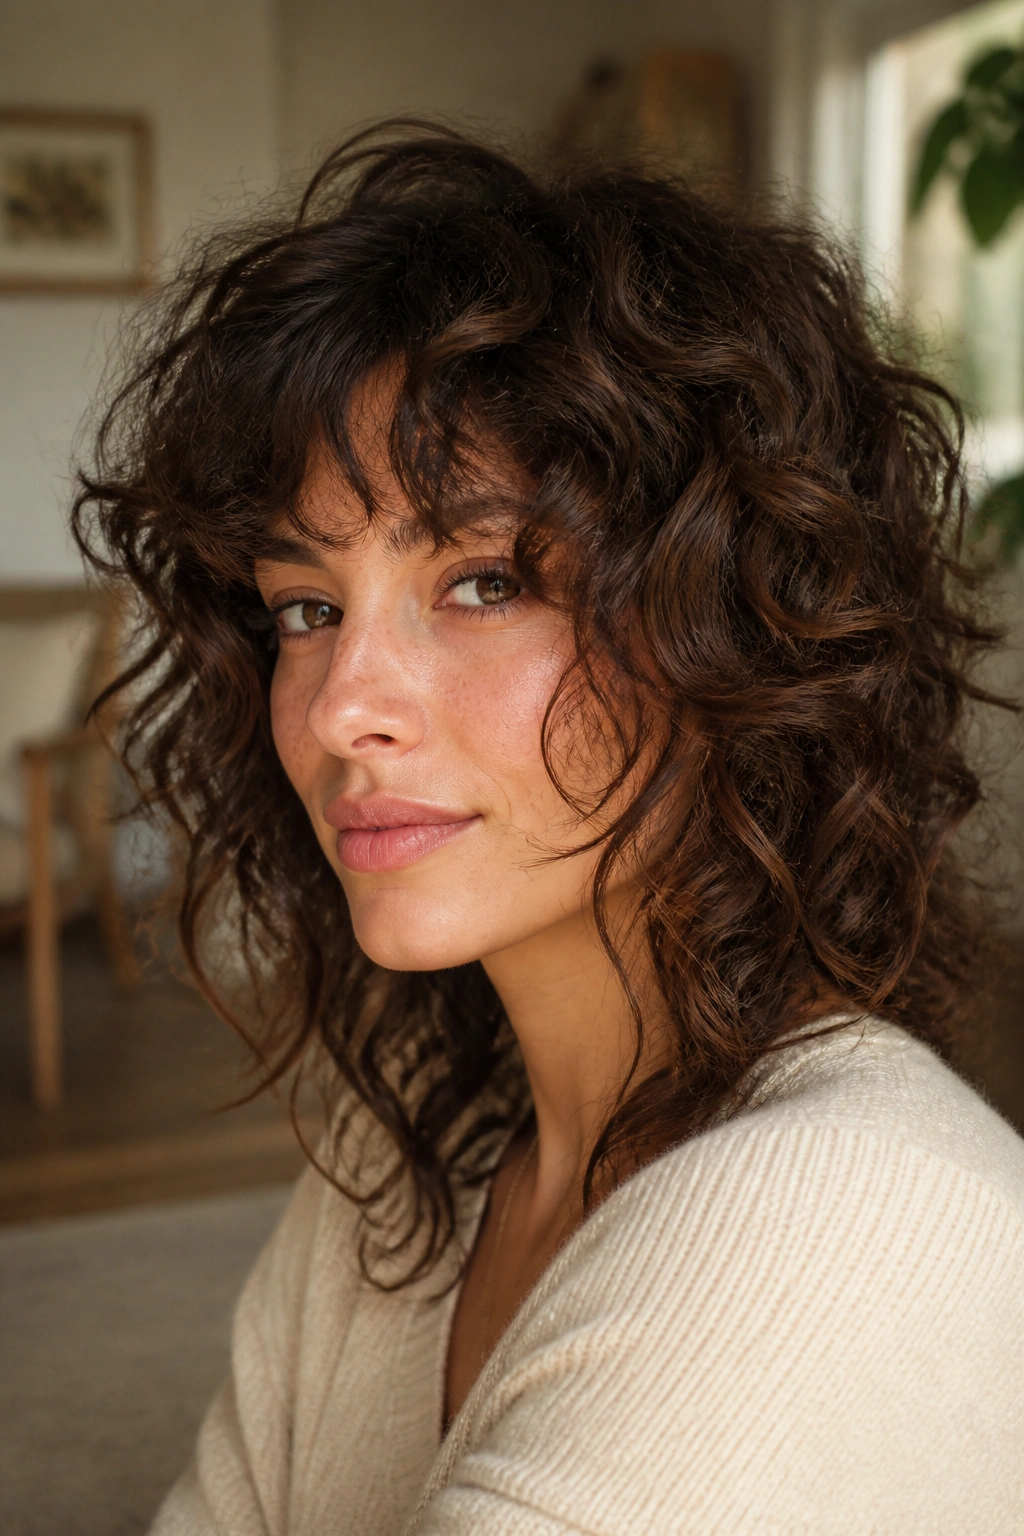
If you like messy curls, the shag is the haircut that does half the styling for you. The layers create movement before you even touch the hair, and the shorter crown pieces keep volume from sitting only at the bottom. On curly hair, that matters a lot.
What to Ask Your Stylist
Ask for visible layers, not razor-thin ends. Too much thinning can leave curly hair frayed and see-through, which is a different look entirely. You want lift around the crown, a shaped fringe or face frame, and enough weight left in the ends to keep the silhouette full.
- Shorter top layers for crown volume
- Face-framing pieces that start around the cheekbone or chin
- Length left in the perimeter so the hair does not disappear
- Shape that follows your curl pattern instead of cutting across it
A shag also makes refresh days easier. A little water, a touch of cream, scrunch, and go. No one is mistaking it for a polished blowout, and that is exactly why it works so well.
7. The Air-Dried Curly Bob
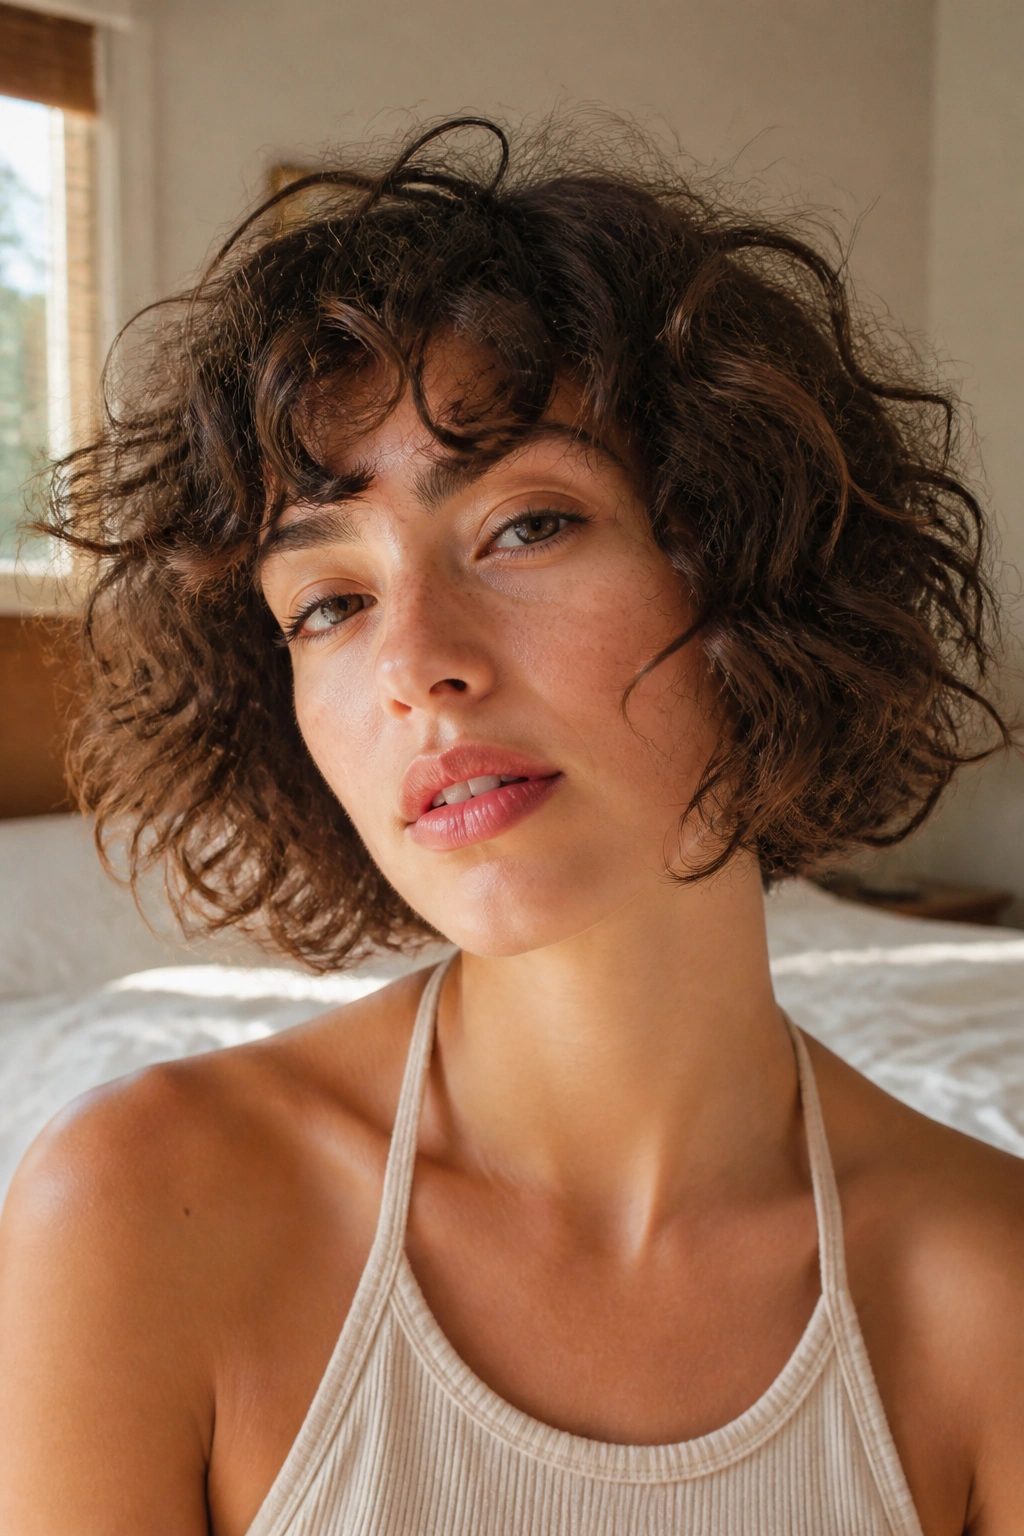
A bob that air-dries with a little unevenness has a charm most polished cuts never reach. The ends can kick out a little. The crown can sit a touch higher than the sides. That imperfect balance gives the haircut movement and makes the curls feel more alive around the jawline.
This shape shines when the hair has enough length to form a curve, but not so much length that it weighs itself down. A curl cream and a light mousse are usually enough. If the hair tends to puff at the roots, clip the crown for a while while it dries, then remove the clips once the shape has memory.
A diffuser can help, but don’t chase every single section into perfect order. Let some pieces dry where they want. A bob that looks too controlled starts to lose the whole point. The little bit of irregularity is what makes it interesting.
8. Half-Up Braids With Loose Ends
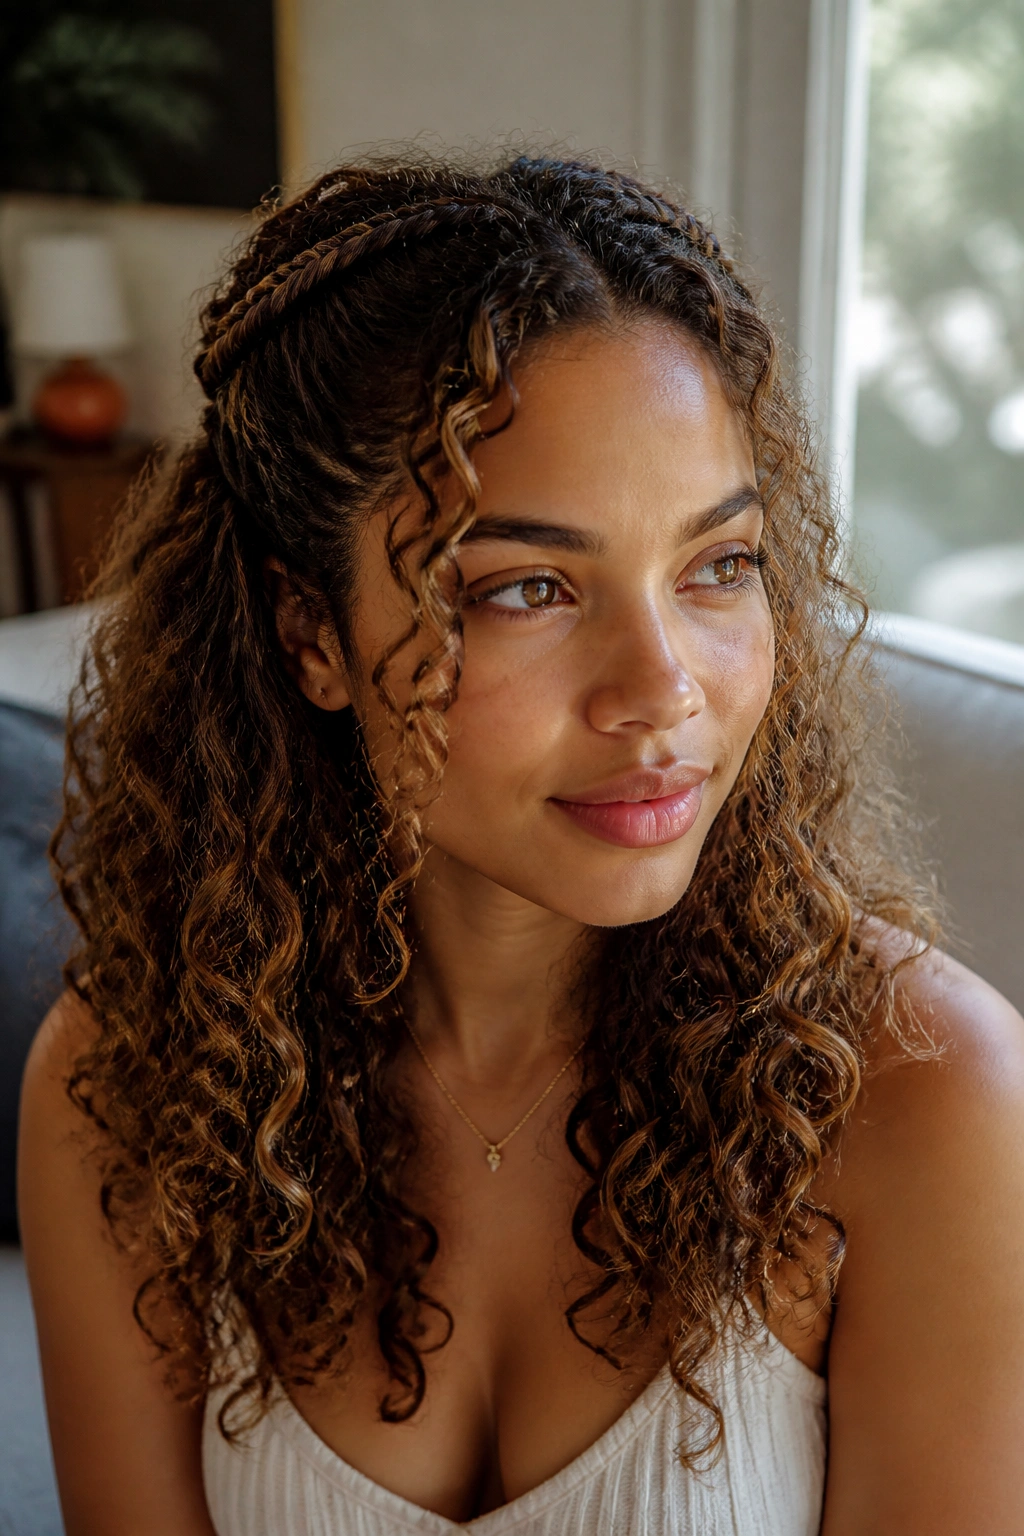
Run two small braids from the temples and the whole style suddenly feels pulled together. The braids keep the front section in place, while the rest of the hair stays loose and textured. It is one of those curly styles that looks like effort without requiring much of it.
Two Braids or One?
Two braids give a more playful look and keep the face open. One braid across the crown feels a little more bohemian. Either way, leave the ends loose so the style does not become too tidy.
Use a clear elastic or a tiny coated band at the back if your hair is slippery. Then pinch the braids a little after securing them. A slightly expanded braid looks fuller and fits the messy-curl vibe better than a tight, skinny plait.
This one works well when you want to keep curls off your face but still show length. It also handles mixed curl patterns nicely, which is useful if the front pieces behave differently from the rest. They usually do.
9. The High Curly Ponytail
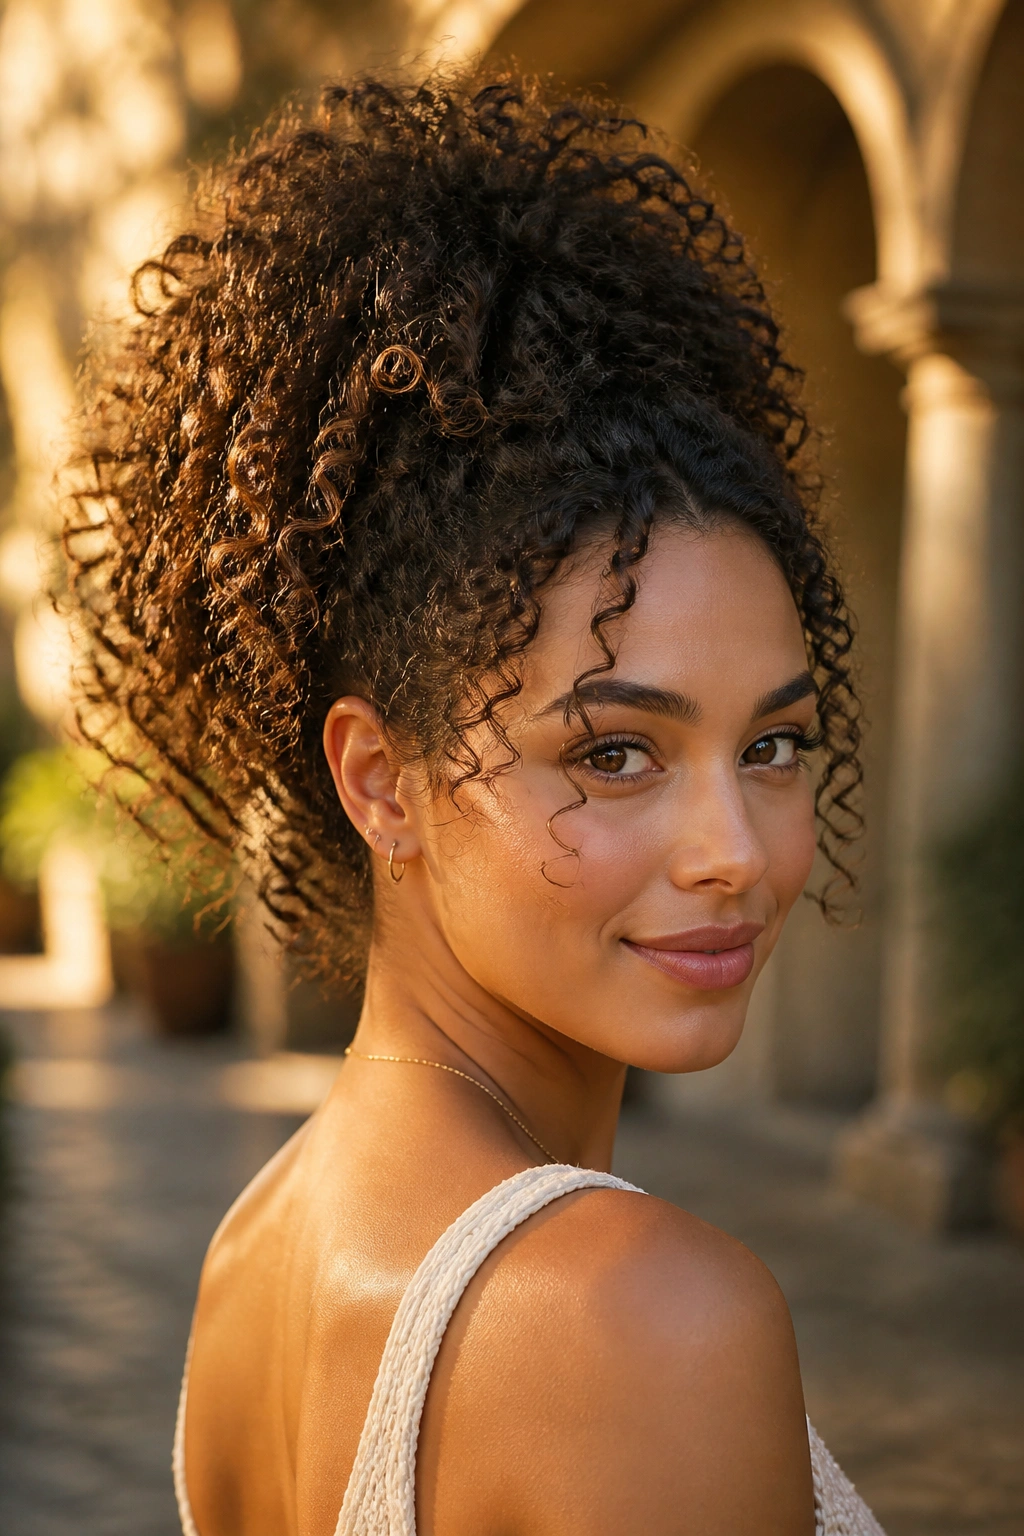
A ponytail only gets boring when the root is too tight and the tail is too brushed out. Keep the crown soft, let the curl pattern stay visible, and the style gains a lot more personality. A high ponytail with texture reads energetic instead of plain.
Pull the hair up without smoothing every bump out. Leave the front section slightly lifted, then secure the pony with a coil tie or a covered elastic. Wrap a small curl around the base if you want a cleaner finish, but don’t make it so neat that the texture disappears.
The tail should move. That matters. If your curls are dense, the weight of the pony can pull the roots flat, so use a second hidden pin under the elastic for support. It sounds fussy. It isn’t. It keeps the whole thing from drooping by lunch.
10. The Scarf-Tied Low Puff
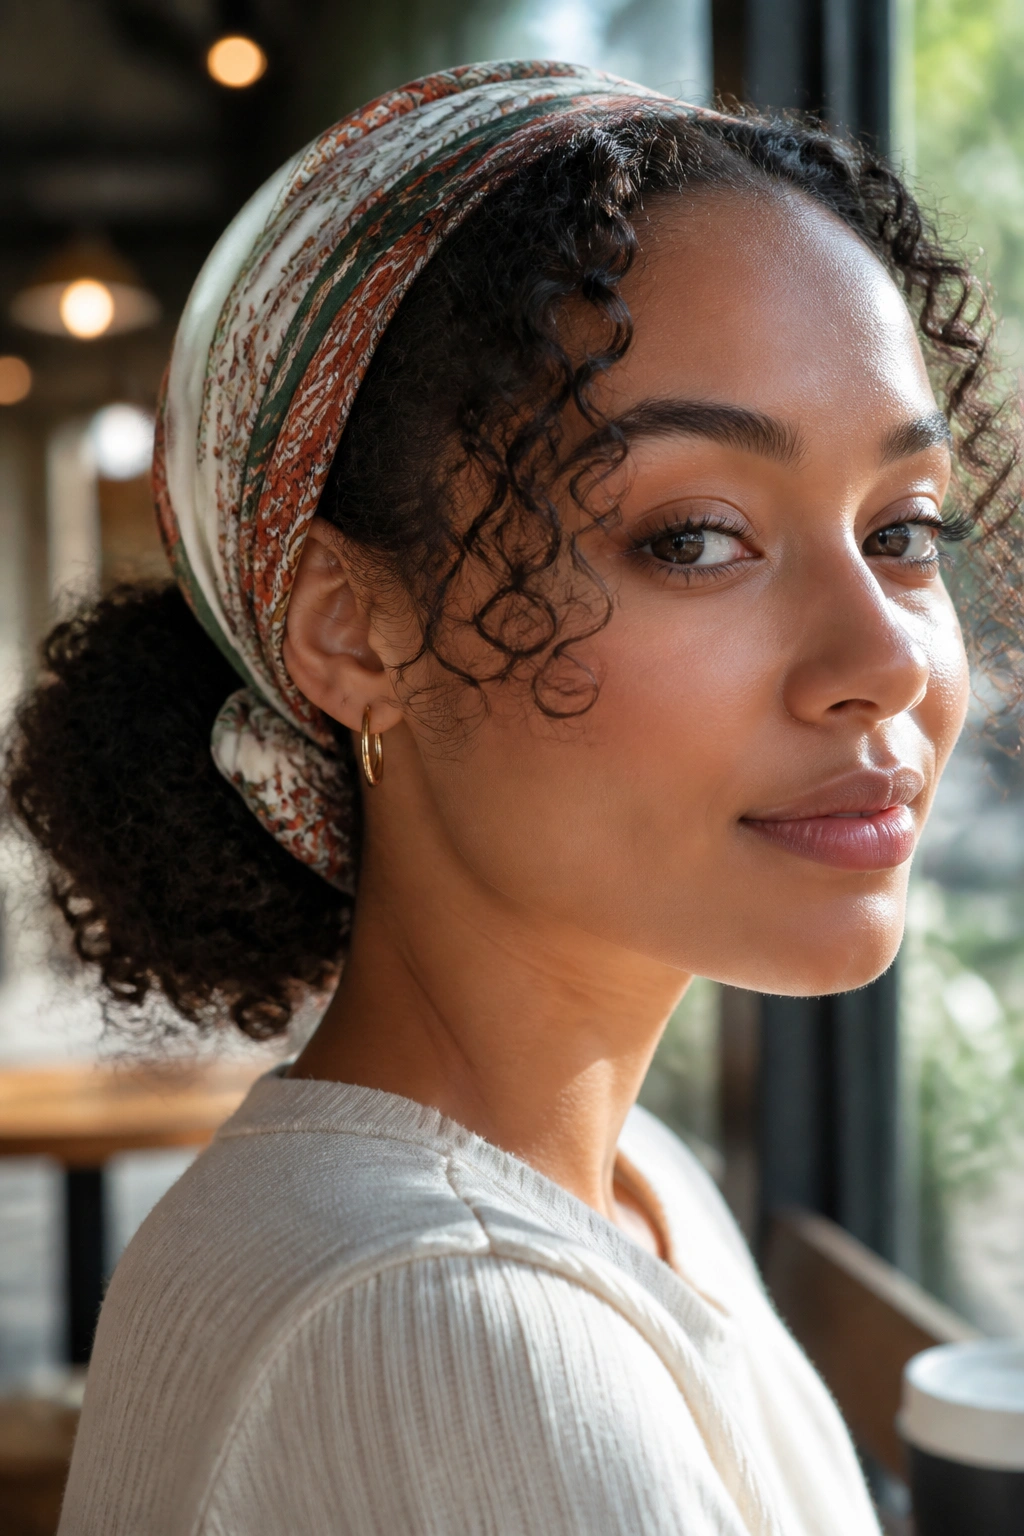
A scarf tied low can hide a bad hair day and still look deliberate. Gather the curls into a low puff or low ponytail, then tie a scarf around the base so the fabric becomes part of the shape. The curls stay soft, the neck stays open, and the whole style feels easy.
How to Place the Scarf
Fold the scarf to a band about 1 to 2 inches wide. Tie it snug enough to hold, but not so tight that it dents the roots. A printed cotton scarf gives a casual look, while satin feels smoother and is kinder to frizz.
- Best when the hair is a little stretched, not soaking wet
- Great for medium to long curls
- Works well with a low puff, low pony, or loose twist
- Lets the curls stay visible instead of hiding them under fabric
I like this style because it solves two problems at once: it controls the base and adds a little visual interest without extra pins. If the curls around the hairline puff up a bit, leave them. That softness is the whole charm.
11. Twisted Sides With Loose Length
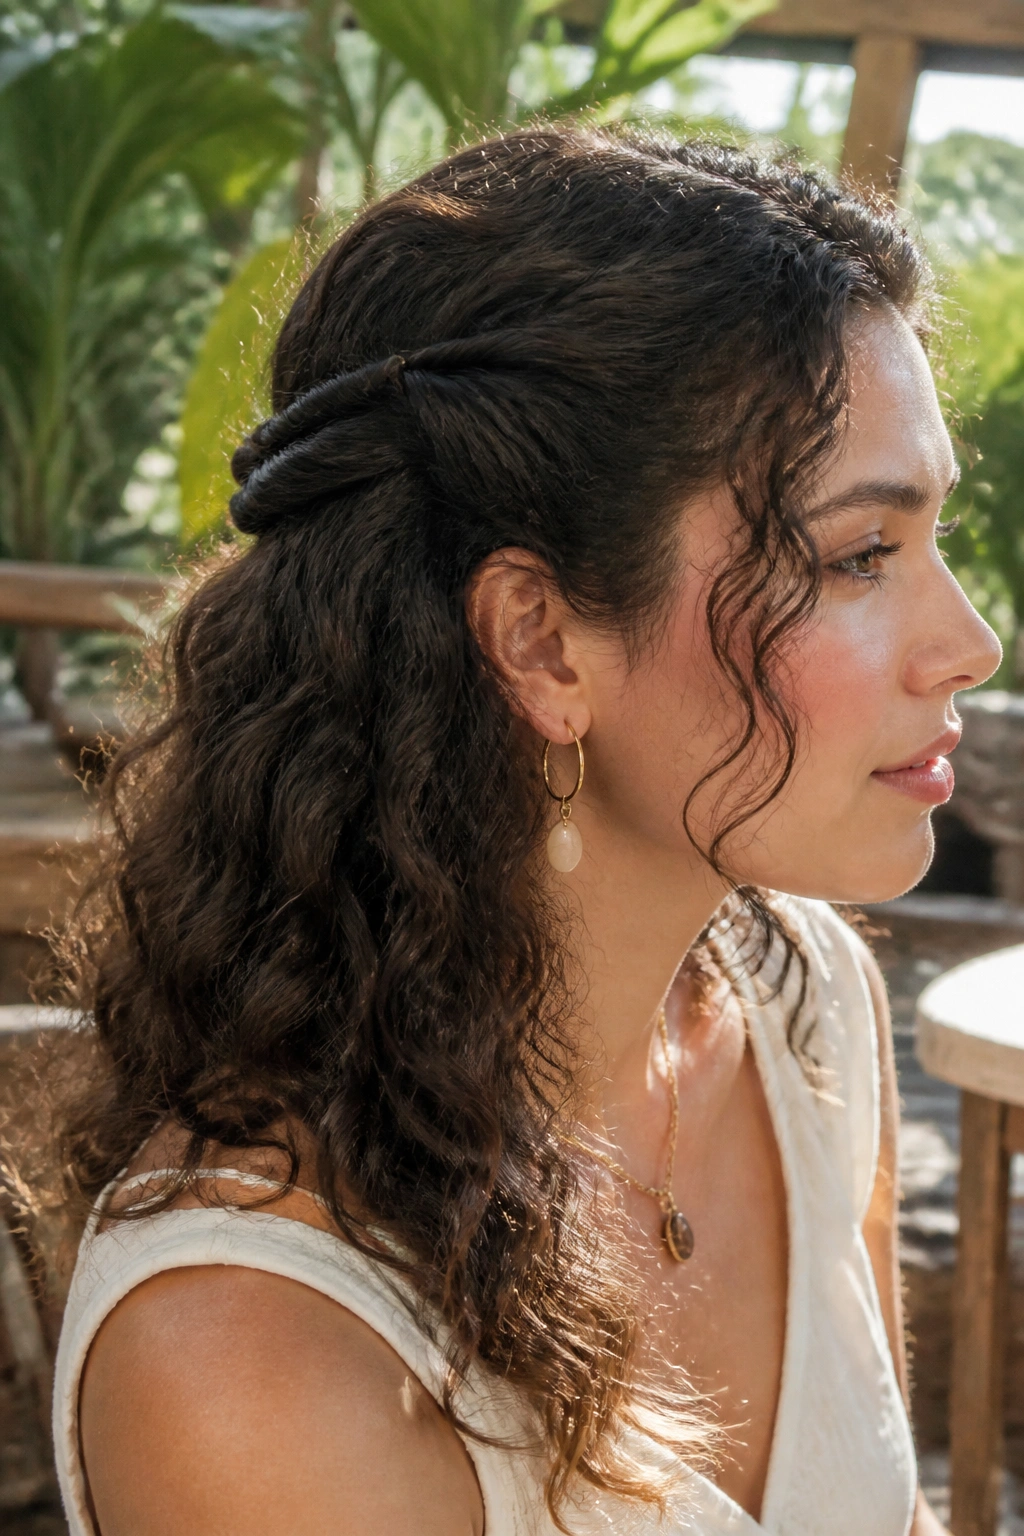
Twists at the sides solve the part-line problem fast. Take a section from each temple, twist it back toward the ear, and pin it so the front stays open while the rest of the hair remains loose. The shape is neat where it needs to be and relaxed everywhere else.
This is a good choice when your curls are doing that thing where the front looks too heavy and the back looks fine. The twist redirects the hair without flattening the whole head. It also gives you a little structure if the curls have started separating too much.
You can keep the twists thin and subtle or make them chunkier for a bolder look. Either way, leave the lower lengths free. A full pinned-back style can feel strict on curly hair; this one keeps some swing in the silhouette, which is more flattering than people expect.
12. Space Buns That Keep Texture Front and Center
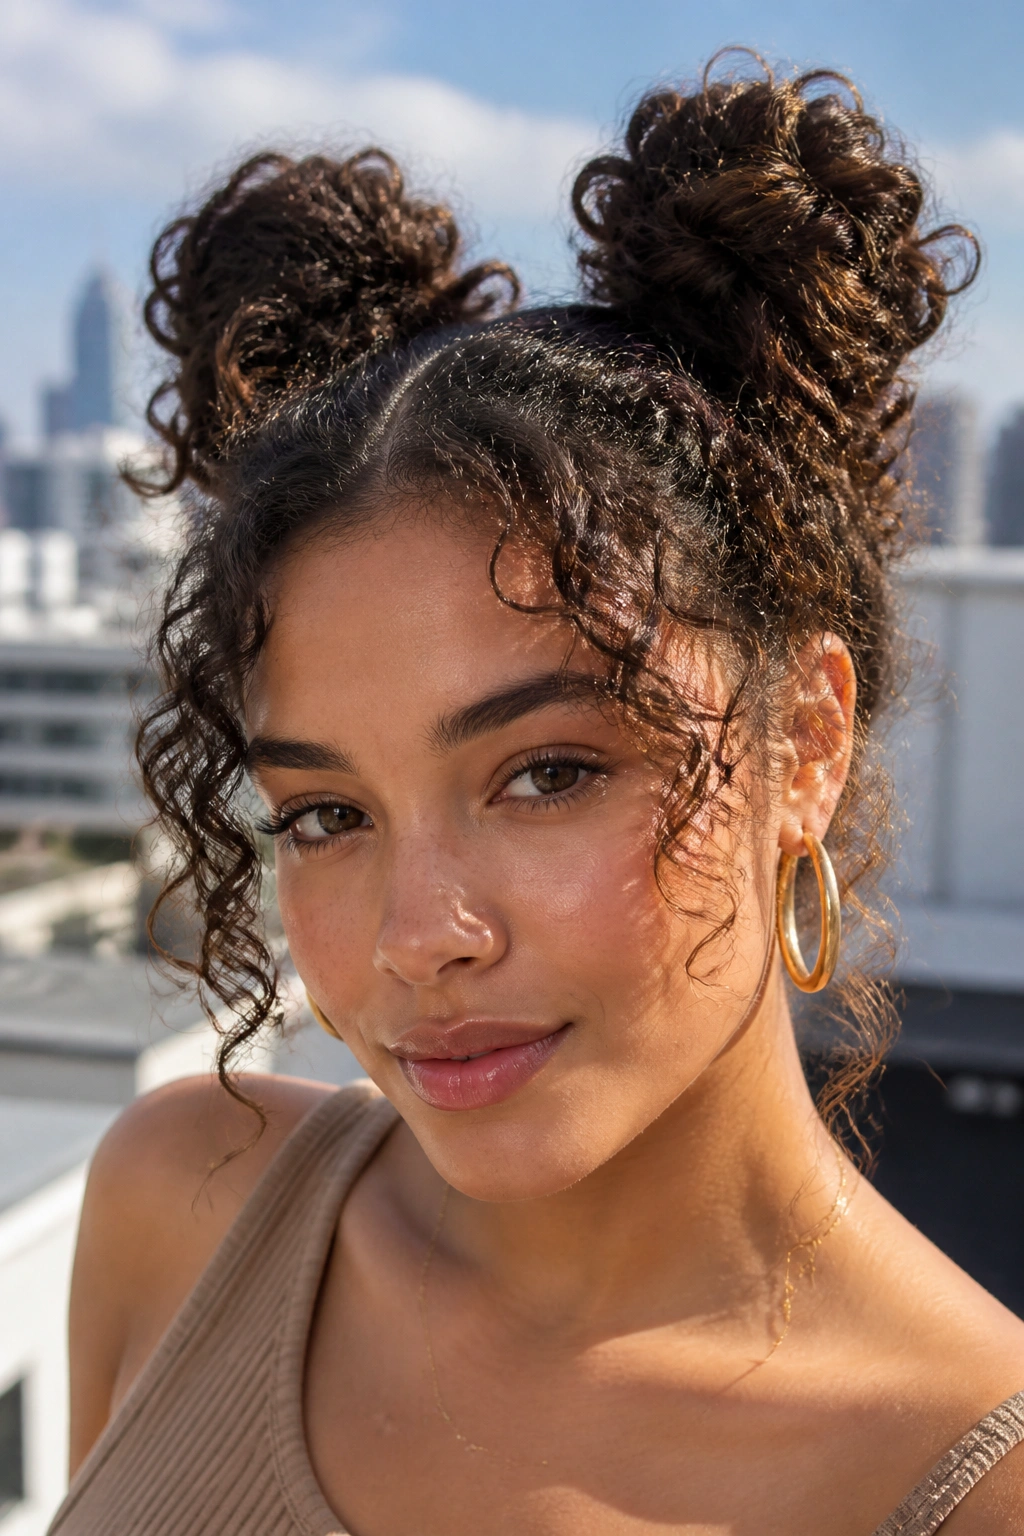
Space buns on curly hair should look slightly unruly. That is the point. Pull the hair into two buns high on the head or slightly back from the temples, then leave a few curls loose around the face and at the nape. If the buns are too perfect, the texture starts to feel staged.
The best versions keep the buns small enough that they don’t flatten the curls into the scalp. Leave some volume at the crown and some puff in the buns themselves. A center part gives the style symmetry, while a soft side part makes it feel looser.
Do not overthink the ends. Let a few curls wrap around the buns and tuck the rest in loosely. The result feels playful, but it also works for thick hair that needs to be lifted off the shoulders. That combination is hard to beat.
13. The Gel-Cast Scrunch-Out Look
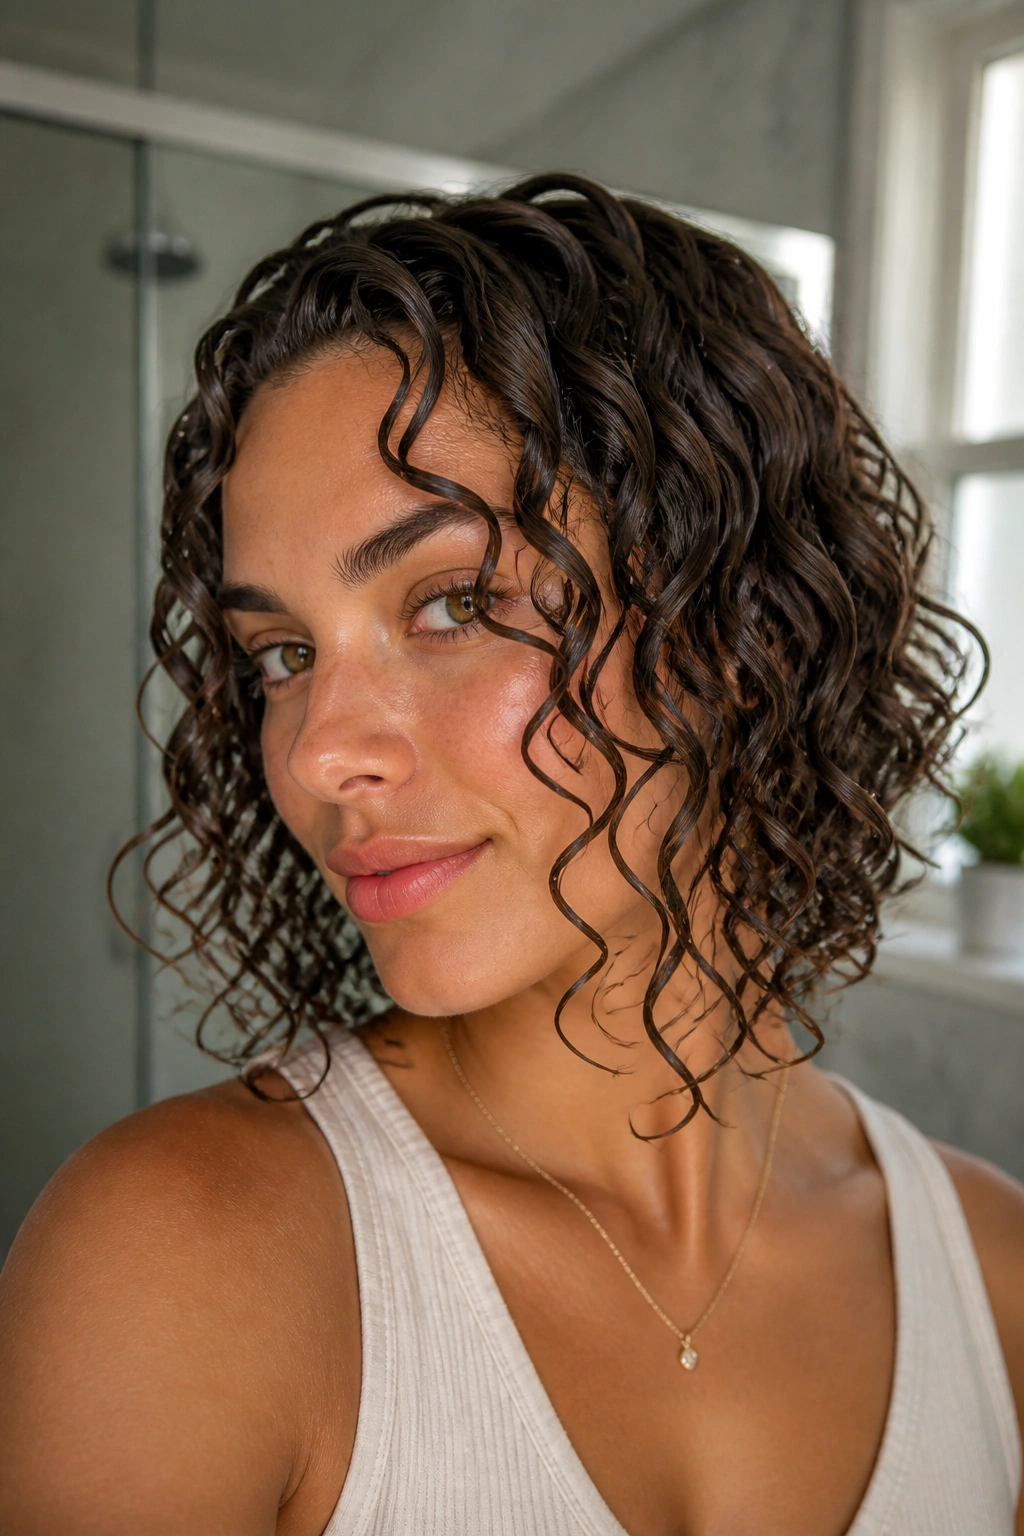
The gel-cast look lives right at the border between defined and fluffy. Apply gel to soaking wet curls, let them dry into a cast, and then scrunch out the crunch once the hair is fully dry. The result is a style with visible curl shape, soft movement, and a little mess around the edges that feels intentional.
Why the Cast Matters
A cast gives the curls structure while they dry. Without it, the curl clumps can collapse or separate too early. Once the hair is completely dry, scrunching breaks the hard shell and leaves you with softer, more touchable texture.
A few tiny details matter here:
- Apply the gel in sections so the product reaches the middle layers
- Dry until the hair feels cool and no longer damp at the root
- Scrunch with dry hands or a tiny bit of oil
- Stop touching it once the cast is broken
The nice part is that this style can look polished and messy at the same time. That contradiction is why so many curly-haired people end up loving it. It gives the curls a frame without turning them into helmet hair. Which, frankly, is a relief.
14. The Curly Mohawk With Tamed Sides
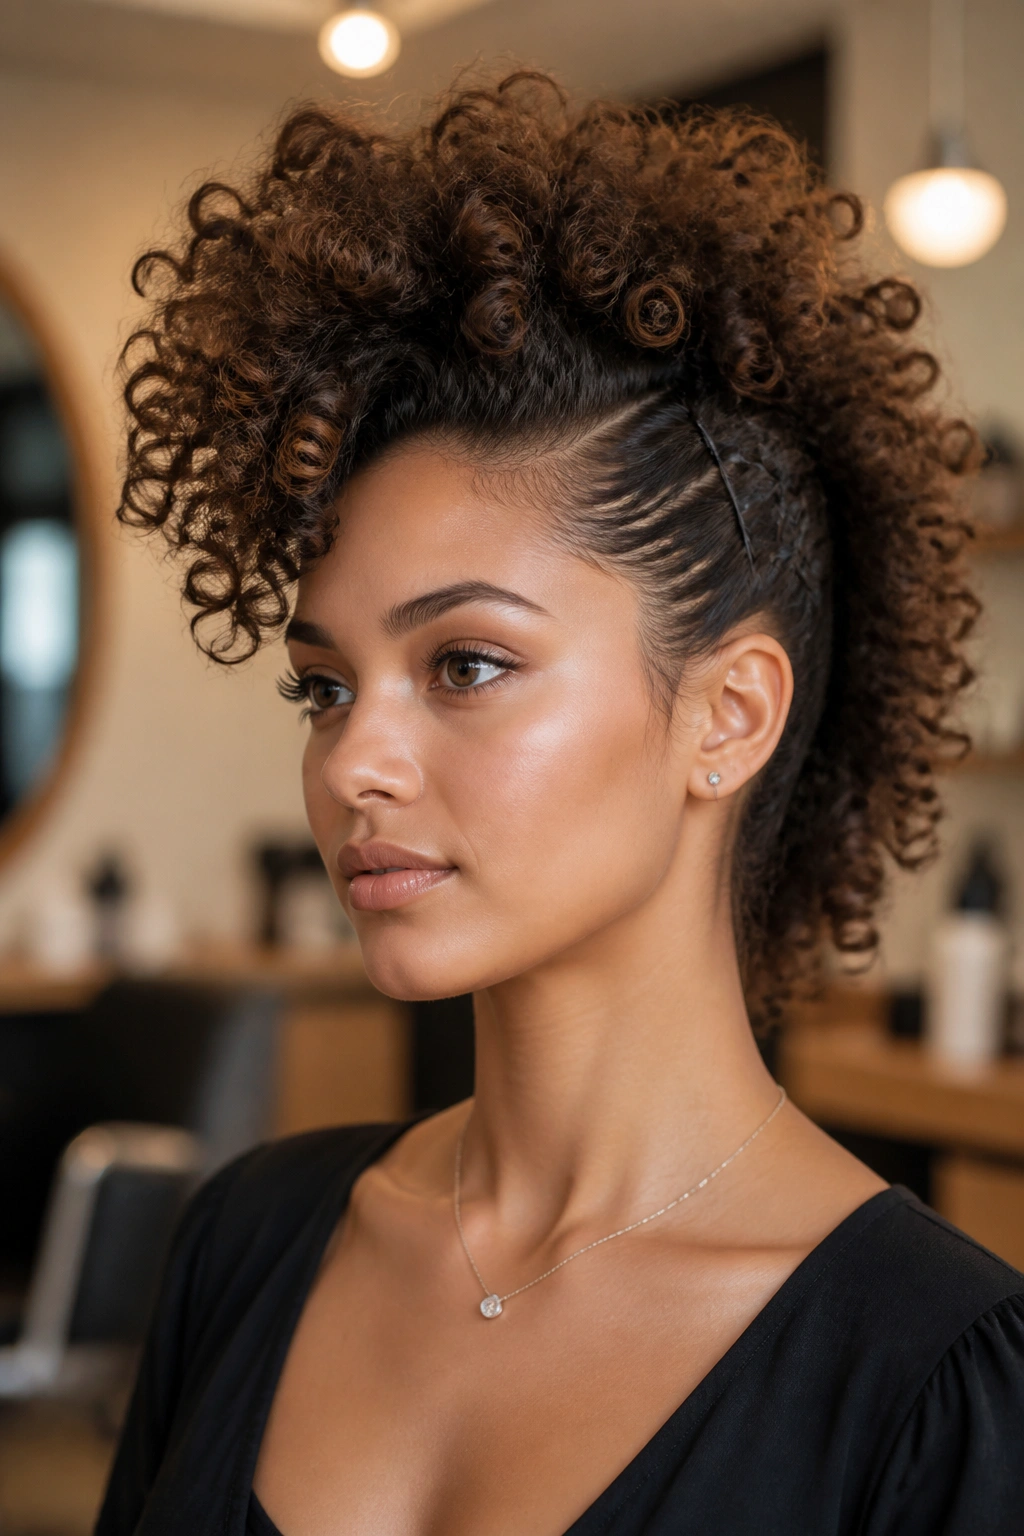
A curly mohawk sounds dramatic, and that is why it works. Pin the sides back or smooth them down while leaving the center section full, lifted, and visibly textured. The shape creates a strong line from forehead to nape, which makes dense curls look sculpted without becoming stiff.
This style suits thick hair especially well, because volume in the middle becomes a feature instead of a problem. If the sides are frizzing, use a little gel or a few bobby pins to keep them close to the head. Do not flatten the top. The center ridge is the whole reason the style has presence.
A curly mohawk can read edgy or elegant depending on how soft you leave the front. Loose pieces around the temples keep it from feeling too severe. A tight center with no softness at the front can look harsh. A little give makes it wearable.
15. The Claw-Clip Twist
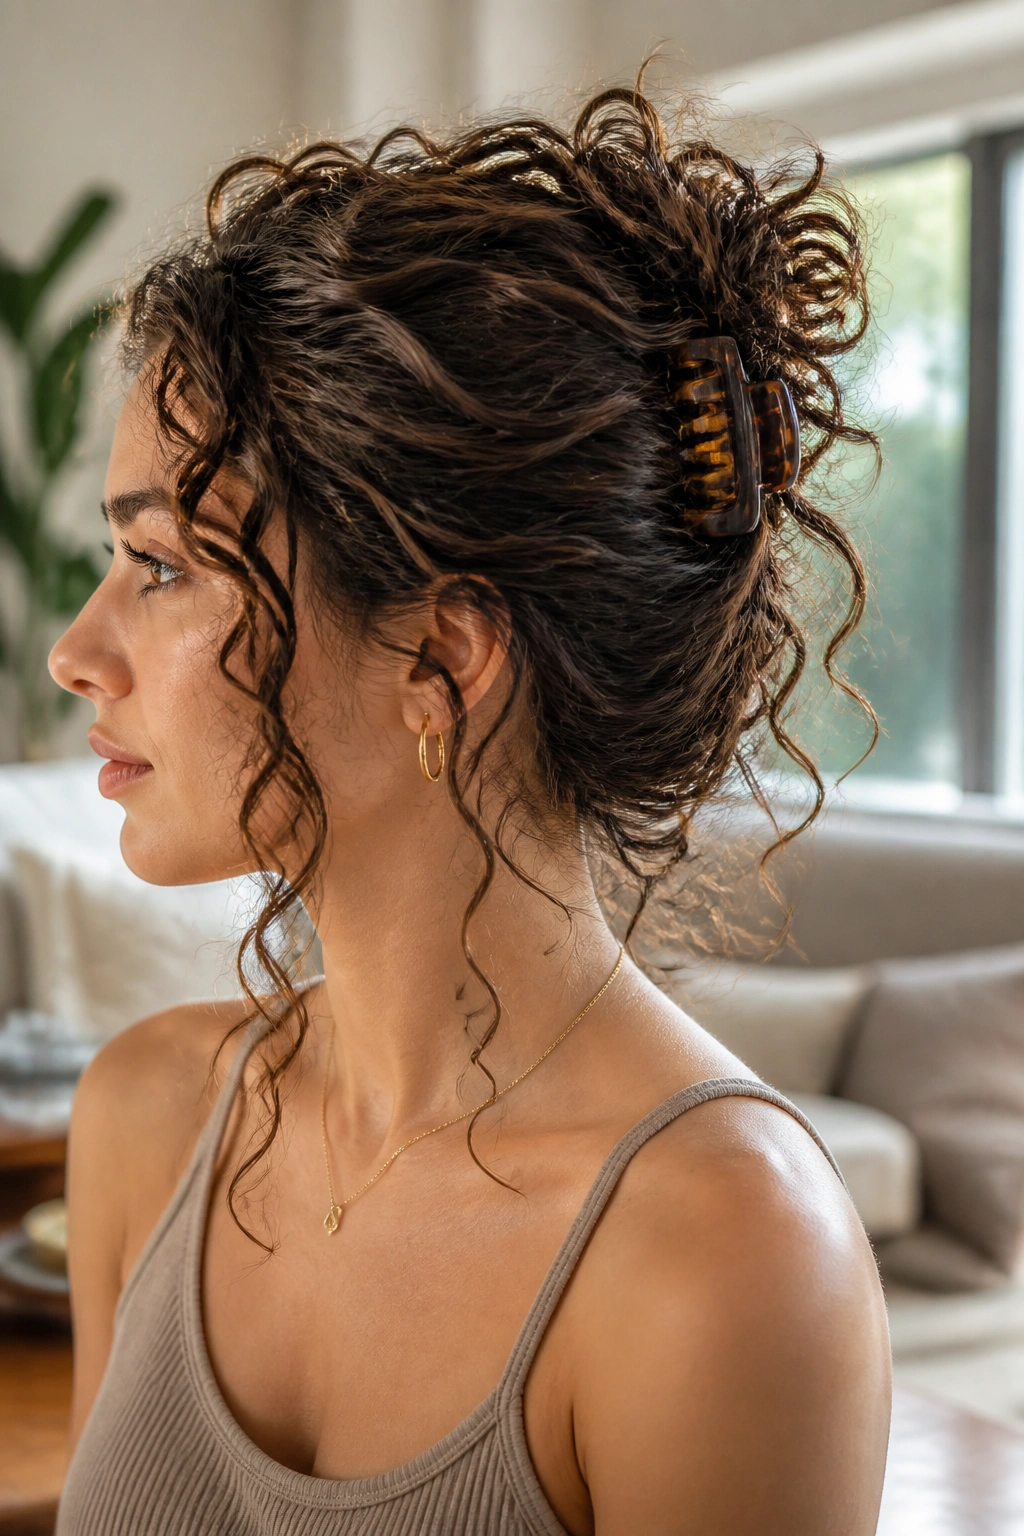
Need a style that takes half a minute and still has shape? Twist the hair upward, catch it with a claw clip, and let the ends fan out. That’s the basic move. The trick is choosing the right amount of hair to twist so the clip actually holds without crushing the curl pattern.
What Makes It Look Good
The clip should sit in the right place — usually mid-back or just below the crown. Too high and the style feels awkward. Too low and it loses the lift that makes it work.
- A medium or large clip holds thick curls better
- Leave two front pieces loose for softness
- Twist the hair once, not three times
- Let the ends spill a little instead of tucking every strand in
A claw-clip twist is one of those styles that looks better when it isn’t overworked. If a few curls poke out, fine. If the twist is slightly uneven, even better. The goal is a shape, not a clean finish.
16. Side-Swept Volume
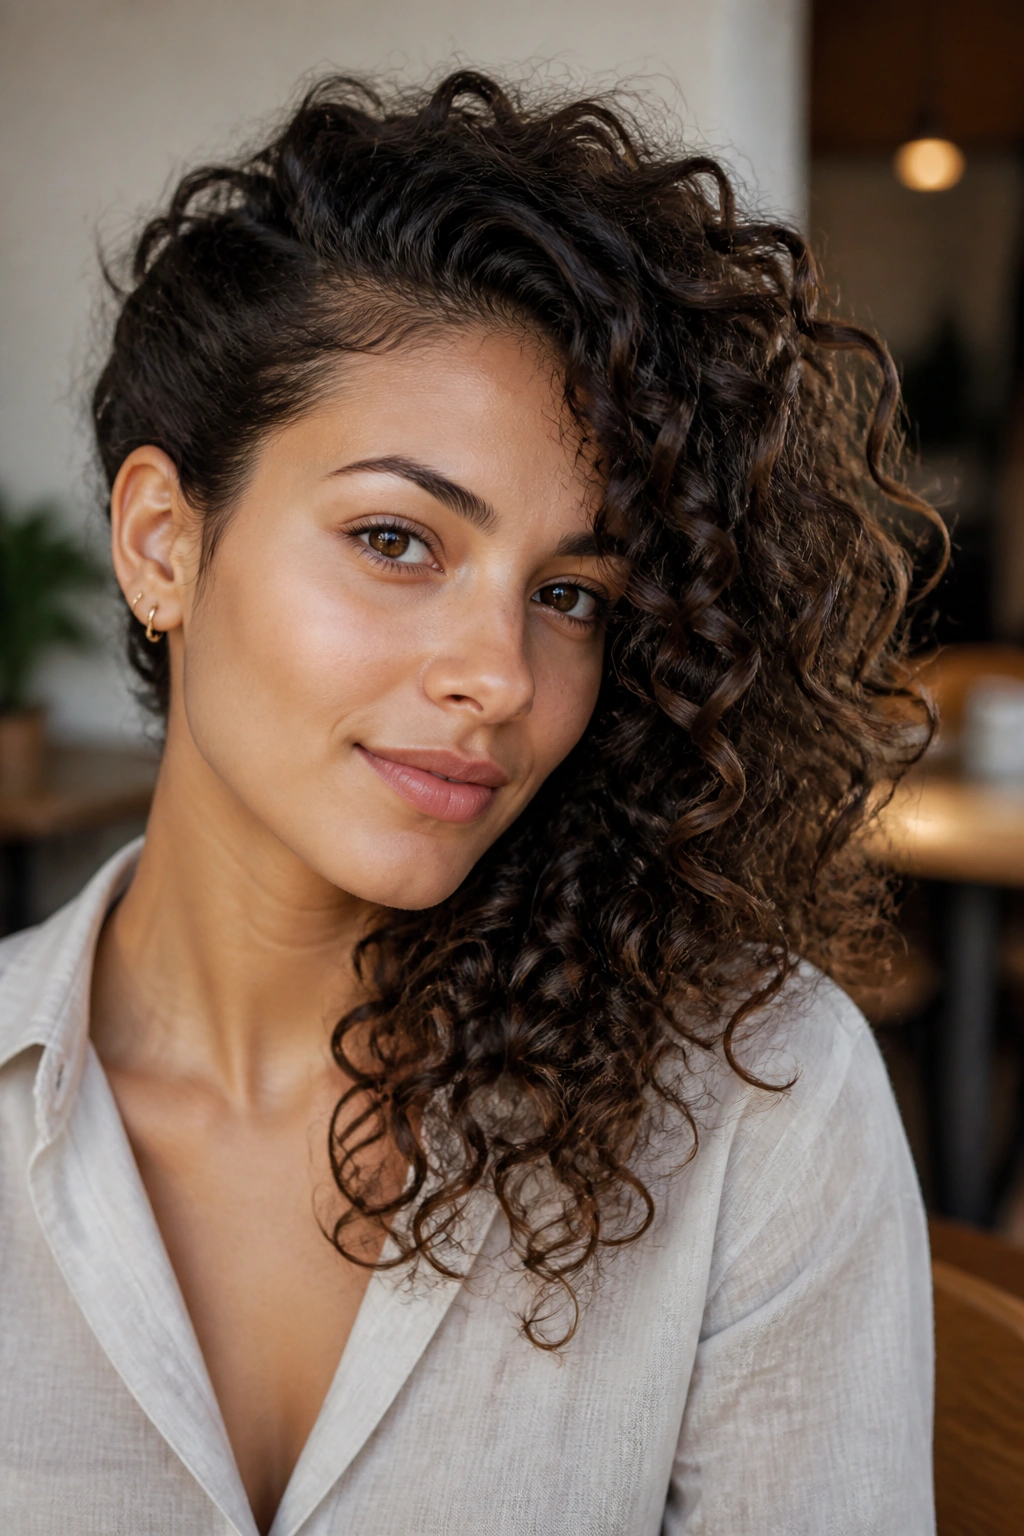
Side-swept curls give the hair a little drama without piling everything on top of the head. Shift the part, encourage one side to fall forward, and tuck the other side behind the ear or pin it back loosely. The asymmetry does a lot of work for you.
This style is especially good when your curls look too round in the middle and need a stronger line. A deep side part opens up the face, and the longer side creates movement across the cheek and shoulder. It also works when the curl pattern is mixed, because the side with tighter curls and the side with looser curls both get to do their own thing.
A diffuser helps here, but finger-shaping the front section matters more. Lift the roots on the fuller side. Leave the other side softer. That imbalance is the point, and it’s what keeps the style from feeling too orderly.
17. The Loose Rope-Braid Crown
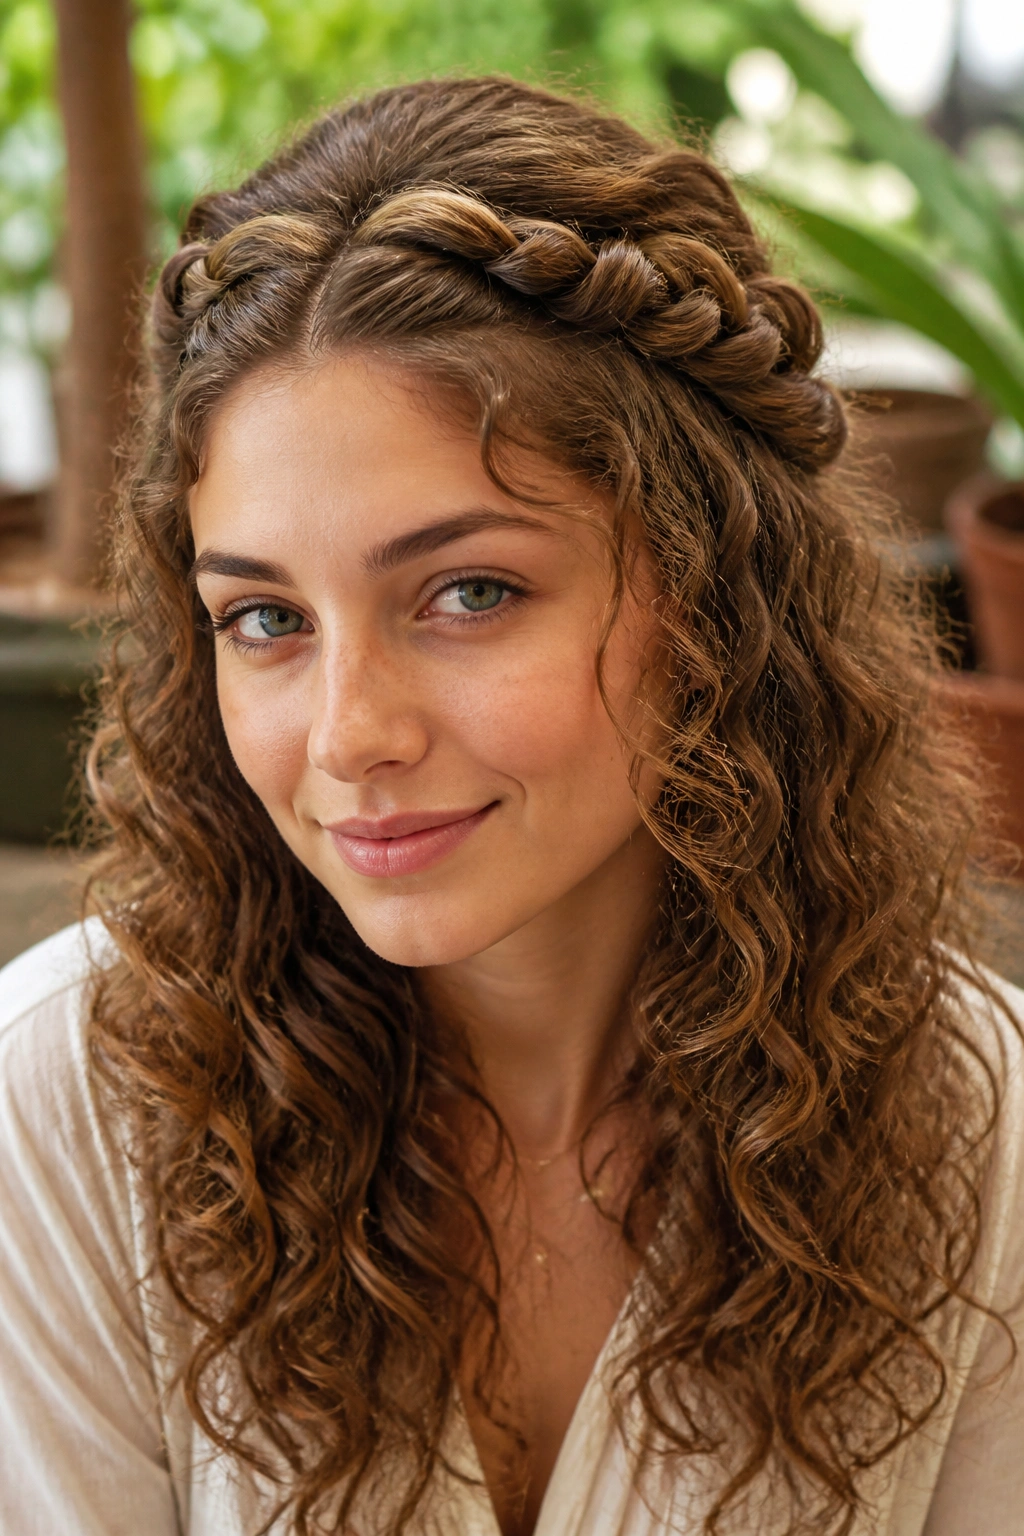
Loose rope braids are the sneaky fix for curls that keep falling into your face. Take two sections from the front hairline, twist each section away from the face, and pin or tie them toward the back. The hair stays controlled at the front while the rest of the curls keep their freedom.
Why Rope Twists Beat Tight Braids
Rope twists are faster, and they usually sit flatter against curly hair. A regular braid can look too busy if your curls already have a lot going on. The twist gives you just enough structure without stealing the show.
This style works best on day-two hair, when the curls still have shape but need a little help staying out of the eyes. Use small bobby pins, hidden under the twist, if the sections are short. A tiny mist of water can help the hair smooth enough to twist cleanly, especially around the temples.
I like this one for errands, work, and any day when you want the front pieces handled but the rest left alone. It feels practical. It also looks better than a quick tuck, which is saying something.
18. The Airy Layered Finish
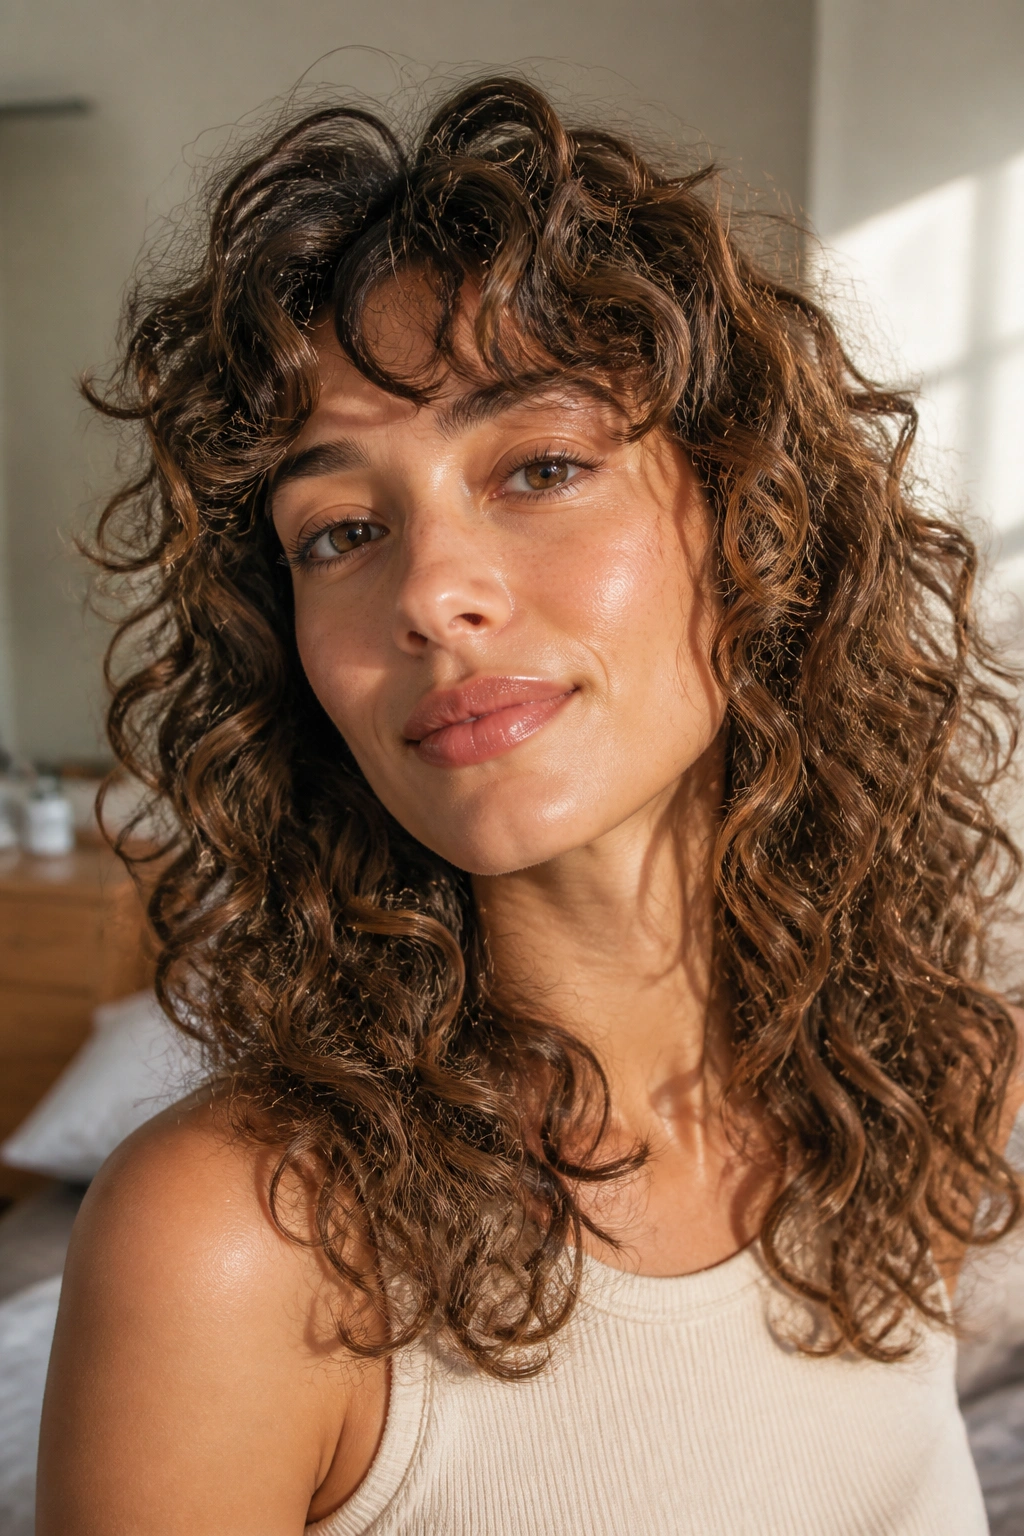
Airy layers and a scrunched finish are the closest thing to doing almost nothing and still looking styled. Start with curls that have been dried enough to hold shape, then separate only a few clumps, shake the roots gently, and stop before the frizz takes over. The look should feel light, touchable, and a little wild at the edges.
This is the style that reminds me why curly hair does not need to be forced into a neat shape to look good. If the layers are cut well, they already give you movement. If the roots have a little lift and the ends still keep their curl pattern, that is enough.
A light mist of water on the hands can wake up the front pieces. A drop of serum on the ends can quiet the rough spots. After that, leave it alone. Messy curls for curly hair usually look best when you give them a shape and then stop chasing perfection.
