



Straight hair is a paradoxical beast. People with curls or waves often look at those of us with pin-straight strands and assume we have it easy—that we simply roll out of bed, run a brush through our hair, and walk out the door looking perfectly polished. Anyone who actually lives with straight hair knows the reality is quite different. We struggle with volume that vanishes within an hour, hair ties that slide out like they’re greased, and the fact that a single cowlick is visible from space.
The real challenge with straight hair isn’t the texture itself; it’s the lack of friction. Because the hair cuticle lies flat and tight, the hair shaft is slippery. It doesn’t hold onto braids, clips, or pins the way textured hair does. It shows every single split end and, worse, it shows every drop of oil our scalp produces. However, once you stop trying to force your hair to be something it isn’t—like fighting to create curls that fall flat by lunchtime—and start working with its natural sleekness, you unlock a different kind of beauty.
You don’t need a heavy arsenal of heat tools to make straight hair look intentional. Sometimes, all it takes is a shift in your part, the right texture spray, or a clever pinning technique to turn a “flat day” into a “sleek style” day. Let’s walk through the styles that actually work for this hair type, moving past the generic advice and into the mechanics of what makes them hold and look good.
1. The Blunt Bob
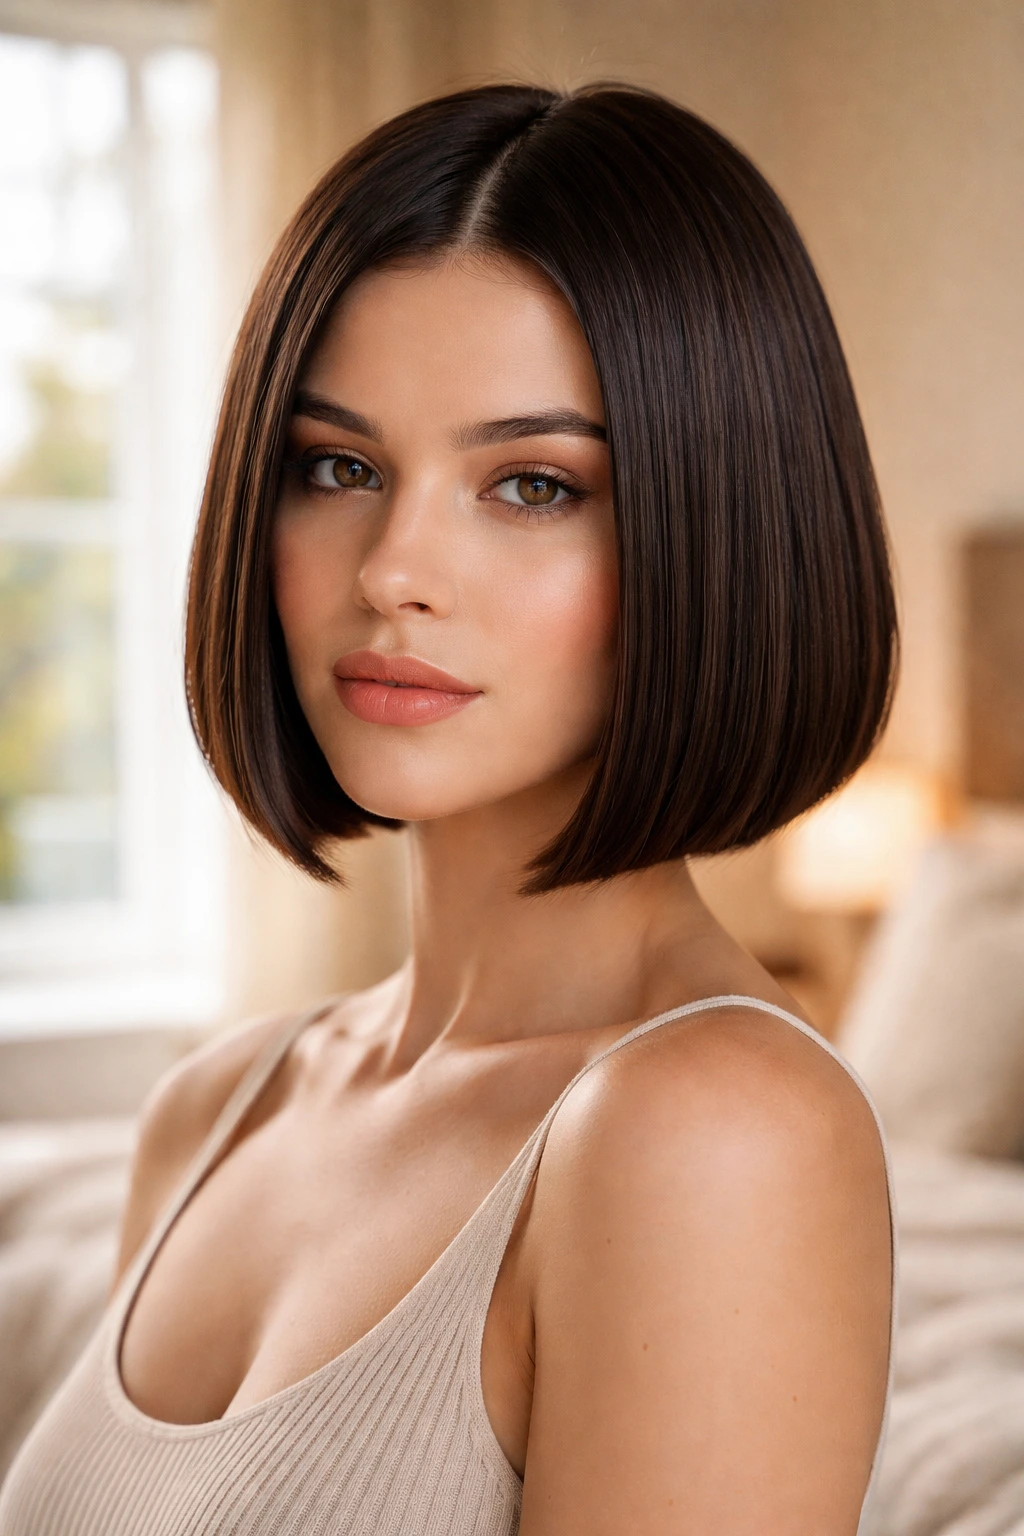
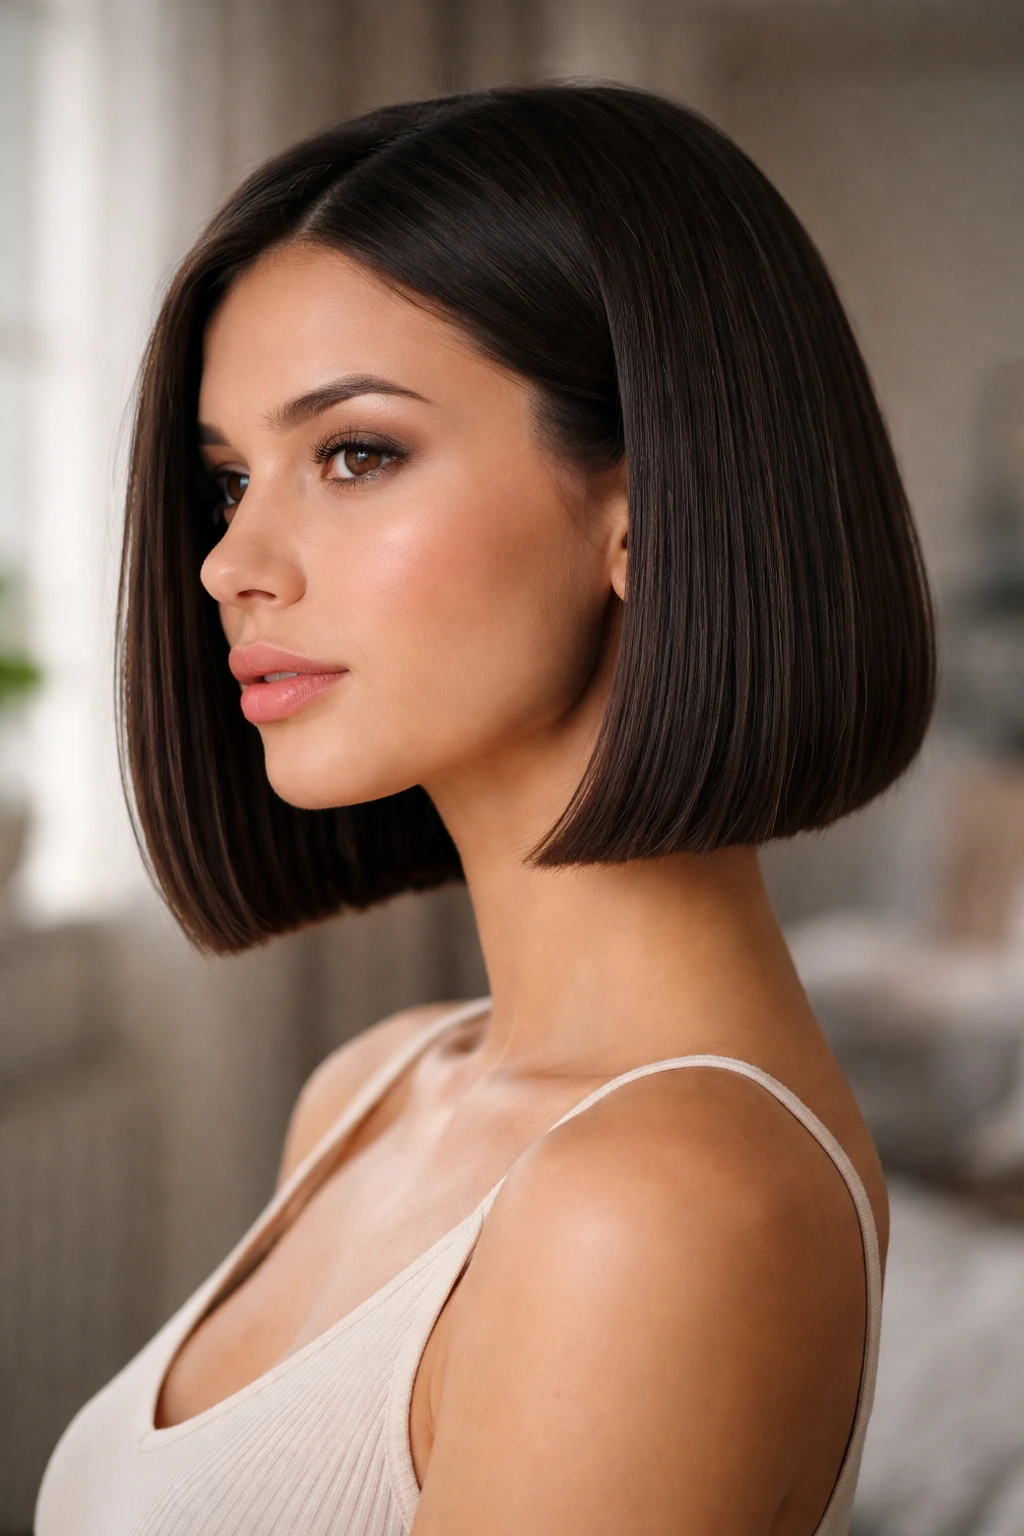
The blunt bob is the gold standard for straight hair for a reason. Because straight hair naturally hangs vertically, a blunt cut creates a sense of density at the ends that makes the hair look significantly thicker than it actually is. When you cut straight hair into layers, you often end up with wispy, stringy ends. A blunt cut, however, forces the hair to sit together in a solid, singular line.
Why It Works for Straight Texture
The lack of texture in your hair is actually an asset here. You don’t have to worry about the “triangle effect” that wavy hair often gets with a short bob. Instead, you get a clean, architectural silhouette. The key to making this style work is the length. Ask your stylist for a cut that grazes the jawline or sits just above the collarbone.
Pro Tip: Use a flat iron to smooth the hair inward slightly at the very ends. Do not curl it under; just give it a subtle, rounded bend. This prevents the hair from sticking out awkwardly and gives it that polished, expensive-looking weight.
2. The Sleek Low Bun
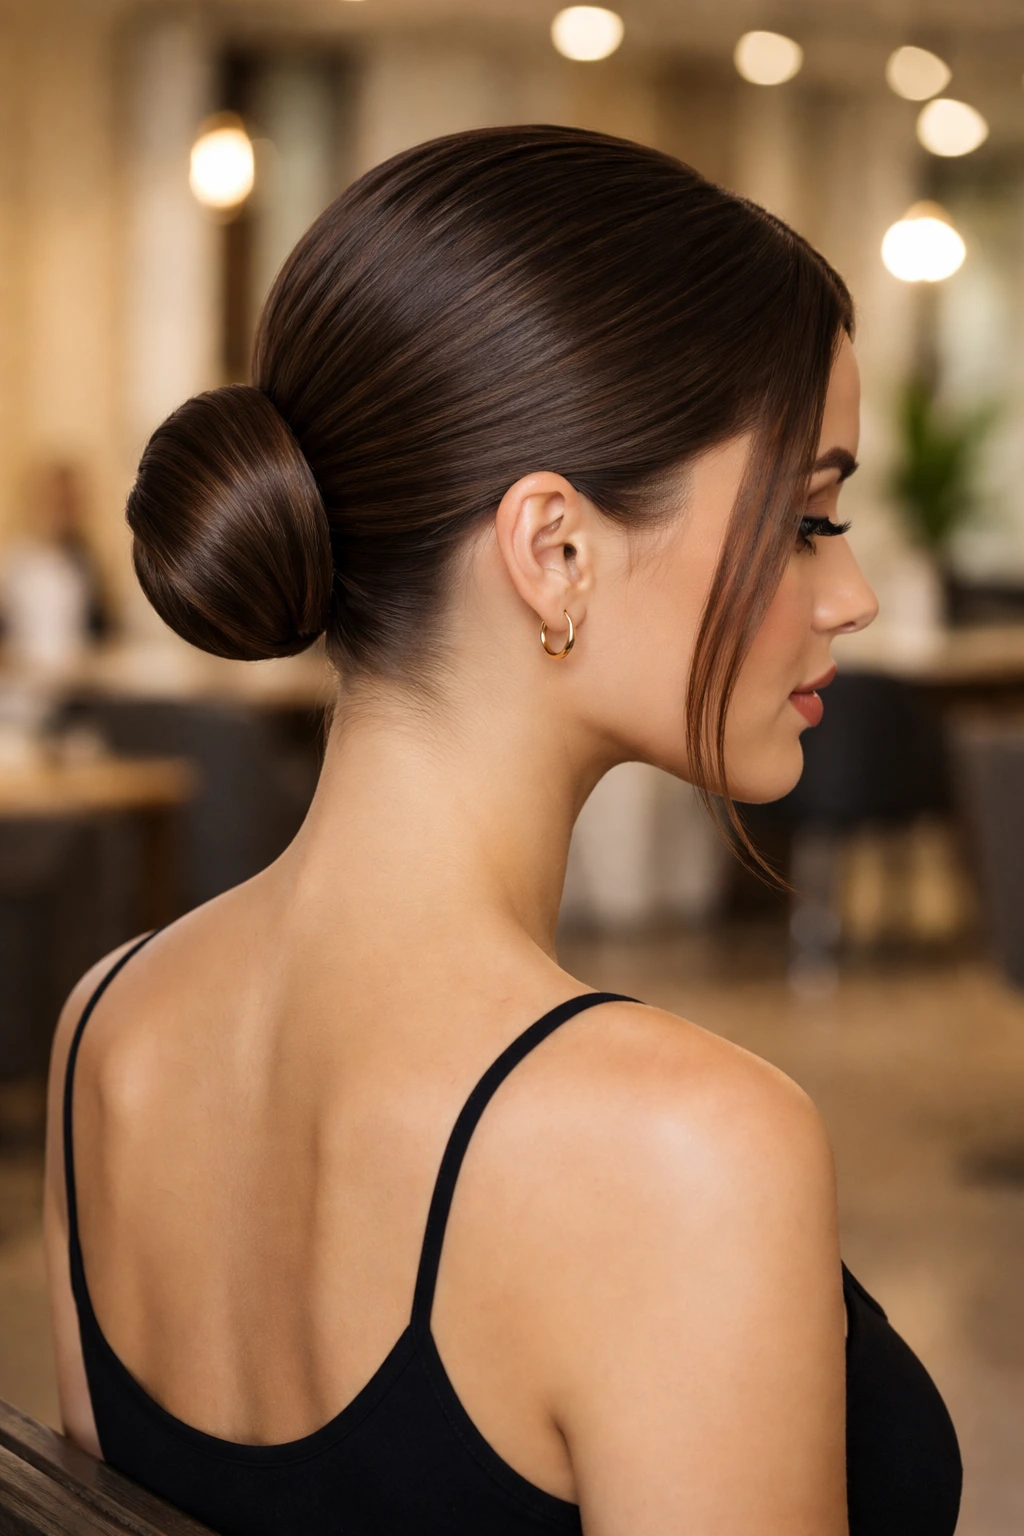
This style is a life-saver on second-day hair. When straight hair starts to lose its “freshly washed” volume, the natural oils actually become your best friend. They provide the perfect amount of grip and hold to create a tight, seamless bun that doesn’t look like you’re trying too hard.
The trick to a professional-looking low bun isn’t in the bun itself—it’s in the part. A clean, dead-center part looks minimalist and modern, while a deep side part adds an element of drama. If your hair is too slippery to stay back, spray a light-hold hairspray onto your brush before pulling the hair into the ponytail. This creates a tiny bit of “tack” that helps you smooth down those annoying flyaways without making your hair look crunchy or stiff.
3. The Classic High Ponytail
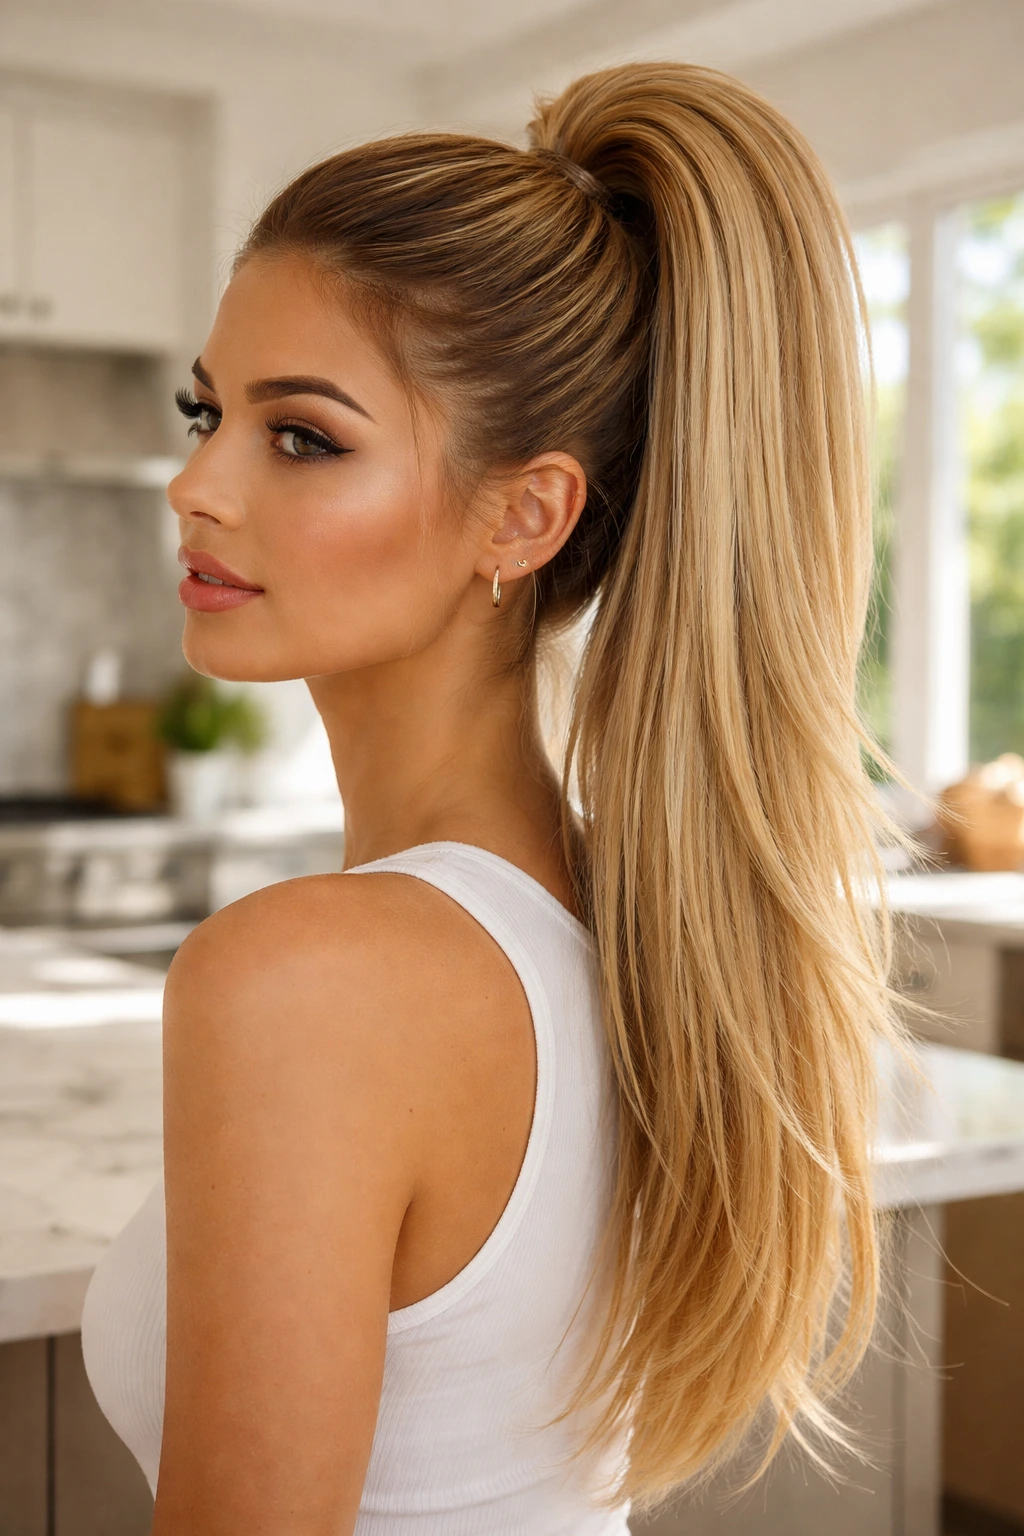
There is nothing quite like a high, swingy ponytail. It feels like a face-lift in a hair tie. However, for those with thin, straight hair, the high ponytail can sometimes look like a limp strand of spaghetti if you aren’t careful.
To give your ponytail presence, you need to cheat the system. Instead of gathering all your hair at once, split it into two sections: a top half and a bottom half. Secure the top half in a high ponytail first, then secure the bottom half into that same ponytail. This double-stacking method creates instant volume and length, making the ponytail look twice as thick as it actually is.
4. The Deep Side Part
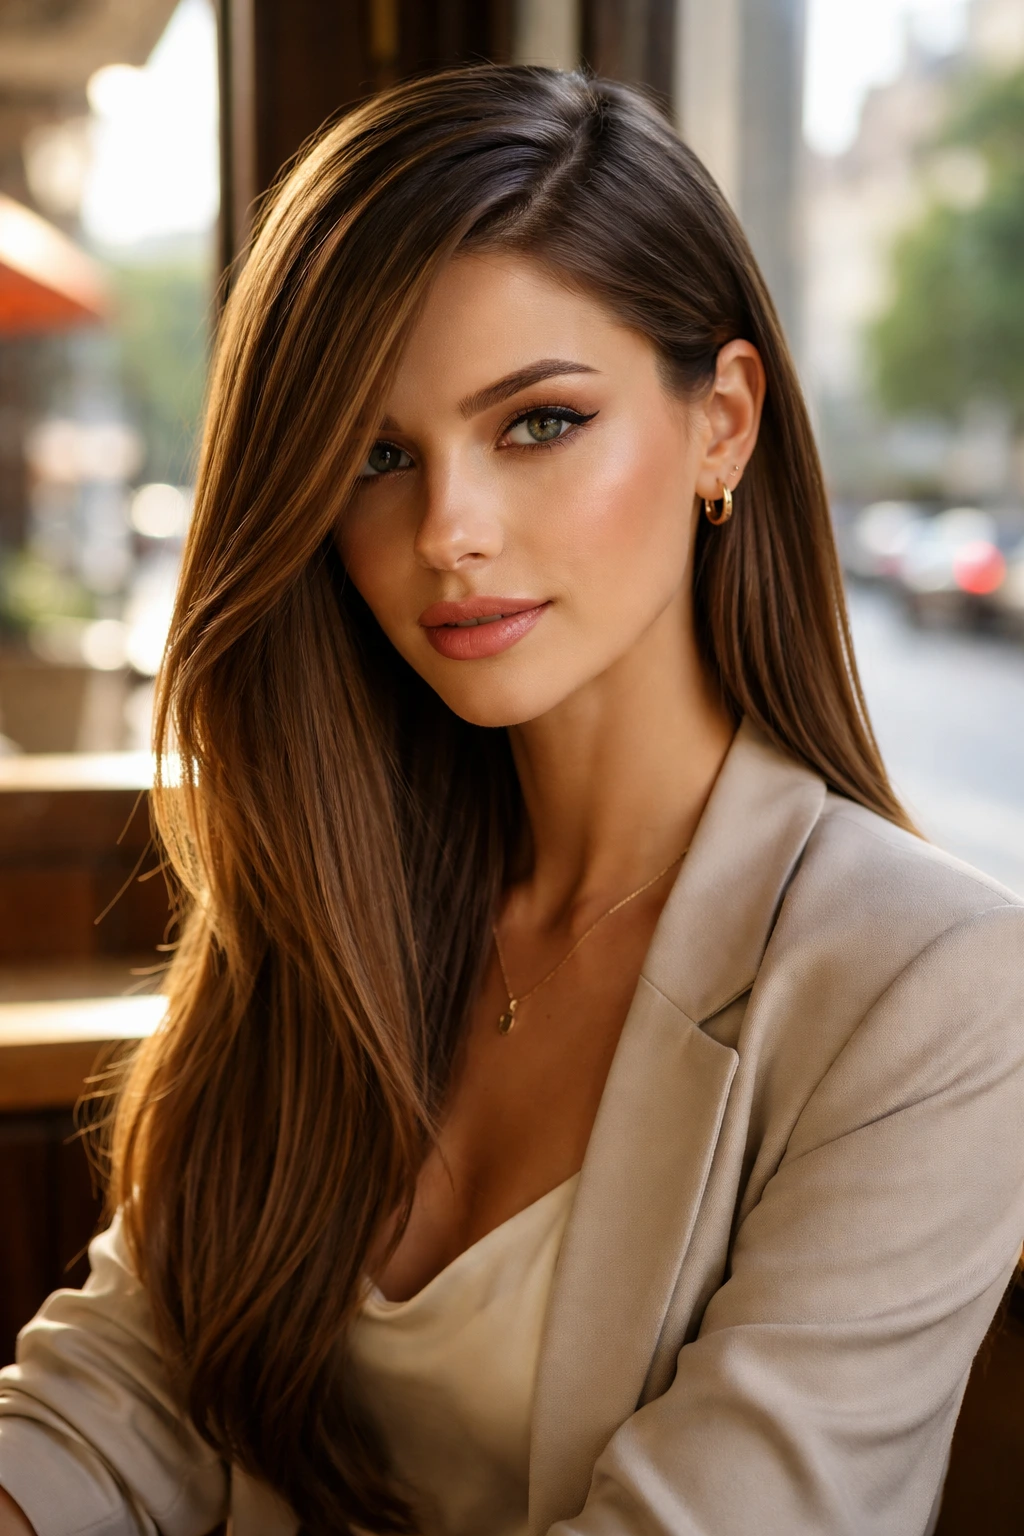
If you feel like your straight hair is boring, the simplest way to change your entire aesthetic is to move your part. We get so used to wearing our hair one way that we stop seeing the shape of our own face. A deep side part breaks up the symmetry of the face and creates a sweep of hair across the forehead that mimics volume.
For the best results, use a tail comb to draw the line from the arch of your eyebrow all the way back to the crown of your head. This isn’t just about flipping your hair over; it’s about creating a strong, graphic line. To keep it from falling back to your natural part, dry that section of your hair in the opposite direction while you use a blow dryer. That bit of “training” forces the roots to stand up and creates a permanent lift.
5. The Face-Framing Curtain Bangs
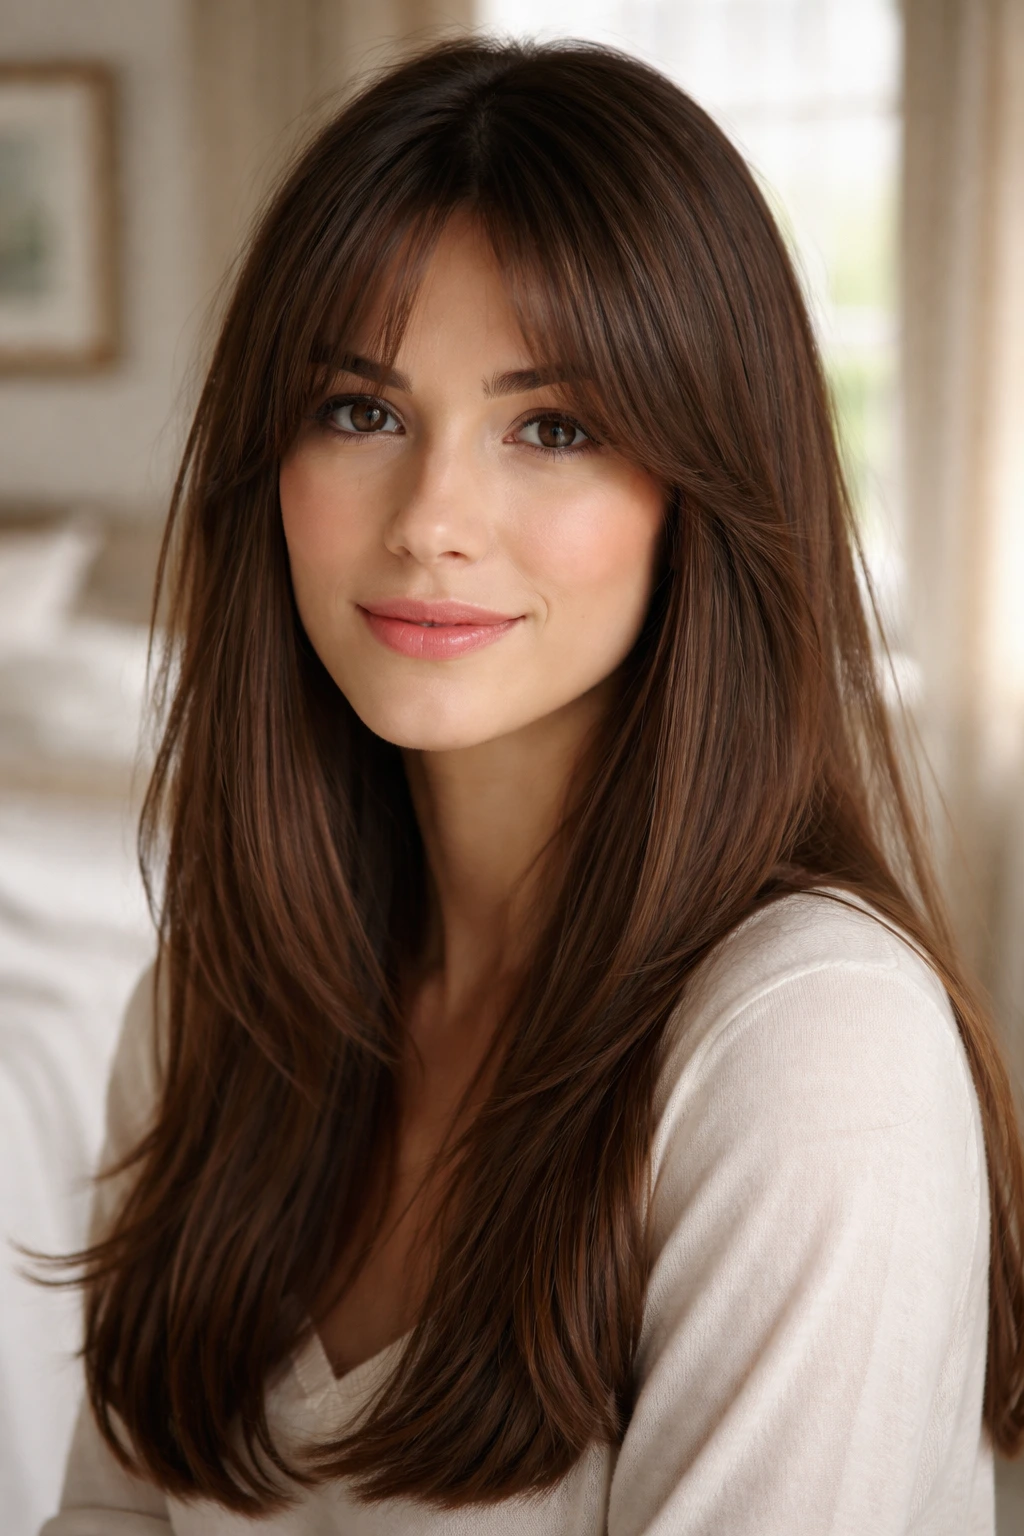
Curtain bangs are perfect for straight hair because they don’t require the intense styling that blunt-cut bangs do. When you have bangs with wavy or curly hair, you’re often fighting the humidity or the natural twist of the hair, which leads to a frizzy mess. Straight hair, however, keeps the shape you set in the morning.
How to Style Them
- Start with damp hair.
- Use a small round brush to pull the hair forward and away from your face.
- Blow-dry while rotating the brush outward toward your temples.
- Let them cool on the brush for 10 seconds before releasing.
This style frames the eyes and cheeks, breaking up the long, vertical lines that straight hair often creates. It adds a softness to the face that is otherwise hard to achieve without texture.
6. The Half-Up Top Knot
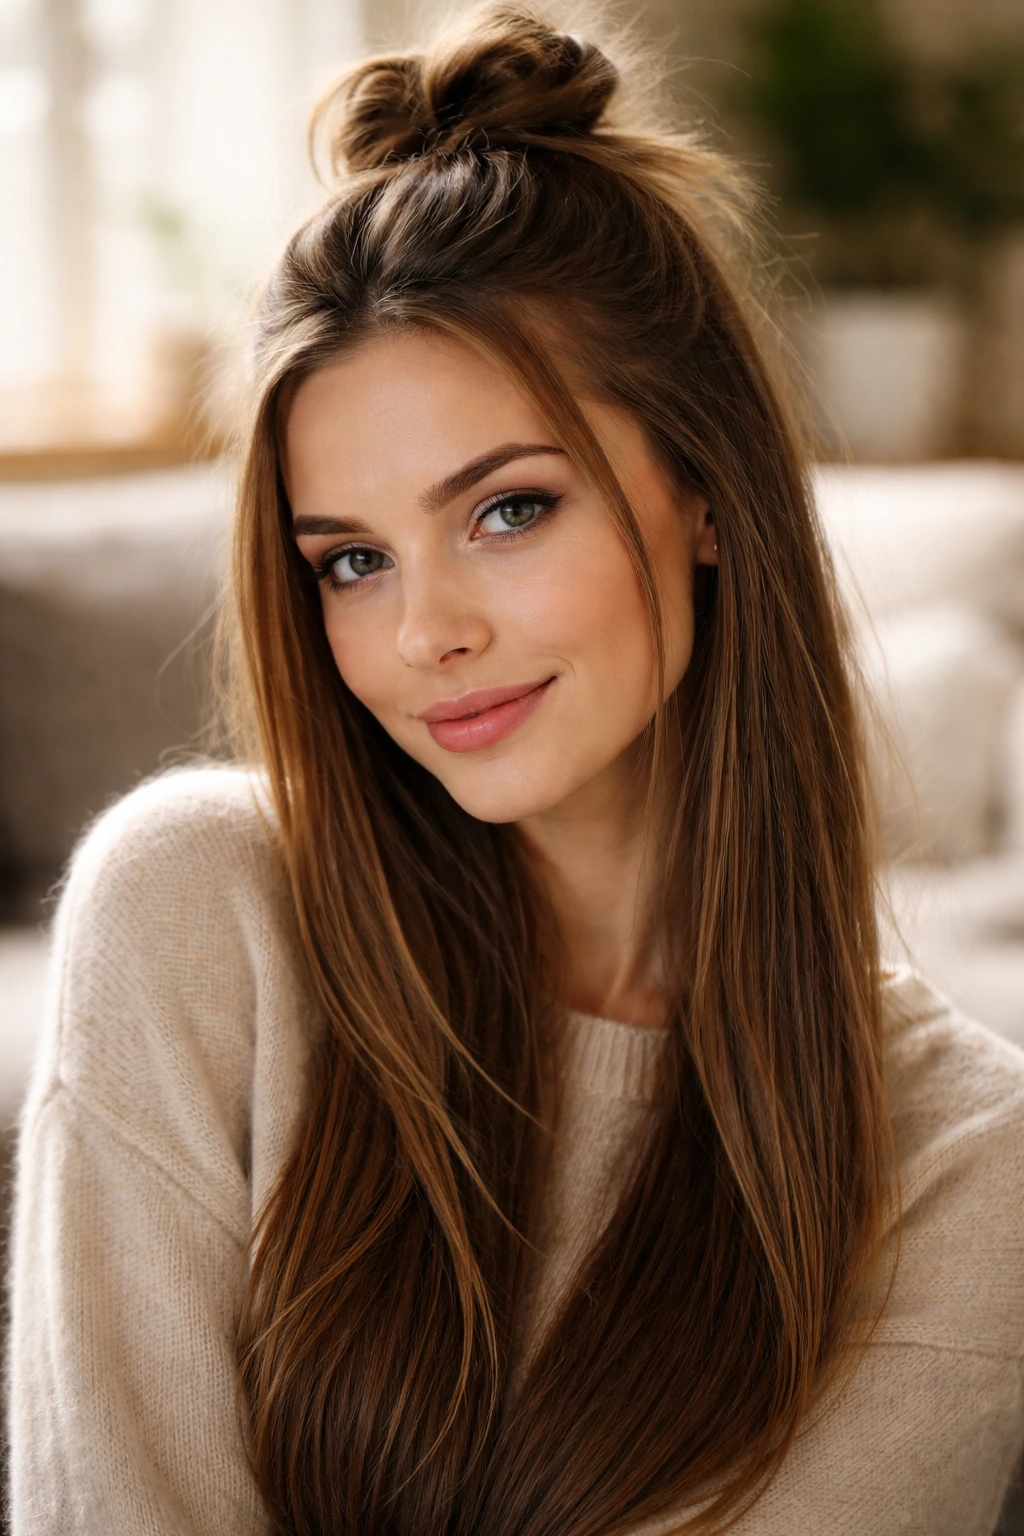
The half-up top knot is the ultimate bridge between “I have places to be” and “I’m lounging at home.” Because straight hair can look a bit severe when it’s all pulled back, pulling just the top section up softens the look while keeping the hair out of your eyes.
The danger with this style is the “helmet” look, where the top half is slicked down too hard. To avoid this, use your fingers—not a brush—to gather the hair. This leaves a few natural bumps and texture, making the style feel relaxed rather than pulled. Wrap the bun loosely, leaving the ends poking out for a more undone vibe.
7. The Messy Textured Waves
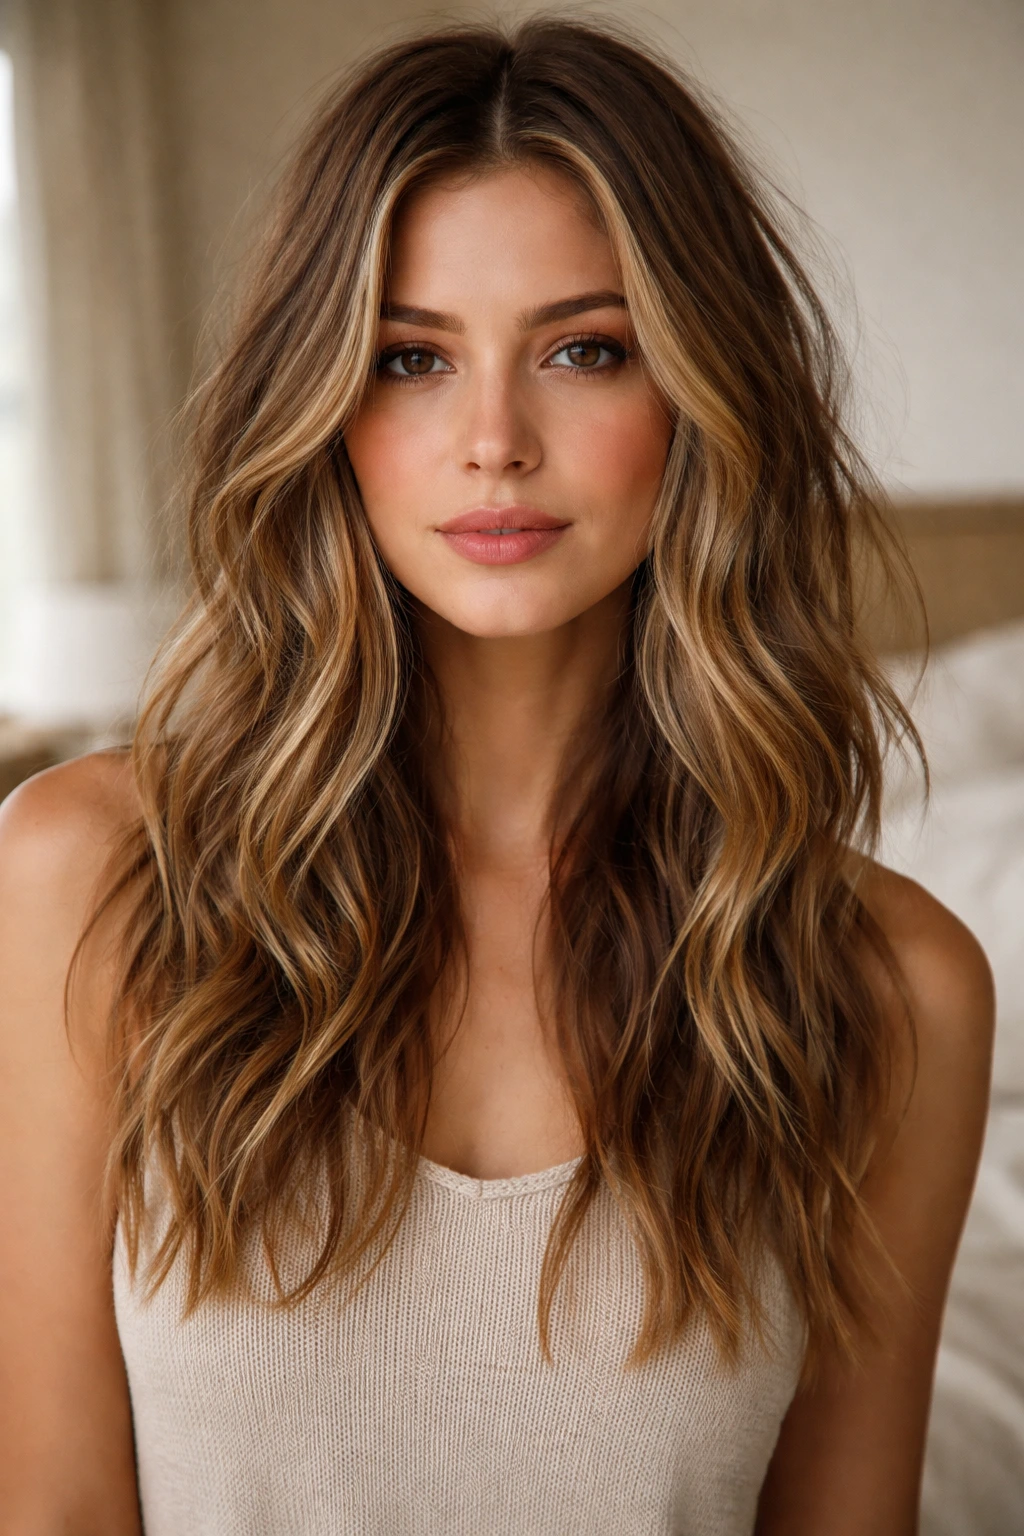
Wait, aren’t we talking about straight hair? Yes, but just because your hair grows straight doesn’t mean it has to stay that way. The secret to great waves on straight hair is using the right order of operations.
Most people try to curl straight hair and then spray it with hairspray. That’s a mistake. The curl will drop in twenty minutes. Instead, start by spraying a generous amount of texture spray or dry shampoo on your hair before you touch it with a curling iron. This coats the strands in grit, giving the iron something to grab onto. Use a large-barrel iron, and only curl the mid-lengths, leaving the ends straight. This gives you a lived-in, cool-girl look rather than a pageant-queen curl.
8. The Pin-Straight Middle Part
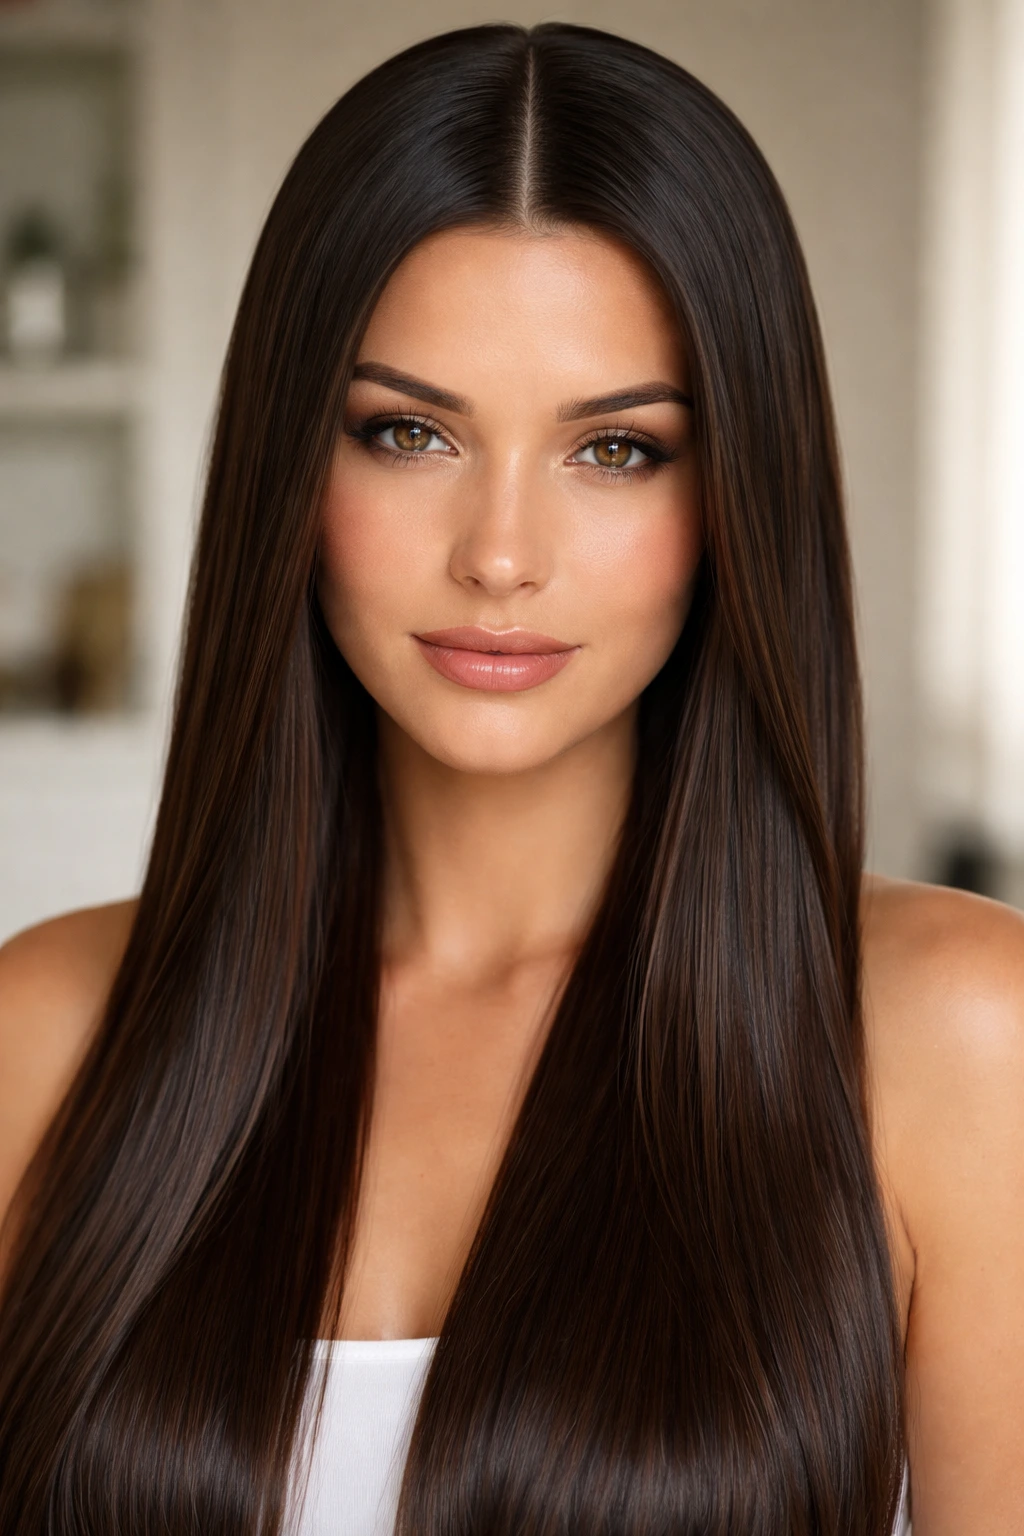
Sometimes, you need to stop fighting the flatness and lean into it. The middle part has been around for decades, but it remains the most sophisticated way to wear straight hair. It’s sleek, it’s symmetrical, and it acts like a frame for your face.
To make this look high-end rather than “I haven’t brushed my hair,” focus on shine. Straight hair naturally reflects light better than textured hair, so emphasize that. Use a drop of lightweight hair oil—argan or jojoba works well—on the ends. Tuck your hair behind your ears to keep the front sections smooth, and let the rest fall naturally over your shoulders. This style is about precision, so make sure your part is perfectly aligned with the center of your nose.
9. The Braided Headband
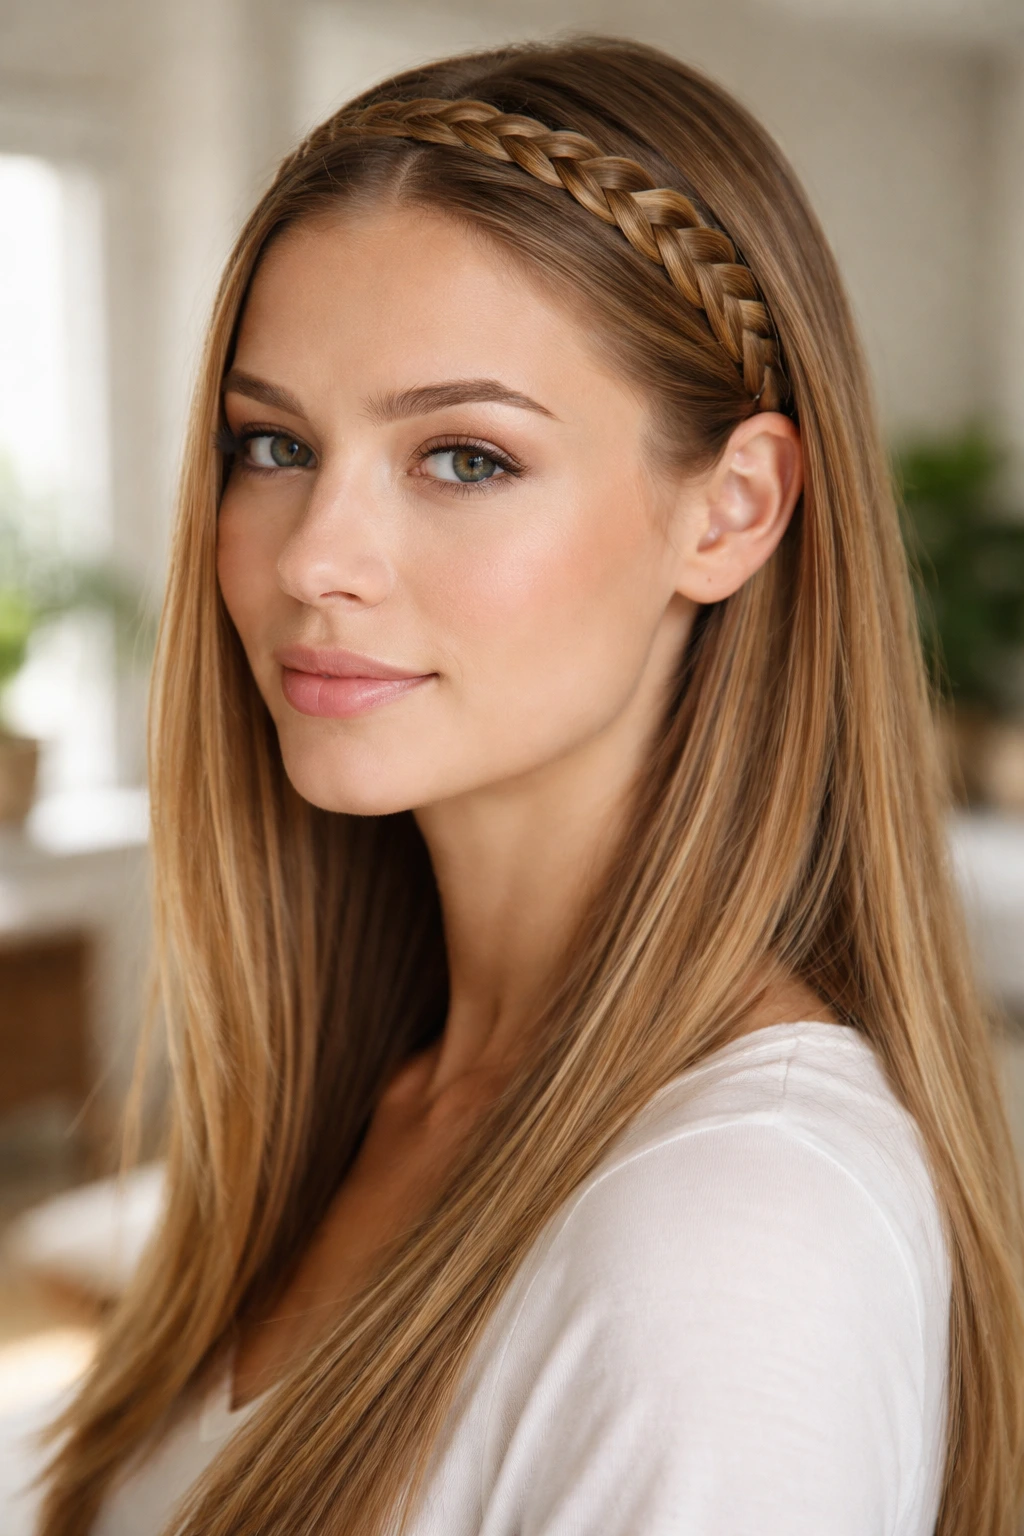
This is a clever hack for days when your hair is clean and slippery, making it hard to keep pins in place. A braided headband isn’t just a style; it’s a functional accessory.
Take a one-inch section of hair from behind your ear, braid it tightly, and secure the end with a tiny, clear elastic. Then, pull that braid across the top of your head like a headband and pin it behind the opposite ear. You can hide the pin by covering it with a small piece of loose hair. This style keeps your hair out of your face, creates a natural accessory, and adds a bit of visual complexity to an otherwise simple, straight style.
10. The Slicked-Back Wet Look
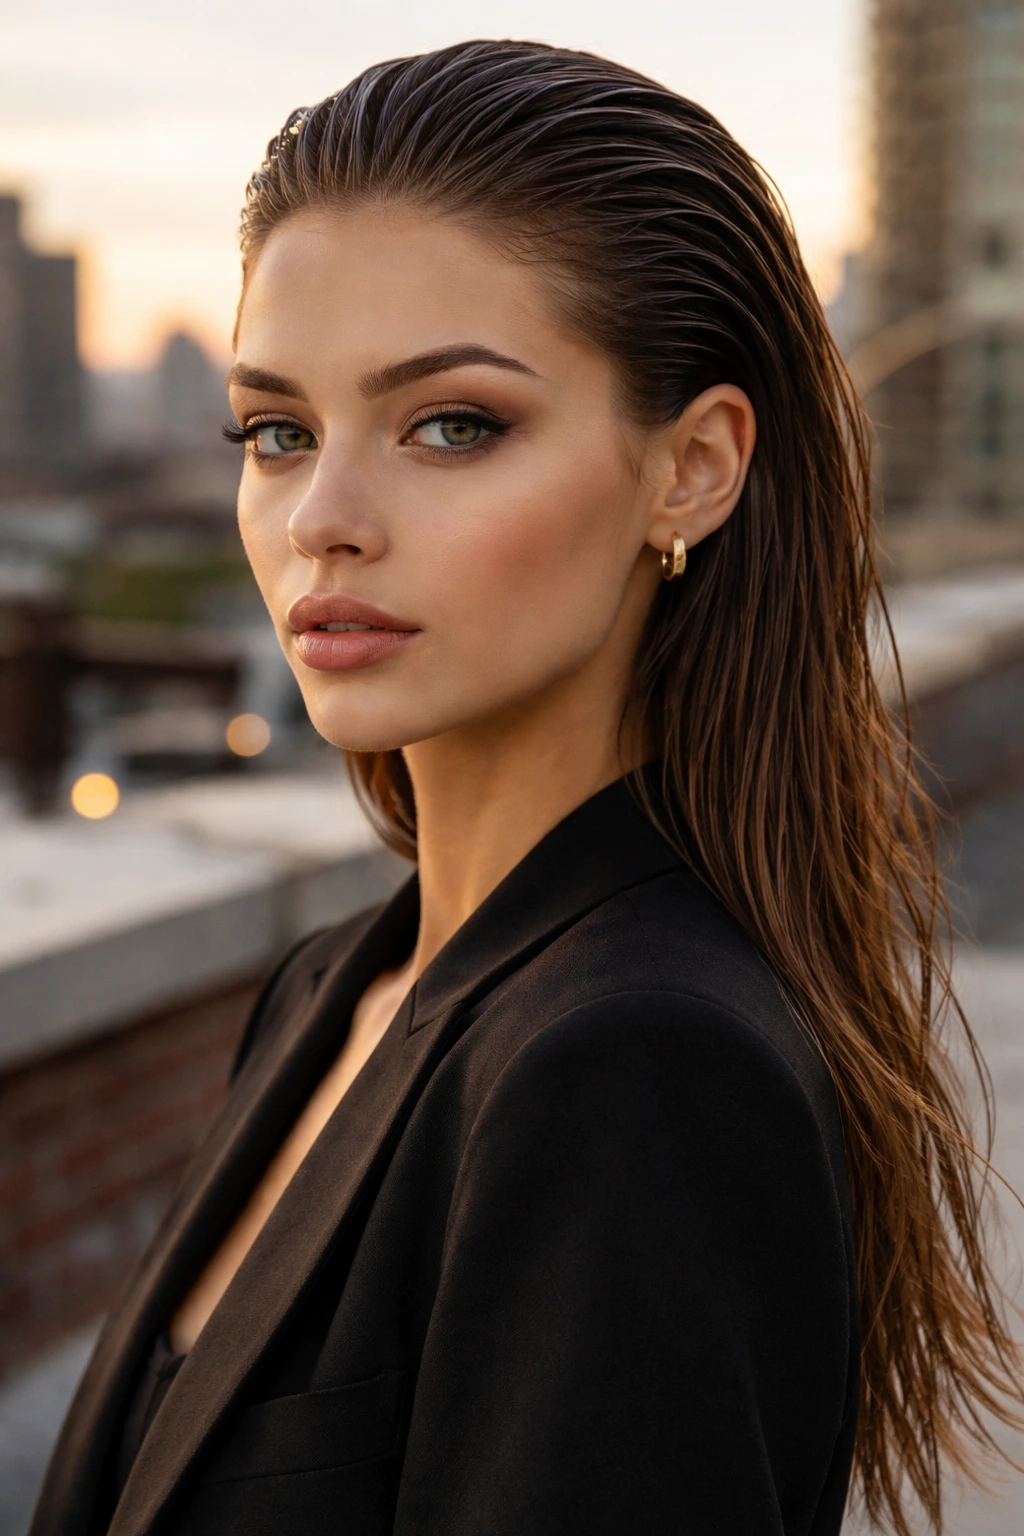
This style feels aggressive and high-fashion, and it works flawlessly on straight hair because you don’t have to fight any natural texture. This is a great “day three” hairstyle when your roots are a bit oily and you don’t have time to wash.
Apply a medium-hold gel or a combination of gel and hair oil starting at the roots and pulling back toward the crown. Use a wide-tooth comb to rake it back, which creates those cool, intentional-looking lines in the hair. Leave the back of your hair dry—this contrast between the sleek, wet-look top and the dry, loose ends is what makes the style look expensive rather than just greasy.
11. The French Twist
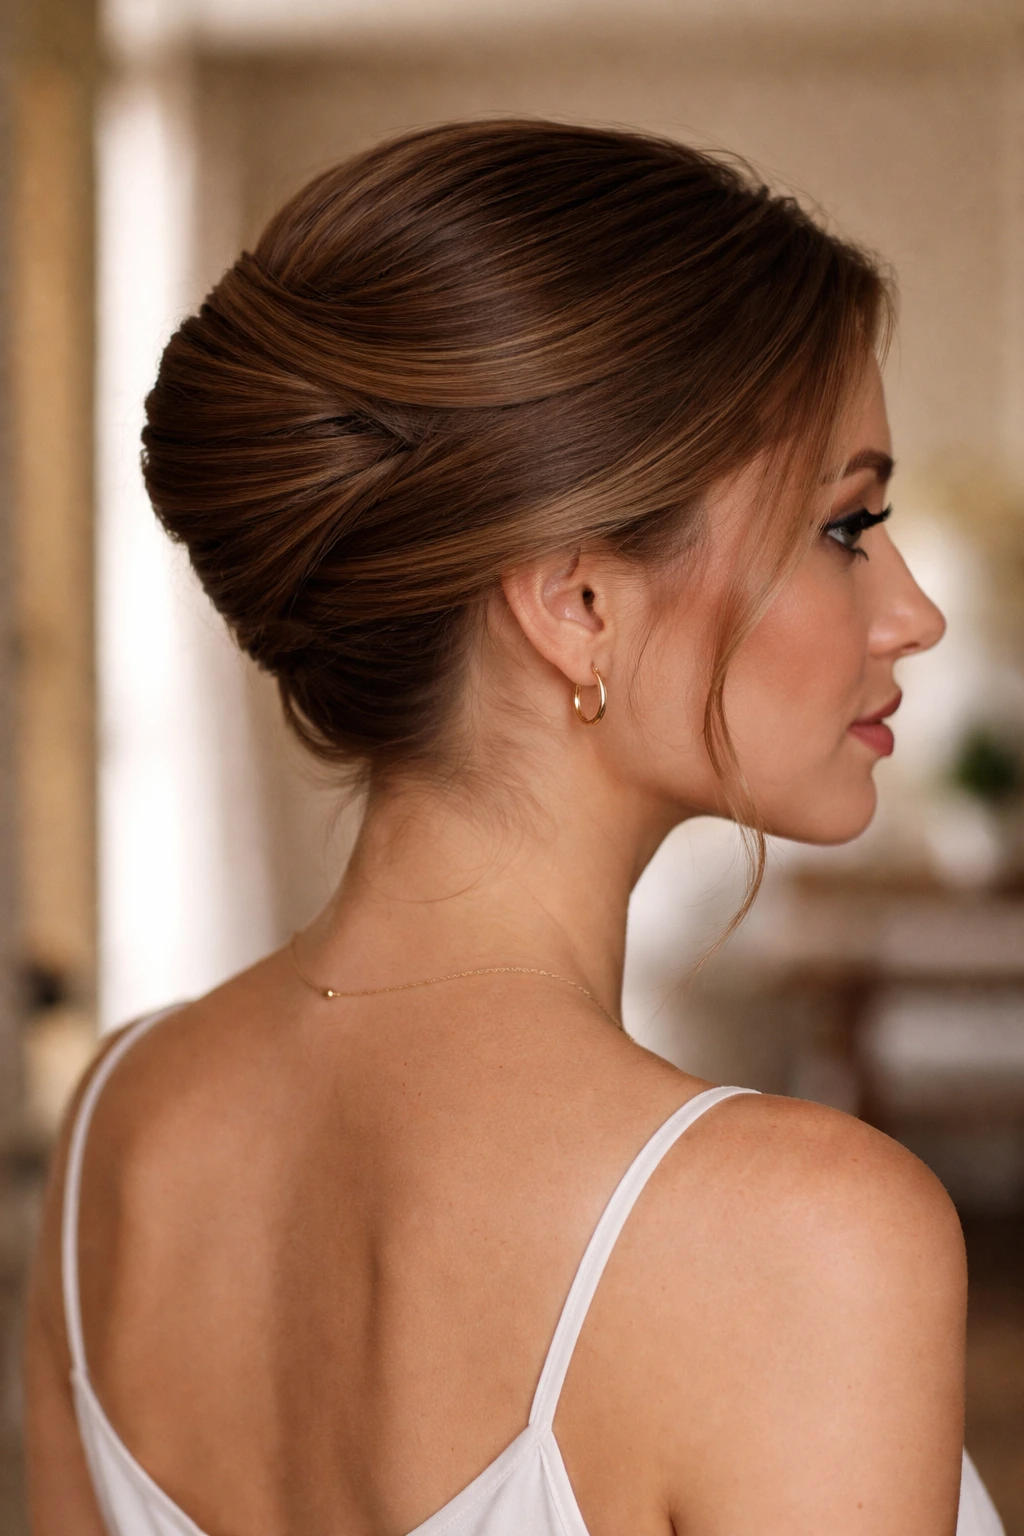
The French twist is classic for a reason. It is the architectural masterpiece of hairstyles. While it looks complicated, it’s actually just a matter of rolling and pinning. On straight hair, this style is particularly elegant because you don’t have stray pieces popping out.
Gather your hair as if you’re making a low ponytail. Twist the ponytail upward toward the crown of your head. Tuck the ends of the ponytail underneath the twist so they’re hidden. Secure the entire structure with large bobby pins or a decorative French comb. Because your hair is straight, you might need a bit of dry shampoo at the roots to give the pins enough friction to stay put. If you want it to look a bit more modern, pull out a few face-framing strands.
12. The Wispy Layers
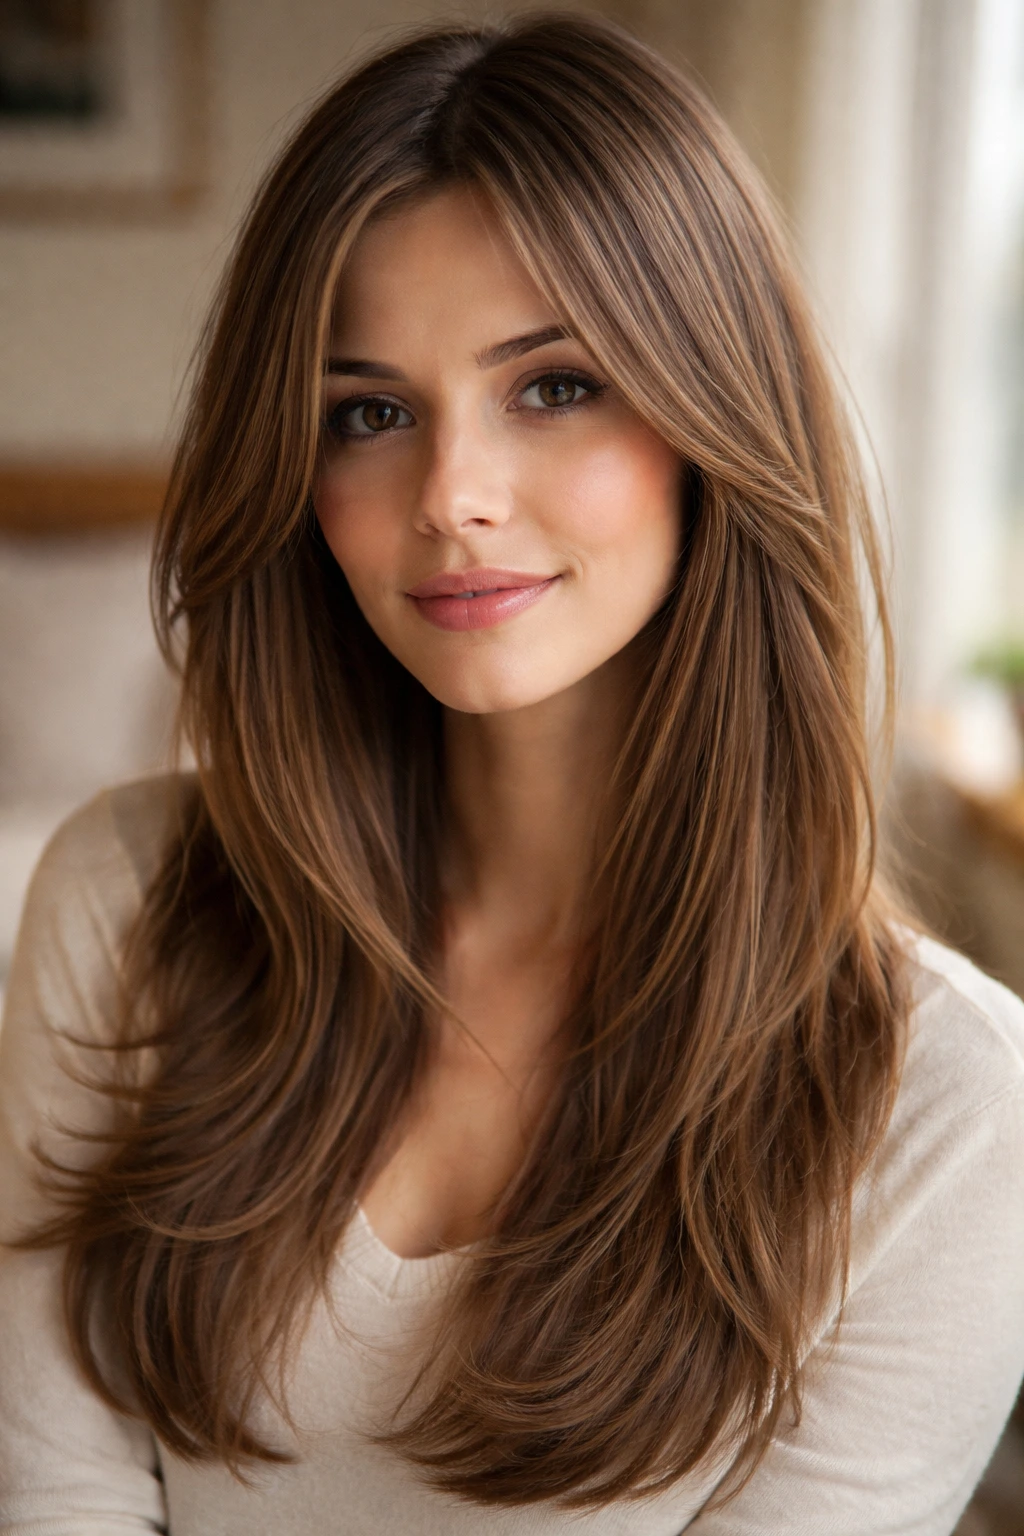
If you feel like your straight hair is weighing you down, the cut itself might be the problem. Wispy layers—often called “invisible layers”—are designed to remove bulk without making the hair look choppy.
This style requires a stylist who knows how to use point-cutting techniques. Instead of taking big chunks of hair off, they snip into the ends vertically. This creates movement. When you wear this style, your hair shouldn’t sit like a heavy curtain; it should have a bit of bounce and swing when you walk. It’s the perfect style for someone who wants to wear their hair down and messy without needing any product at all.
13. The Retro Flip
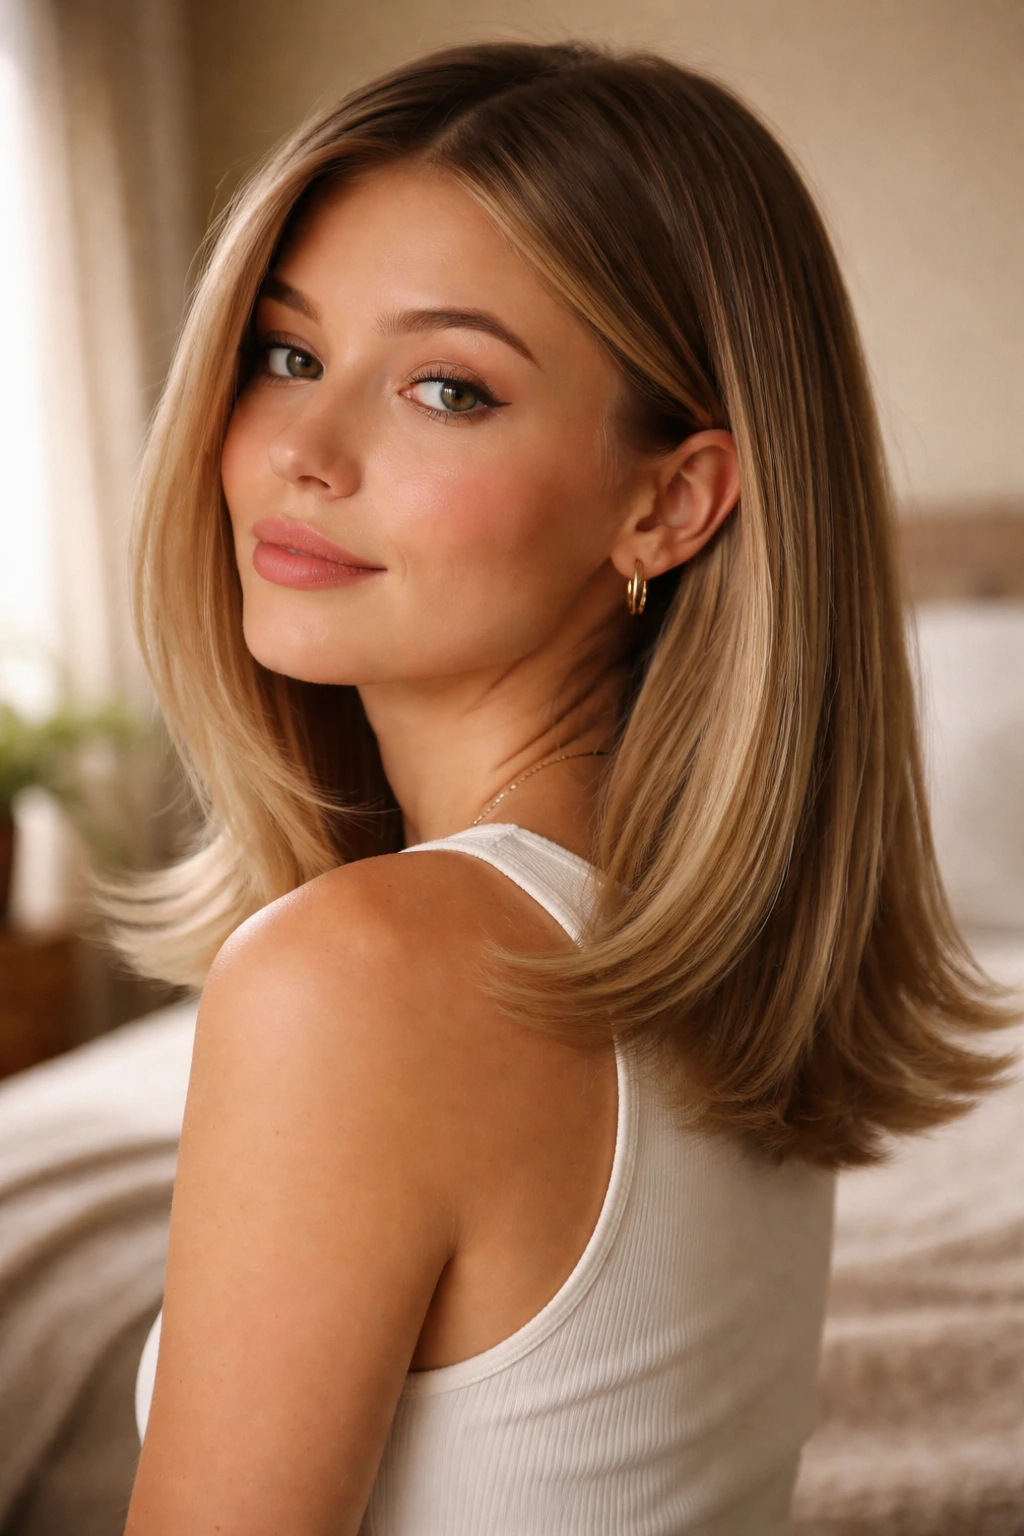
The 90s are back in full force, and with them comes the retro flip. This style is all about the ends of the hair curling outward instead of inward. It’s playful, it’s bold, and it looks fantastic on straight hair that is cut to a medium length.
To achieve this, blow-dry your hair using a round brush. When you get to the ends, instead of rolling the brush under, roll it outward. If your hair is really straight and resistant to holding shape, use a flat iron at the very ends. Clamp the iron, turn your wrist outward, and pull through. You only need a very subtle flip—too much, and you’ll look like you’re starring in a period drama. Keep it slight and modern.
14. The Low Chignon
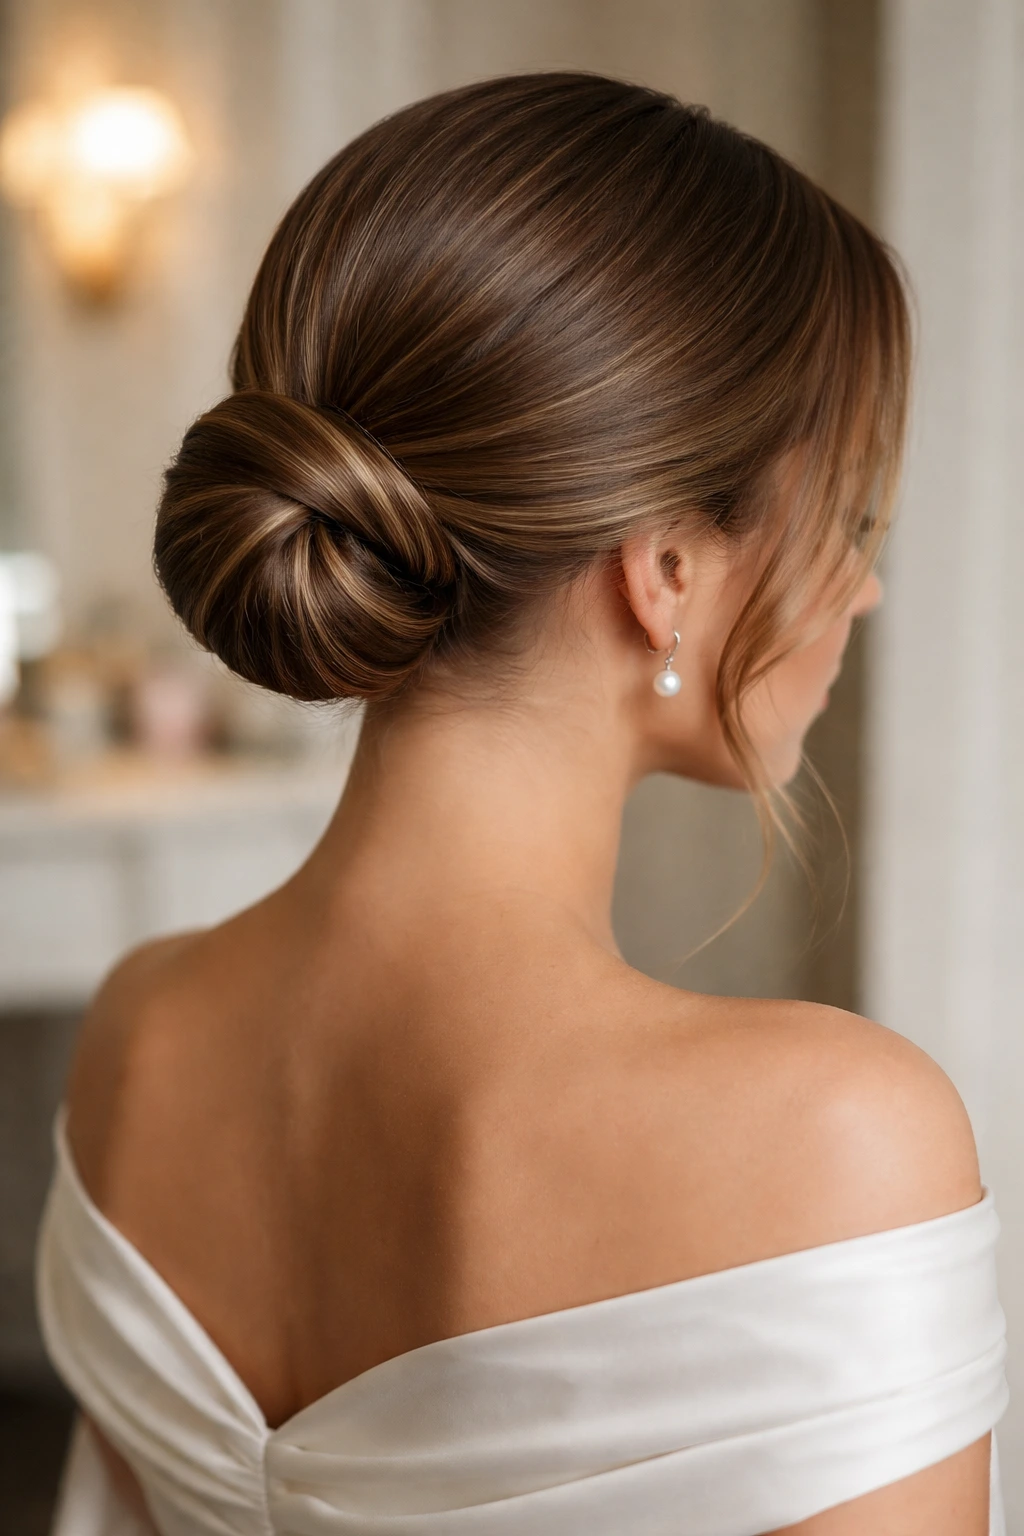
A chignon is similar to a bun, but it’s positioned lower and usually looks a bit more “finished.” This is your go-to style for weddings, interviews, or any time you need to look put-together without much effort.
Start with a low ponytail. Make a small hole in the hair just above the elastic and pull the ponytail through it—this is called a “topsy tail” technique. Twist the remaining length of the ponytail and tuck it back into that same hole, pinning it in place. The result is a neat, knotted look that appears far more complicated than it actually is.
15. The Braided Crown
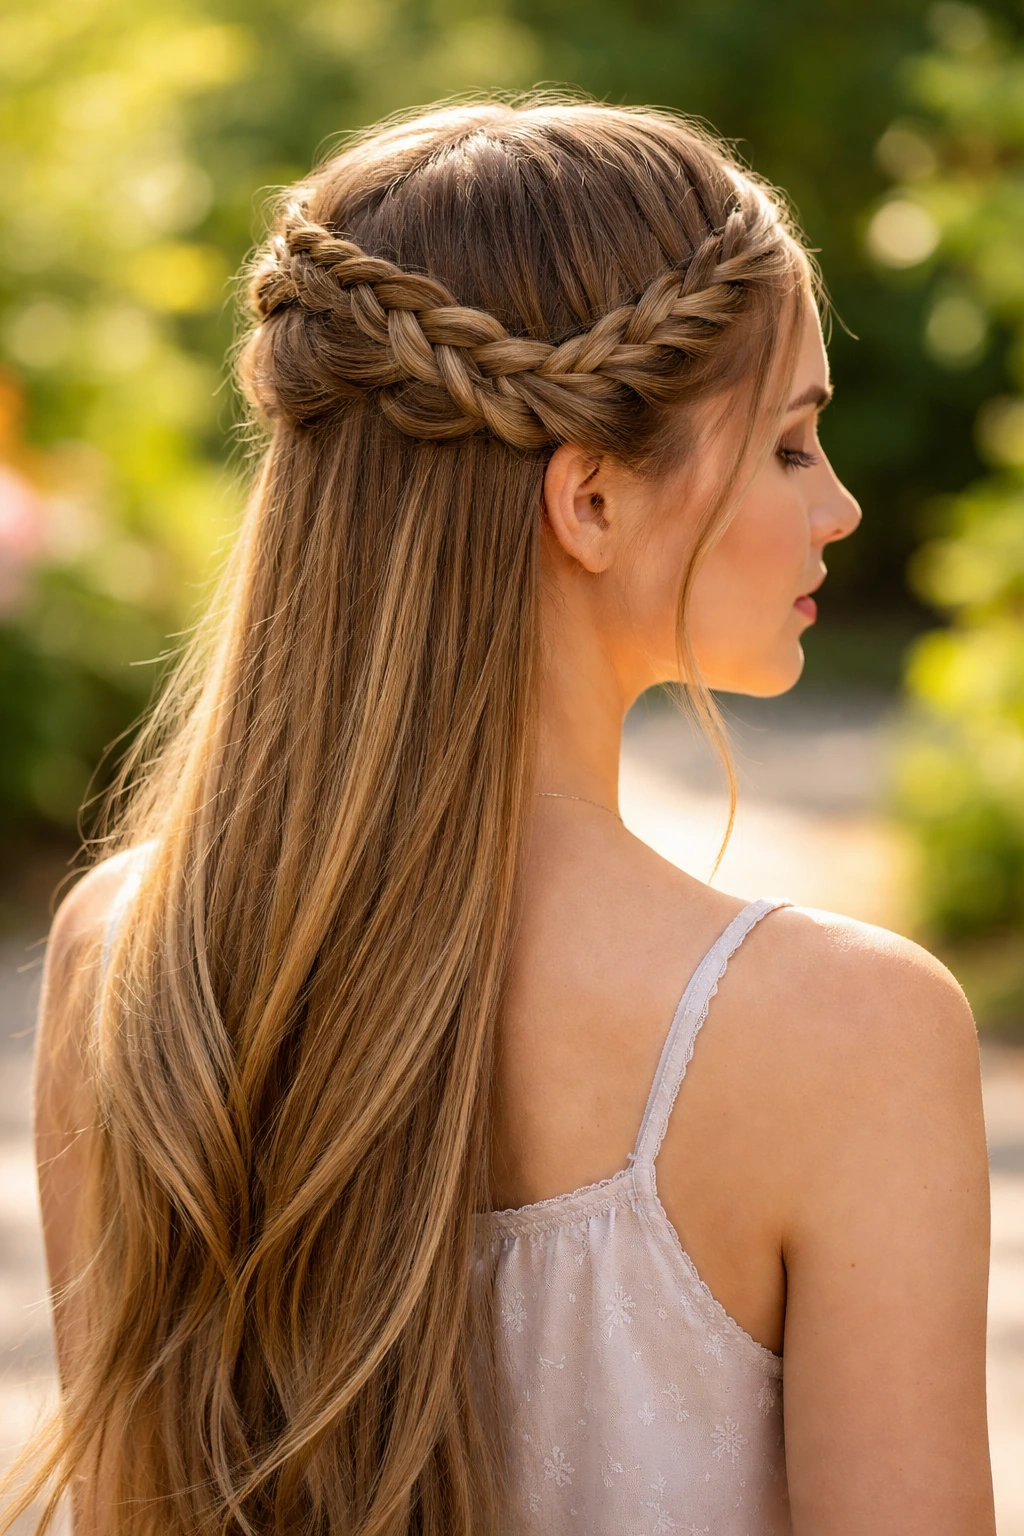
When you have straight hair, braids can be frustrating because they often unravel or slip out. The braided crown is the solution to this problem. It anchors your hair securely to your head.
Part your hair down the middle. French braid one side starting from the front, working your way back, and incorporating hair as you go. Repeat on the other side. Once you have two braids, crisscross them at the back of your neck or along the crown of your head and pin them securely. This style is surprisingly sturdy; once it’s pinned in, it won’t budge, which makes it perfect for long, active days.
16. The Polished Shag
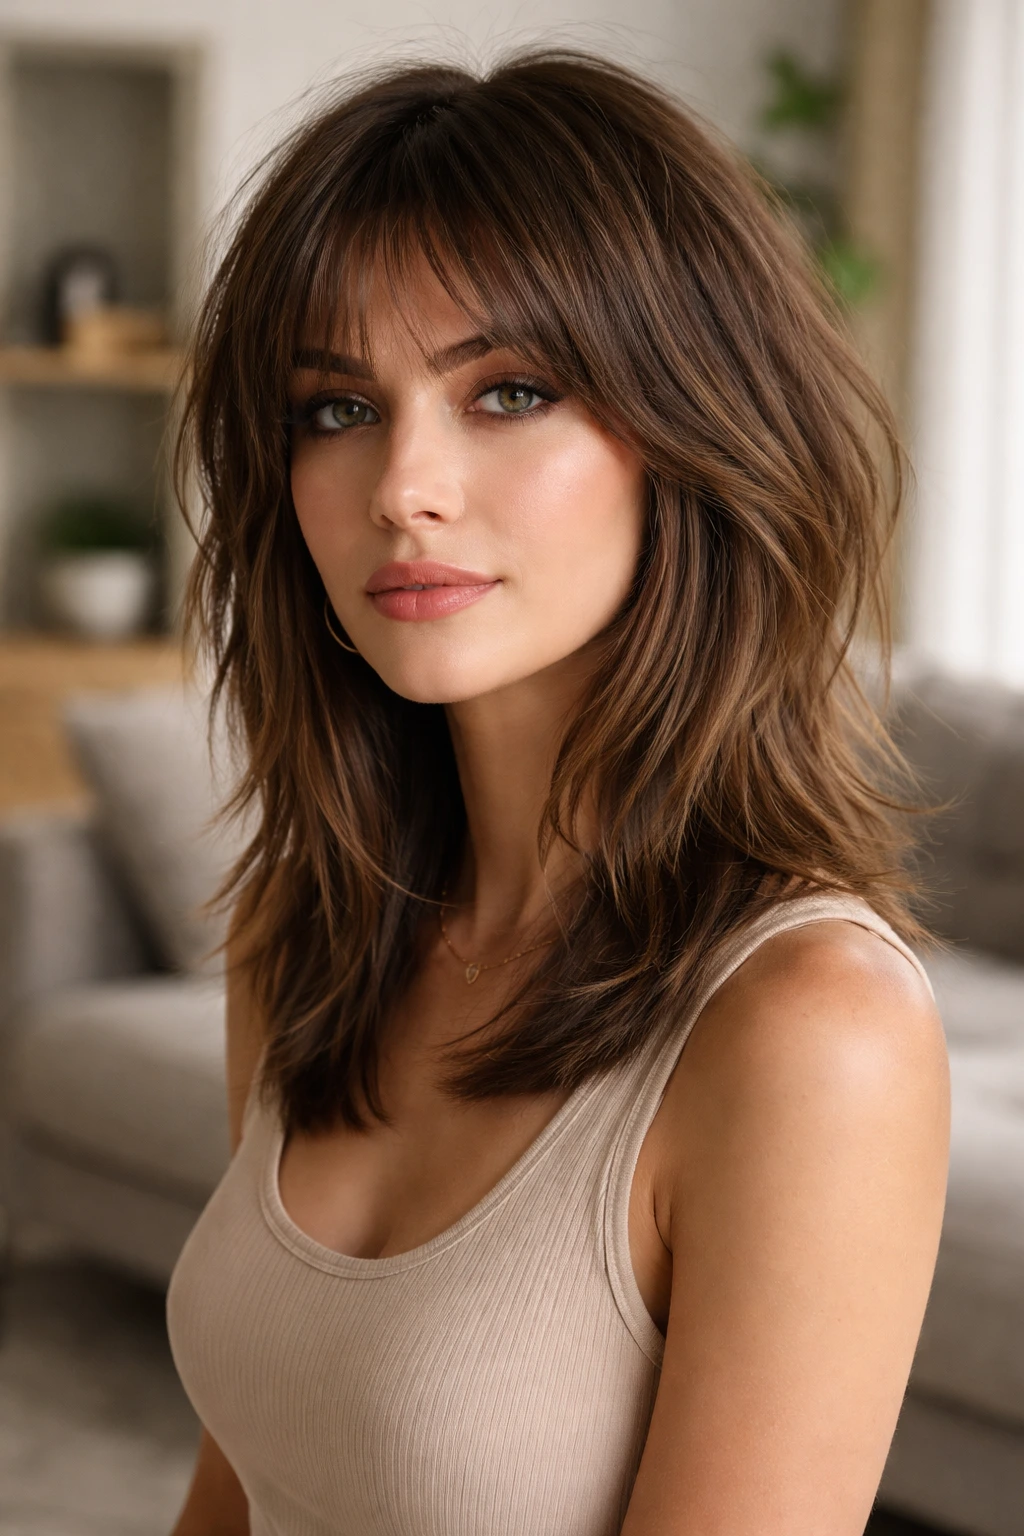
The shag is all about messy, choppy layers, but the polished shag brings that texture into a controlled, sleek environment. It’s a great way to add volume to straight hair without needing to tease it into oblivion.
This style relies on product. Use a texturizing paste—just a pea-sized amount—and rub it between your palms. Rake your hands through your hair, focusing on the ends and the mid-lengths. This creates separation, making your hair look like it has pieces and texture rather than just being a flat sheet. It’s a rock-and-roll look that is incredibly easy to maintain.
17. The Bubble Ponytail
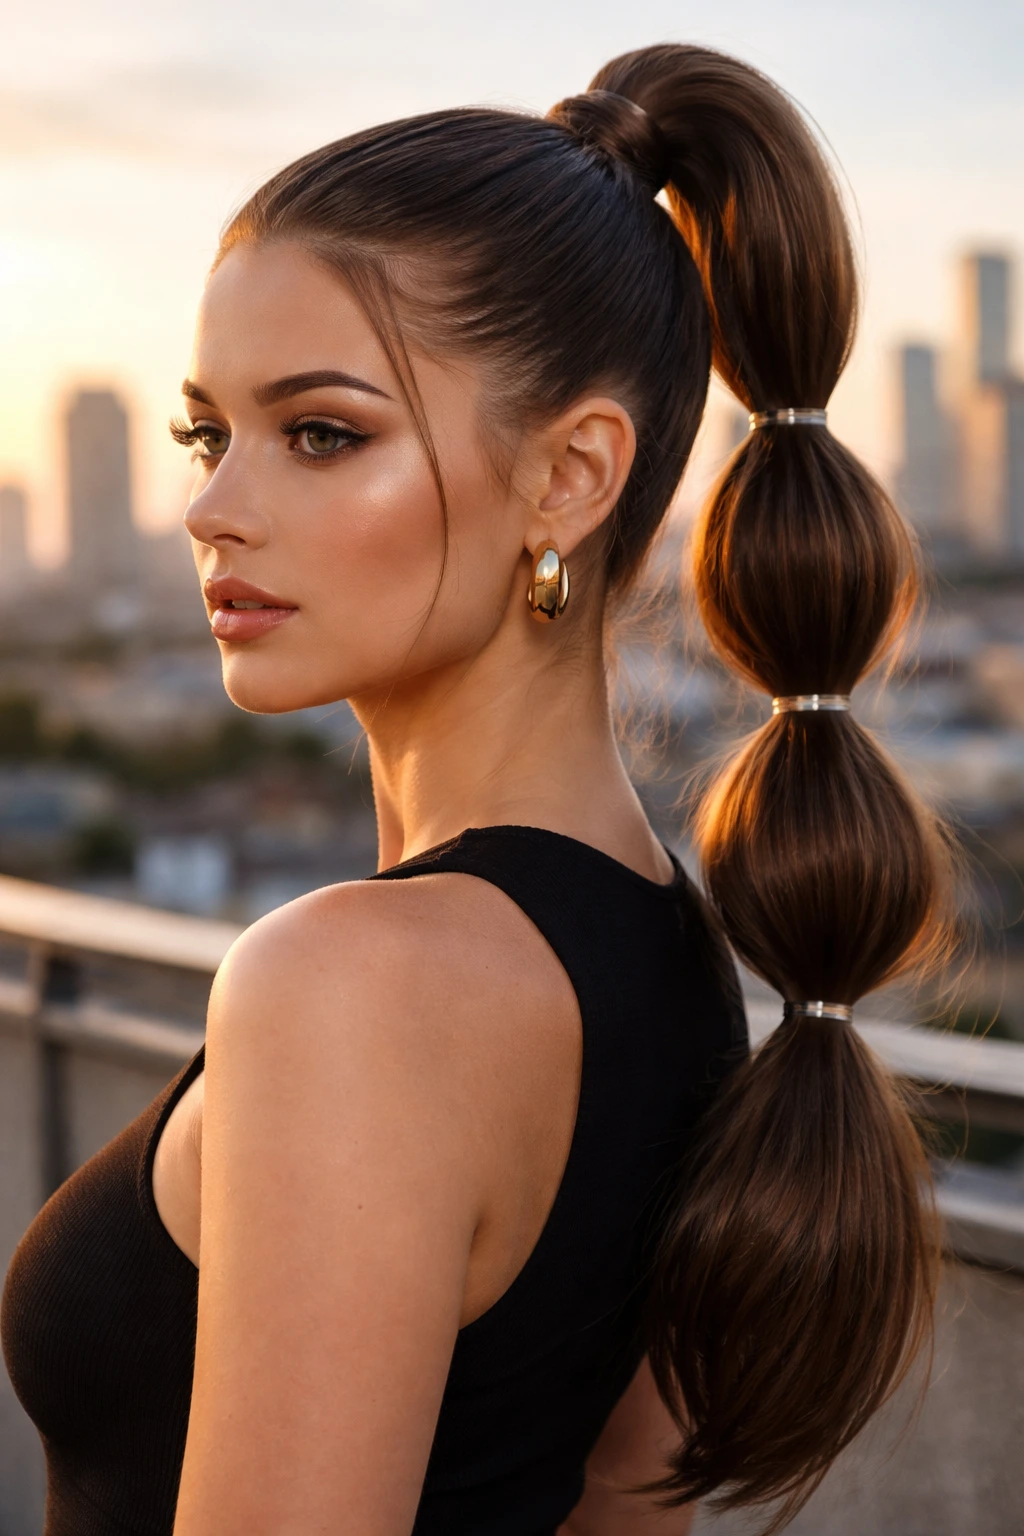
I know, I know—the bubble ponytail sounds like it belongs on an eight-year-old. But hear me out: when done sleekly, it’s a high-fashion editorial look. It’s perfect for adding volume and interest to straight hair that usually looks flat in a standard ponytail.
Pull your hair into a high, secure ponytail. Add small elastic bands every two inches down the length of the ponytail. Once the bands are in, take the hair in each section and pull it outward to create a “bubble” effect. You can go big for a fun look or keep the bubbles tight for a sleeker, more refined vibe. It’s all about the tension.
18. The Asymmetrical Pixie
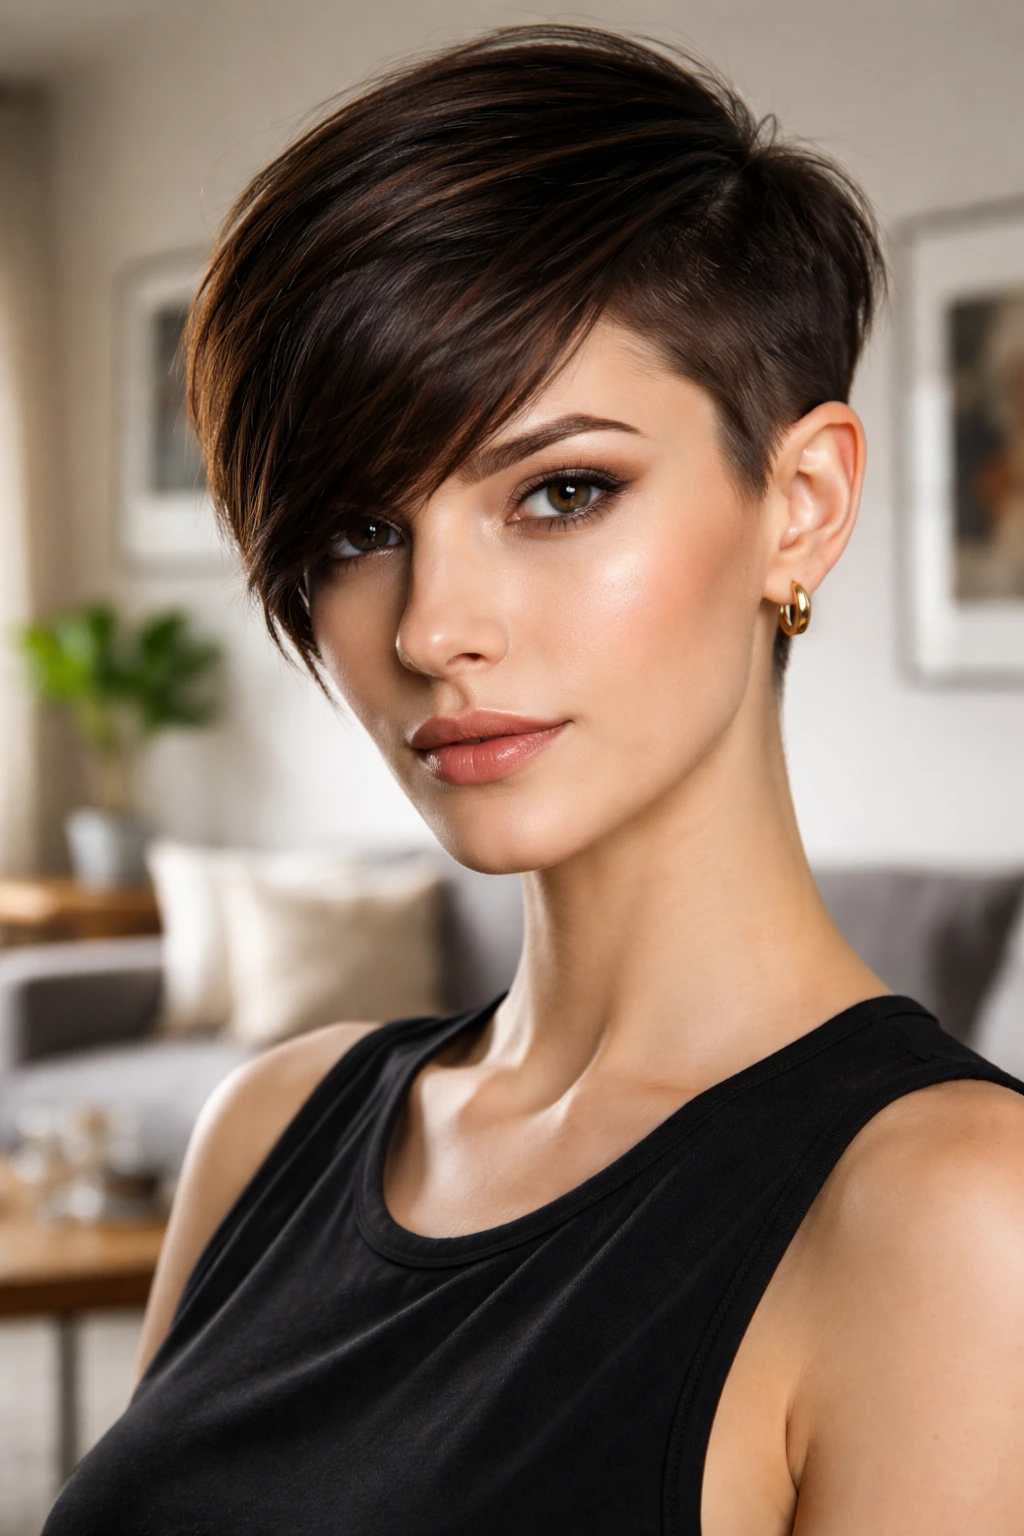
If you are ready for a dramatic change, the asymmetrical pixie is the ultimate straight-hair power move. Because your hair naturally lies flat, it creates the sharp, clean lines necessary to make a pixie cut look intentional and high-end.
You want one side cut shorter—perhaps even buzzed with a clipper—and the other side left longer to sweep across the forehead. This style draws attention to the eyes and cheekbones and requires almost no styling time in the morning. A bit of pomade to add texture and hold, and you are done. It’s the antithesis of the “hair maintenance struggle” and arguably the most freeing style on this list.
Final Thoughts
The secret to working with straight hair is to stop fighting the physics of it. If you spend your morning trying to make your hair behave like something it isn’t, you’ll only end up frustrated. But when you lean into the sleekness, the shine, and the natural structure of straight strands, you discover that you have the most versatile hair texture of all.
Whether you decide to chop it into a blunt bob, perfect the art of the slicked-back bun, or finally try that bubble ponytail you’ve been eyeing, remember that styling is a practice. You don’t get the perfect bun on the first try, and your waves won’t hold the first time you spray them. Keep experimenting with the prep products—the dry shampoos, the texture sprays, the light-hold pomades—and you will find the rhythm that makes your hair work for you.
