



Medium-length hair is the sweet spot for soft waves. It’s long enough to hold shape, but short enough that the movement still reads clearly after you brush it out. That’s the part people miss. A wave on collarbone-length hair can look airy and loose, while the same trick on longer hair may fall flat before lunch.
Soft hair waves for medium length hair also give you room to choose your mood. A 1-inch iron makes a cleaner bend. A 1.25-inch barrel gives a looser finish. A flat iron can make those soft S-shapes that feel a little cooler and less “done,” which is often the point. The cut matters, but the wave pattern changes the whole feel.
The trap is overworking the hair. Medium-length waves can go puffy at the crown or stringy at the ends if you curl too much of the section, brush too early, or skip the cool-down. I keep coming back to that because it matters: the softest waves are usually the ones with the lightest hand.
Start with the c-bend wave if you want the easiest win. It is tidy, wearable, and forgiving.
1. Collarbone C-Bend Waves for an Easy, Soft Finish
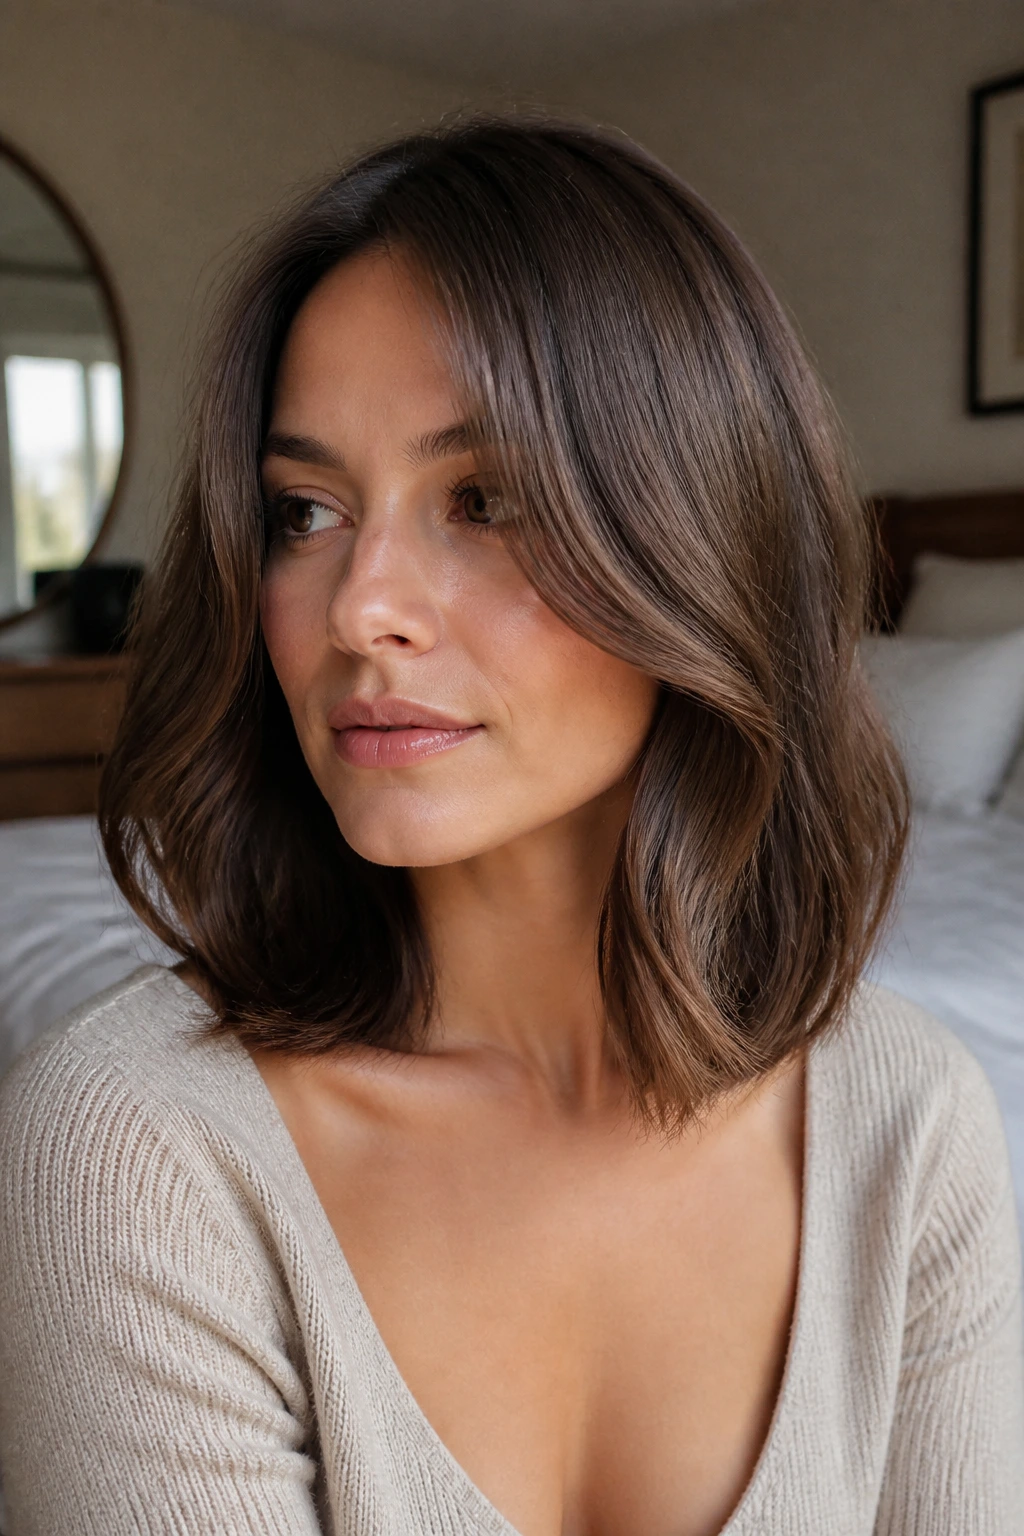
The c-bend is the wave version of a well-placed hemline. It does not try to be a full curl, and that’s why it works so well on medium-length hair. The shape sits somewhere between a blowout and a wave, with just enough curve to make the ends move without shouting for attention.
Why It Flatters Medium-Length Hair
A collarbone cut already has movement built in, so the c-bend follows the line of the haircut instead of fighting it. That keeps the finish soft around the shoulders instead of bulky at the bottom. If your hair tends to flip out at odd angles, this style smooths that out fast.
The trick is to leave the last 1 to 2 inches straighter. That small detail keeps the wave from turning into a ringlet. I like a 1-inch curling iron for this one, because it gives enough bend without turning the whole section into a spiral.
How to Style It
- Wrap 1-inch sections around a 1-inch iron for 6 to 8 seconds.
- Leave the ends out on purpose.
- Alternate the direction of each section for a more natural finish.
- Let the hair cool fully before touching it.
- Brush once with a soft paddle brush or your fingers.
Keep the ends a little straighter. That single move is what keeps this look clean instead of overcurled.
2. Brush-Out Beach Waves That Stay Touchable
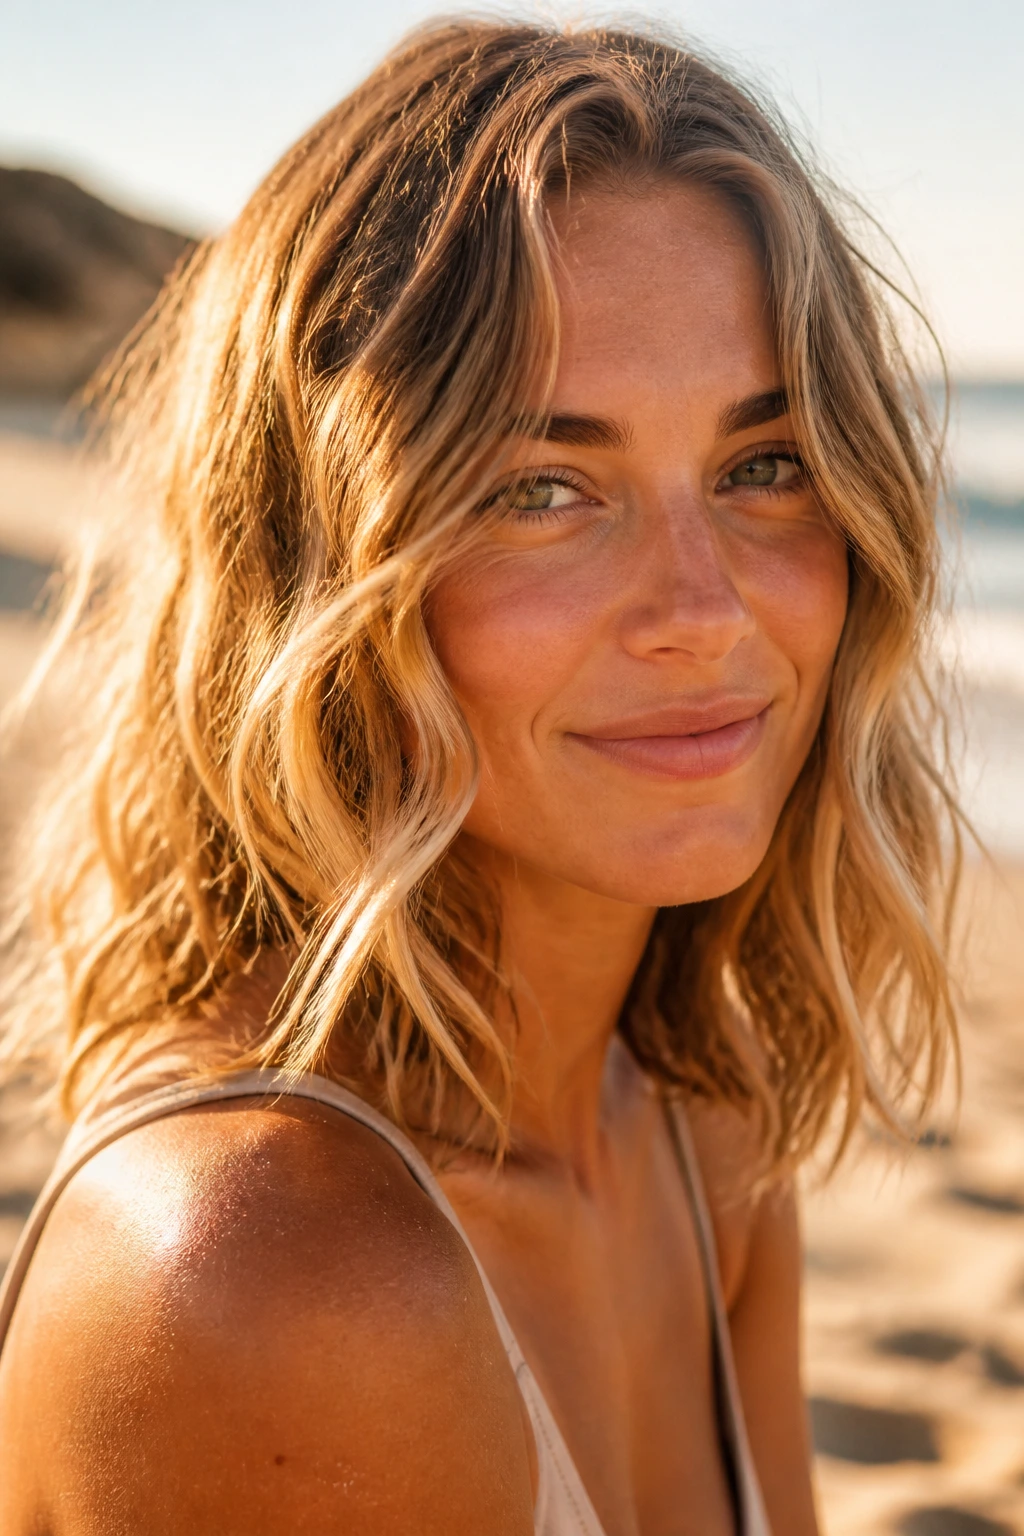
Brush-out beach waves look softer than they sound. The pattern starts a little rough, then turns into that loose, touchable wave people keep asking about. It works because the curl is formed first and softened later, not because the hair was never shaped at all.
I reach for a 1.25-inch barrel when I want this finish on medium-length hair. Larger sections, about 1.5 inches wide, give you enough bend to brush out without losing the wave completely. If you use tiny sections, the result can look too curly. If you use giant ones, the wave barely shows up.
The real key is cooling time. Let each piece sit until it feels room temperature before you brush it. Warm hair gives up shape fast. Cold hair keeps the curve. That tiny wait changes the whole look.
A light mist of flexible hairspray at the end helps, but keep it soft. You want hair that moves when you turn your head, not hair that feels stuck together. A drop of serum on the palms, pressed over the ends, makes the finish look more lived-in and less sprayed.
3. Side-Part Hollywood Waves With a Softer Edge
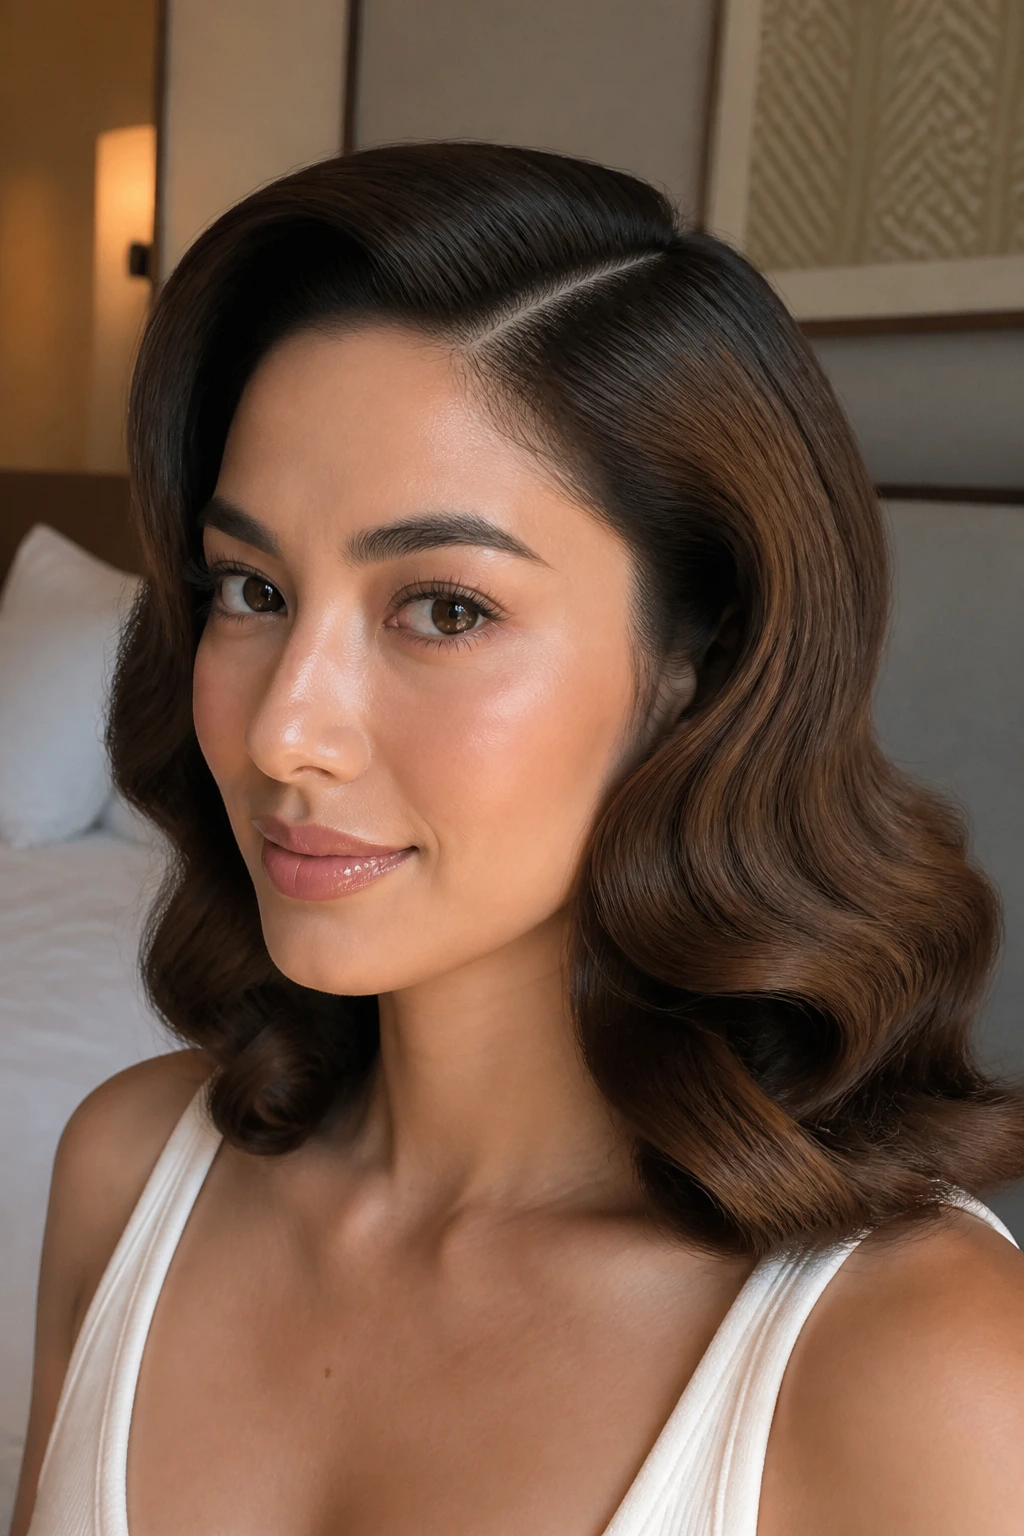
Want soft waves that look polished without turning stiff? A side part is the easiest way to get there. It shifts the balance of medium-length hair, gives the crown a little lift, and turns a basic wave into something with shape. The finish feels dressier, but it still reads soft because the curve is brushed rather than frozen.
What Makes It Different
The side part changes the direction of the wave pattern before you even pick up the iron. Curl everything away from the face, pin each section to cool, then brush the pattern into a smooth arc. That pin-and-cool step matters more than most people think. Skip it, and the wave drops into a limp bend. Leave it alone for a few minutes, and the shape holds with less product.
A deep side part also helps medium-length hair look fuller at the root. That’s useful if your hair is fine or if the top tends to collapse under its own weight.
How to Wear It
- Part the hair 2 to 3 inches off center.
- Curl away from the face on both sides.
- Pin each hot section flat for 5 to 10 minutes.
- Brush with a wide, soft brush after cooling.
- Finish with shine spray only on the top layer.
A single tuck behind one ear makes the whole style look deliberate. Small move. Big difference.
4. Flat-Iron S-Waves for Sleek Medium-Length Hair
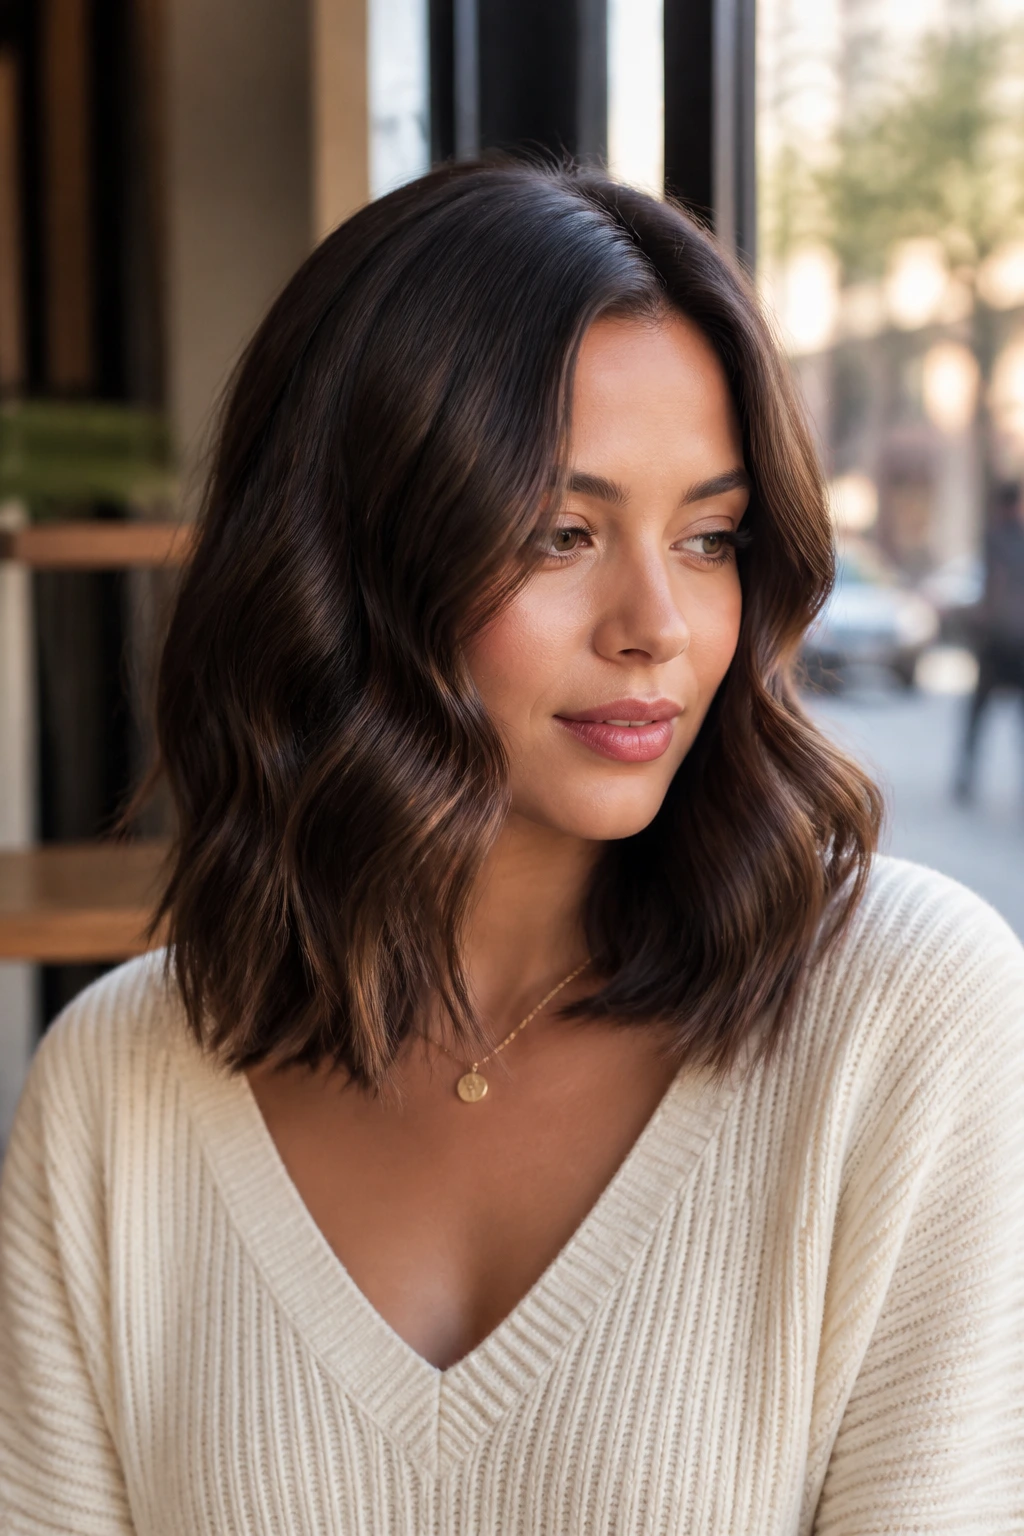
If your hair flips into random ends no matter what you do, S-waves clean that up. They look controlled, but not rigid. On medium-length hair, they sit close enough to the head to feel sleek and loose enough to keep movement. That balance is hard to fake with a curling iron.
The method is simple once you get the hand motion. Clamp a section with a flat iron, bend it one way, then the other, making a soft “S” shape down the length. You are not rolling the hair around the iron. You are guiding it through curves. That difference is the whole look.
Key Details That Matter
- Use dry hair only.
- Keep sections around 1 inch wide.
- Work from mid-length to ends.
- Hold each bend for 2 to 3 seconds.
- Stop before the very ends if you want a cleaner finish.
The style looks especially good when the hair is one length or has soft layers. On a blunt cut, the S-shape gives the ends more life. On a layered cut, it keeps the layers from puffing out into a triangle.
I like this one for days when you want movement but not volume everywhere. It’s neat. It’s quick. And it doesn’t make you look like you spent an hour on your hair.
5. Heatless Rope-Braid Waves for Overnight Texture
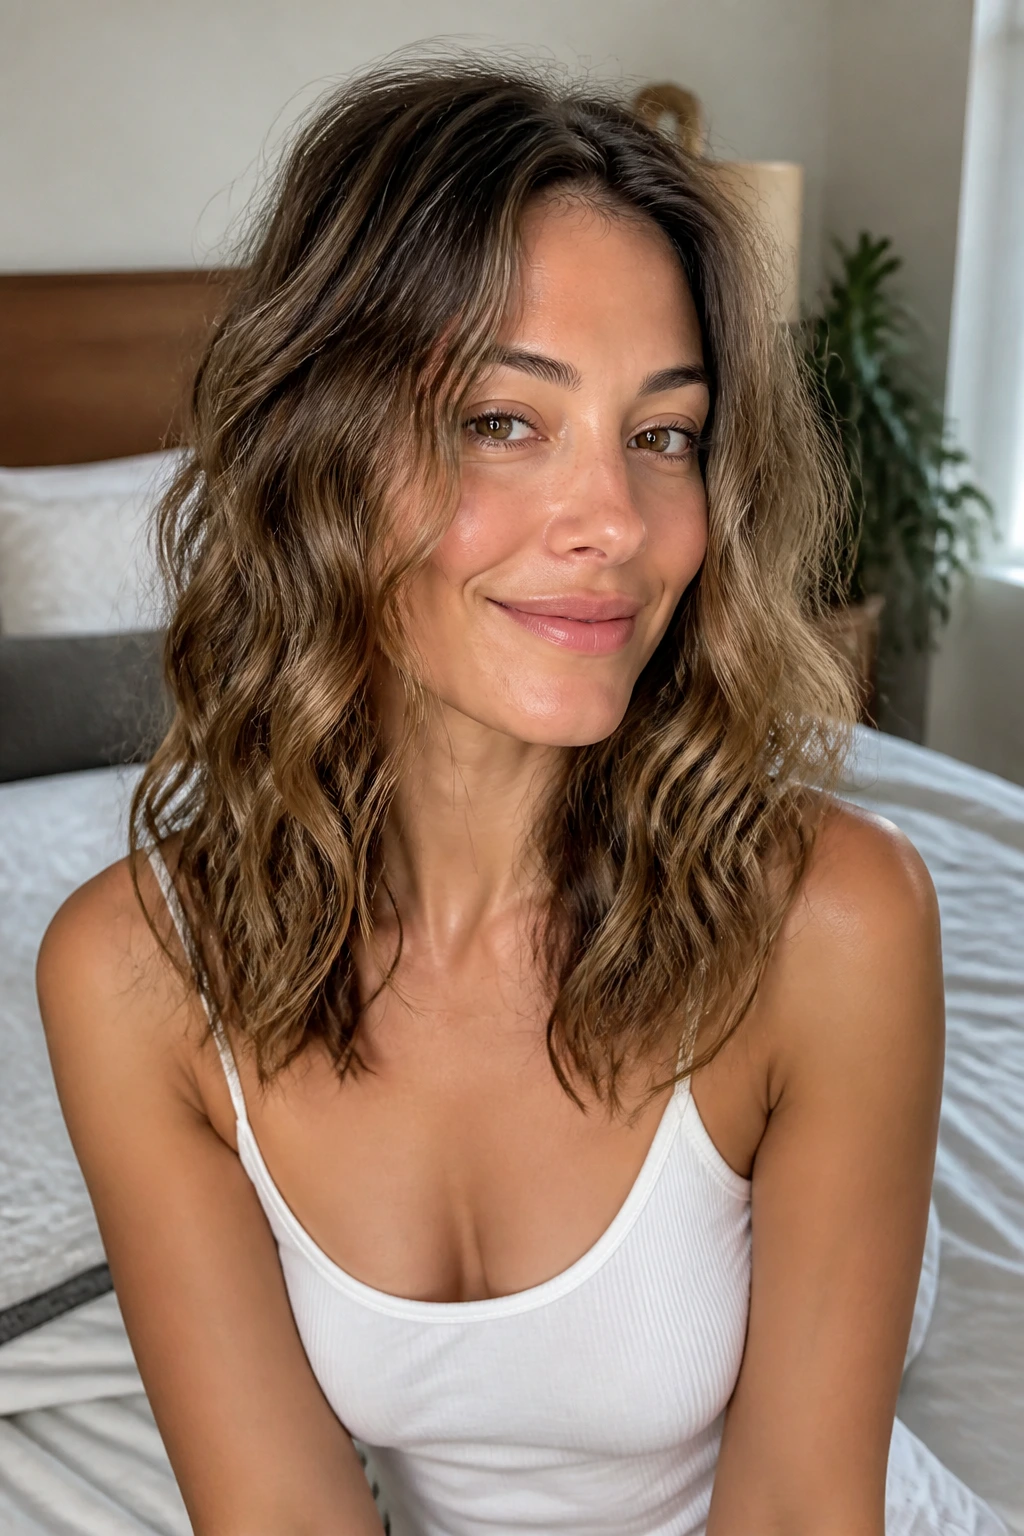
Heatless rope-braid waves are one of those styles people underestimate until they wake up with better hair than they expected. Medium-length hair is long enough to twist into shape, but not so long that the braids pull the wave pattern down and out. That’s why this style works so well on collarbone cuts.
Start with damp hair, not wet hair. Wet hair takes forever to dry and can wake up looking frizzy at the roots. Damp hair dries into shape more cleanly. A small amount of leave-in cream or light styling milk helps the wave form without feeling sticky.
Two rope braids usually work better than one on medium-length hair. One braid can leave a strange flat spot down the back. Two braids split the weight and give you a more even bend when you take them out. Sleep on them with satin scrunchies or soft ties so you do not leave a harsh crease.
In the morning, undo the braids with your fingers first. Shake the roots loose, then separate the waves only where they need it. Resist the urge to brush right away. That’s how the shape turns fuzzy. A little touch of dry shampoo at the root can wake the whole style up fast.
6. Round-Brush Blowout Waves With Bounce at the Ends
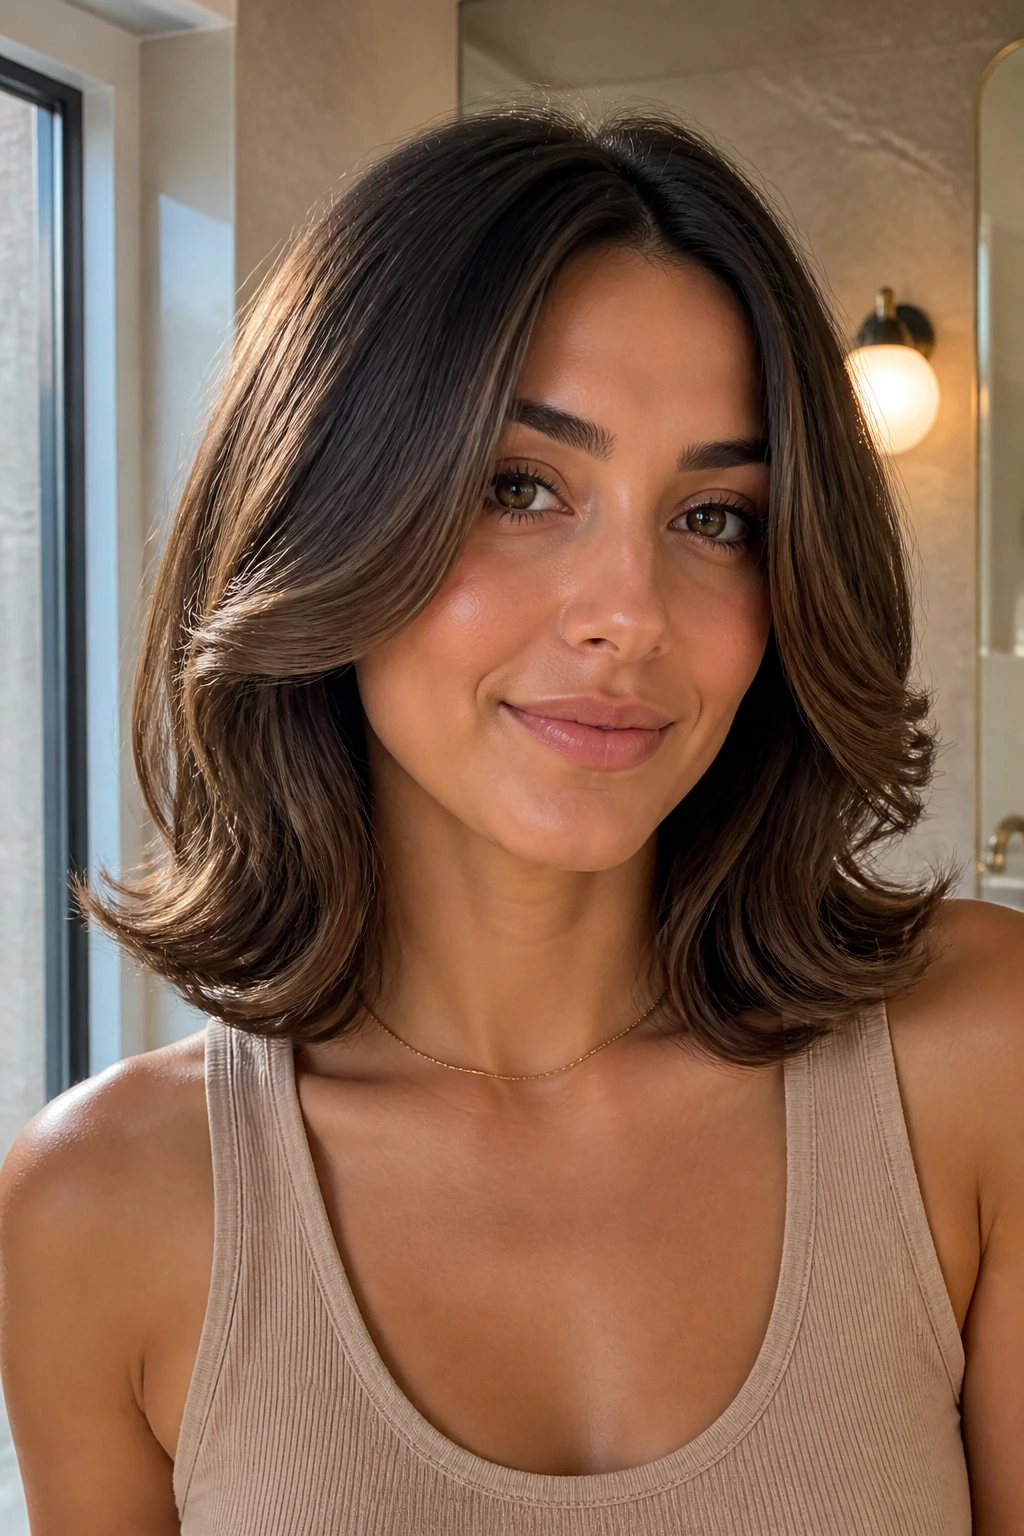
Unlike curling-iron waves, round-brush waves start with lift. They make medium-length hair look airy at the root and soft at the ends, which is why I like them for anyone who wants movement without obvious curl lines. The effect is polished, but not stiff. More salon blowout than prom hair.
A 1.5-inch round brush is usually the sweet spot. Smaller brushes can make the bend too tight. Bigger ones can leave the ends too straight unless the hair is already cooperative. Aim the dryer nozzle downward, roll the brush under at the ends, then twist away from the face through the mid-lengths. That gives the wave a loose, rounded shape instead of a hard flip.
This style suits people who hate the feel of too much product. A mousse at the roots and a light cream through the ends is enough most of the time. Heavy oil can flatten the crown fast, and medium-length hair does not have much room to absorb it.
If you want a soft finish that still looks neat on day one, this is a strong pick. It also grows out well during the day, which is underrated. Hair that softens gracefully is easier to live with than hair that falls apart.
7. Half-Up Soft Waves That Lift the Crown
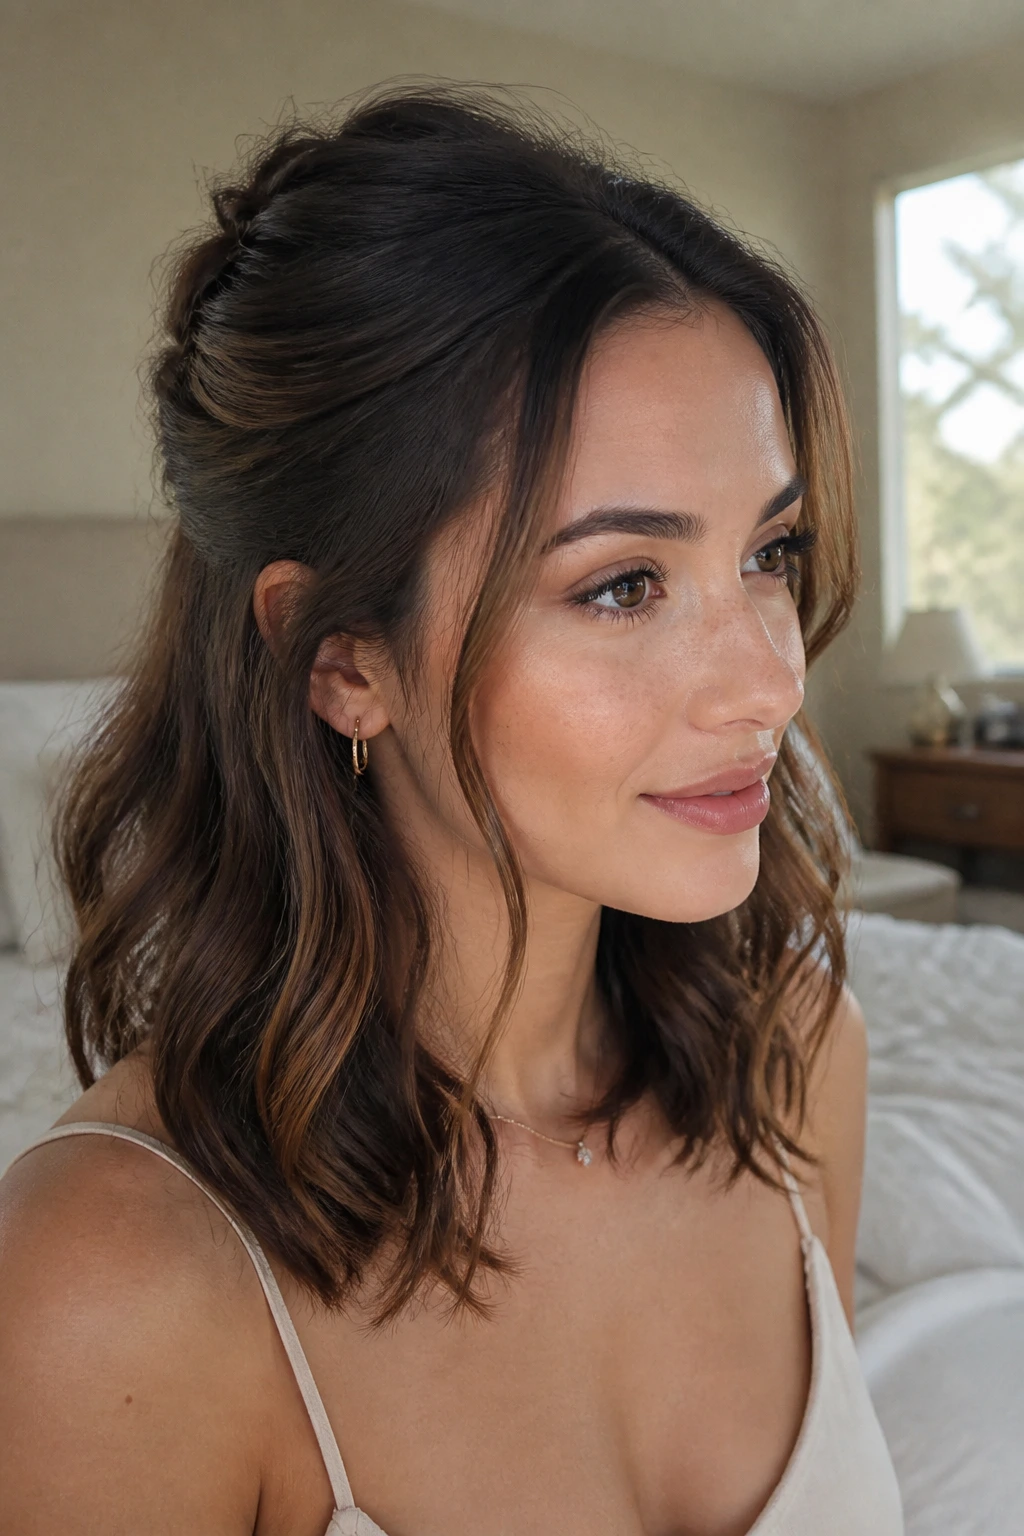
Half-up waves fix a real problem: medium-length hair can sit close to the head at the crown and lose shape fast. Pulling the top section back changes that in a way that feels clean, not fussy. It also keeps the waves visible through the lengths while giving the top a little lift.
Why the Crown Looks Fuller
When you pin or clip the top third of the hair, the remaining waves get a chance to show. The shape at the back and sides stays soft, but the crown stops collapsing into the scalp. That is especially useful if your hair is fine or if you are dealing with second-day texture that needs a reset.
A loose twist at the back feels softer than a tight pull. So does a small claw clip. Both let a few pieces fall around the face, which keeps the style from looking severe.
Style Notes
- Curl the hair first.
- Gather only the top third.
- Leave two thin face-framing pieces out.
- Twist once or clip gently at the back.
- Tug the crown up by a few millimeters for lift.
A small barrette or tortoiseshell clip works better than a giant accessory here. The wave is the main event. The clip should stay in the background.
8. Layered Waves That Move Instead of Puffing Out
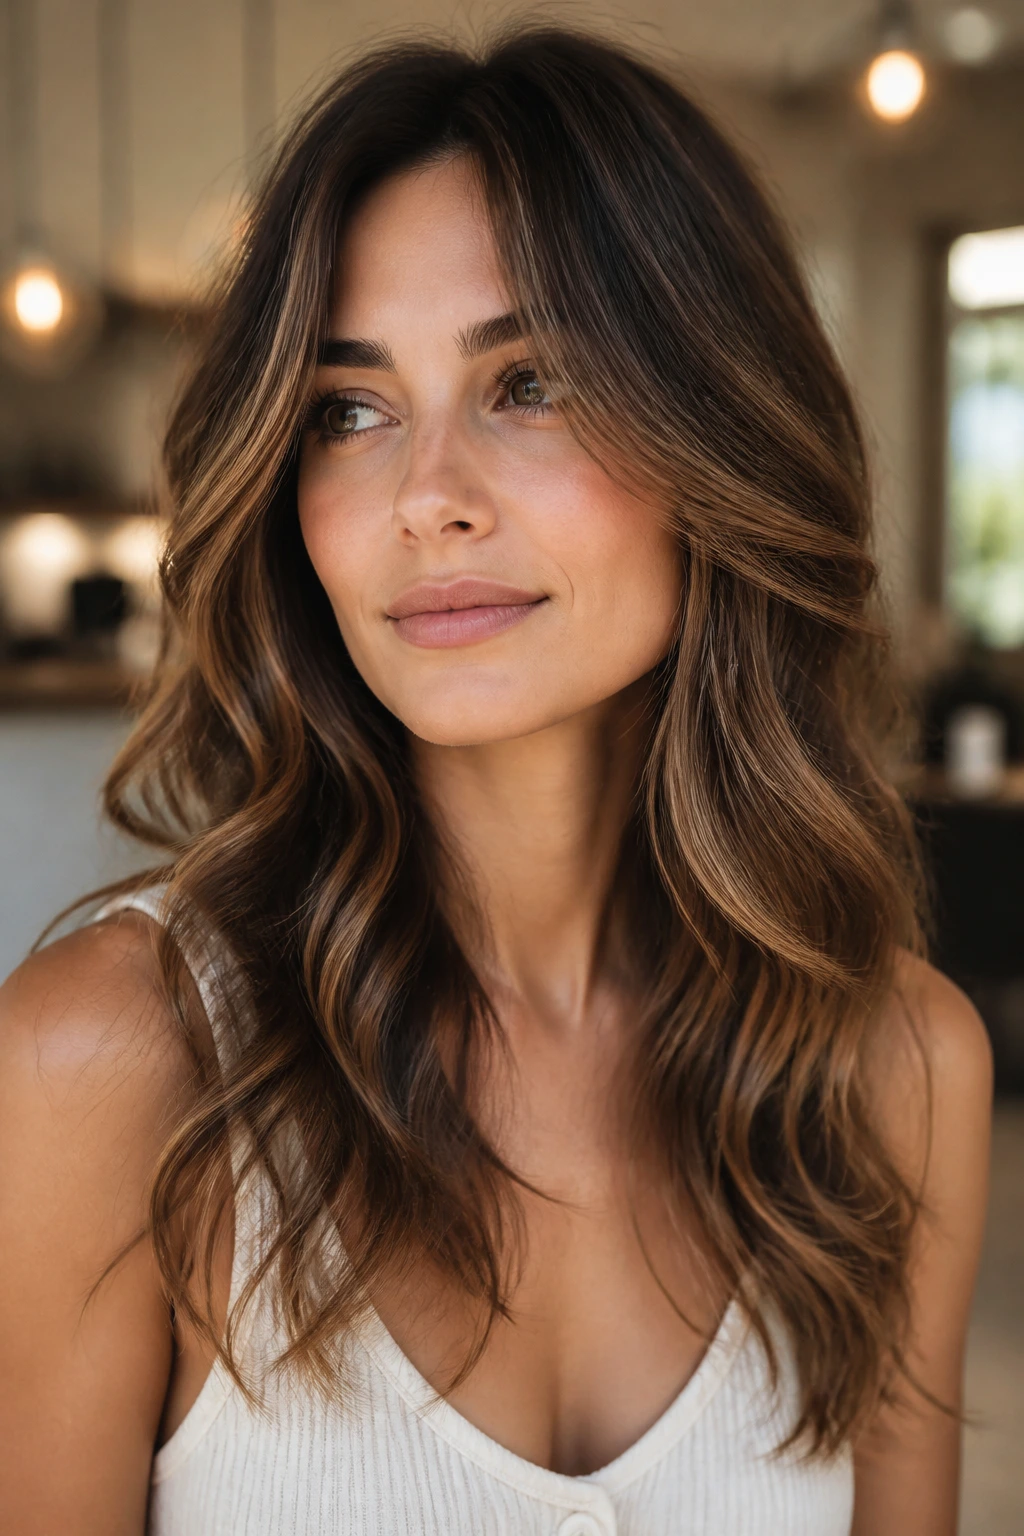
Layers matter more than barrel size sometimes. On medium-length hair, long layers can make a soft wave fall in ribbons instead of puffing outward at the sides. That changes the whole shape of the haircut. Without layers, waves can land in one heavy block. With them, the hair moves in pieces.
The trick is not to overcurl every layer the same way. The shorter pieces around the face usually need less heat and a faster pass through the iron. The longer lower sections can take a little more shaping. If you hit everything with the same tension, the front pieces can spring too high and the bottom can go flat.
Ask for long layers that start below the cheekbone if you want softness without losing length. That keeps the wave from breaking the line of the haircut too much. A little face frame helps too, but only if it’s not too short.
This style has a nice side effect: it looks good even when it loosens a little. That’s not a flaw. That’s the point. Soft waves on layered hair are supposed to relax as the day goes on.
9. Air-Dried Waves With a Little Texture Spray
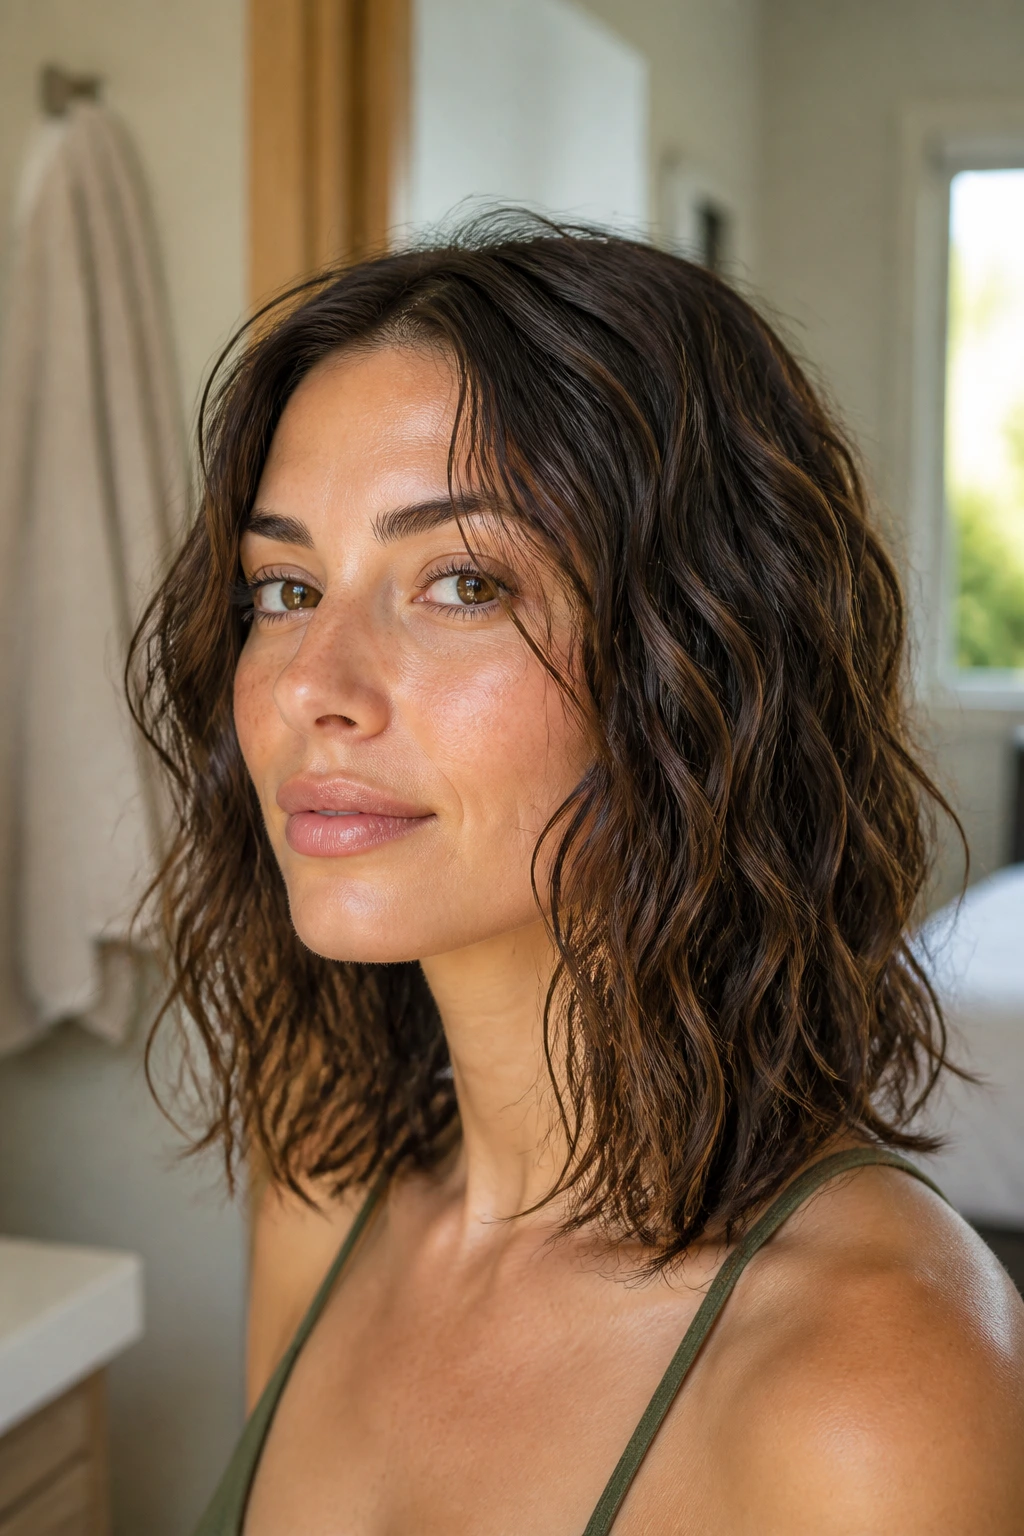
Can air-dried waves look soft instead of fuzzy? Yes, if you give them shape before you walk away from the mirror. Medium-length hair needs a little help here because it dries fast enough to lose pattern, but not so fast that you can ignore sectioning.
How to Get the Shape Right
Work a small amount of curl cream or light mousse through damp hair, then scrunch from the ends upward. After that, twist two or four small sections around your fingers and clip them flat against the head while the hair dries. That tiny bit of tension helps the wave keep its direction.
A microfiber towel or soft T-shirt is kinder than a rough bath towel. Rough drying can lift the cuticle and turn the surface frizzy before the wave has a chance to set. If you diffuse, keep the dryer on low heat and low speed for a few minutes only. You are nudging the pattern, not blasting it into place.
A little texture spray at the roots gives the style more body once dry. Use it sparingly. Too much and medium-length hair starts to feel gritty, which is not the soft finish we want. This one is good for days when you want hair to feel easy, not styled within an inch of its life.
10. Minimal Bend Waves for a Clean, Modern Look
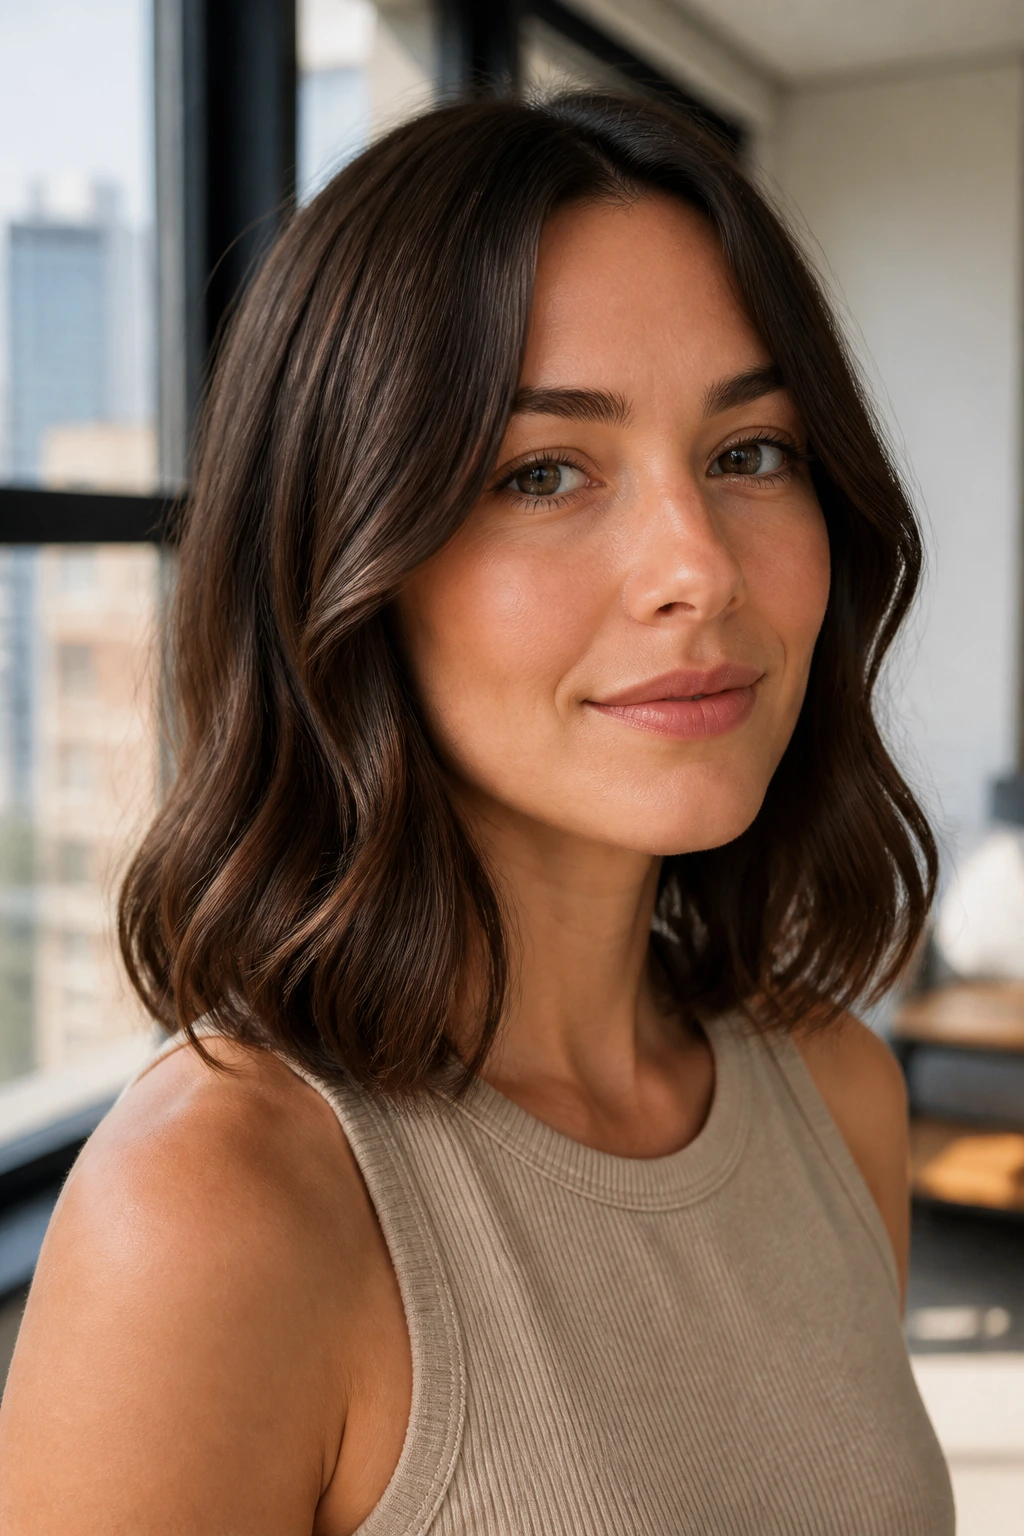
A minimal bend is the wave for people who hate looking overdone. It is barely there in the best way. Medium-length hair gets a touch of movement, a soft curve around the jaw, and just enough lift at the ends to keep the cut from falling flat.
The style comes from using a flat iron or curling iron with a very light hand. Think of it as creating a soft crease, not a full curl. Clamp a section, twist the tool once, and release before the hair wraps all the way around. The bend should look accidental, even though it is not.
What to Watch For
- Keep the iron at a moderate heat, around 300 to 350°F.
- Work in wider sections, about 1.5 inches.
- Focus the bend from cheekbone to collarbone.
- Leave the crown smoother than the ends.
- Finish with a matte or flexible spray, not a stiff lacquer.
This is one of those styles that works especially well with sharp cuts, because the wave softens the line without hiding it. If you like hair that looks neat in motion, this is a strong fit.
11. Side-Swept Soft Waves That Lengthen the Face

A side part changes the whole mood of soft waves. It gives medium-length hair a little drama without asking for much effort. One side sits higher, the other falls lower, and the face ends up framed in a way that feels longer and softer at once.
The most flattering part is how the waves move away from the face. That opens up the cheekbones and keeps the front from looking heavy. I like this version on hair that sits right at the shoulders, because a center part can sometimes make that length feel boxy. A side sweep breaks the block.
You do not need a deep side part to get the effect. Even moving the part an inch or two off center changes the balance. Curl the front sections away from the face, then tuck the heavier side behind one ear. A small clip near the temple can hold the shape if your hair slips.
This style looks especially good with a soft sweater, a blazer, or anything with a neckline that does not compete with the hair. It has enough shape to matter, but not enough attitude to take over the whole outfit.
12. Soft Waves for Fine Medium-Length Hair
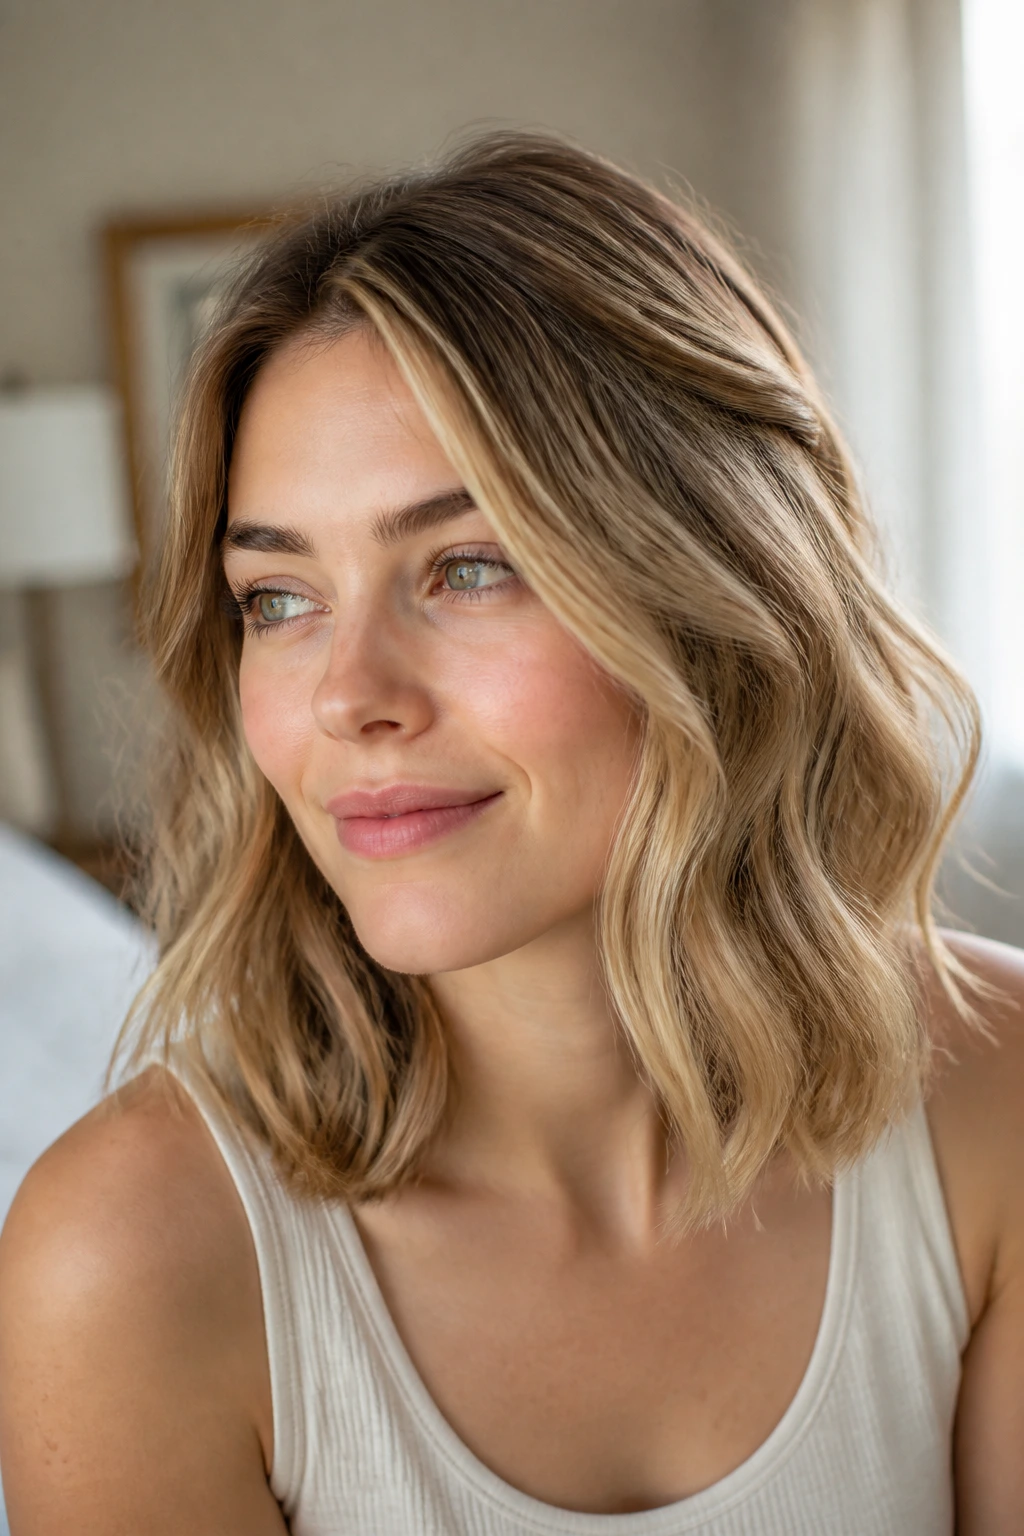
Fine hair and loose waves can fight each other, which is why section size matters more than heat. If the sections are too thick, the wave drops out. If the heat is too high, the hair gets shiny in the wrong way and loses grip. Medium-length fine hair needs a lighter touch and a little planning.
A mousse or root-lifting spray at the crown helps before any hot tool comes near the hair. That gives the style something to hold on to. Use a 1-inch iron, not a huge barrel, and keep the sections fairly small. Six to eight sections across the whole head can be enough. Twelve is usually too much work for too little payoff.
Do not brush the waves more than once. Fine hair frays fast, and every extra pass can make it collapse. A soft finger comb is often enough. If you want more fullness, tip your head sideways and mist the roots with dry shampoo before you move the hair back into place.
My bias here is plain: I would rather see fine hair with one clean, brushed wave than a lot of broken texture. Less fuss. Better shape. Easier morning.
13. Soft Waves for Thick, Dense Medium-Length Hair
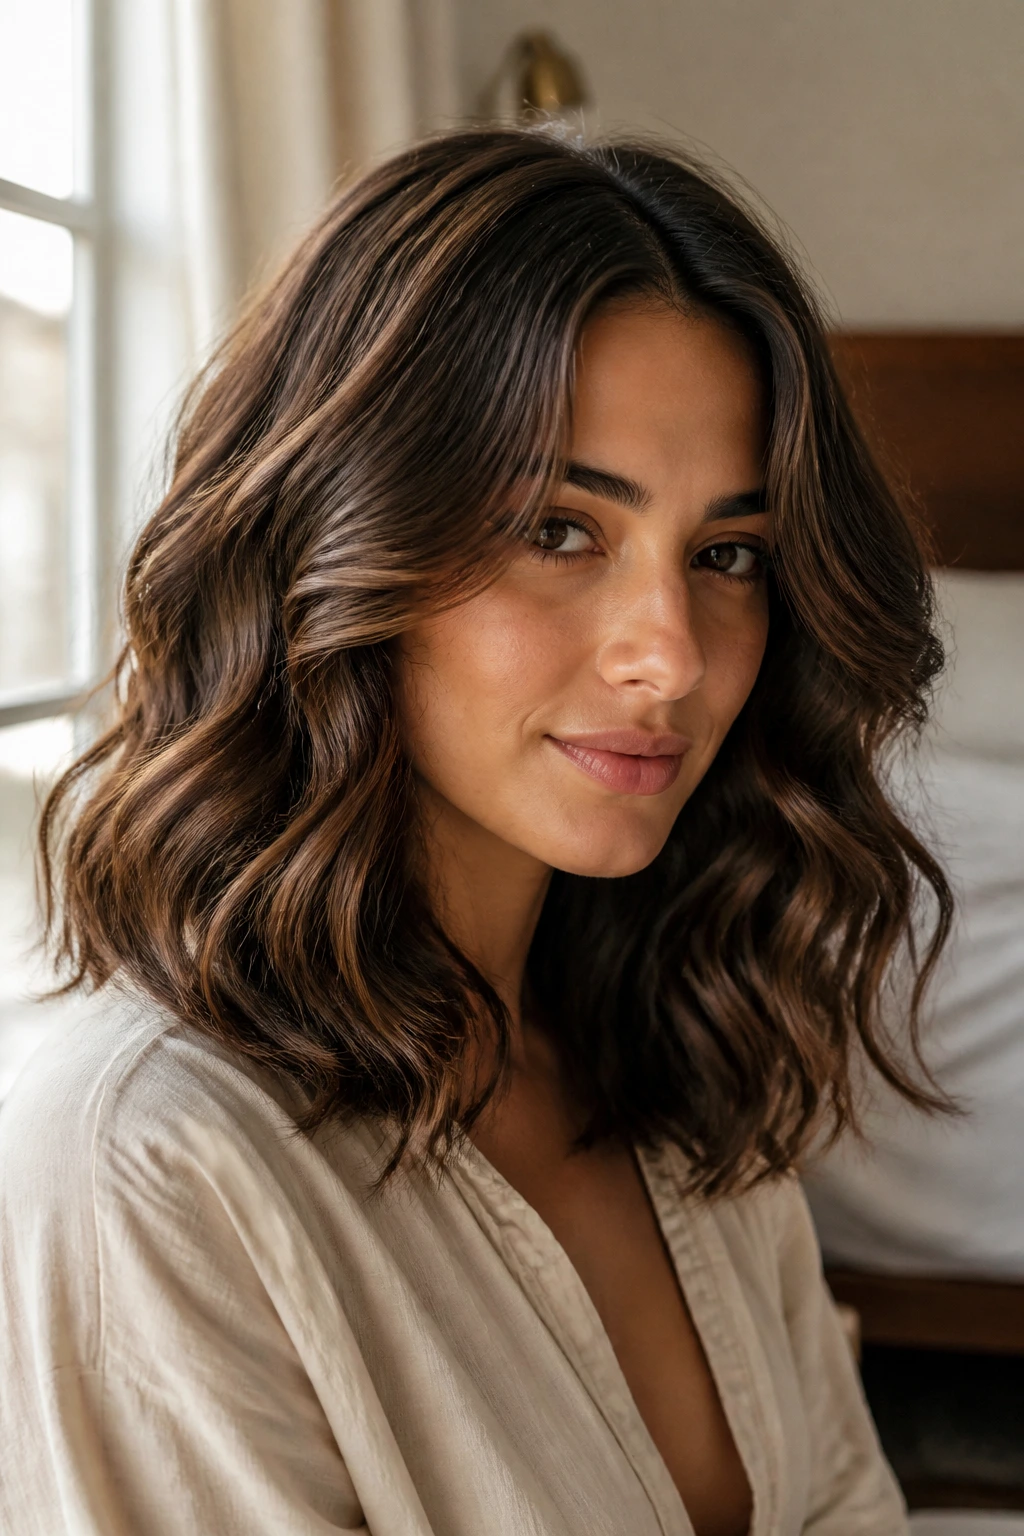
Thick hair needs a different kind of patience. The wave can hold, sure, but the bulk can also swallow the shape if you rush. That’s why sectioning matters so much on medium-length thick hair. If the pieces are too large, the outer layer looks waved while the inside stays stubborn and heavy.
The Part Most People Skip
Clip the hair into at least 6 sections before you start. Really. That one move makes the styling easier because you are not trying to force the same heat pattern through a dense block of hair. Work from the bottom up, and pin each finished curl until it cools. Thick hair holds heat longer, so the shape keeps changing unless you let it settle.
What Helps Most
- Use a 1-inch iron or wand.
- Keep the heat around 360 to 375°F if your hair tolerates it.
- Spray each section lightly before curling.
- Let every curl cool before brushing.
- Finish with a flexible hold spray, not a crunchy one.
Thick medium-length hair looks best when the wave has room to sit. That means a little separation at the end and not too much oil near the roots. I’d rather see the style move than sit in one heavy sheet.
14. Day-Two Waves That Wake Up Fast
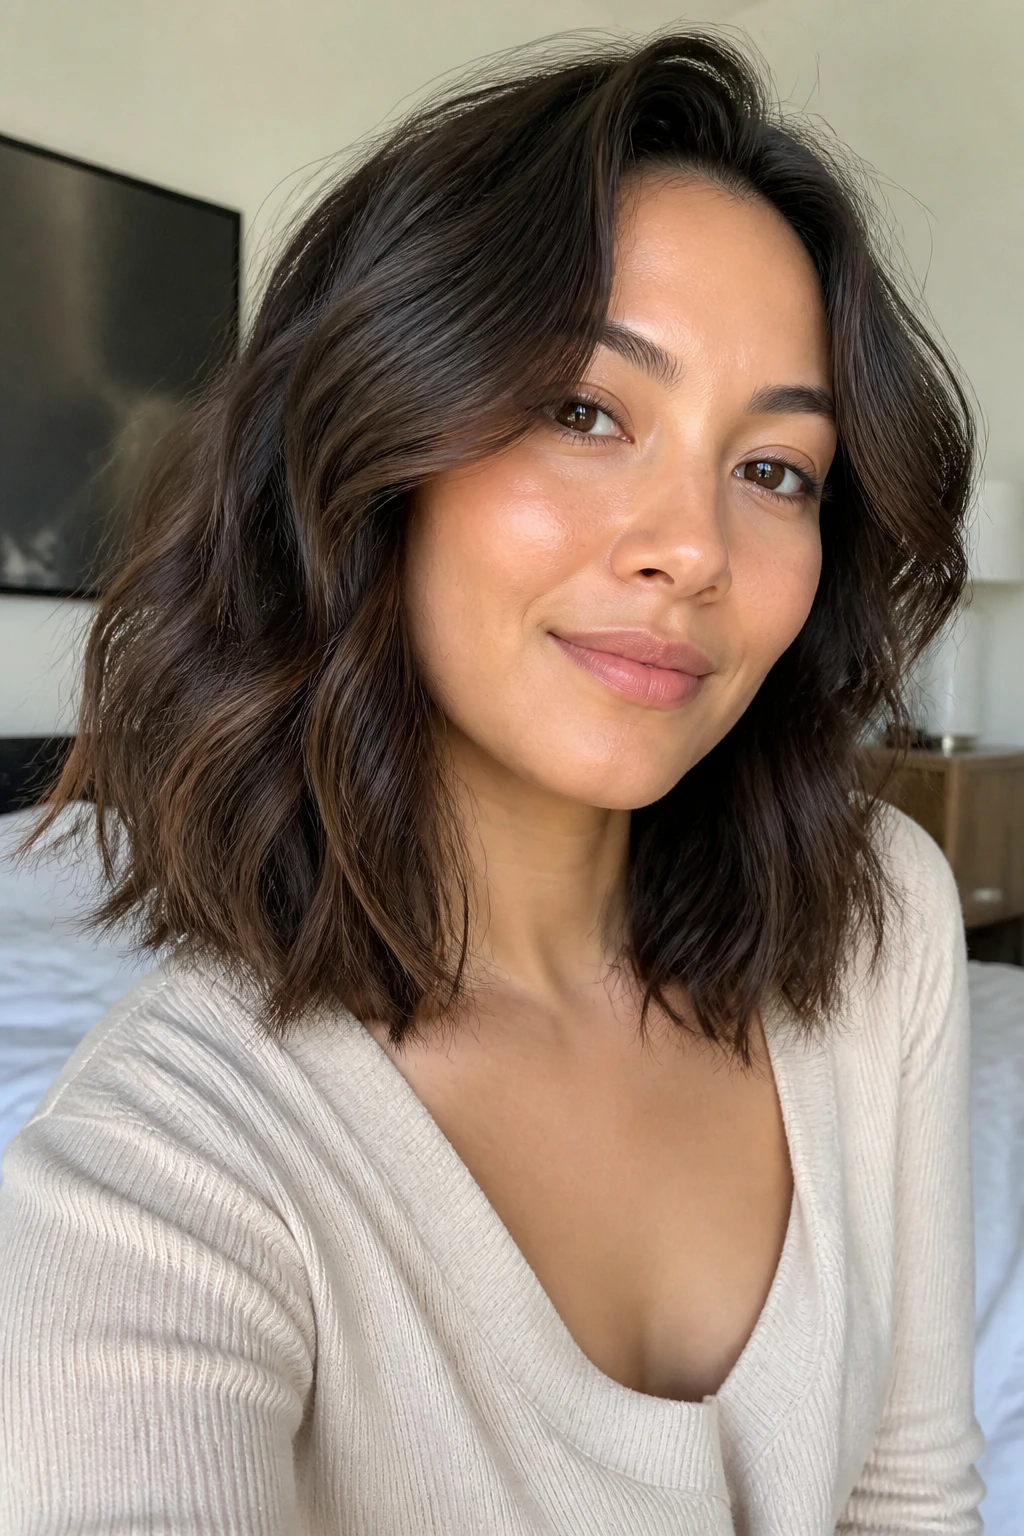
Day-two waves can look better than day-one waves if you stop trying to remake them from scratch. Medium-length hair usually needs only a small reset: a bit of mist, a little finger work, maybe a quick touch of heat on the front pieces. The wave pattern is already there. You are just bringing it back to life.
Start by lifting the roots with dry shampoo or a texture spray. Then twist the flattest pieces around your fingers for a few seconds. If the ends feel dry, smooth a tiny bit of serum over them. Tiny. Too much product at this stage will make the hair collapse, and that is the opposite of what you want.
A low-heat blow-dryer can help if the front sections have gone weird overnight. Keep the nozzle moving and use your hand to shape the bend as the hair warms. Five seconds on one piece is often enough. You are not rebuilding the whole head.
This routine is useful because it respects the wave you already made. That sounds small, but it saves time and keeps medium-length hair from going into the weird in-between stage where it looks half styled and half asleep.
15. The Five-Minute Soft Wave Routine for Busy Mornings
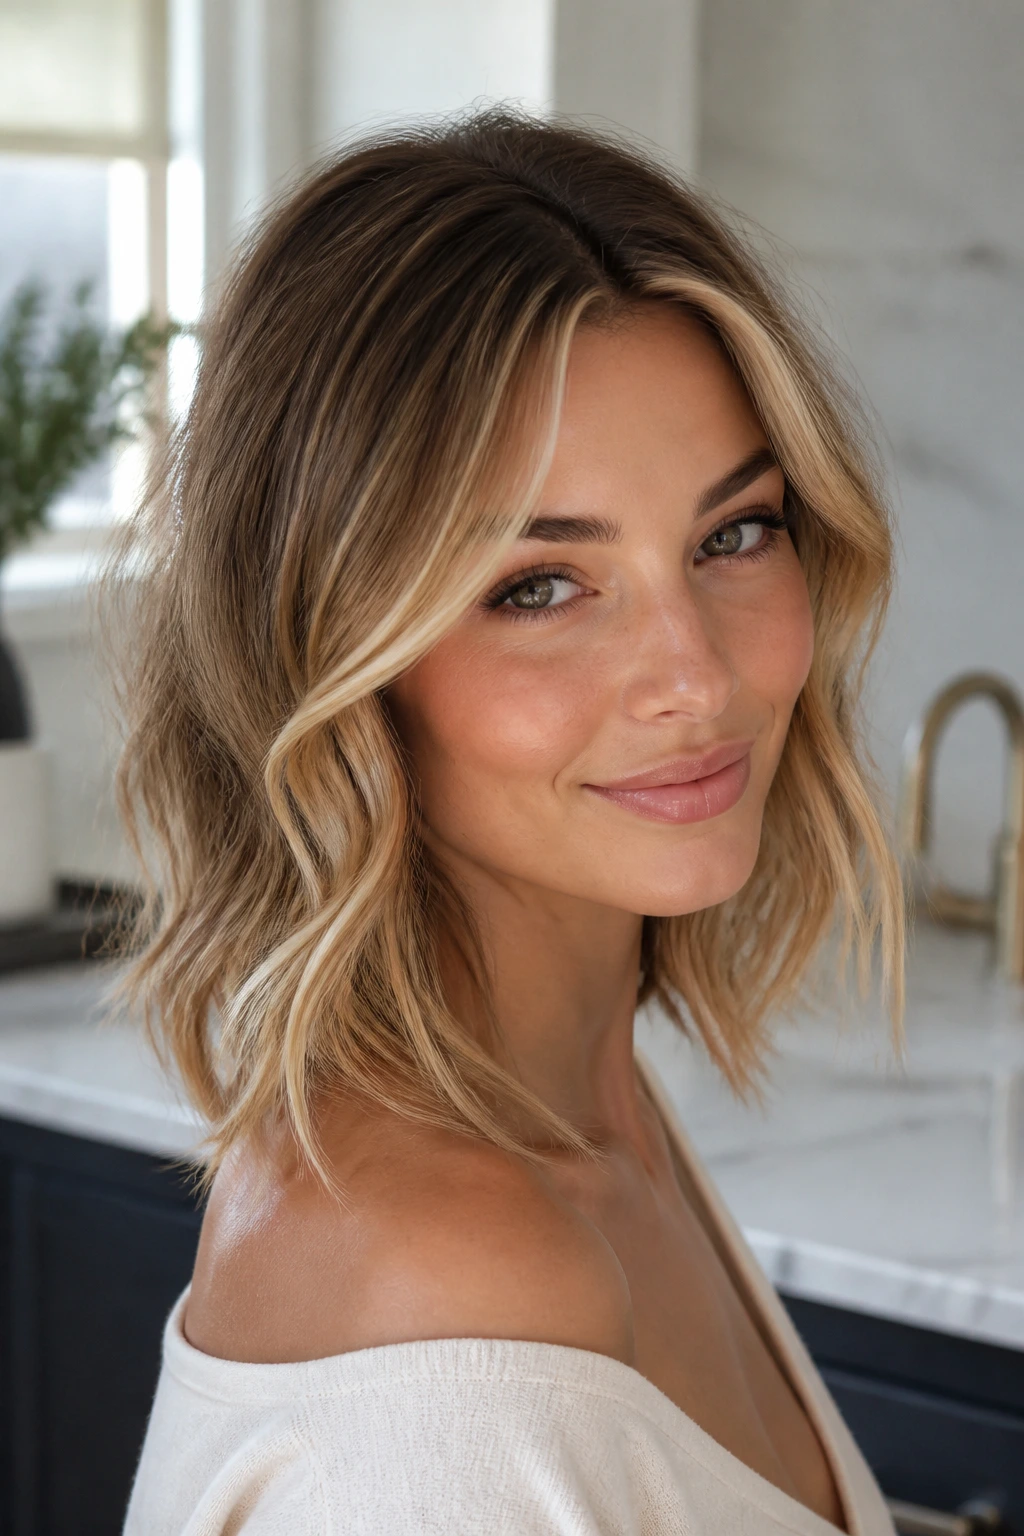
Can soft waves still look intentional when you only have a few minutes? Yes, if you stop trying to curl every inch. Medium-length hair needs a fast, selective approach on rushed mornings. Focus on the front, the top layer, and the pieces that show the most when you turn your head.
I usually pick six sections: two in front, two at the crown, and two in the back. Curl each section away from the face, leave the ends a little straighter, and let the iron stay on each piece for only 6 to 8 seconds. That keeps the wave soft instead of springy. Once the hair cools for a minute or two, run fingers through the lengths and stop there.
A small amount of light hold spray at the end is enough. If you want the wave to look fuller, bend your head forward and shake the roots before you flip it back. That little shake gives medium-length hair movement without killing the shape.
Quick hair, yes. Sloppy hair, no. That’s the difference.
