



A good school hairstyle has one job: stay put. That sounds plain, but it’s the whole game. The best hairstyles for school are the ones that survive a backpack, a gym period, a windy walk, and a few careless hand sweeps without turning into a knot by lunchtime.
Fine hair slips. Curly hair grows bigger. Layers escape at the temples like they have somewhere better to be. So the styles that earn their keep are usually the ones with a little structure — braids, buns, twists, clipped sections, and a few smart accessories that do real work.
I keep coming back to the styles that can be done with a brush, a handful of elastics, and maybe a ribbon or two. Fancy hair has its place. Tuesday morning usually is not that place.
So the list starts with the dependable classics and moves toward the ones that look a bit more styled without asking for much extra time. Pin it, twist it, go.
1. Low Ribbon Ponytail
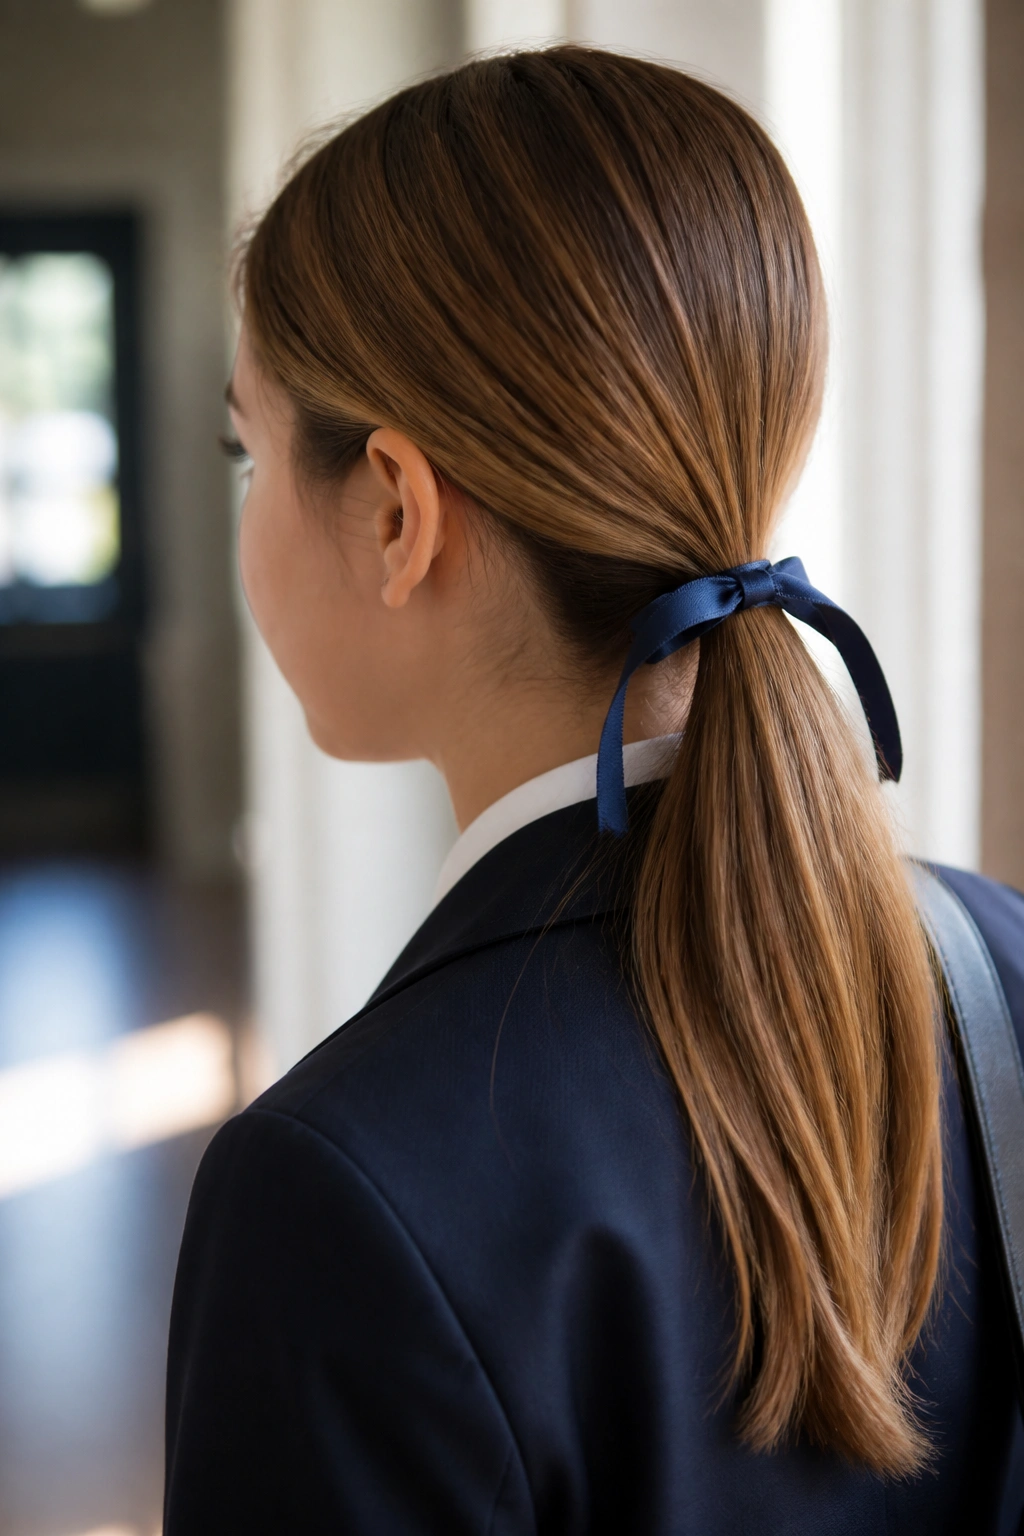
A low ribbon ponytail is the kind of style that looks calm before the day gets loud. Gather the hair at the nape, smooth the top with a brush, and keep the ponytail low enough that it doesn’t fight collars, hoodies, or jacket hoods. A 1/2-inch satin ribbon is usually enough; anything wider can swallow fine hair.
Why It Works on Rushed Mornings
The shape is simple, which is exactly why it holds up. Hair is pulled away from the face, the nape stays comfortable, and the ribbon gives the style a finished look even when the rest of the morning was chaos.
- Takes about 3 minutes
- Works on straight, wavy, and lightly curled hair
- Helps tame flyaways near the crown
- Looks neat even when the ponytail itself is not perfect
Small tip: tie the ribbon in a tight knot first, then make the bow. That keeps it from sliding loose by lunch.
2. Classic French Braid
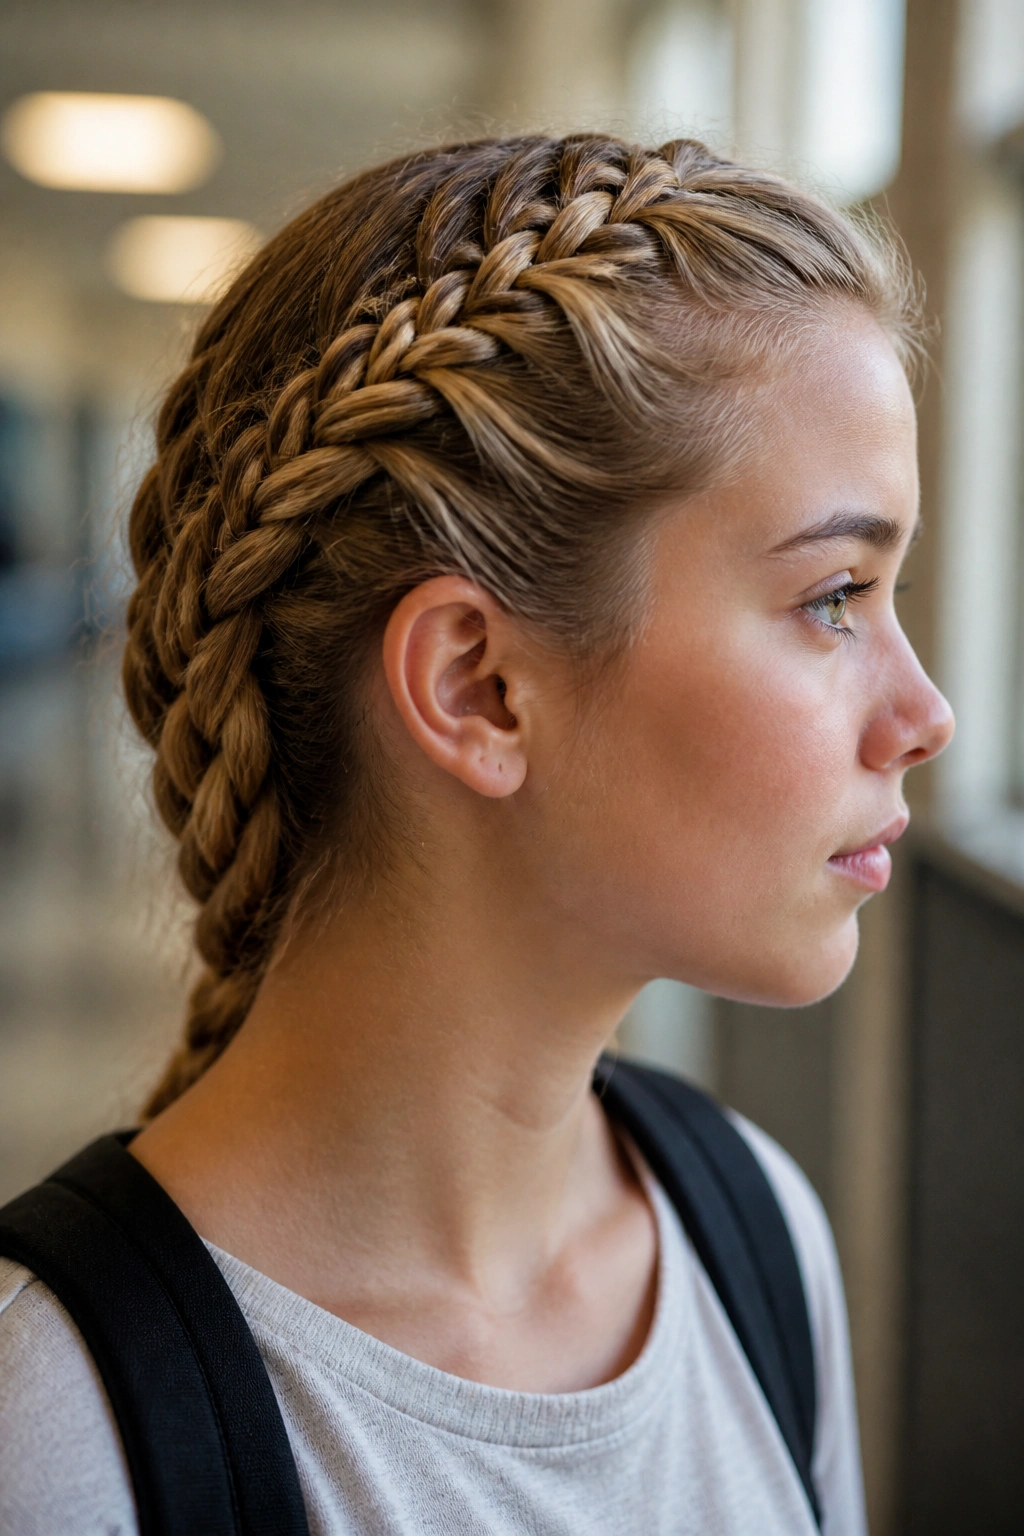
A French braid makes a school day look easier than it is. It starts tidy at the crown and stays close to the head, which matters when you want hair out of the way without having it flop around every ten minutes.
The trick is to keep your hands close to the scalp and add small sections as you go. If you pull the braid away from the head too early, it gets looser in the wrong way and starts to puff out at the sides. A light mist of water helps slippery hair hold shape, and a pea-size dab of mousse can make the strands cooperate.
It is one of those styles that gets better with practice. The first try might look a little lopsided. That is fine. The braid still does its job.
3. Dutch Braid Pigtails
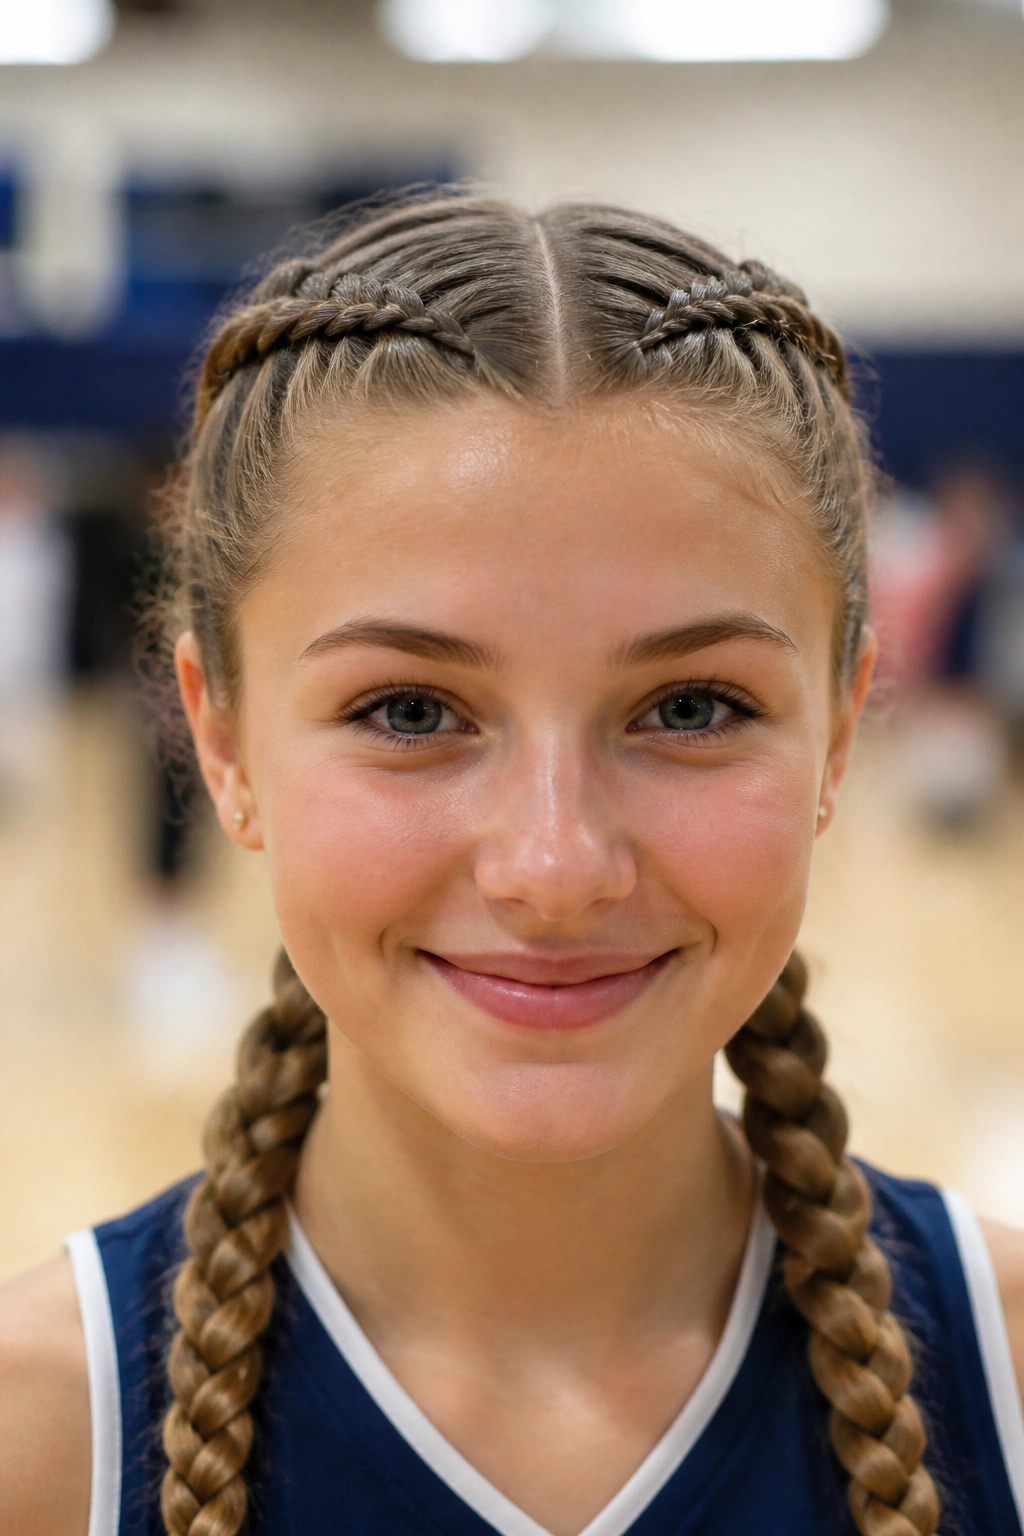
Want a style that holds up through gym class and a packed hallway? Dutch braid pigtails do the job without making your scalp feel trapped. They sit close to the head, but the braid pattern pops out more than a French braid, so the look feels sharper and a little more defined.
How to Wear It
Part the hair down the center with a comb, then clip one side out of the way while you braid the first section. Keep each braid low enough that it hugs the head from the temple to the nape. If your hair is thick, use two small elastics per braid instead of one large one; the smaller ties stay neater.
The style is especially good when hair needs to stay put for hours. It does not need constant fixing. That alone makes it a favorite in my book.
4. Bubble Ponytail
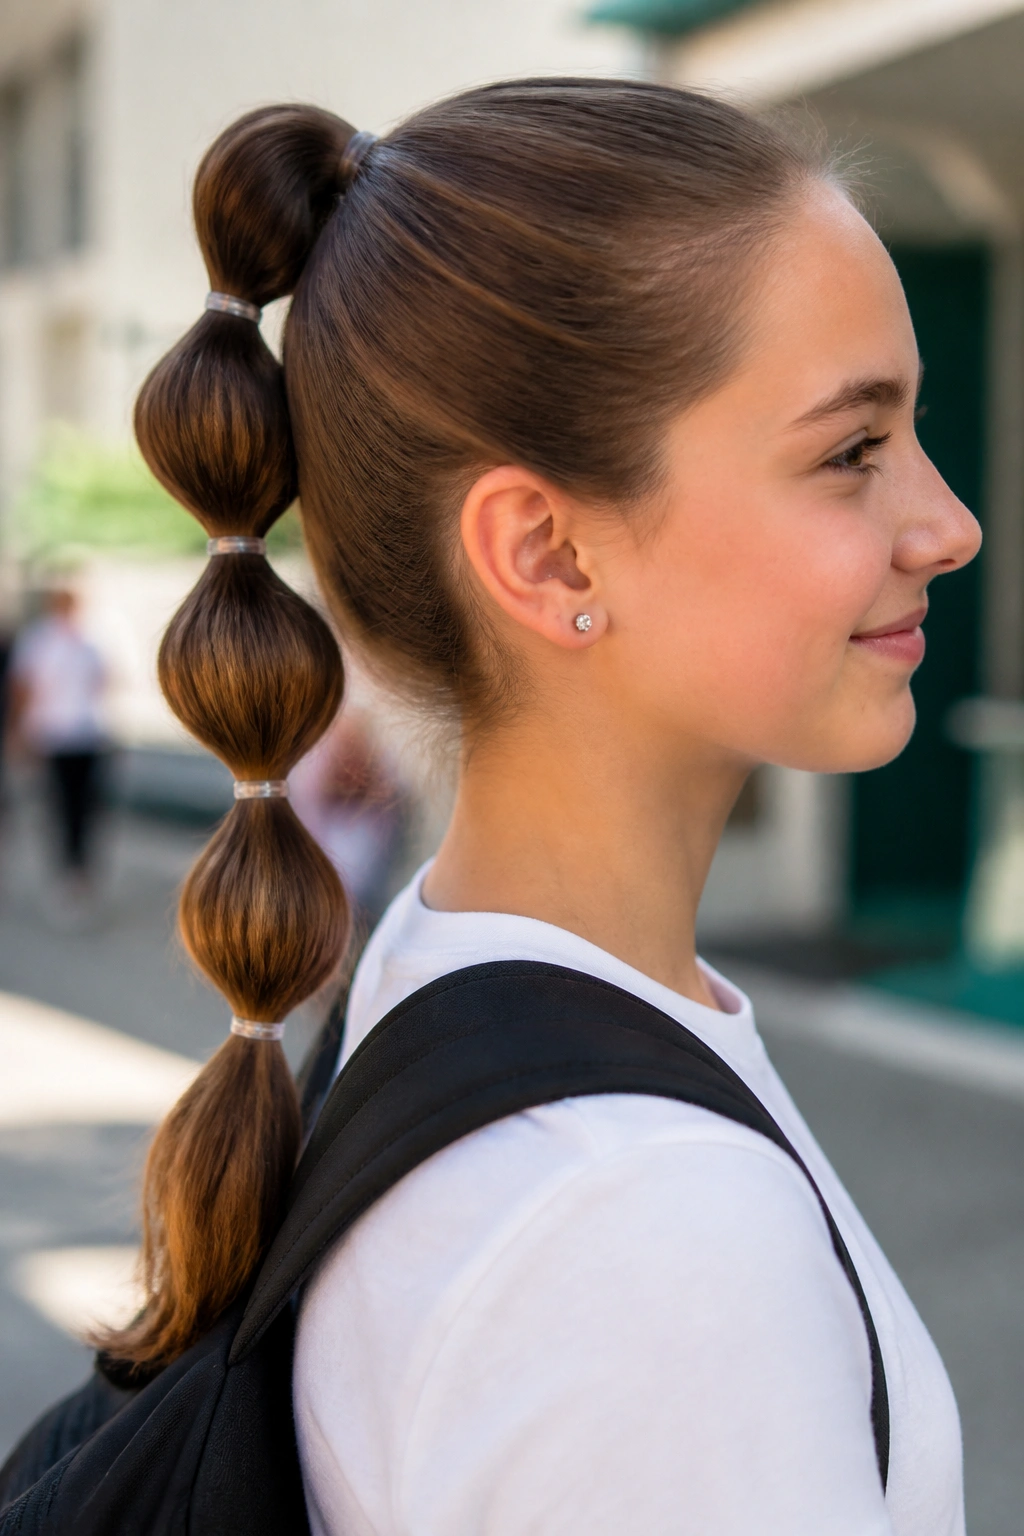
A bubble ponytail looks more styled than it feels. That is the appeal. You start with a plain ponytail, then add clear elastics every 2 to 3 inches down the length and gently tug each section so it puffs into round “bubbles.”
The style works best on medium to long hair, especially if the ends are thin and you want the ponytail to look fuller. A little texturizing spray on the lengths helps the bubbles keep shape, though you do not need much. Too much spray makes the hair feel rough instead of bouncy.
If you like a playful look that still stays neat, this is a strong pick. It is quick, it photographs well, and it fixes the problem of a ponytail that feels too plain.
5. Half-Up Top Knot
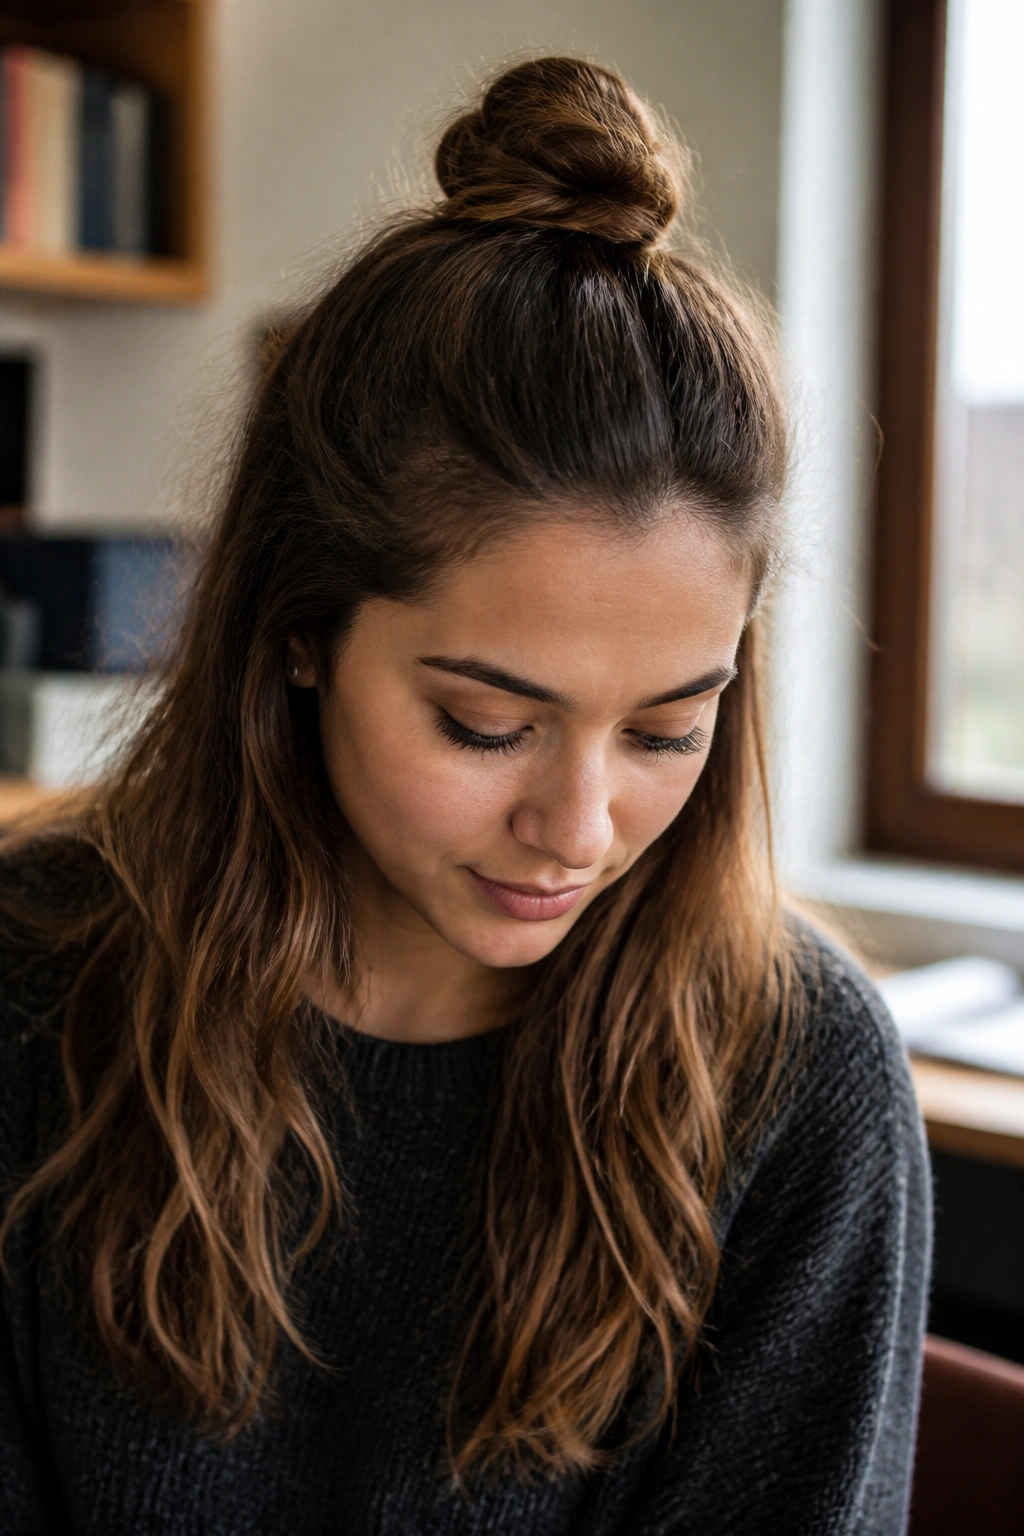
The half-up top knot is what I reach for when I want some hair off the face but do not want to commit to a full updo. Leave the bottom half loose, gather the top section from temple to temple, and twist it into a small bun at the crown.
The cleanest version is not the biggest one. A knot about the size of a small plum usually looks better on school days because it stays balanced. Use a soft elastic first, then pin the bun with 2 or 3 bobby pins if it feels loose. If your layers poke out, let them. A little imperfection keeps the style from looking stiff.
It is a good compromise style. Not too done. Not too casual.
6. Sleek Low Bun
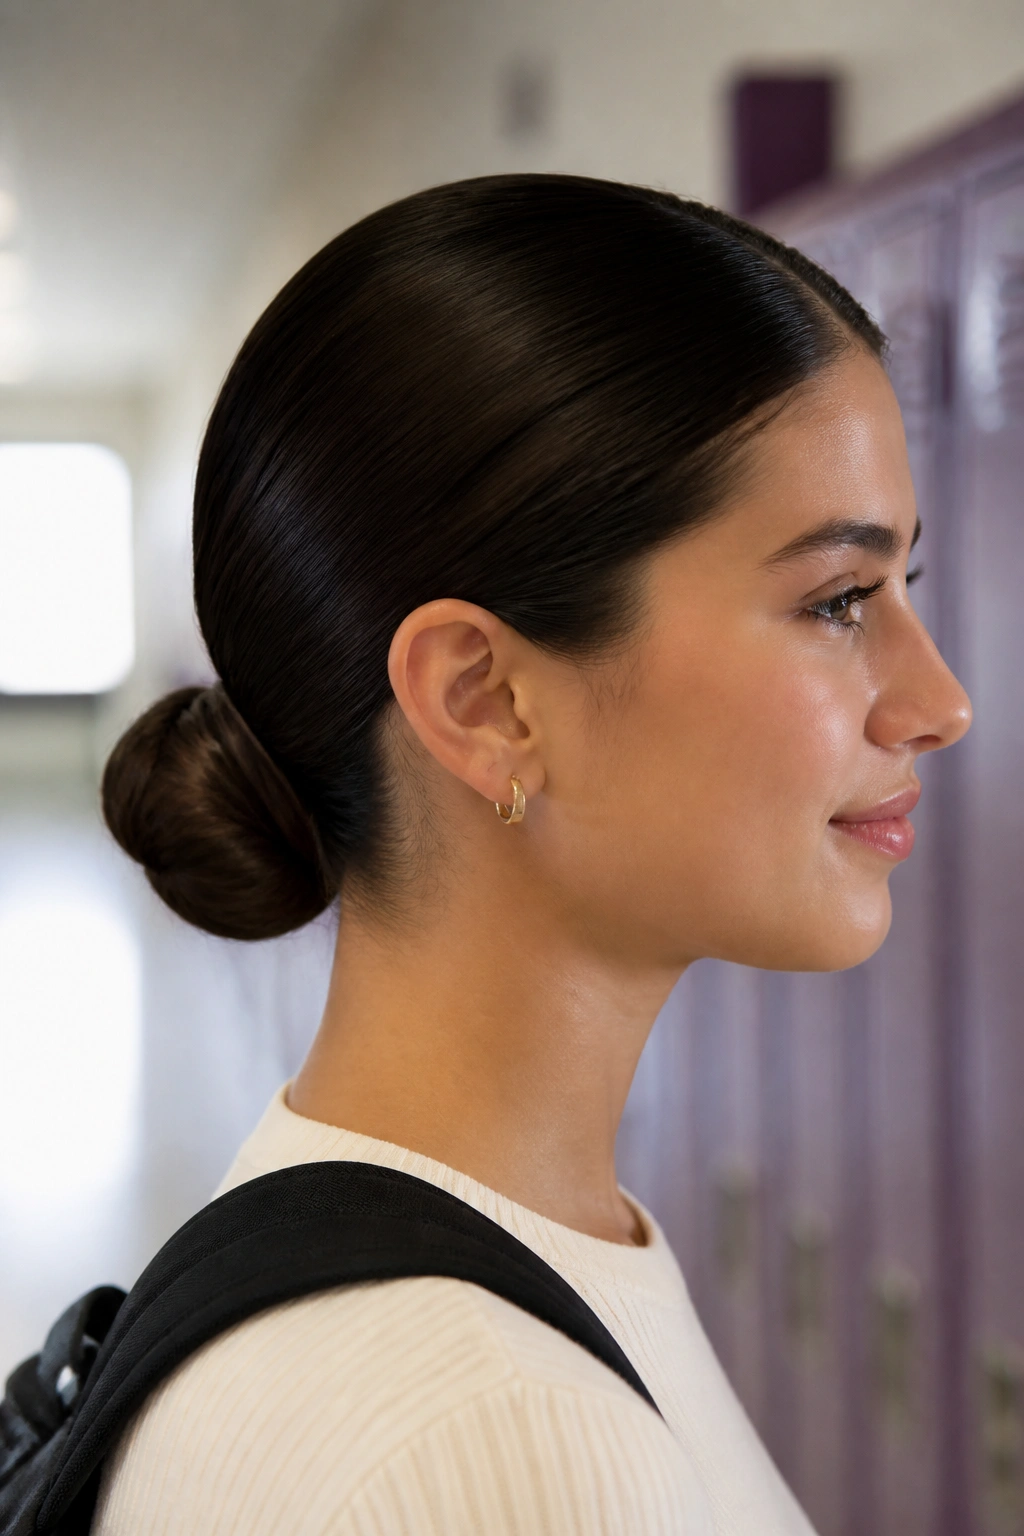
Unlike a messy bun, a sleek low bun looks neat from the first bell to the last. That is why it works so well for school uniforms, presentations, photo days, or any day when you do not want your hair to be the loudest thing in the room.
The shape matters here. Brush the hair back smoothly, gather it at the nape, and twist it into a bun that sits flat, not bulky. A little styling cream on the crown keeps flyaways down, and a fine-tooth comb helps if your hair tends to separate into little frizzy lines. If you have thick hair, split the ponytail in two before twisting; the bun sits flatter.
It is not the most relaxed look on this list. It is the most polished one.
7. Side Braid with Loose Ends
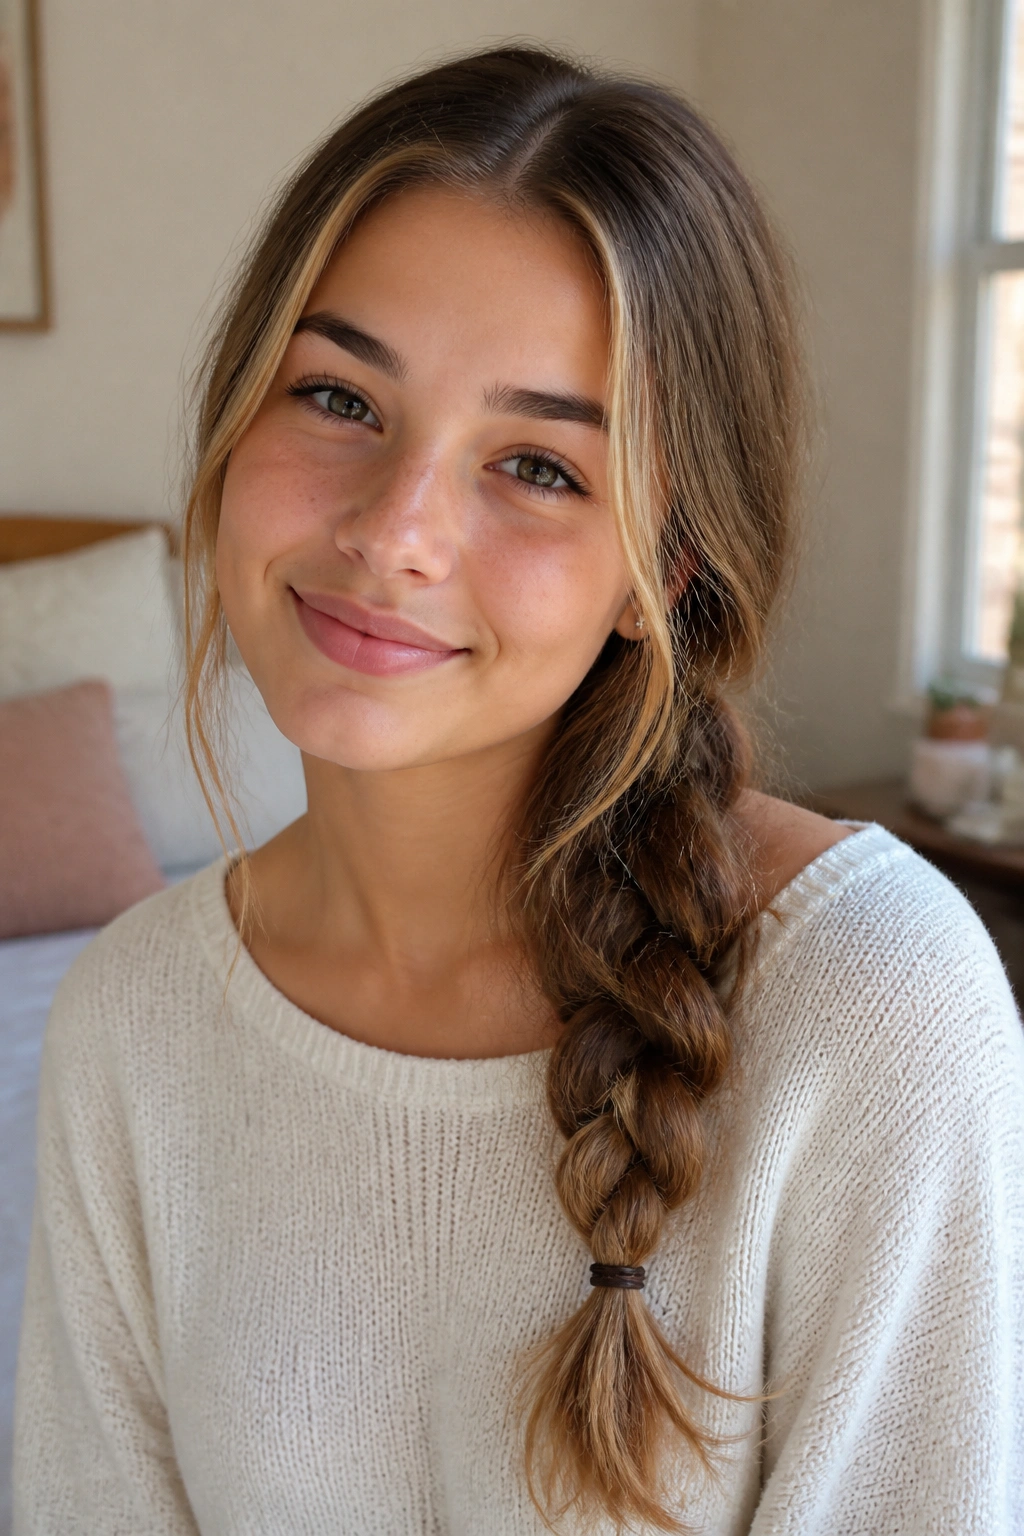
A side braid is the sort of hairstyle that feels soft without falling apart. Move the braid over one shoulder, start it near the nape or just behind one ear, and keep the tension slightly loose so it does not look stiff or tight.
Where It Shines
It is a nice choice for layered hair because the braid can handle shorter front pieces better than a style that depends on everything staying smooth. It also works well on second-day hair, which has a little grip and tends to braid more cleanly than freshly washed strands.
- Best with a slight side part
- Holds better if you braid before the hair gets too dry
- Looks fuller when you pancake the braid gently after tying it off
- Needs just 1 elastic and a few pins if the front pieces are short
Quick note: leave the last inch or two unbraided if you want the end to look softer and less rigid.
8. Twisted Half-Up Style
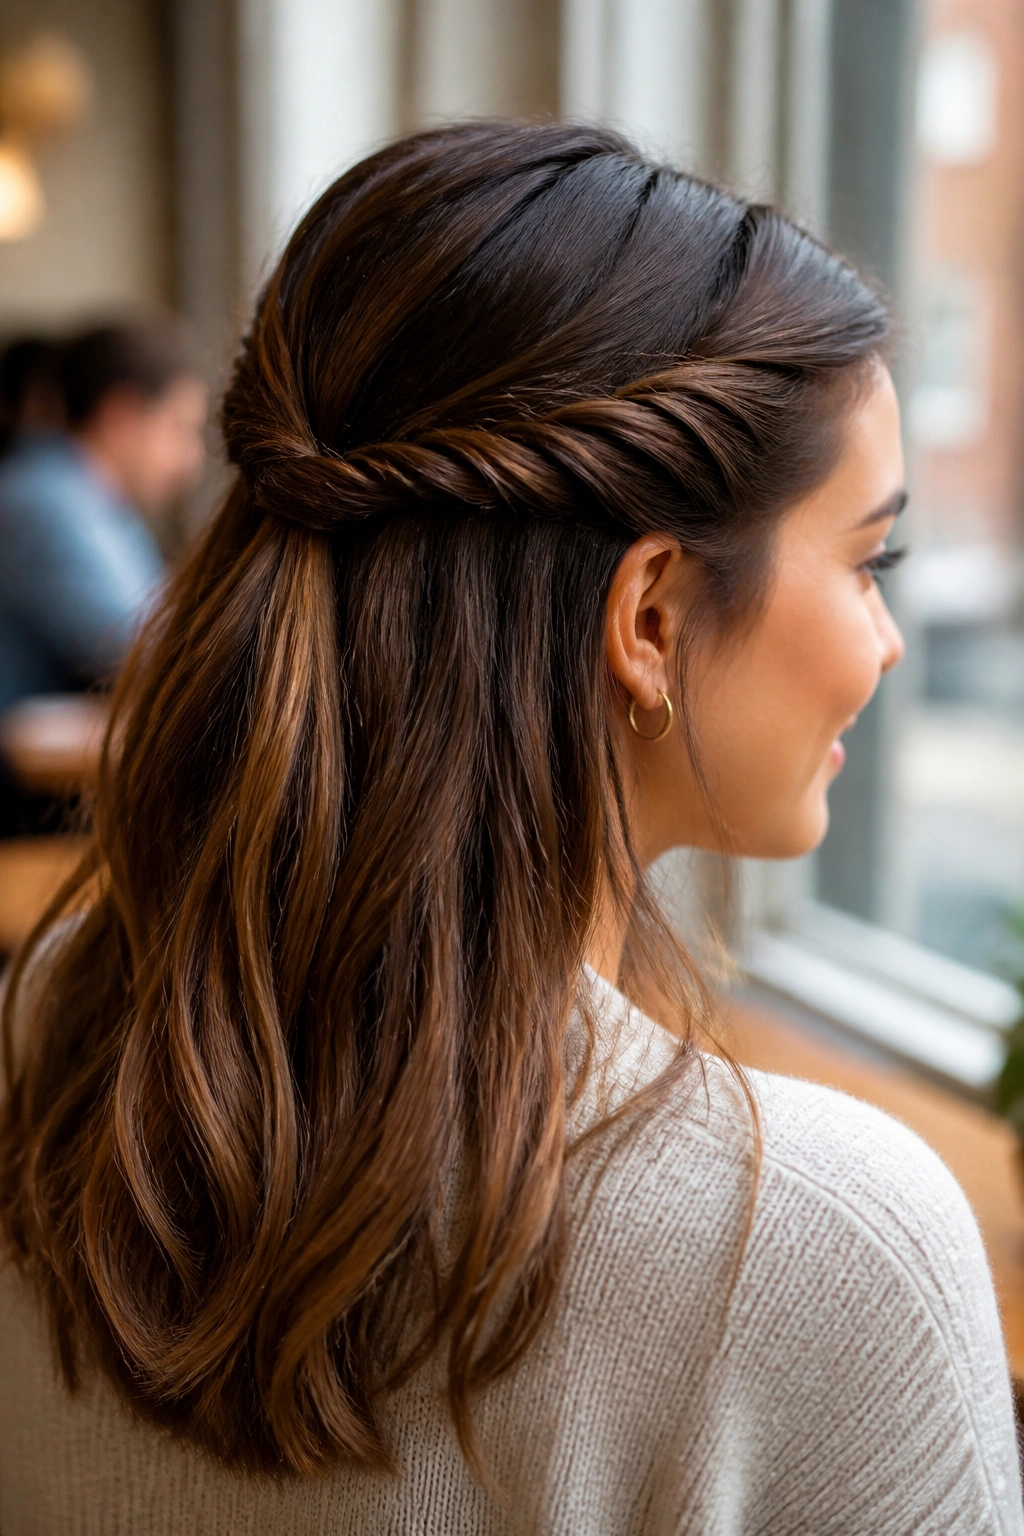
Twists are the fastest way to make half-up hair look finished. Take a section from each side of the face, twist them back toward the center, and pin or tie them where they meet. That is the whole trick.
The style is nice because it works on hair that has layers or a bit of wave. Braids can feel heavy on some mornings. Twists do not. They also keep the front sections off the face while leaving most of the length down, which is useful when you want movement but not constant brushing away from your eyes.
If your hair is slippery, start the twist on slightly damp hair or add a small touch of texturizing spray. The hold is better, and the twist stays tidy longer.
9. Double Pigtail Braids
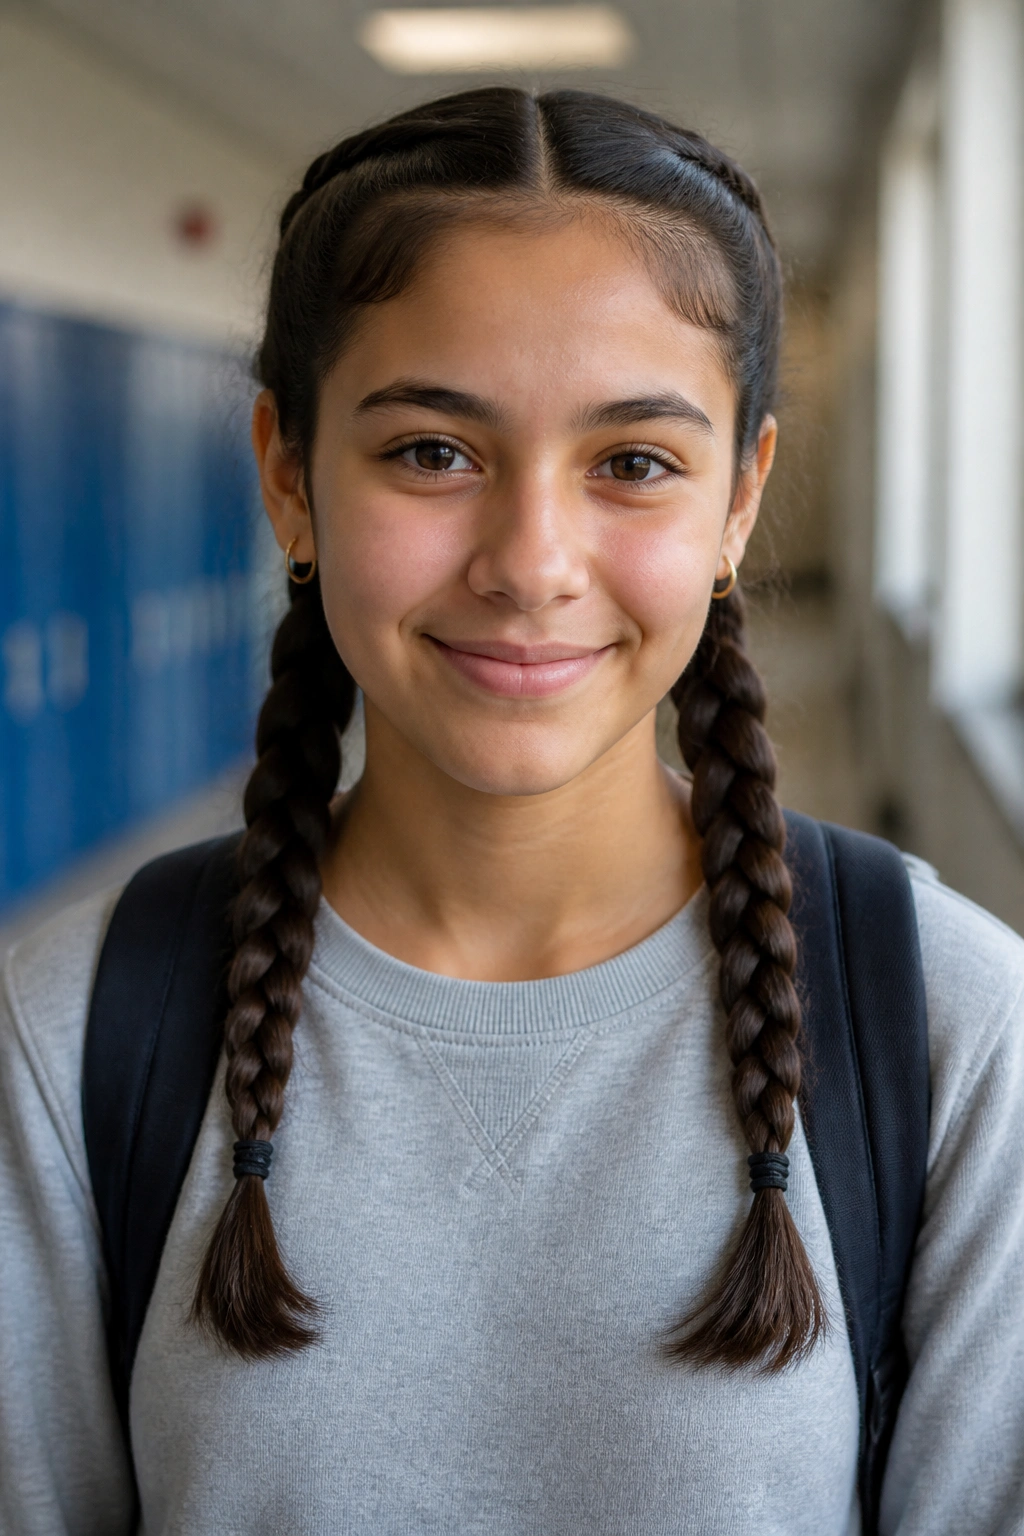
Need something that feels tidy and sturdy without looking fussy? Double pigtail braids are the answer. Split the hair into two sections, then braid each side from top to bottom with steady tension and secure both ends with small elastics.
They work because the weight gets divided. One braid does not have to carry the whole head of hair, so each side stays lighter and more controlled. That matters when the hair is thick or long and starts slipping out of a single braid by midday. A center part gives the cleanest look, but a slightly off-center part can soften the style if you want it to feel less strict.
Best For
- Long mornings
- Active days
- Thick hair that tangles easily
- Anyone who wants a no-nonsense style
It is not flashy. It is dependable, and that counts.
10. Double Dutch Braids
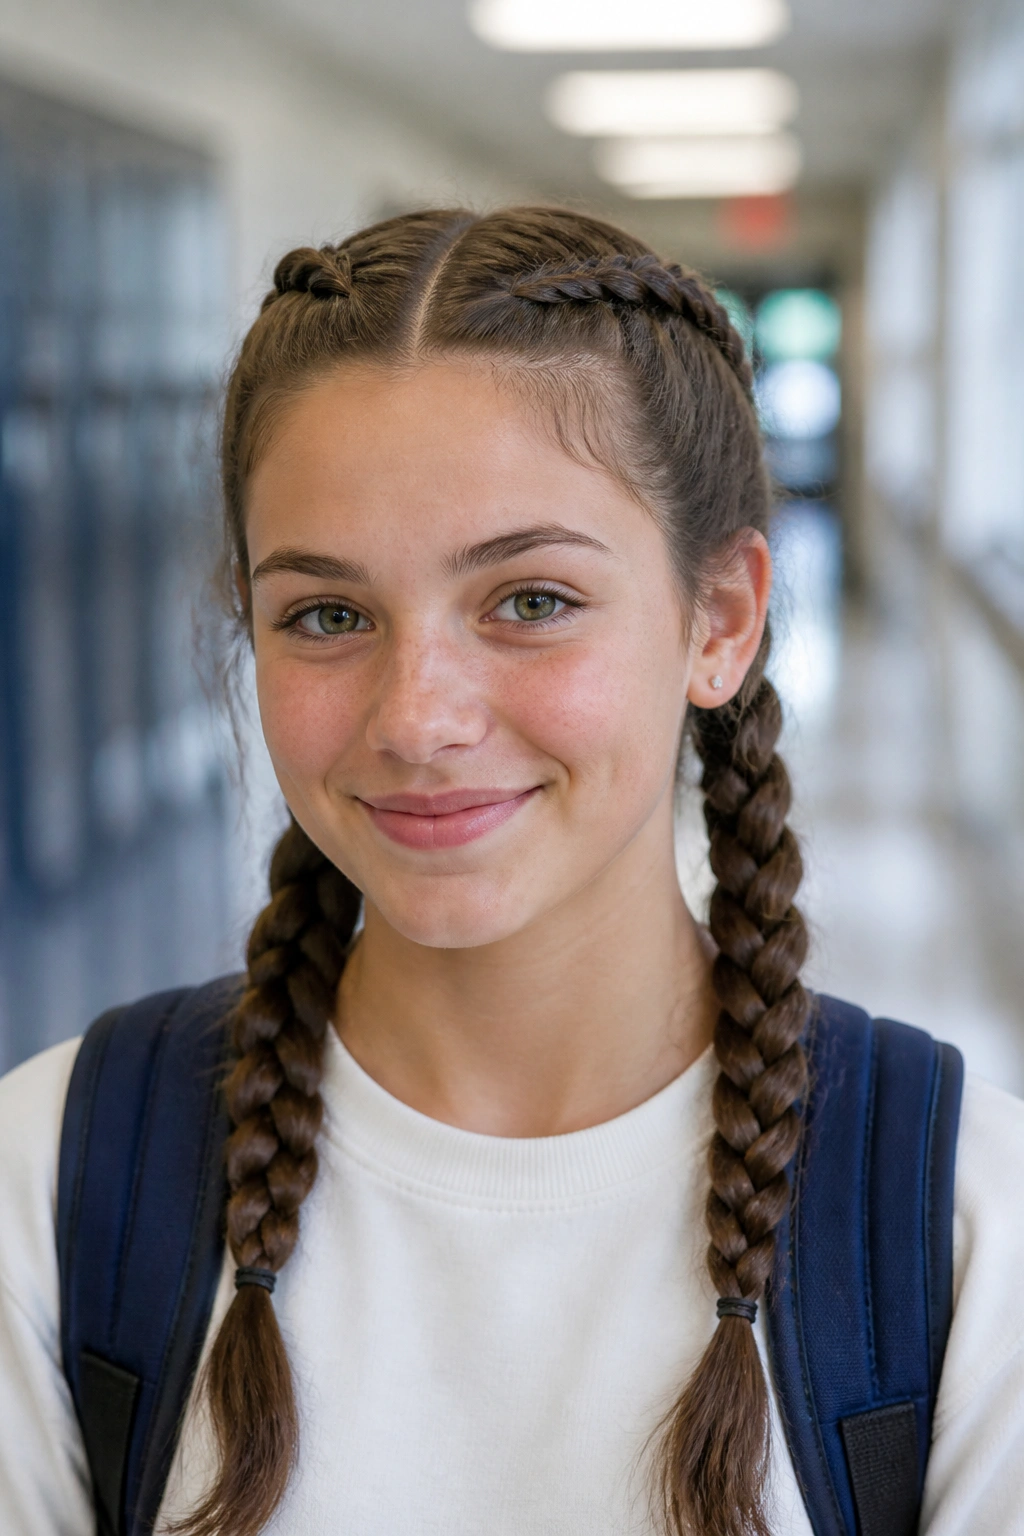
Two Dutch braids can handle a day that includes walking, sitting, running, and whatever else school throws at your hair. Because the braid sits on top of the hair instead of sinking into it, the pattern stays visible and the style keeps its shape well.
Start with a clean center part. Take a small triangle of hair at the front and braid under, not over, as you add sections from each side. Keep the sections even. That part matters more than speed. If one side is wider than the other, the braid starts to drift and the shape gets messy in a way that is harder to fix later.
This style is especially useful for thick hair. It spreads the weight out and keeps the scalp from feeling pulled in one spot.
11. Crown Braid Around the Hairline
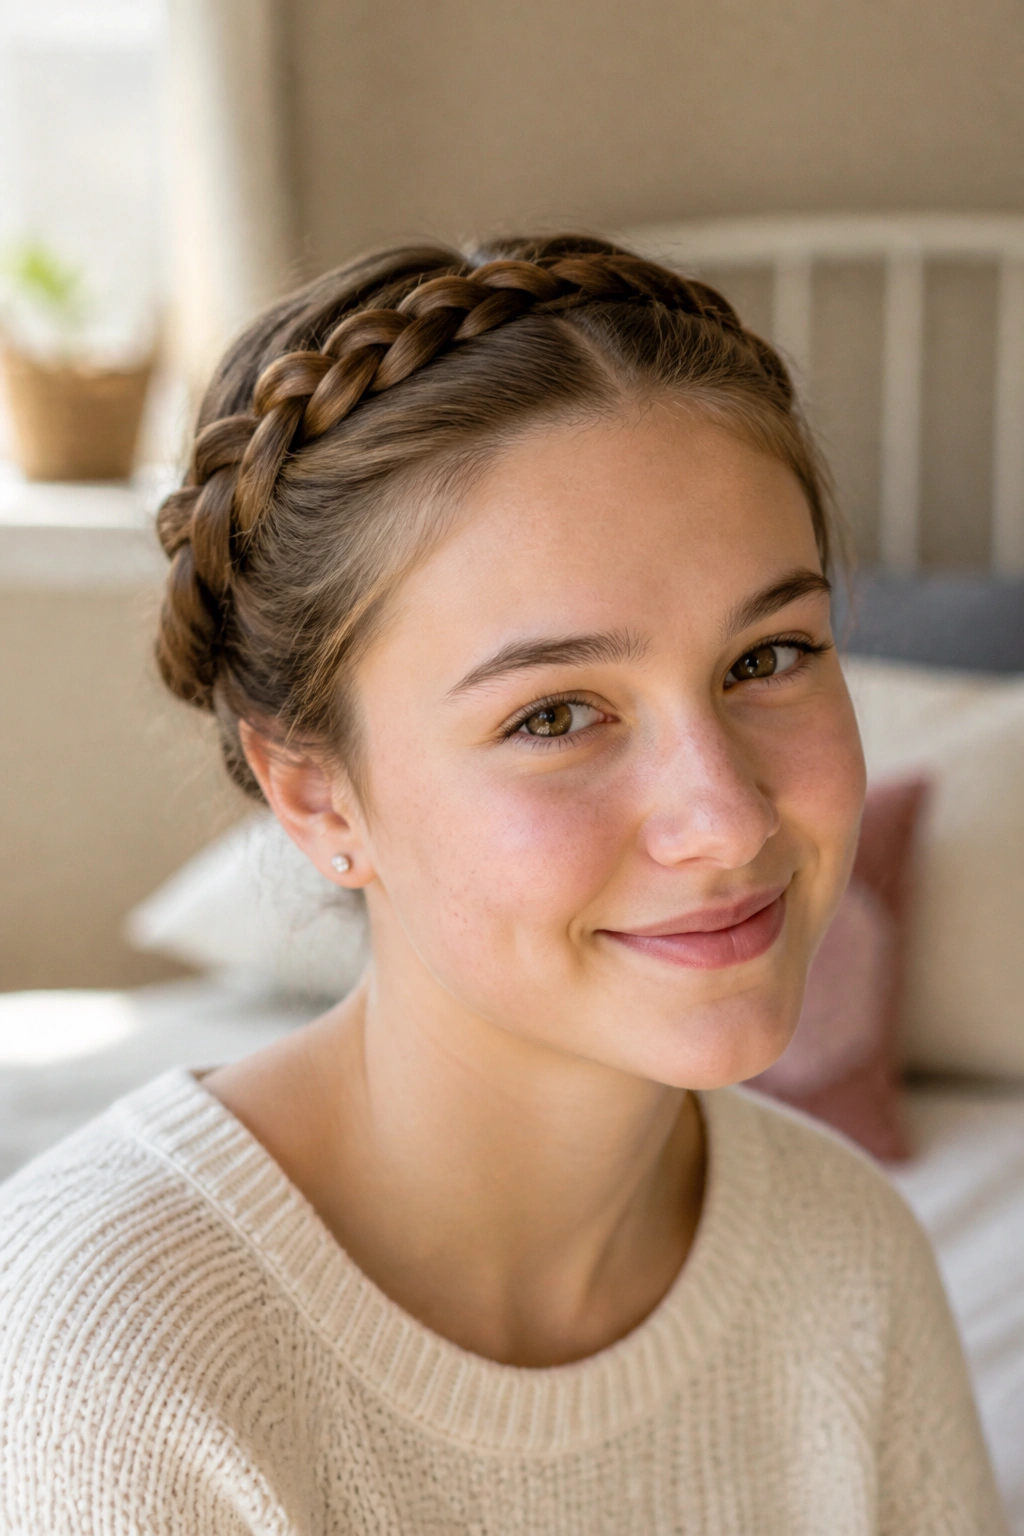
A crown braid looks like you spent half the morning on your hair, which is a nice lie for a school day. In practice, it is a braid that moves around the front of the head and pins into place near the opposite side, keeping the hair off the face in a way that feels a little dressed up.
Start just behind one ear and braid along the hairline, taking small sections as you move. The braid does not need to be perfect. It needs to stay close to the head and follow the curve cleanly. A few hidden pins do more than people expect, especially near the ends where shorter pieces want to slip out.
Use this style when you want a softer updo without pulling all the hair back. It has a neat shape, but it still leaves some movement in the rest of the hair.
The front is what people see first. This braid handles that part well.
12. Space Buns with Clean Parts
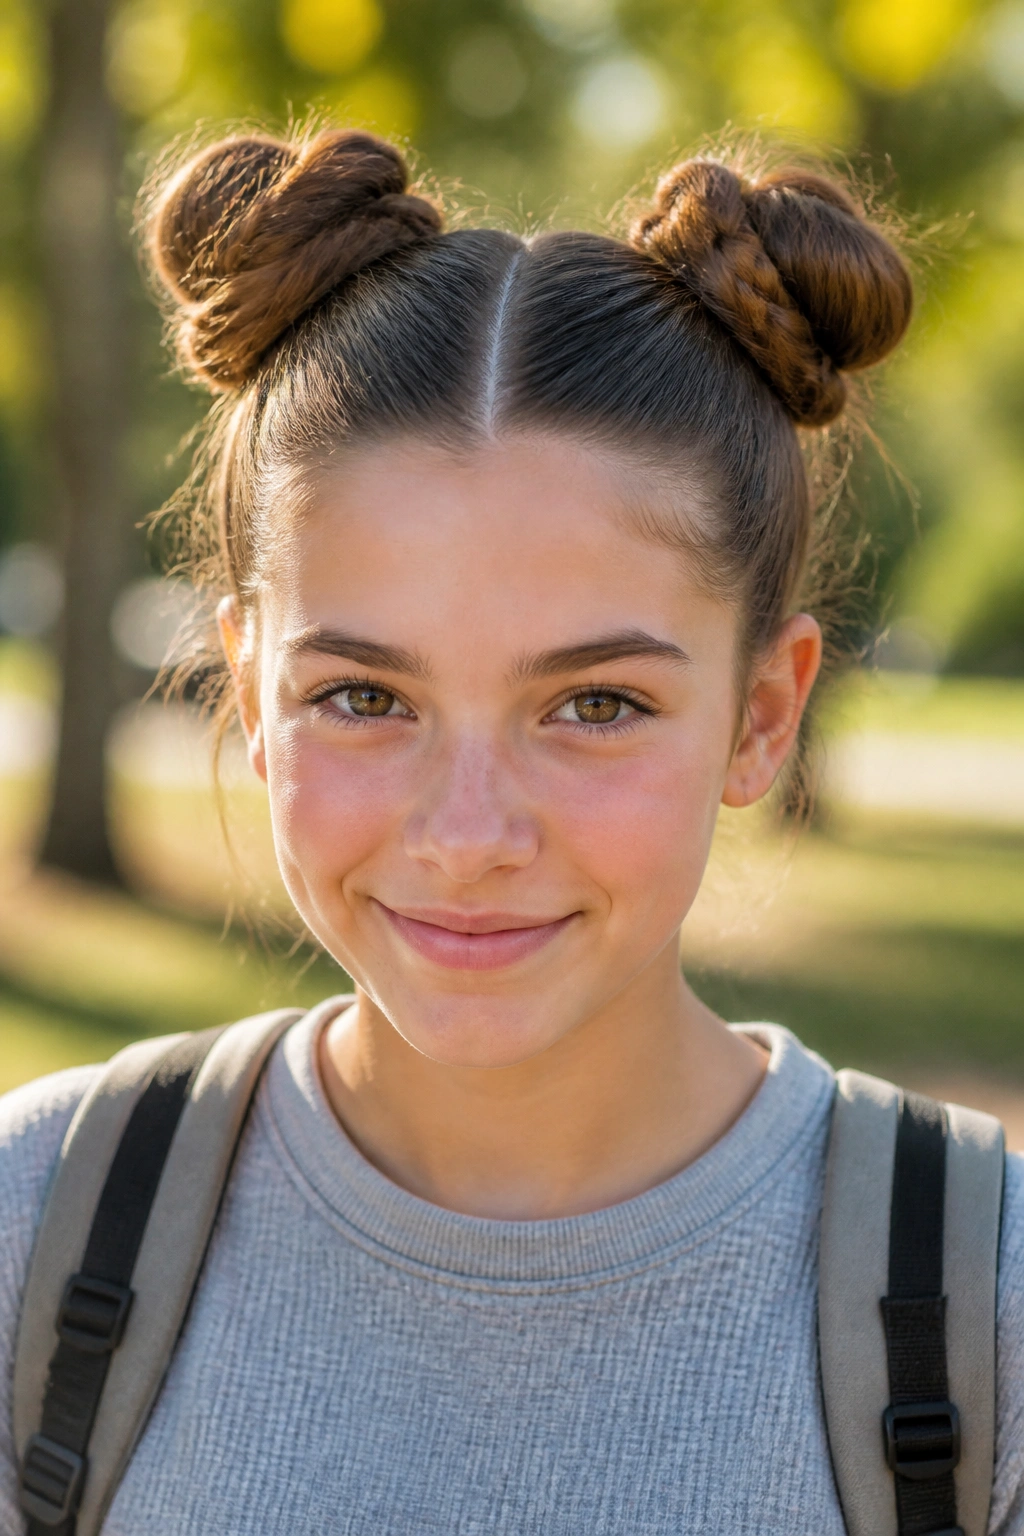
Space buns are not just for weekends. If you keep the parts clean and the buns compact, they can look playful and still school-friendly. Split the hair down the center, make two high ponytails, twist each one into a bun, and pin them snugly.
The style works because the symmetry does a lot of visual work for you. A single bun can feel flat on some faces. Two buns give the hair a little height and keep the overall shape balanced. That said, the buns should not sit too far out on the sides unless you want a louder look.
This is a good one for medium to long hair, especially if you want the ends tucked away. It also works well with a little texture left in the hair, so you do not need a glassy, ultra-smooth finish.
13. Headband Tuck for Shoulder-Length Hair
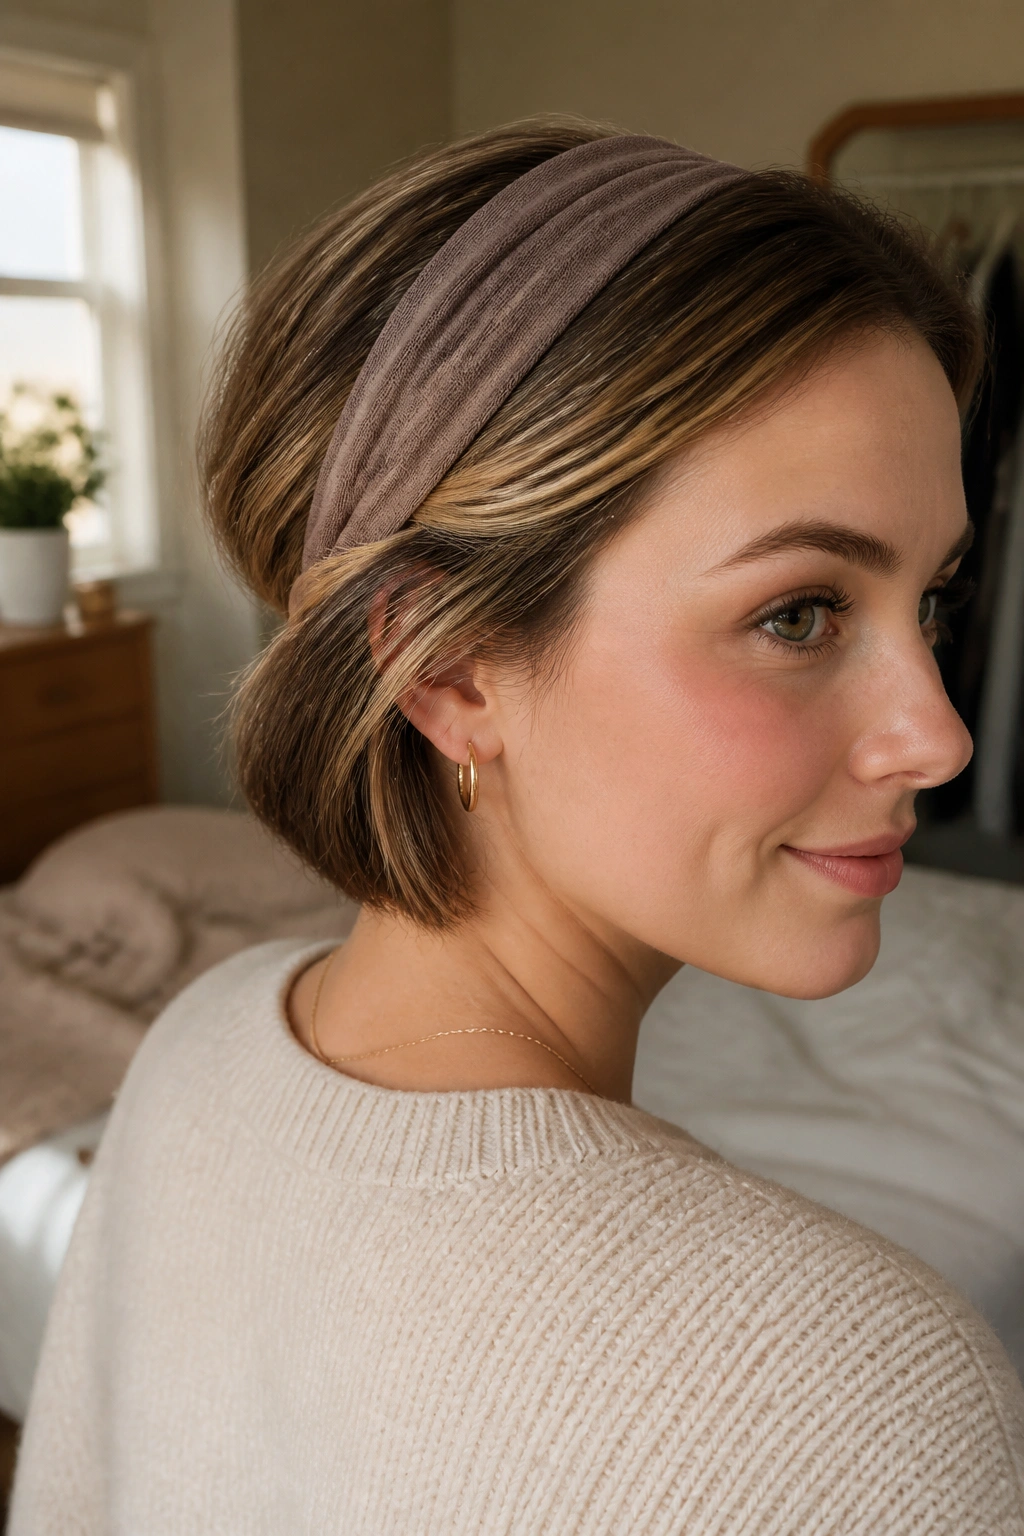
A headband tuck is the style I use when the hair wants to behave and I do not. Put on a stretchy headband, then tuck the ends of the hair up and around it until the shape sits neatly at the back of the head.
What You Need
- A stretchy fabric headband, about 1 to 1.5 inches wide
- 4 to 6 bobby pins
- Light mist of water or leave-in spray if the ends are frizzy
- A mirror that shows the back of your head, because guessing is a bad plan
The beauty of this style is that it works on shoulder-length hair that does not always fit into a full bun or braid. It keeps the ends tucked away, and it looks more deliberate than a random clip. If the tuck starts to loosen, pin the back section first. That part bears most of the weight.
It is modest, fast, and tidy. Some mornings, that is all you need.
14. Messy Bun with Face-Framing Pieces
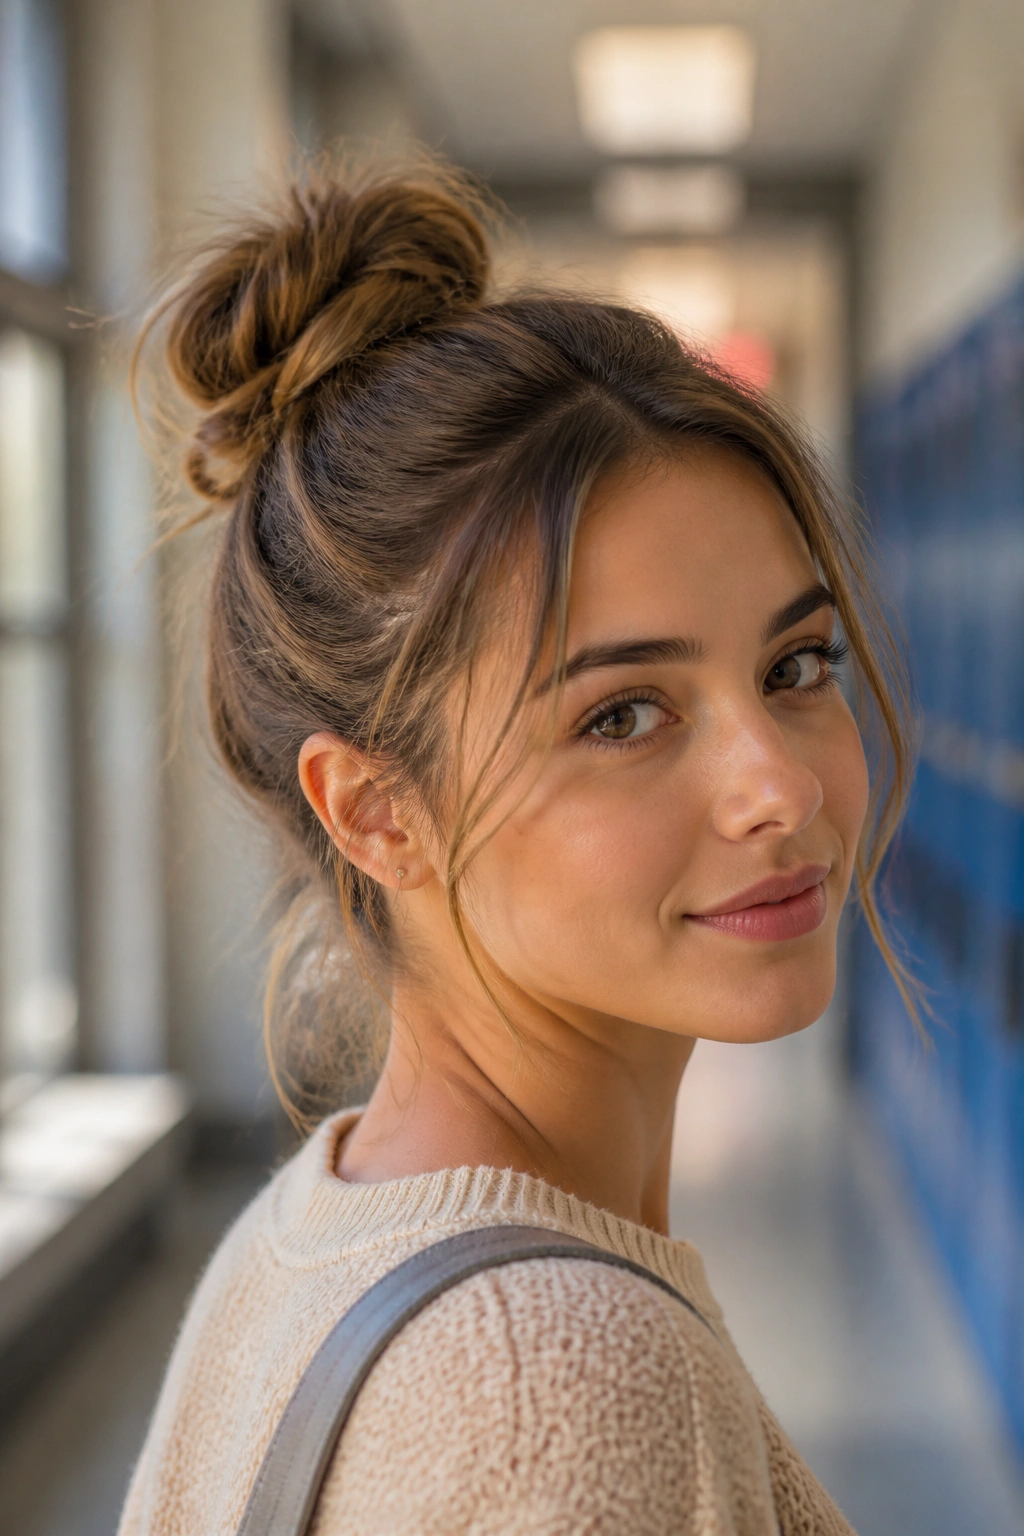
A messy bun only works when the mess is controlled. Pull the hair into a high or mid bun, leave out a few pieces near the temples, and stop before you twist it so tightly that the whole thing looks tense. The charm is in the looseness.
The face-framing pieces matter more than people think. Two slim sections, maybe 1 inch wide on each side, soften the look and keep the bun from feeling too severe. Curl them slightly if you want, though a natural bend is often enough. For thicker hair, make the bun in two wraps so it does not balloon out on top.
This is one of those styles that can be dressed up or down without changing much. It works with a sweatshirt. It also works with a collared shirt. That flexibility is why it gets worn so often.
15. Rope Braid Ponytail
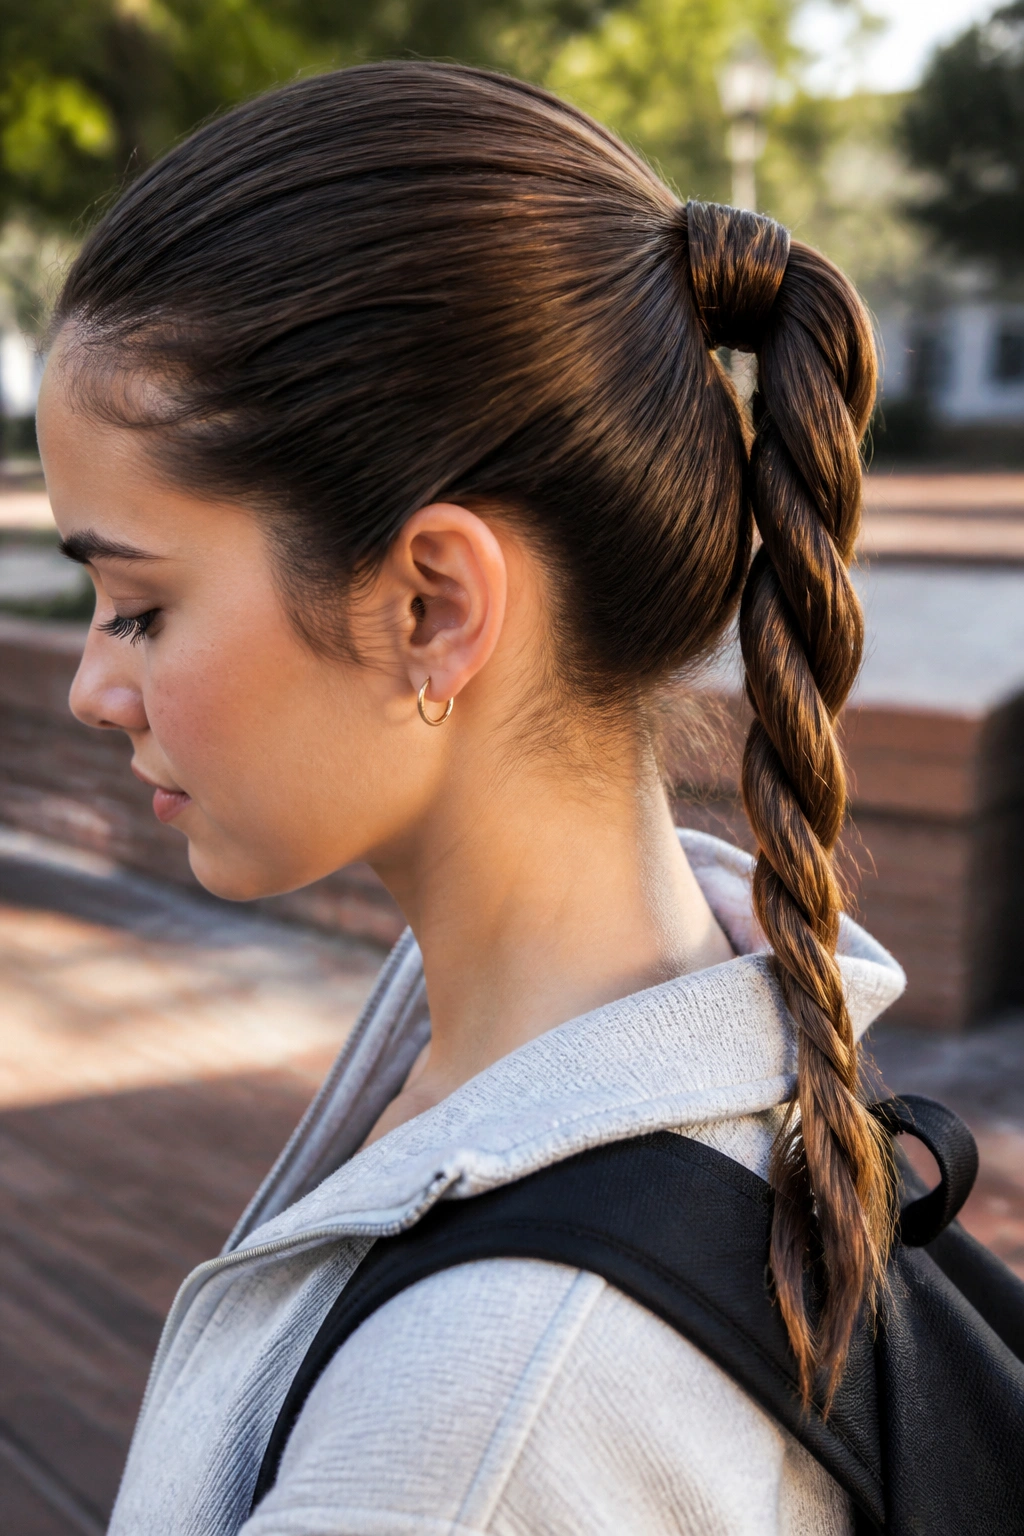
Want something between a braid and a twist? A rope braid ponytail gives you that middle ground. Divide the ponytail into two sections, twist both sections in the same direction, then wrap them around each other in the opposite direction. It sounds fussy. It is not.
How to Get the Twist Right
The secret is direction. If both halves are twisted the same way, the rope braid holds together instead of loosening into a floppy coil. Keep a firm grip near the base, especially on the first turn, because that is where the style either settles or slips.
- Use a strong elastic at the base
- Twist each half tightly before crossing
- Finish with a small clear elastic
- Add a little hairspray if the ends unravel fast
It is a smart option for slippery hair because the twist pattern gives the length more grip than a plain ponytail. It also looks polished without taking much time.
16. Fishtail Braid Down the Back
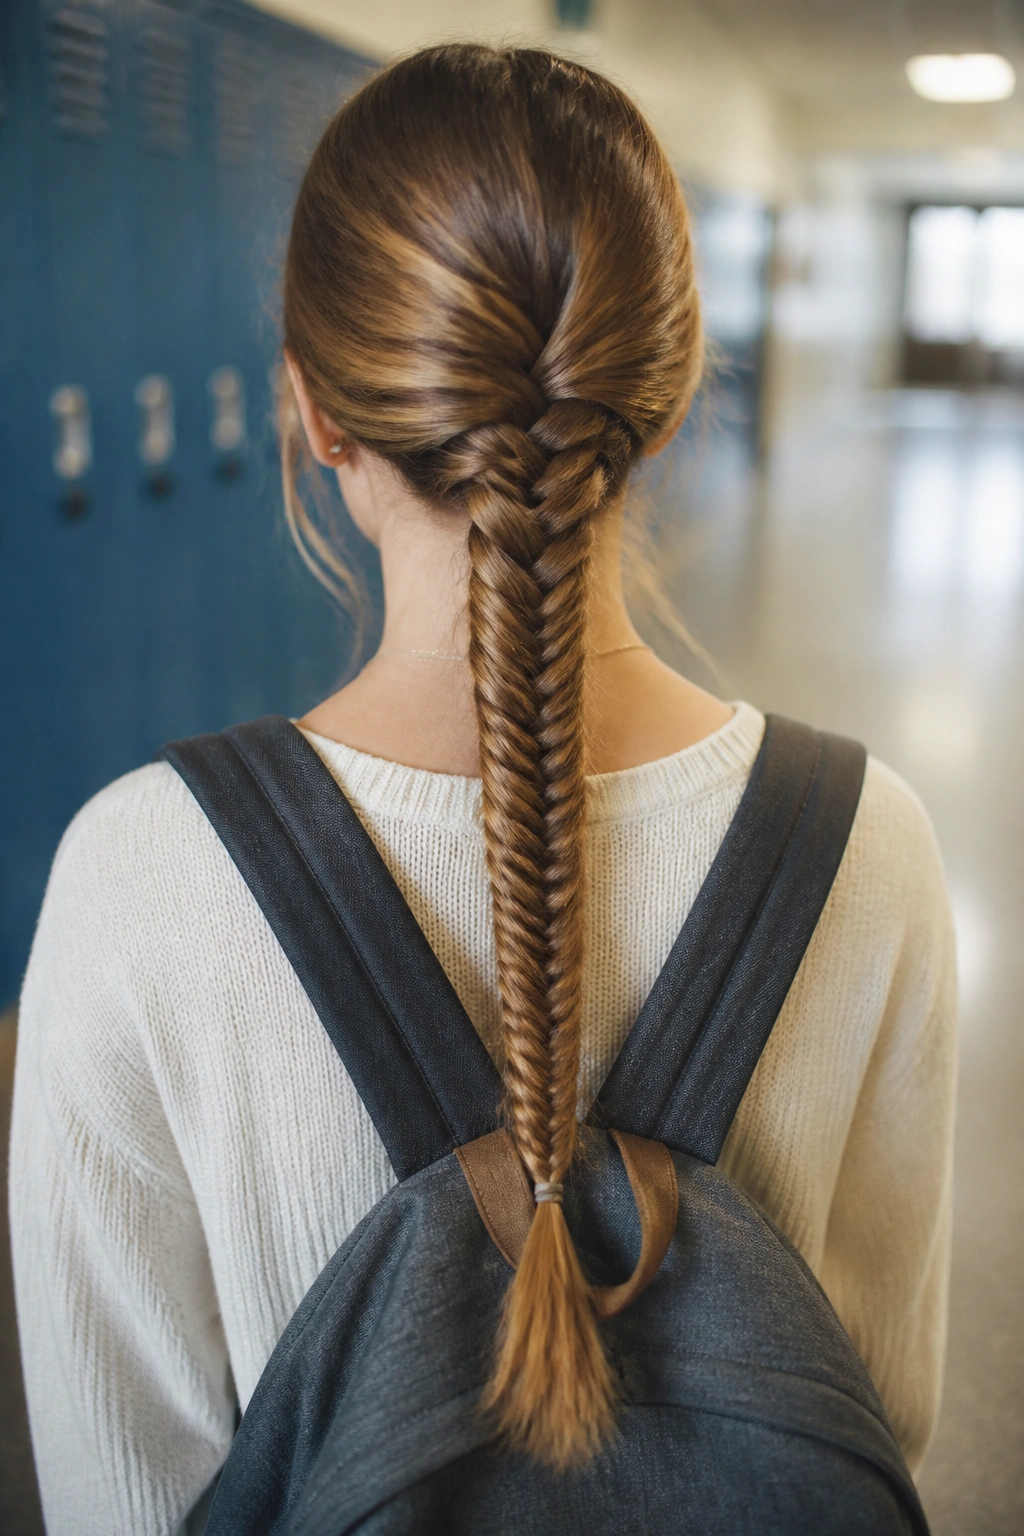
A fishtail braid looks intricate from across the room, but the movement is simple once your hands get used to it. Split the hair into two halves, take a tiny piece from the outside of one half, cross it over to the other side, and keep going until you reach the ends.
The braid gets tighter and more detailed when the pieces stay small. That is the part people rush, and it shows. If you want a braid with more texture, gently pull the sides apart at the end so it looks fuller. Do not yank. Just widen it a little with your fingers.
I like this style for long hair that needs to stay controlled but not severe. It looks a bit more special than a regular braid, and it still works for school without feeling overdone.
17. High Ponytail with a Wrapped Base
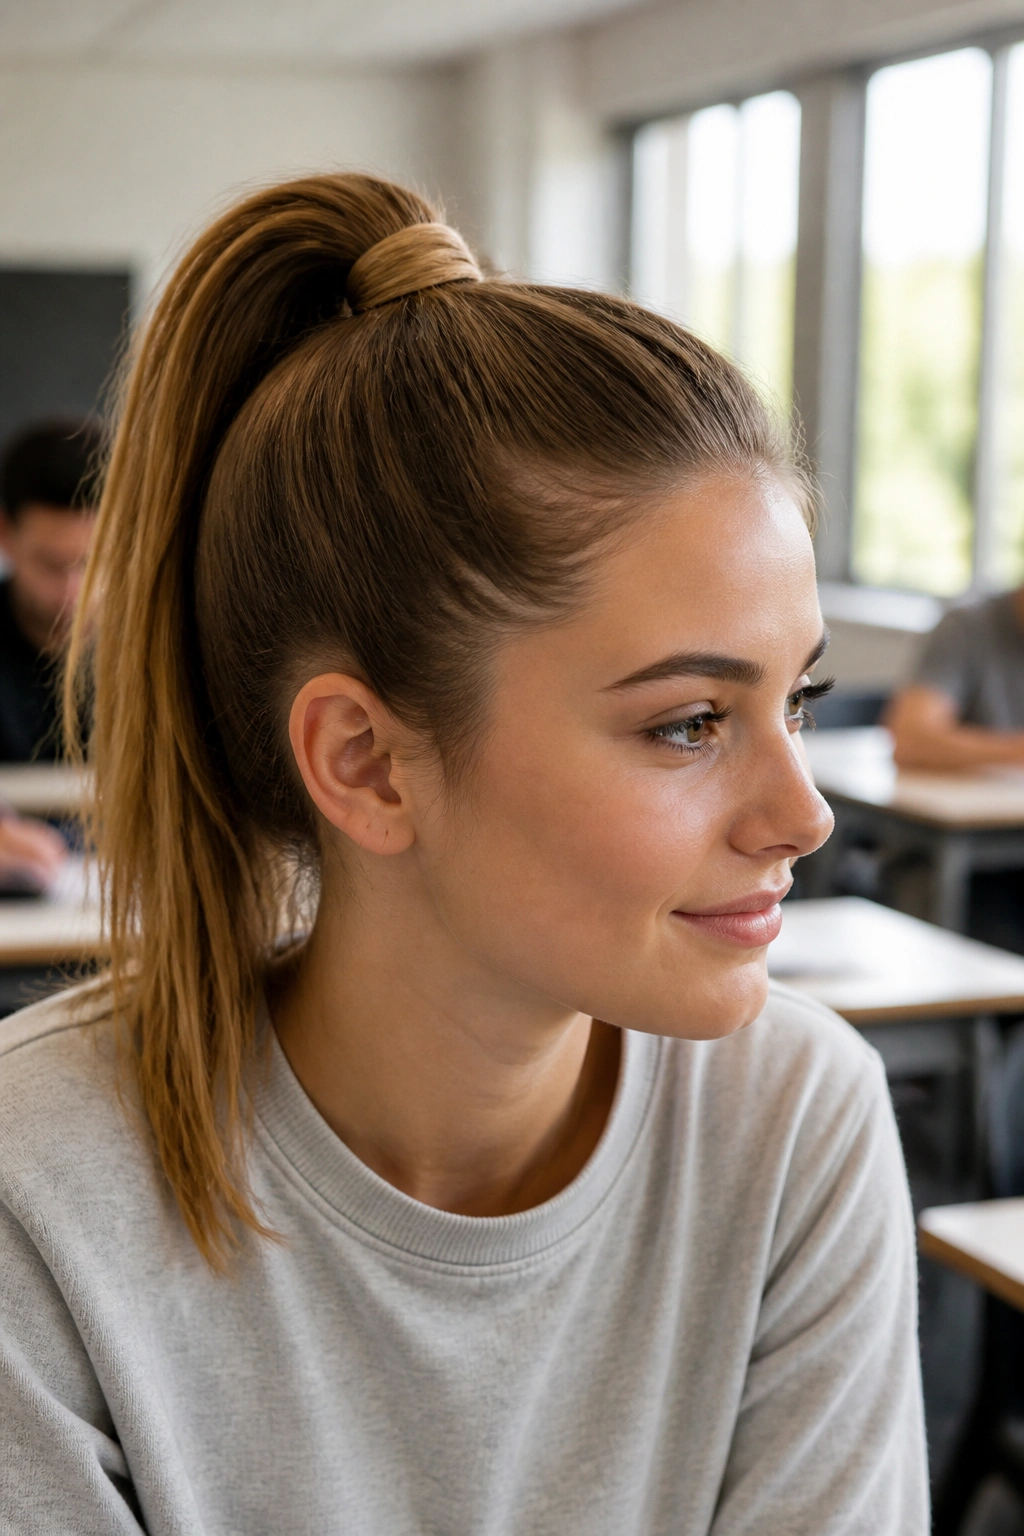
A high ponytail has more energy than a low one. It lifts the face, clears the neck, and keeps the hair from rubbing against the collar all day. The wrapped base is the part that makes it look cleaner — take a small piece of hair from the ponytail, wind it around the elastic, and pin the end underneath.
That little wrap changes the whole look. Without it, the style can feel unfinished. With it, the ponytail looks intentional even when the rest of the morning was rushed. If your hair is layered, use a second pin near the wrap so the short pieces do not spring loose.
This style is good for days when you want height and motion. It is also one of the better options if your hair is thick enough to hold volume at the crown without falling flat by lunch.
18. Braided Ponytail
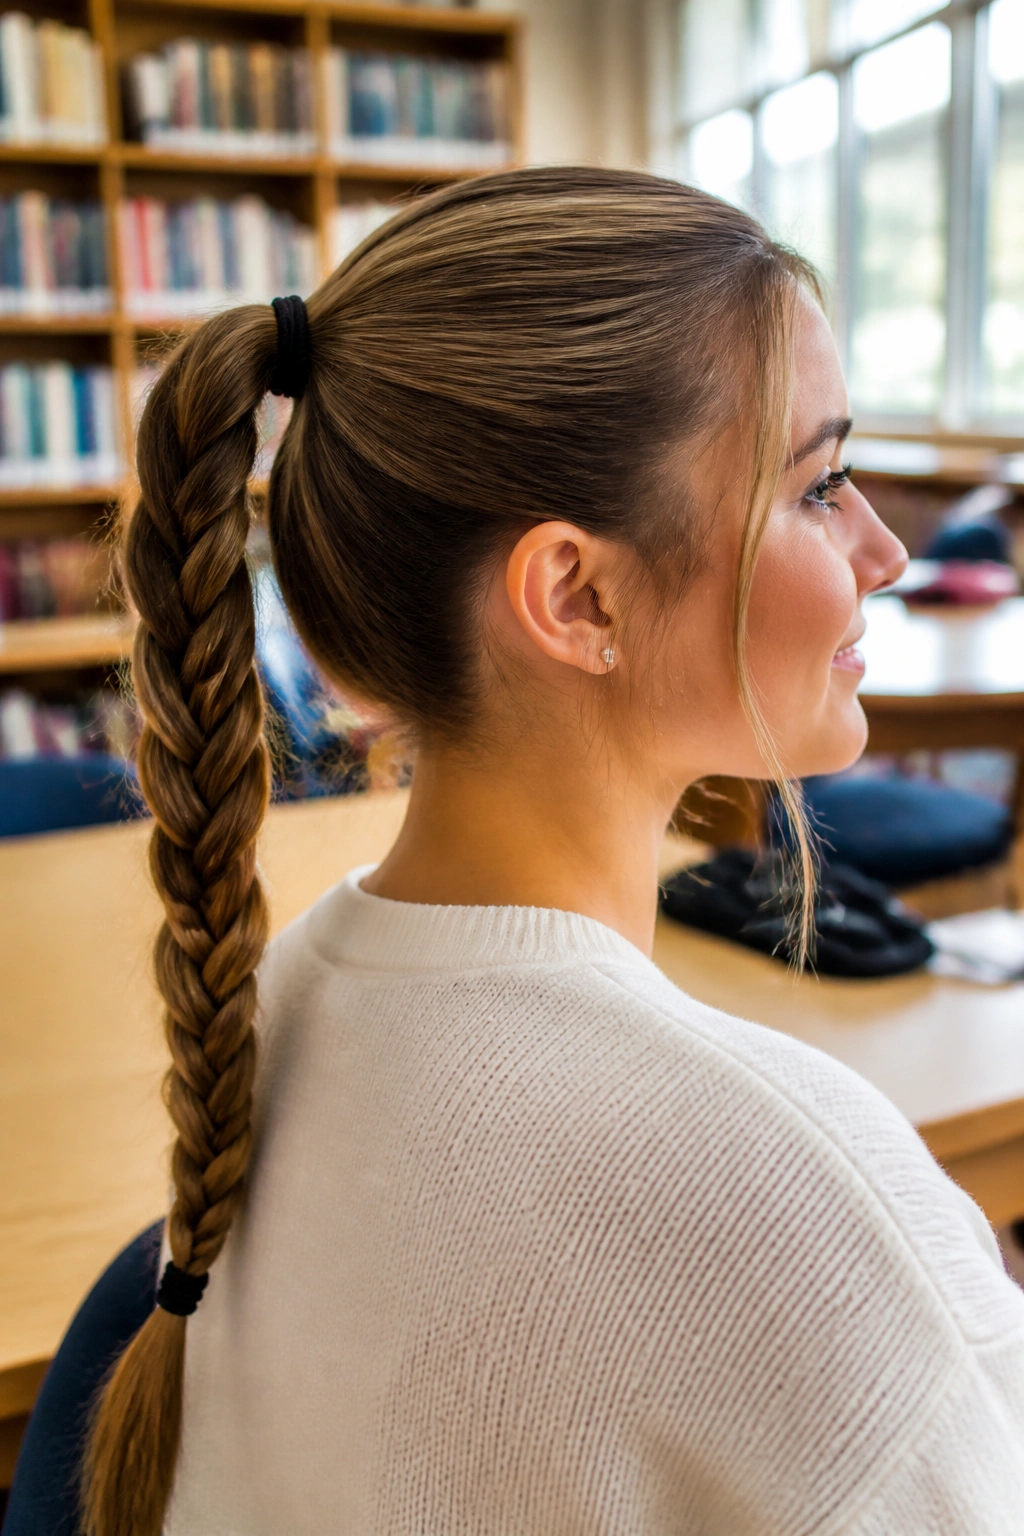
A braided ponytail fixes the problem of a plain ponytail that feels too bare. Start with a regular ponytail, then braid the length down the back with three strands or a rope twist if you want something faster. The result is tidy, secure, and a little more interesting than the usual tie-back.
The braid can begin at the base or a few inches down, depending on how much volume you want at the top. If the crown looks too tight, loosen it slightly with your fingertips before braiding the rest. That keeps the style from looking severe. A wrapped elastic at the base helps, but it is not required.
This one is a workhorse. It suits long school days, windy weather, and hair that tends to tangle in a loose ponytail. There is no drama to it. That is the point.
19. Low Pigtail Buns
Low pigtail buns feel playful without being loud. Split the hair into two sections, create two low ponytails near the nape, and twist each one into a small bun just behind the ears or slightly lower.
Why They Stay Comfortable
The low placement keeps the style easy to wear for hours. High buns can get heavy. These stay lighter on the scalp and do not poke into the headrest if you ride in a bus or sit through long classes.
- Use 2 soft elastics and 4 to 6 pins
- Keep the buns small if the hair is thick
- Leave a few thin face pieces out if you want a softer shape
- Mist the hair lightly before twisting if the ends slip apart
It is a good option for hair that needs to stay contained but not flattened. The shape is neat, and the style has enough personality to keep it from feeling plain.
20. Waterfall Braid Across the Crown
A waterfall braid looks more complicated than it is, and that is part of the appeal. It creates a braided line across the head while letting pieces drop through the braid like little loops of hair. The effect is soft and pretty, but the shape still stays school-friendly.
Work with 1-inch sections from the front hairline and keep the braid close to the crown. Each time you drop a section, replace it with a fresh piece from above so the braid keeps moving. Pin the end behind the ear or blend it into loose hair at the back. If the braid starts to sag, the sections are probably too wide. Narrow them down and it usually behaves better.
This is a nice choice for medium to long hair when you want a little detail without pulling everything away from the face. It takes patience, not skill magic.
21. Claw Clip French Twist
Can a claw clip look school-appropriate? Yes, if you keep the twist compact and the clip sized to your hair. Gather the hair at the back, twist it upward, fold the length in, and clip it in place so the ends stay tucked under the shell of hair.
Clip Placement Matters
A medium clip usually works better than a giant one. Too much clip shows up as the whole hairstyle. The goal is for the hair to look held, not decorated by hardware.
- Works best on medium to long hair
- Holds better when the hair is second-day or lightly textured
- Needs a clip with teeth that grip, not slide
- Feels lighter than a tight bun
This style is handy when you want your neck free and your hair off your shoulders. It is also one of the quicker ways to look put together without tying anything too hard.
22. Half-Up Mini Braids
Two tiny braids can do more than people expect. Take a small section from each temple, braid each one down a few inches, and pin or tie them at the back so the rest of the hair stays loose. It adds structure without taking over the whole style.
The best part is how flexible it is. You can keep the braids thin and neat for a cleaner look, or make them a little wider if you want them to stand out. On layered hair, this is a smart way to hold the front pieces in place without flattening everything. A little wave in the lengths helps the style feel soft instead of stiff.
If you have a plain ponytail or simple loose hair and want just a bit more shape, this is a nice fix. Small change. Big payoff.
23. Scarf-Wrapped Ponytail
A scarf-wrapped ponytail is the quickest way to make a plain tie-back feel finished. Put the hair into a low or mid ponytail, then wrap a silk or cotton scarf around the base and tie it snugly so it sits flat. The scarf can hang down, loop once, or sit in a neat knot.
The fabric matters. A smoother scarf slides less and feels gentler on the hair. A cotton bandana gives a more casual look, while a silk scarf lies flatter and tends to look cleaner around fine hair. If the ponytail is frizz-prone, wrap the scarf close to the base so it hides the rough parts instead of fighting them.
This is a nice pick when you want a little color without adding extra steps. It does the job and saves the day when the hair is having an off morning.
24. Curly Puff with a Side Part
If you have curls or coils, stop fighting the volume. A curly puff keeps the shape where it belongs and lets the texture do the talking. Make a side part, gather the hair into a puff or pineapple-style puff at the back or crown, and secure it with a soft band that does not snag.
A tight ponytail is not always the answer. For textured hair, too much pulling can flatten the shape and make the style feel tense. A puff keeps the lift, keeps the scalp comfortable, and lets the curls stack naturally. A little edge control along the part can sharpen the shape, but you do not need much. The hair should still look like hair.
This one works especially well when you want a fast style that respects the curl pattern instead of erasing it.
25. Mini Claw-Clip Half-Up
A mini claw-clip half-up style is the sort of thing that saves a morning with almost no effort. Take the top section from the temples, twist it once, and clip it at the back with a small claw clip. The rest stays loose, which keeps the shape soft.
Good Spot to Use It
This is useful on short layers, face-framing cuts, and shoulder-length hair that never seems to stay behind the ears. The tiny clip holds the top section in place without pulling too much hair together. A clip that is too large makes the style wobble, so size matters here.
- Works in 30 seconds to 2 minutes
- Best with a small or medium clip
- Helps keep layers off the face
- Looks cleaner when the twist is done close to the scalp
It is not a dramatic style. It is a practical one, which is often the smarter choice.
26. Slicked-Back Low Ponytail
A slicked-back low ponytail makes a strong case for less fuss. Brush the hair back from the hairline, smooth a small amount of gel or styling cream over the top, and tie the ponytail low at the nape. The surface should look smooth, not wet and heavy.
The details matter here. A fine-tooth comb gives the cleanest line, but a regular brush works if your hair is already mostly straight. If you have flyaways near the temples, tame them with a dab of product on your fingertips and press them down. Do not overload the roots. Too much product makes the top look greasy rather than sleek.
I like this one for days when you want a sharp line and no stray pieces in your face. It looks neat in a way that reads as deliberate, even if the rest of the outfit is basic.
27. Short Bob with Barrettes
Short hair does not have to sit there untouched. A bob with barrettes can look polished with almost no effort at all. Part the hair slightly off center, tuck one side behind the ear, and place 2 barrettes on the other side to hold the front pieces back.
How to Keep It from Slipping
Short layers are slippery, so the barrette needs grip. Flat metal clips often hold better than heavy decorative ones, especially on fine hair. If the front pieces are freshly washed and too soft, mist them lightly with texturizing spray before clipping.
The style works well for chin-length and shoulder-length cuts because it keeps the hair neat without forcing it into a ponytail it does not want. A pair of small clips can also make the cut look sharper and more finished in the morning.
It is a good reminder that short hair has options. Not many. But enough.
28. Heatless Waves with a Side Part
If mornings are brutal, setting the hair the night before is a smart move. Heatless waves with a side part give you soft movement without reaching for a hot tool, and the side part keeps the shape from feeling too symmetrical or stiff.
Braid damp hair into two loose plaits, twist it into a low bun, or wrap it around a soft robe tie, then let it dry fully before you take it down. The key is not making the wrap too tight. Tight sections leave odd bends. Loose sections make smoother waves. In the morning, shake the hair out with your fingers, not a brush, unless you want to lose the pattern.
This one is for the days when you want the hair down but still under control. Part it to the side, tuck one side back if needed, and let the rest fall naturally. It is a quiet way to finish the list, and honestly, a pretty practical one too.
