



For years, the beauty industry has circulated a stubborn myth that the middle part is the enemy of the round face. It is a tired narrative, one that claims you need a side-swept fringe to “break up” your facial features or hide the natural curve of your cheeks. As someone who has spent enough time watching trends come and go, I can tell you that this is nonsense. The middle part isn’t a restriction; it’s a design choice. It offers symmetry, balance, and, when executed with the right styling techniques, it can actually elongate the face and highlight your best features.
The trick isn’t in the parting itself, but in how you handle the hair around the parting. A round face is characterized by width that is roughly equal to its length, often with softer, less angular jawlines and cheekbones. When you combine this shape with a center part, your goal shifts from “hiding” to “framing.” We want to draw the eye vertically, create lift at the roots, and ensure there is enough movement around the jawline to add a touch of sharpness. It is about creating verticality, not trying to disappear into the background.
When you commit to a middle part, you are opting for a classic, clean aesthetic that feels elevated. It requires a bit of maintenance, sure, but it also opens up endless possibilities for texture, volume, and layering. Forget the old rules about what you “can” and “cannot” wear. The most successful styles for a round face are the ones that prioritize volume at the crown and strategic face-framing pieces that fall just below the jawline. This approach creates the illusion of length, balancing the softness of your face shape with intentional styling.
1. Long Sleek Tresses
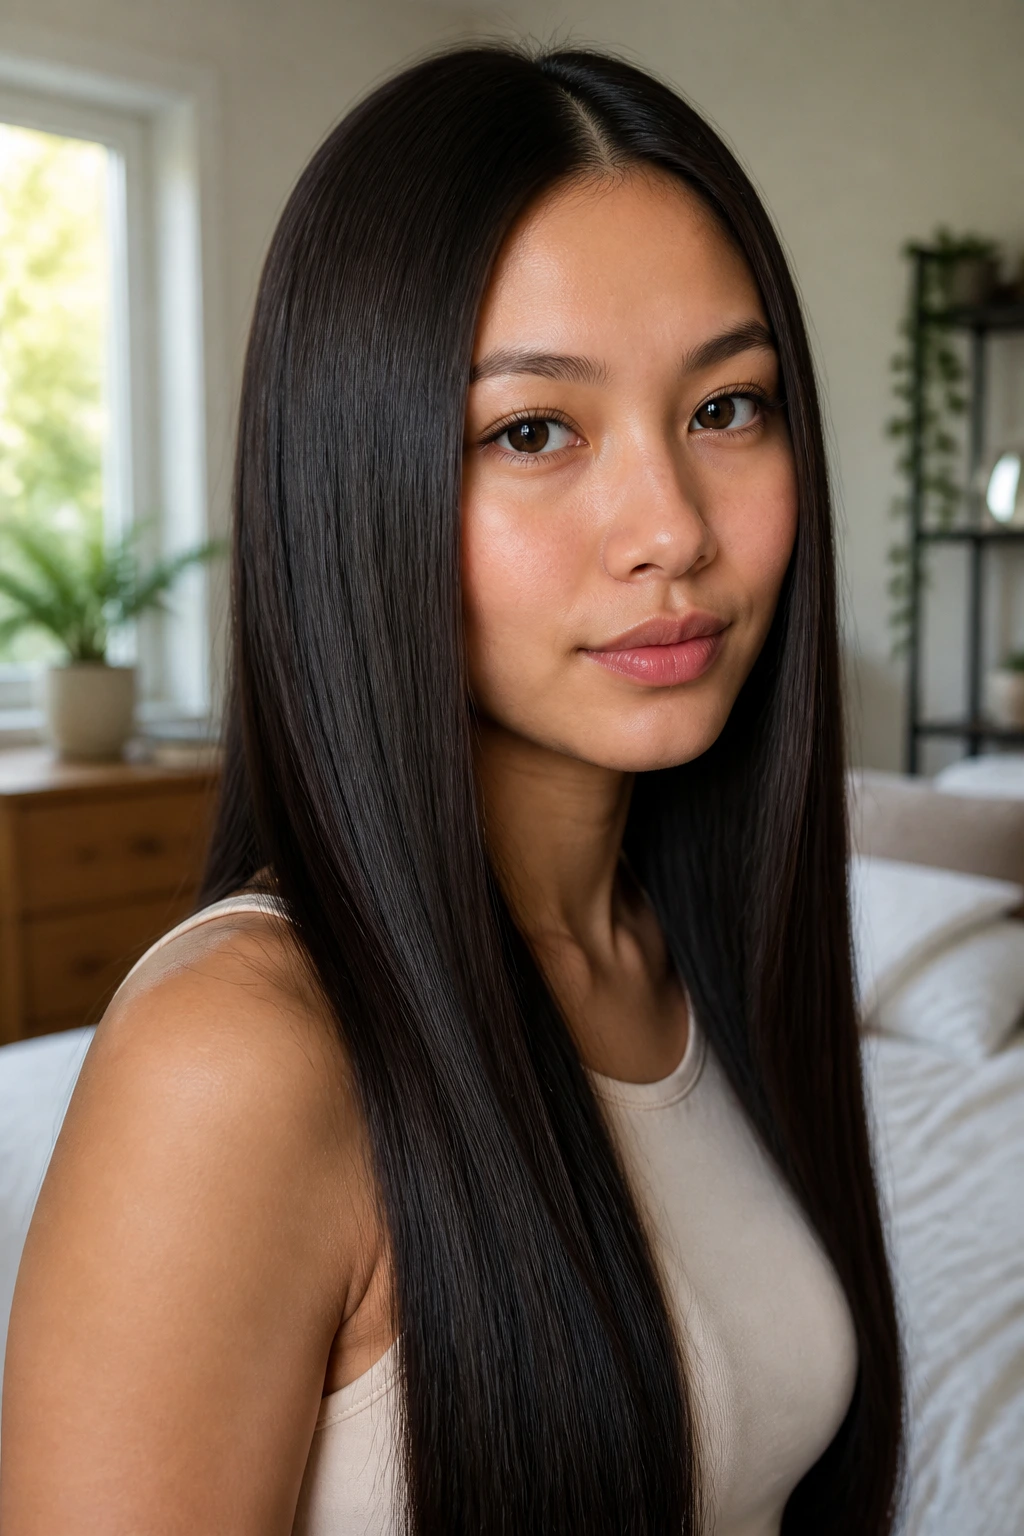
The simplest way to wear a middle part is by keeping your hair long, straight, and impossibly smooth. By drawing a sharp, clean line right down the center of your scalp, you create a powerful vertical axis that pulls the eye straight down the center of your face. This visual line is crucial for rounder faces because it visually bisects the width, making the face appear narrower and more elongated.
To get this look right, you need a high-quality flat iron and a heat protectant that doesn’t weigh the hair down. Start by sectioning your hair into manageable pieces. Do not skimp on the heat protection. Apply it evenly from mid-lengths to ends. When you run the iron through, keep your wrist moving steadily. If you pause, you risk creating a “kink” or a dent in the hair, which will ruin that sleek, seamless finish we are aiming for. Finish with a lightweight smoothing serum—just a drop, focused only on the very ends—to eliminate flyaways without making the hair look greasy.
2. Soft Face-Framing Layers
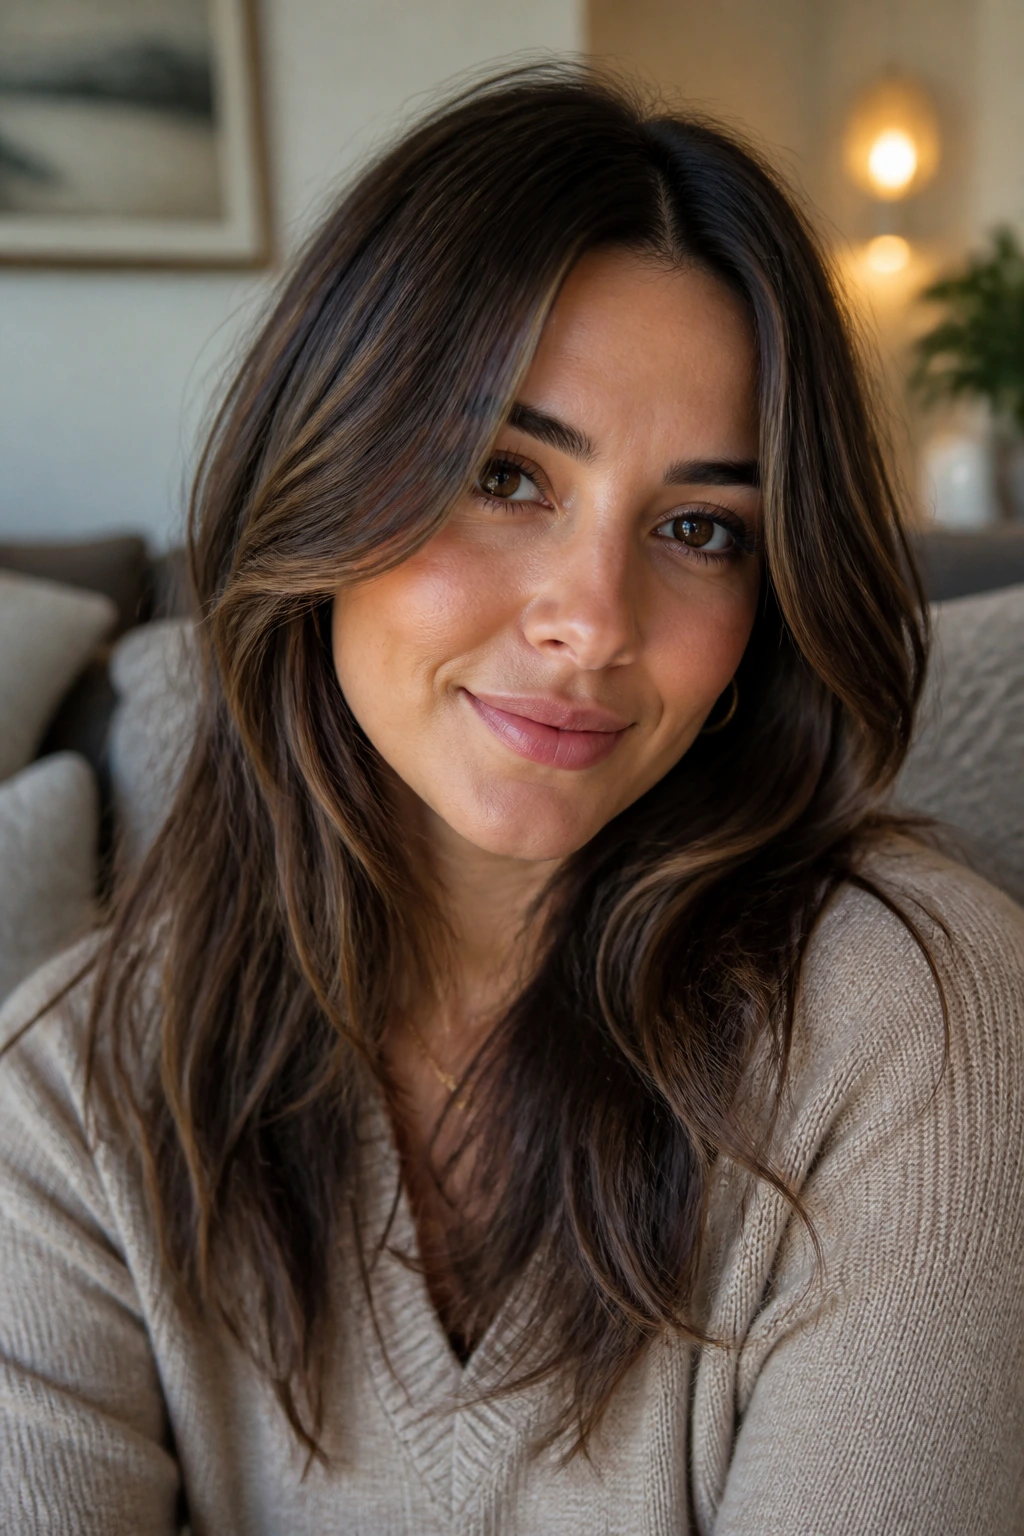
If you want the benefits of a middle part without the severe look of blunt-cut ends, soft, face-framing layers are the answer. Ask your stylist for “invisible” layers that start just below the chin. These pieces act like curtains for your face, gently hugging the cheeks and jaw without closing them off entirely.
The beauty of this cut lies in the movement it creates. When the wind blows or you move your head, these layers shift, creating dynamic shadows that contour the face. Unlike heavy, choppy layers that can make a round face feel even wider, these subtle, wispy layers provide just enough texture to draw attention to your eyes and lips. Use a medium-sized round brush while blow-drying to encourage the layers to curve inward toward your face. This subtle styling trick effectively “hugs” the cheeks, creating a slimming effect that feels entirely natural.
3. The Voluminous Blowout
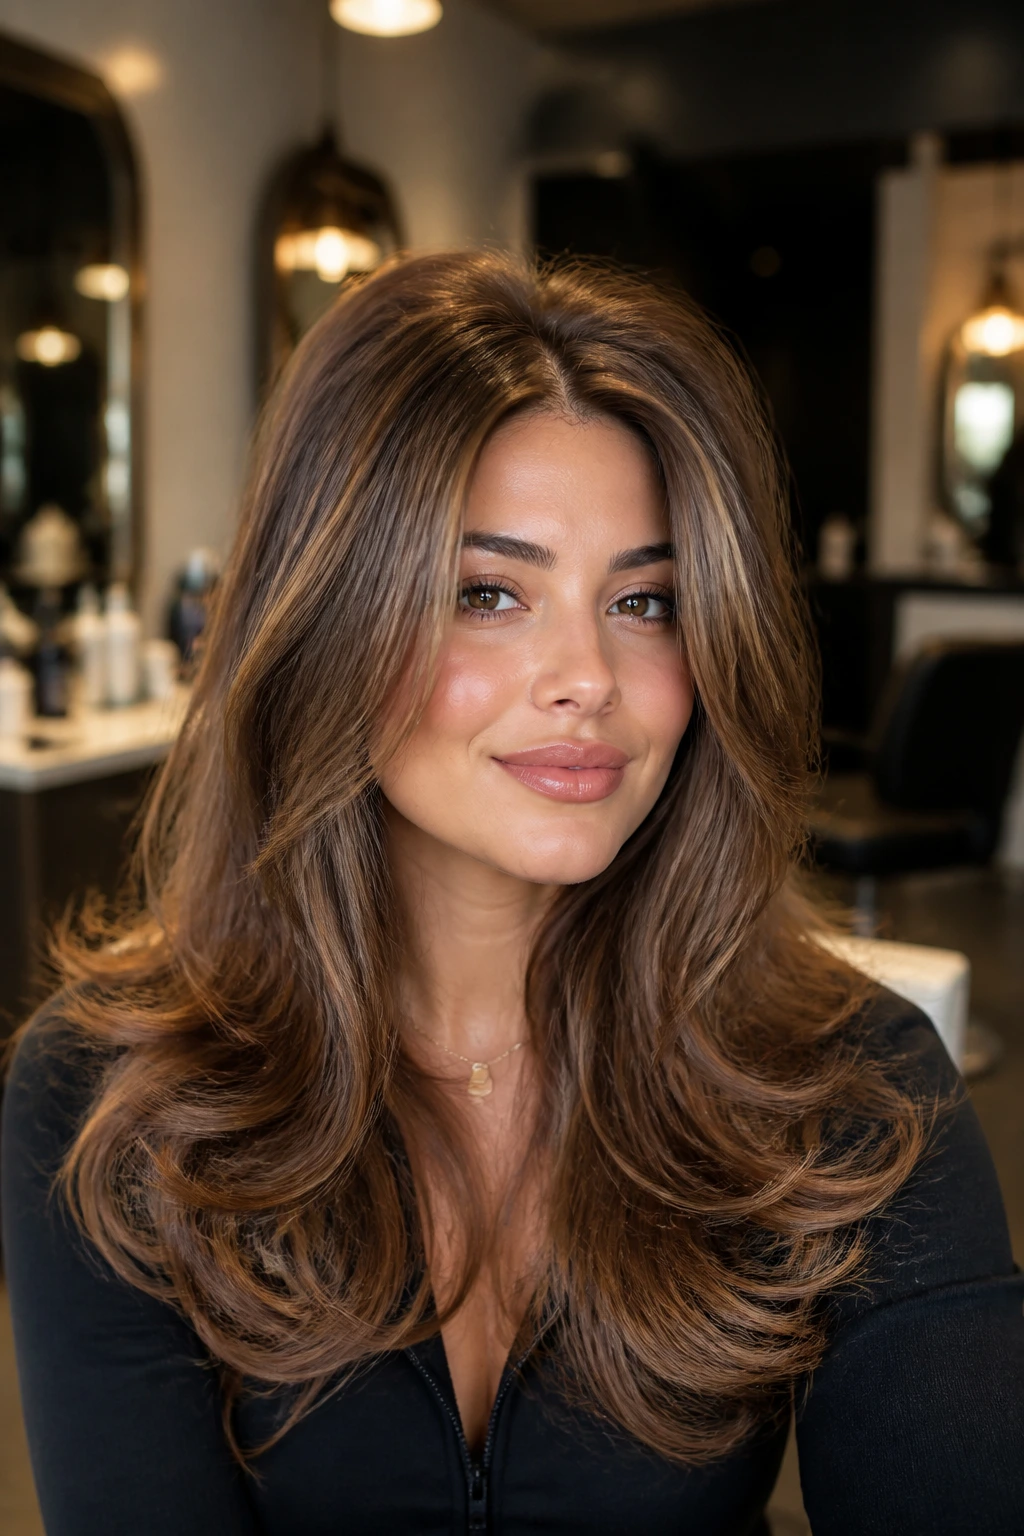
Volume is the greatest tool for anyone with a round face, regardless of their parting preference. A middle part can sometimes sit flat, clinging to the scalp and emphasizing the roundness of the cheeks. A big, bouncy blowout solves this instantly by adding height at the crown. When you lift the hair at the roots, you shift the silhouette of your head, creating an elongated shape that counteracts the width of your face.
Use a root-lifting mousse while the hair is damp. It’s essential to focus the product directly on the roots, not the lengths. Use a large, vented round brush to pull the hair upward and away from the scalp as you dry it. Don’t be afraid to over-direct the hair at the root, pulling it toward the ceiling before the cool shot of air hits. This creates a “bump” of volume that lasts. Once it’s dry, let it cool completely before running your fingers through it—this is the secret to making the volume hold its shape throughout the day.
4. Textured Beach Waves
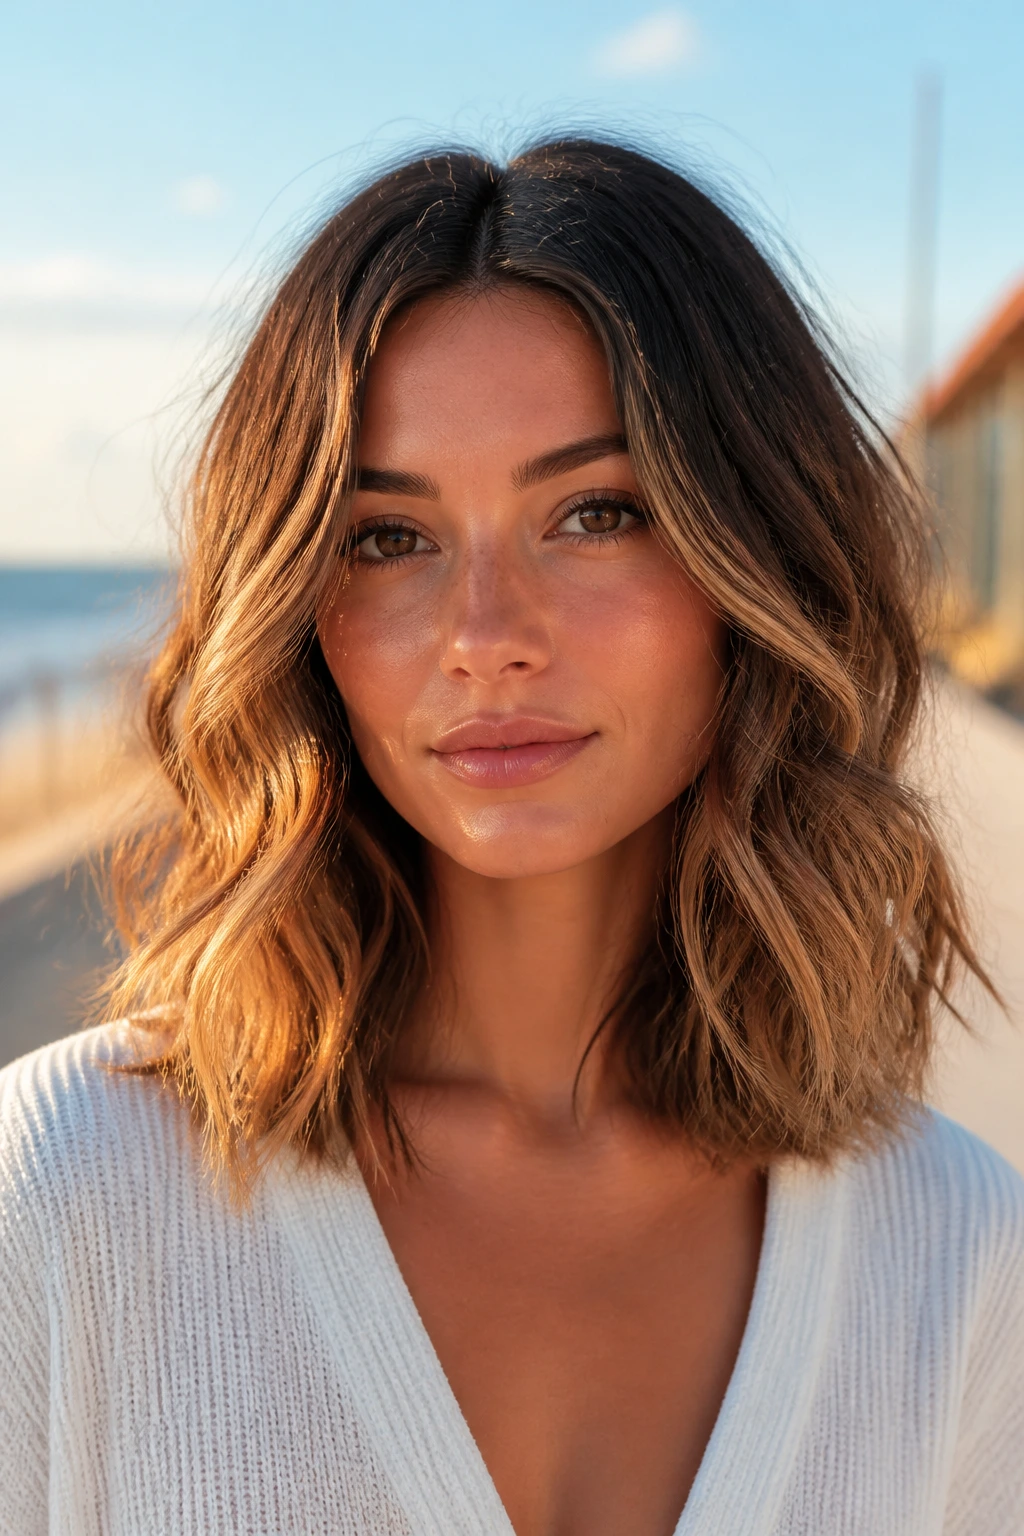
Waves are excellent for adding width, but on a round face, the placement of those waves matters significantly. If the waves start too high—right at the cheekbones—they can add unnecessary bulk. The trick is to start the texture about two inches below your chin. This keeps the hair sleek and narrow near your face, while the waves at the bottom add body where it won’t affect the perceived shape of your face.
You can achieve this with a 1-inch barrel curling iron or a flat iron. Wrap the mid-lengths and ends around the barrel, leaving the ends out for a more modern, undone finish. Once you have curled the entire head, let the curls cool completely. This is a non-negotiable step. If you brush or rake through them while warm, they will frizz. Only once they are cool should you use a wide-tooth comb or your fingers to break them up. Finish with a dry texturizing spray—not hairspray—to add that airy, beachy hold.
5. The Deep Wave Lob
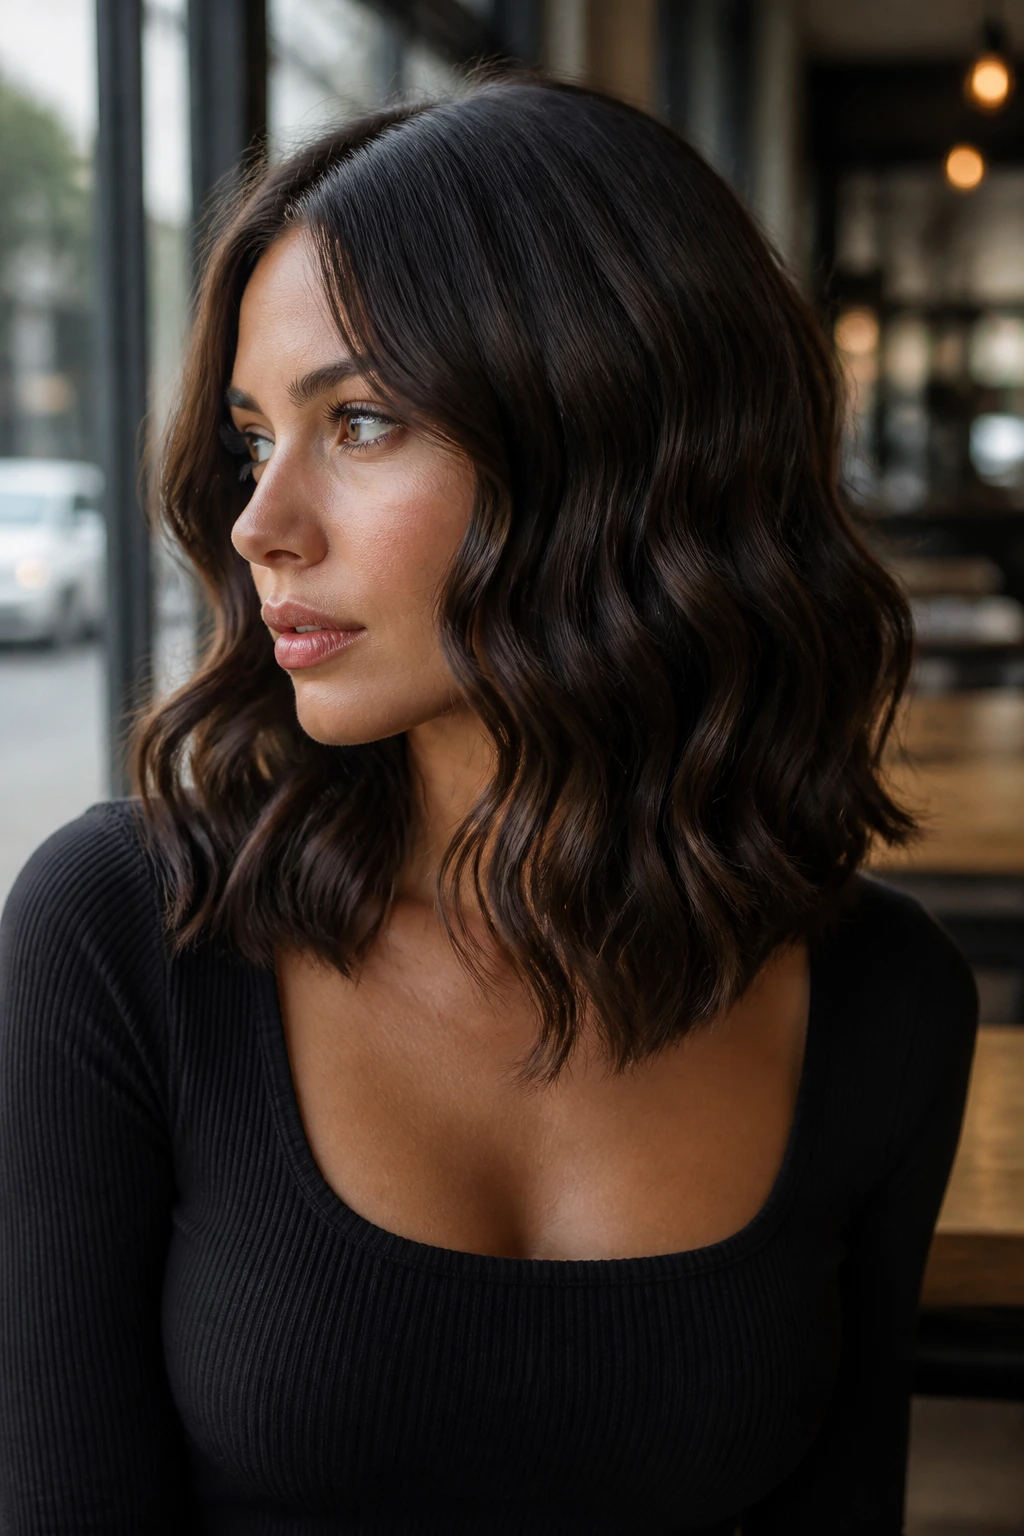
A “lob” (long bob) is a fantastic length for round faces because it typically lands at the collarbone. This is the “sweet spot.” Anything shorter, like a chin-length bob, can sometimes emphasize the roundness of the jaw if not cut correctly. A lob that skims the shoulders draws the eye downward, creating the illusion of length.
When you pair this cut with a deep wave, you get an sophisticated, effortless look. The waves should be loose and polished rather than tight and springy. A three-barrel waver is a great tool here. It gives you a consistent “S” pattern that looks intentional and chic. Because the hair is hitting the collarbone, the weight of the hair helps pull the style down, preventing it from puffing out too much at the sides. It’s a very balanced look—structured enough for the office, but loose enough for a weekend brunch.
6. Blunt Cut Bob
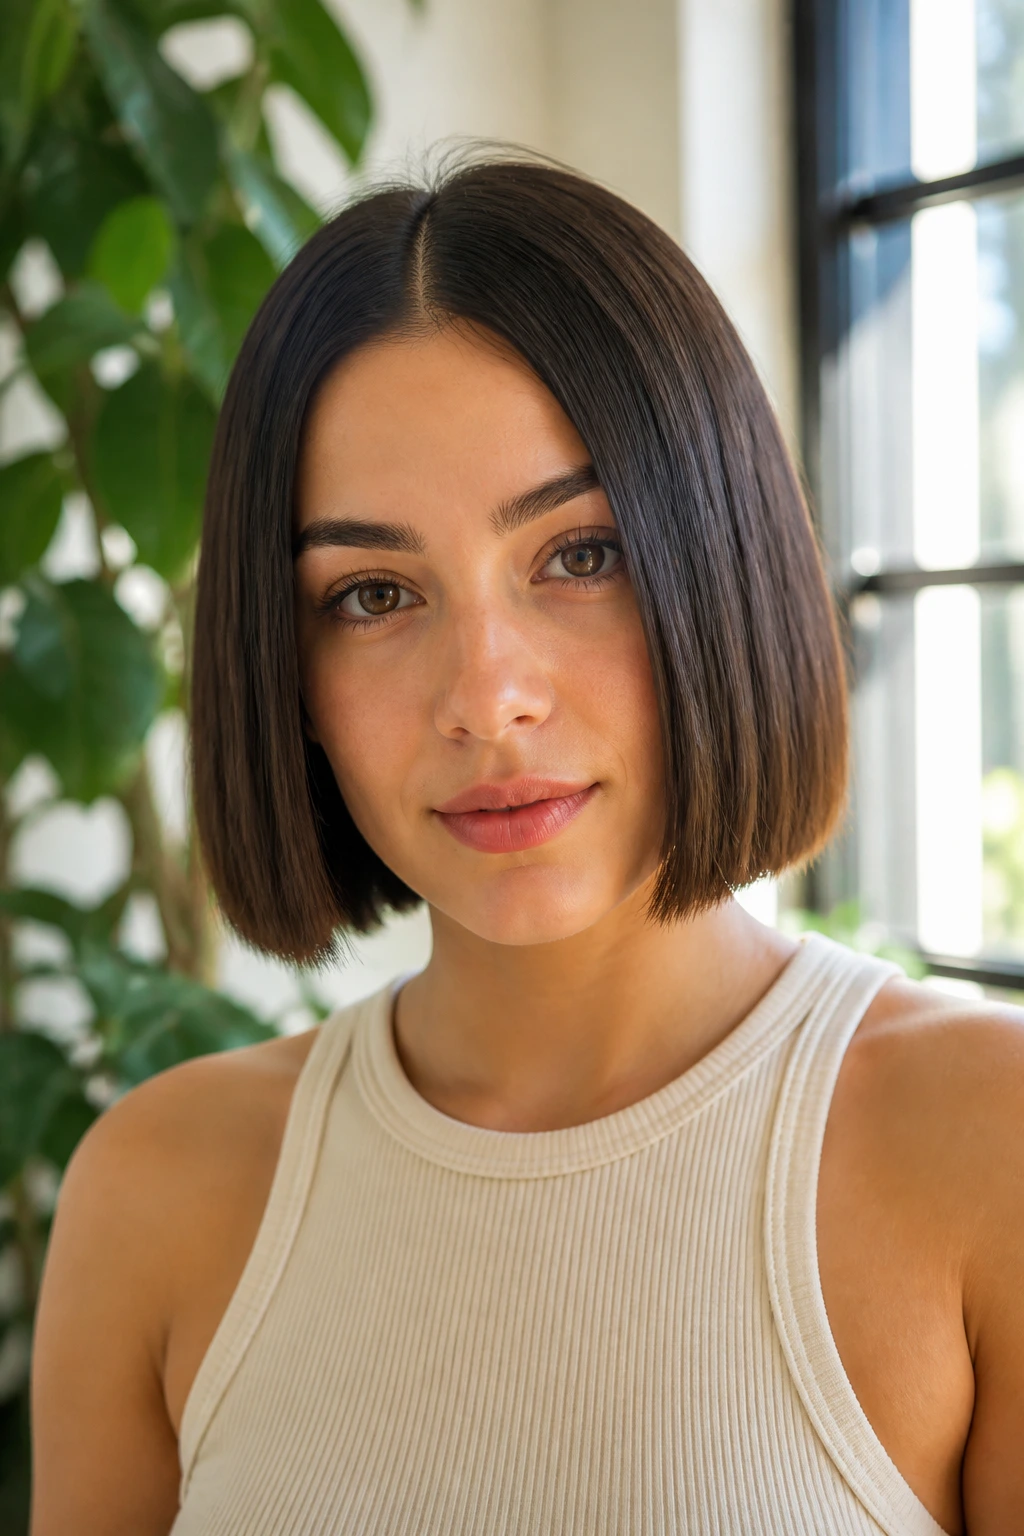
A sharp, blunt bob with a middle part is not for the faint of heart, but it is incredibly stylish. The trick to making this work on a round face is the length. Avoid a bob that ends right at your jawline; that is the widest part of a round face, and cutting there will only emphasize it. Instead, aim for a bob that hits an inch or two below the jawline.
This length creates a frame that feels intentional and sharp, providing a contrast to the soft lines of a round face. The blunt edge adds weight and sleekness, which helps keep the hair from expanding outward. You will need to keep this style maintained with regular trims to ensure the ends stay perfectly crisp. A flat iron is your best friend here, but make sure to bevel the ends slightly under with the iron so the bob doesn’t look like a helmet. A tiny bit of shine spray goes a long way with this style—the point is to show off the health and density of your hair.
7. The Textured Shag
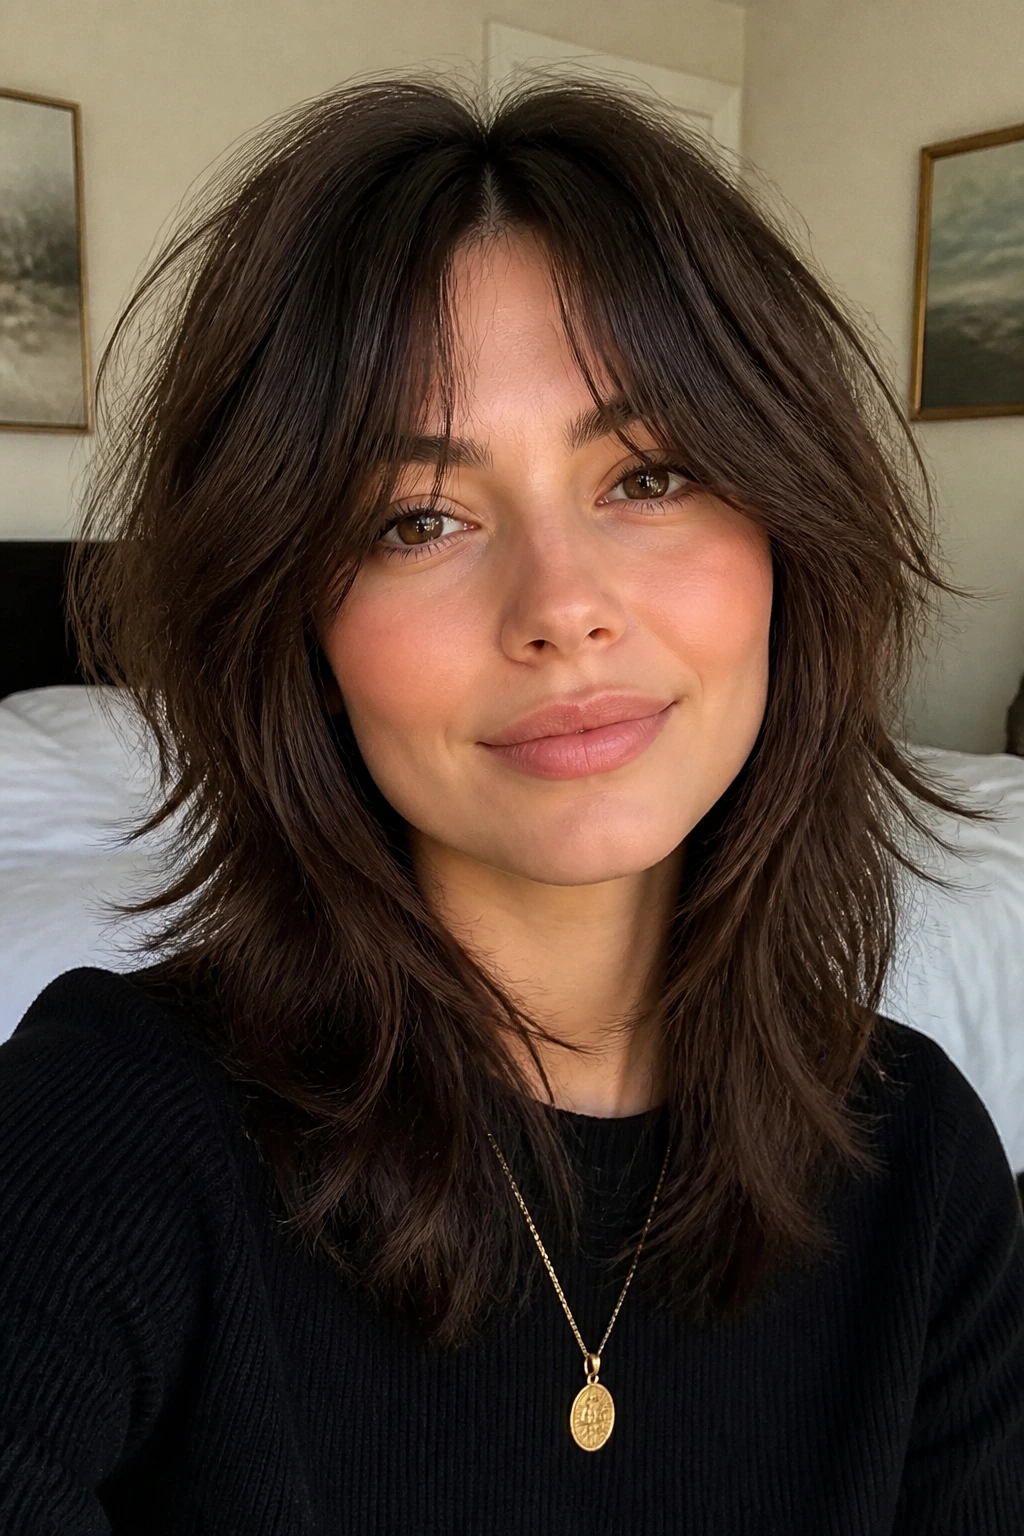
The shag cut has returned to popularity, and it is a gift to those who struggle with “flat” hair. It relies on internal layers to create height, volume, and movement, all of which are beneficial for round faces. With a middle part, the shag creates a beautiful frame that feels modern and a bit rock-and-roll.
Ask your stylist for heavy crown layers but thinner, wispy layers around the face. The crown layers give you the height you need at the top of your head to balance out the width of your cheeks. The face-framing pieces should be cut to highlight your features, not hide them. Styling a shag is fairly simple: use a sea salt spray on damp hair and scrunch it with your hands. Let it air dry or use a diffuser. The goal is to look like you just woke up like this—effortless, cool, and perfectly textured.
8. Curtain Bangs with Middle Part
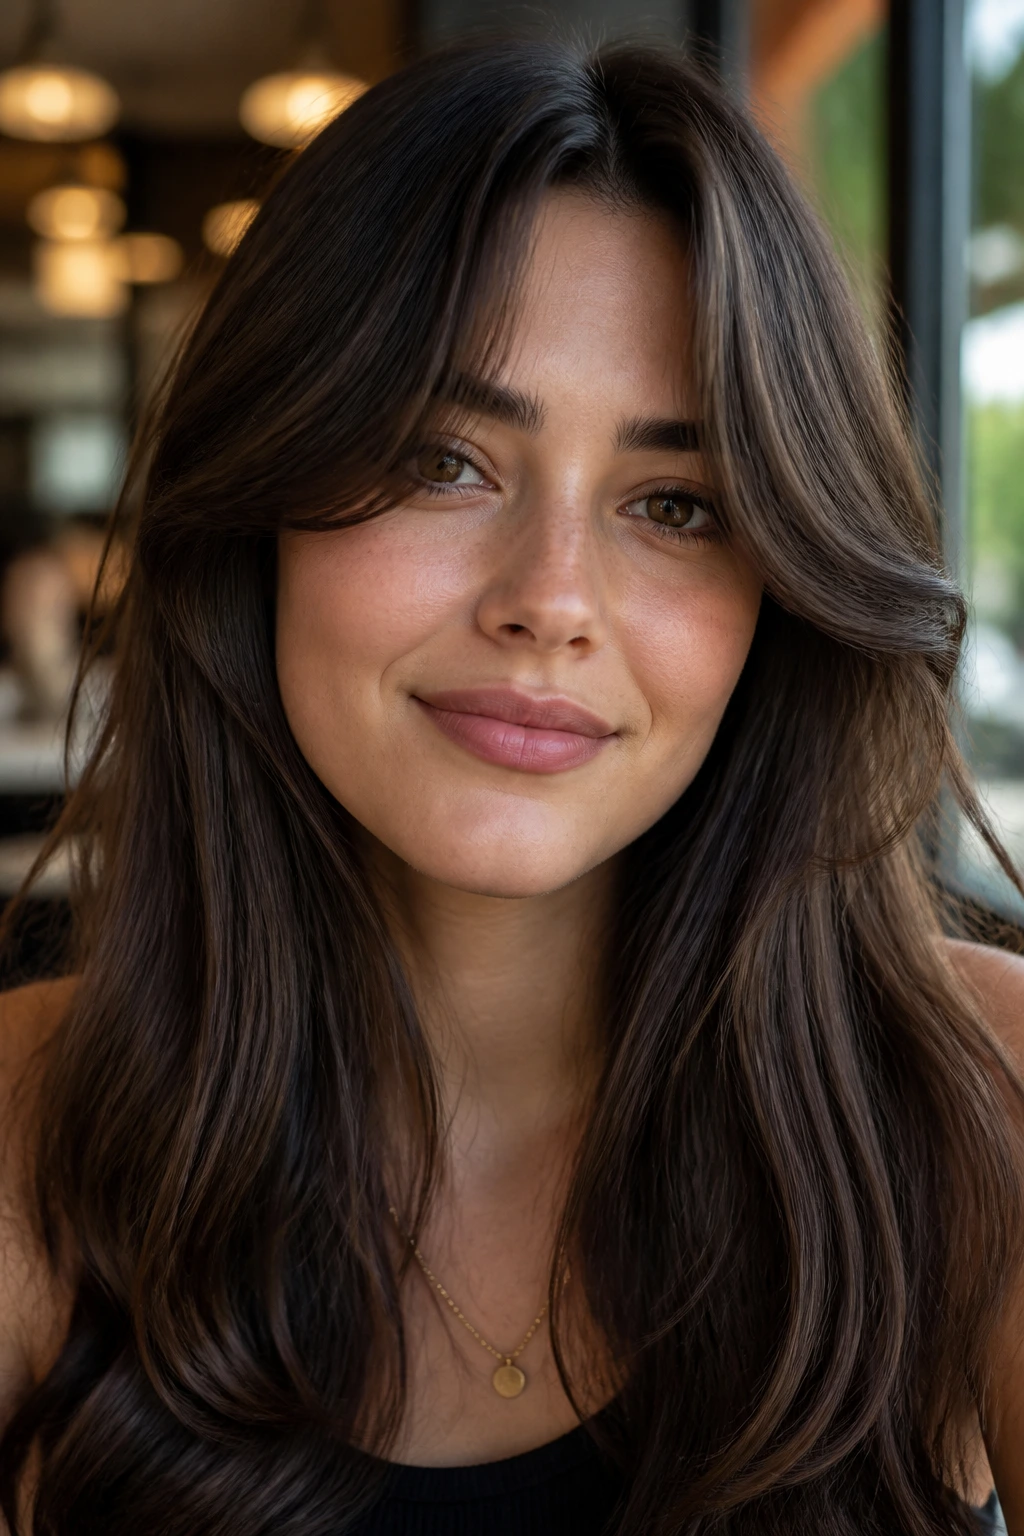
If you love the idea of a middle part but want to hide a bit of your forehead or soften your overall look, curtain bangs are the compromise you need. These aren’t blunt, forehead-covering bangs; they are long, sweeping pieces that part in the middle and blend into the rest of your hair.
Curtain bangs work on round faces because they create a diagonal line that draws the eye toward your cheekbones and then down, rather than just showing a wide, horizontal stretch of skin. They also add great volume at the temple area, which can widen the upper part of the face, balancing out the chin and jawline. When styling, use a round brush to flick the ends of the bangs outward, away from the face. This creates a “flick” that blends seamlessly into the layers of your hair.
9. High Ponytail
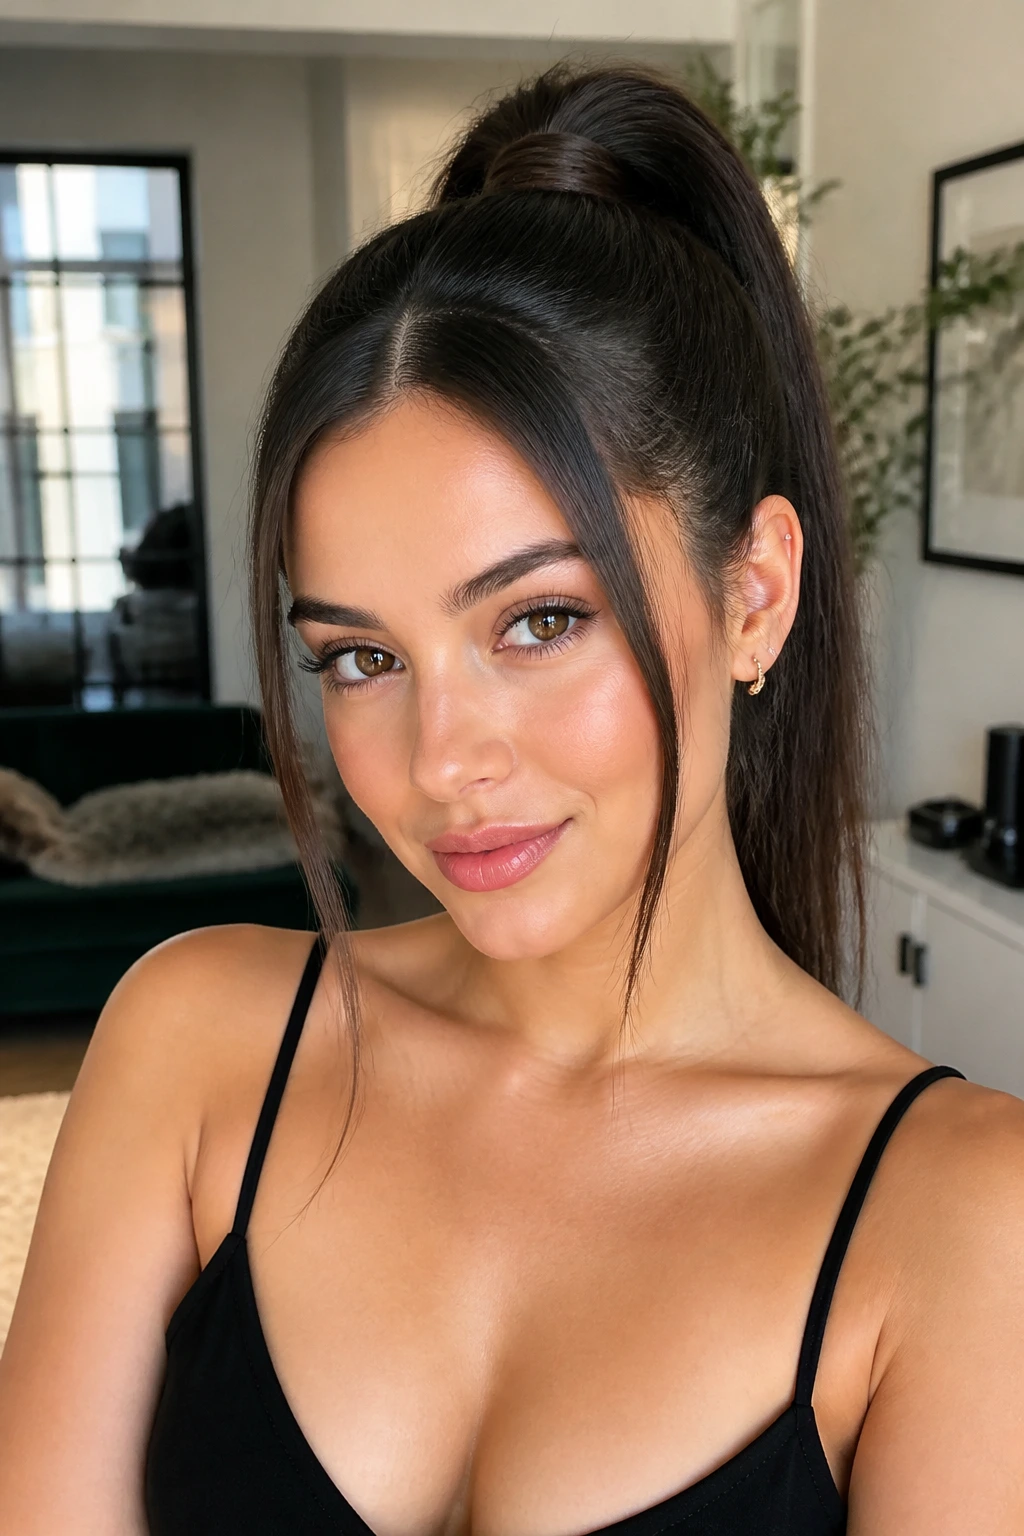
A high ponytail can be very flattering for a round face because it draws the hair away from the cheeks and lifts the eye line upward. With a middle part, you can create a super-sleek, polished high pony that feels very sophisticated.
To nail this look, pull your hair back into a high, secure ponytail. Before you secure it, use a fine-tooth comb to ensure your part is perfectly centered and tight. Once the ponytail is secured, take a small piece of hair from the underside, wrap it around the hair tie to hide it, and secure it with a bobby pin. You can leave two thin strands out in the front to frame your face, but keep them very light and minimal. This look elongates the entire head, effectively counteracting any roundness and giving you a bit of a “lifted” appearance.
10. Slicked Back Bun
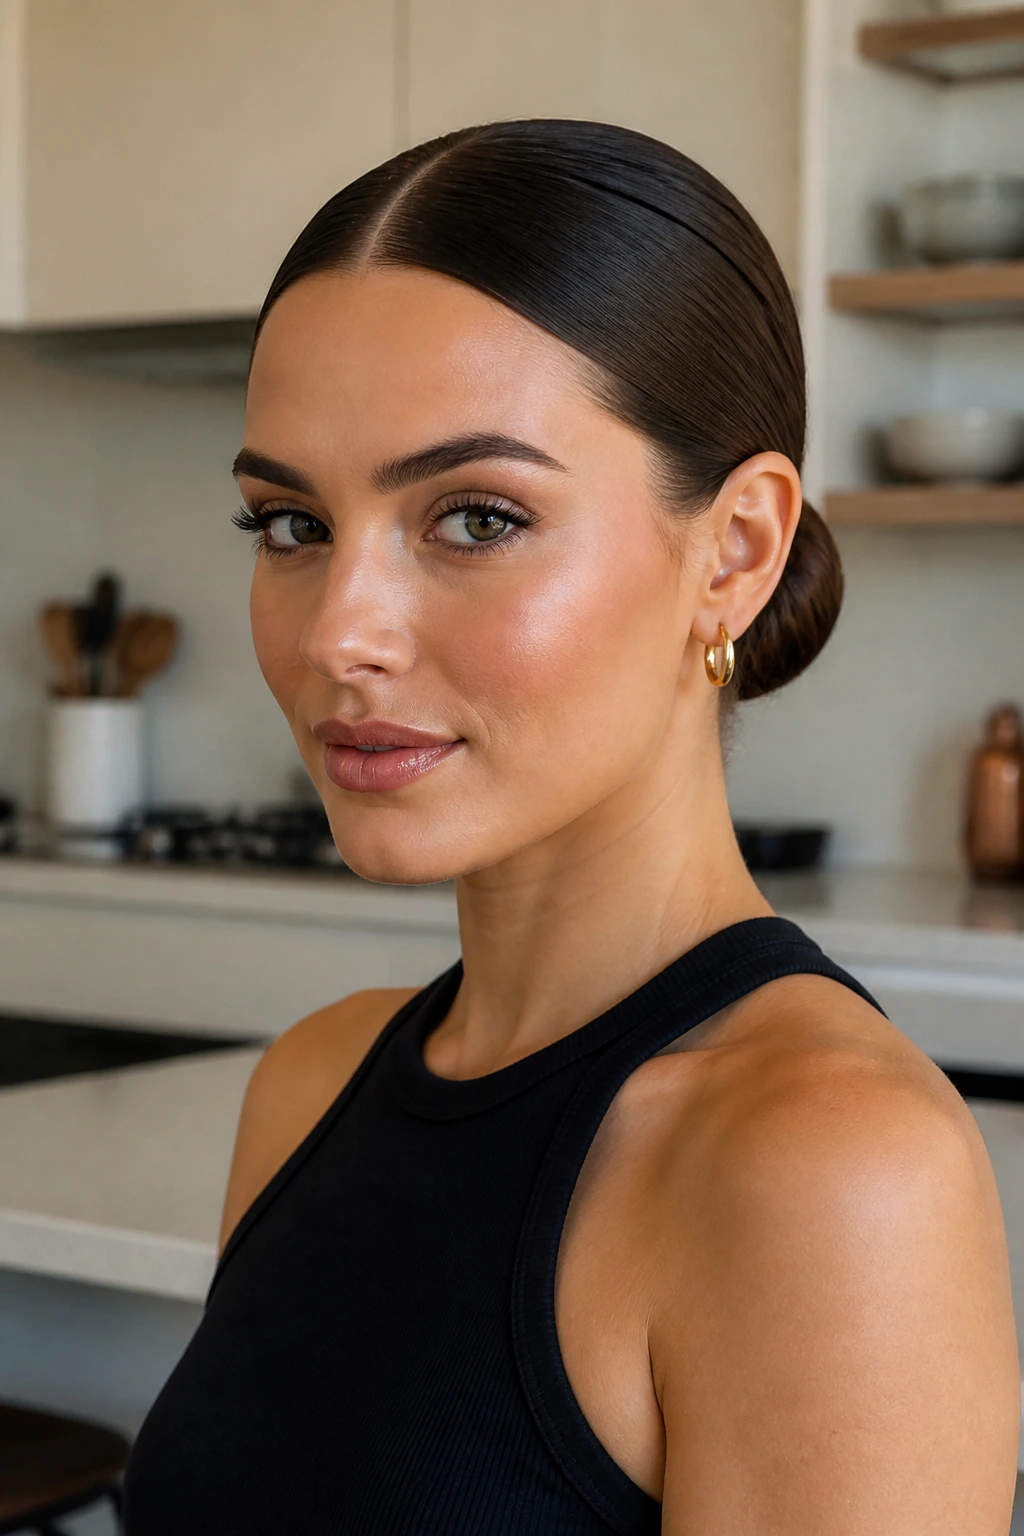
There is a misconception that a slicked-back style will expose a round face, but when done right, it does the opposite. By removing all the hair from around the face, you expose your bone structure. If you have a strong jaw or great cheekbones, this style highlights them.
Use a strong-hold styling gel or a grooming cream to slick your hair back from the middle part. You want the hair to be taut against the scalp. A low, sleek bun at the nape of the neck is elegant, but a high, tight bun creates more of that elongation we are looking for. Because there is no hair hitting your cheeks, the focus is entirely on your facial features. This is a bold, “clean girl” aesthetic that works particularly well with large hoop earrings or statement eyewear.
11. Half-Up Half-Down
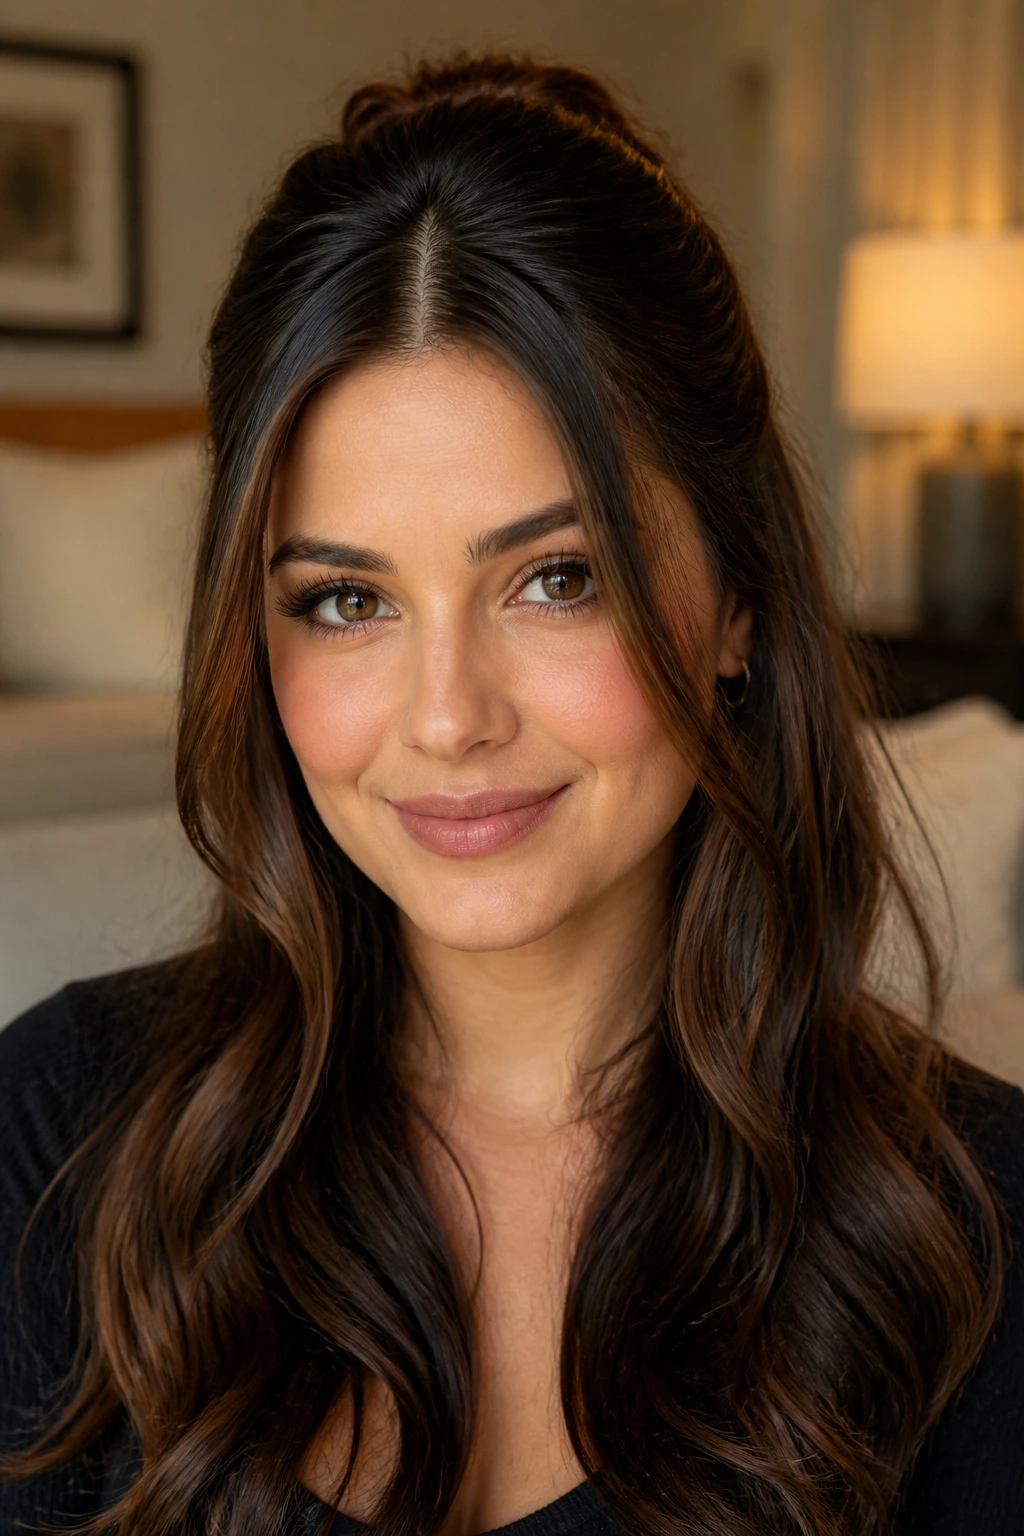
This is the ultimate transitional style. It gives you the best of both worlds: the structure of an updo and the movement of a down-style. For a round face, the key is the height of the “up” section. You want to gather the top section of your hair and pin it at the crown of your head, creating a little bit of volume.
Avoid pulling the hair back too tightly; you want a bit of softness. Once the top section is secured, let the bottom half hang loose. The cascading hair in the back provides that vertical length, while the top section provides the lift. You can twist the top section, braid it, or just do a simple half-knot. Adding a scrunchie or a decorative clip can draw the eye to the top of your head, which further serves to elongate your features.
12. Braided Crowns
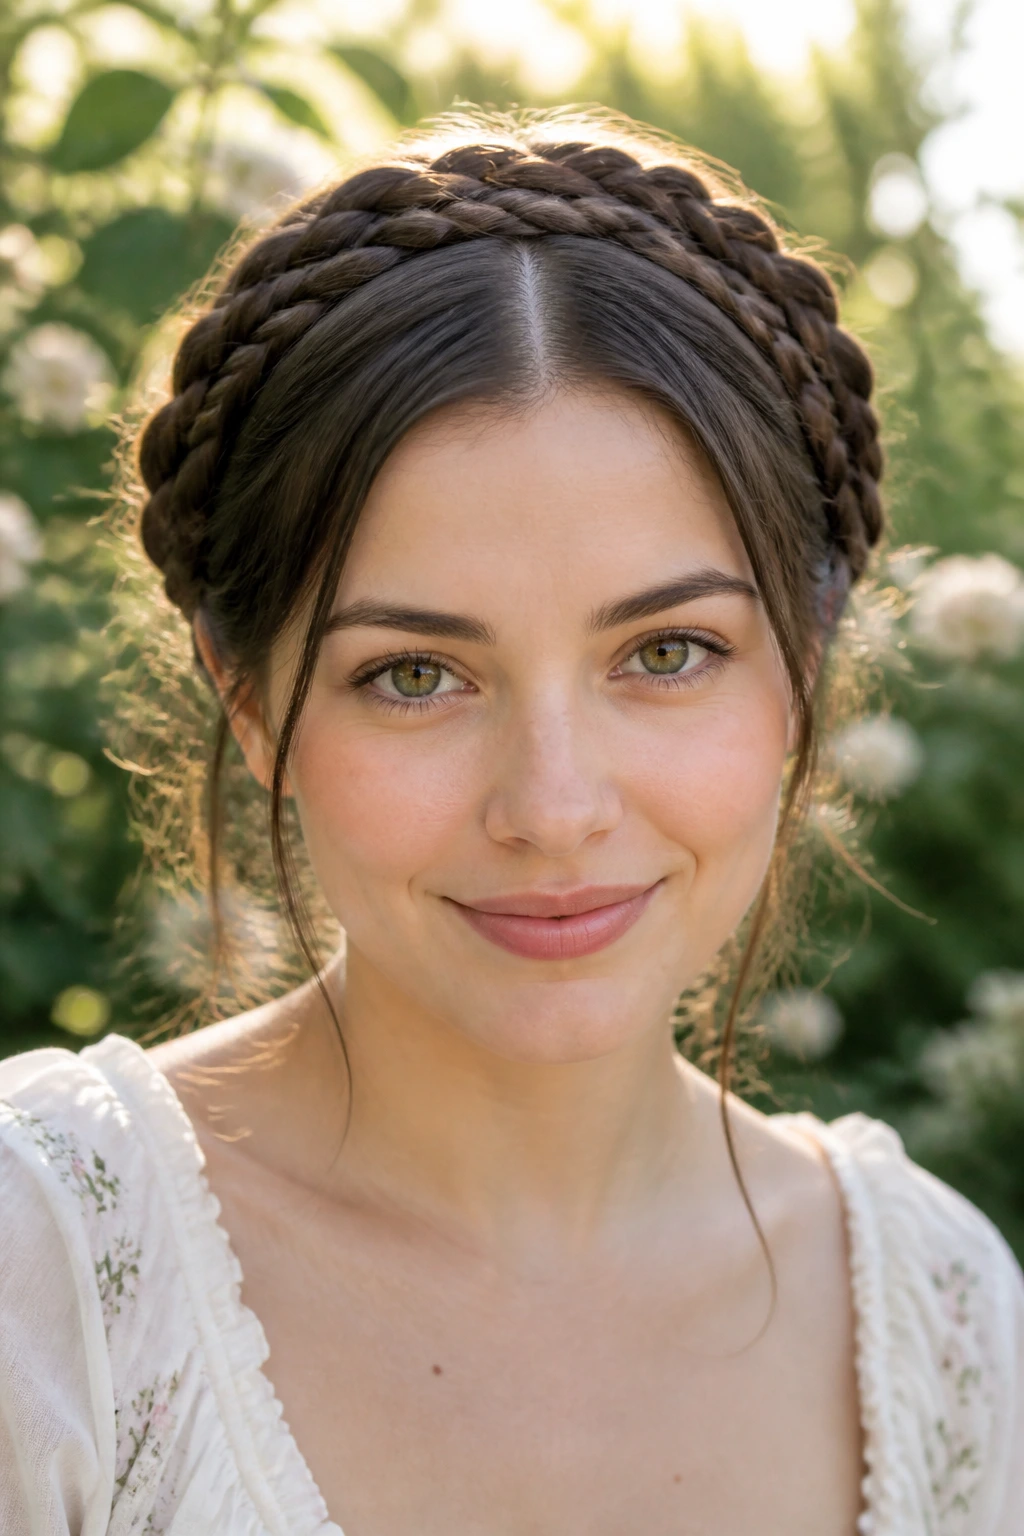
Braids are not just for festivals; a polished, crown-style braid can look incredibly regal and is surprisingly effective at shaping a round face. By braiding your hair into a crown, you are essentially creating a frame around your head that keeps everything contained and adds height.
Start your middle part and French braid or Dutch braid both sides of your hair, starting from the part and working your way back towards the nape of your neck. Secure the ends and tuck them under, or pin them into a loose, low bun. The key is to pull at the braids (“pancaking” them) to make them look fuller and softer. This adds volume to the top and sides of your head, creating a structural frame that balances out the width of the face.
13. Boho Braids
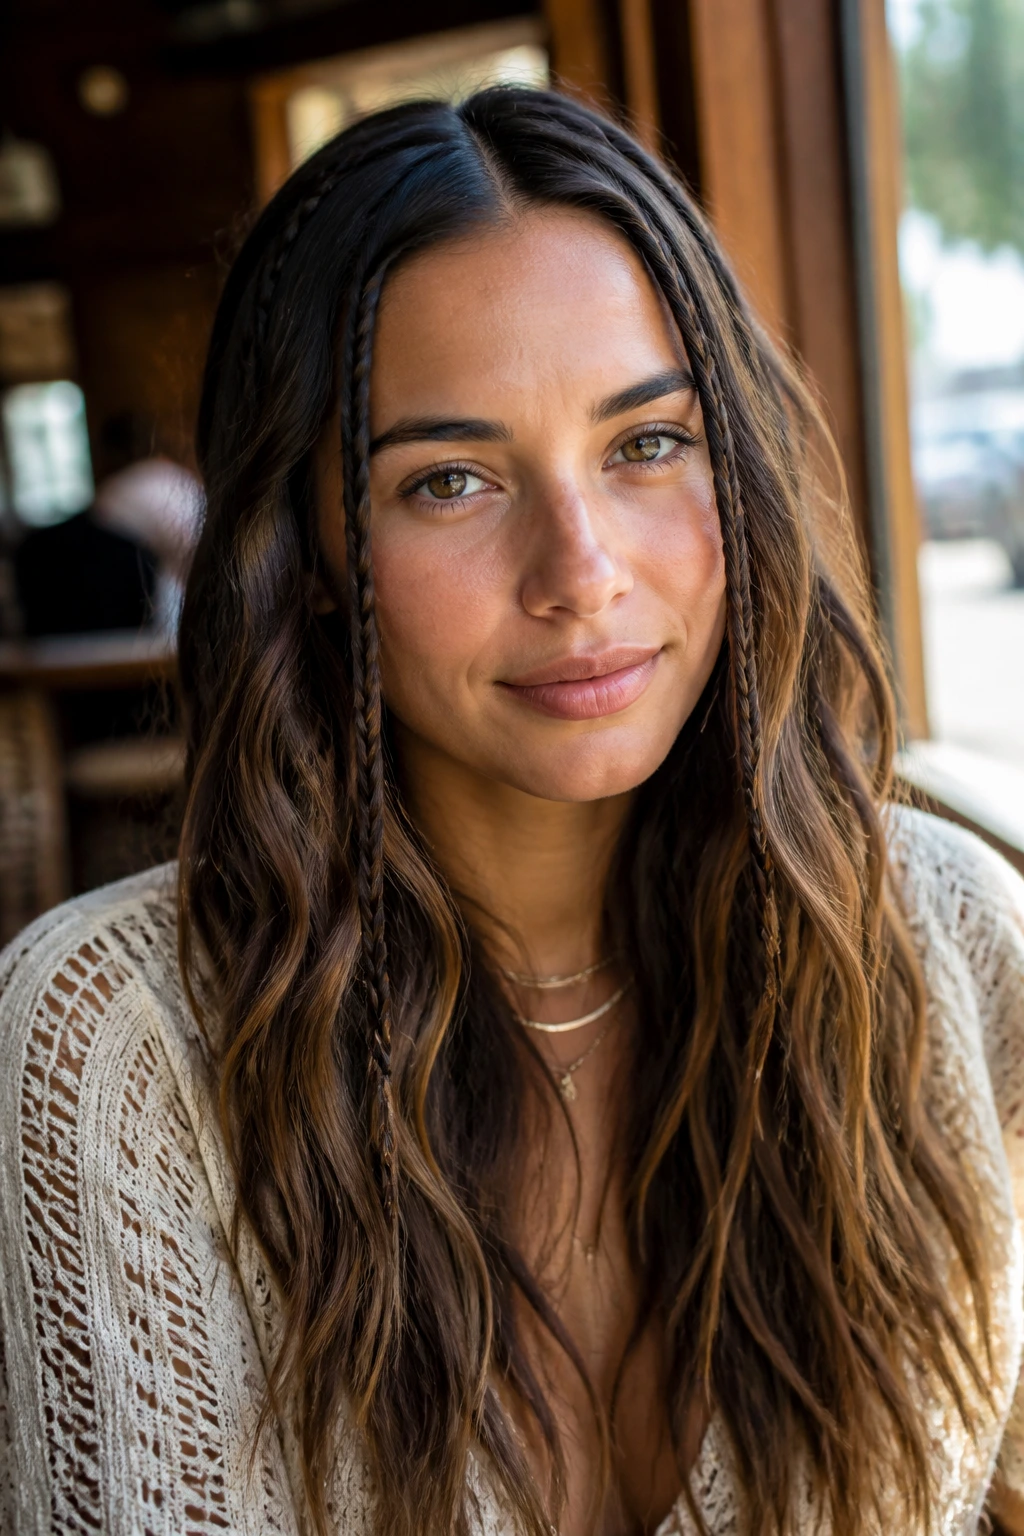
If you prefer a more relaxed vibe, integrate thin, individual braids into a wavy, loose down-style. Take a small section of hair near your part on both sides, braid it, and let it hang alongside your loose hair.
These small braids break up the solid sheet of hair and add visual interest. Because they are thin and run vertically, they act like lines on a page, guiding the eye up and down rather than across. They are also incredibly low-maintenance. You can add one or two on each side, or just do one and keep it asymmetrical. It’s a subtle detail, but it makes a big difference in how the hair frames the face.
14. The “Bottleneck” Fringe
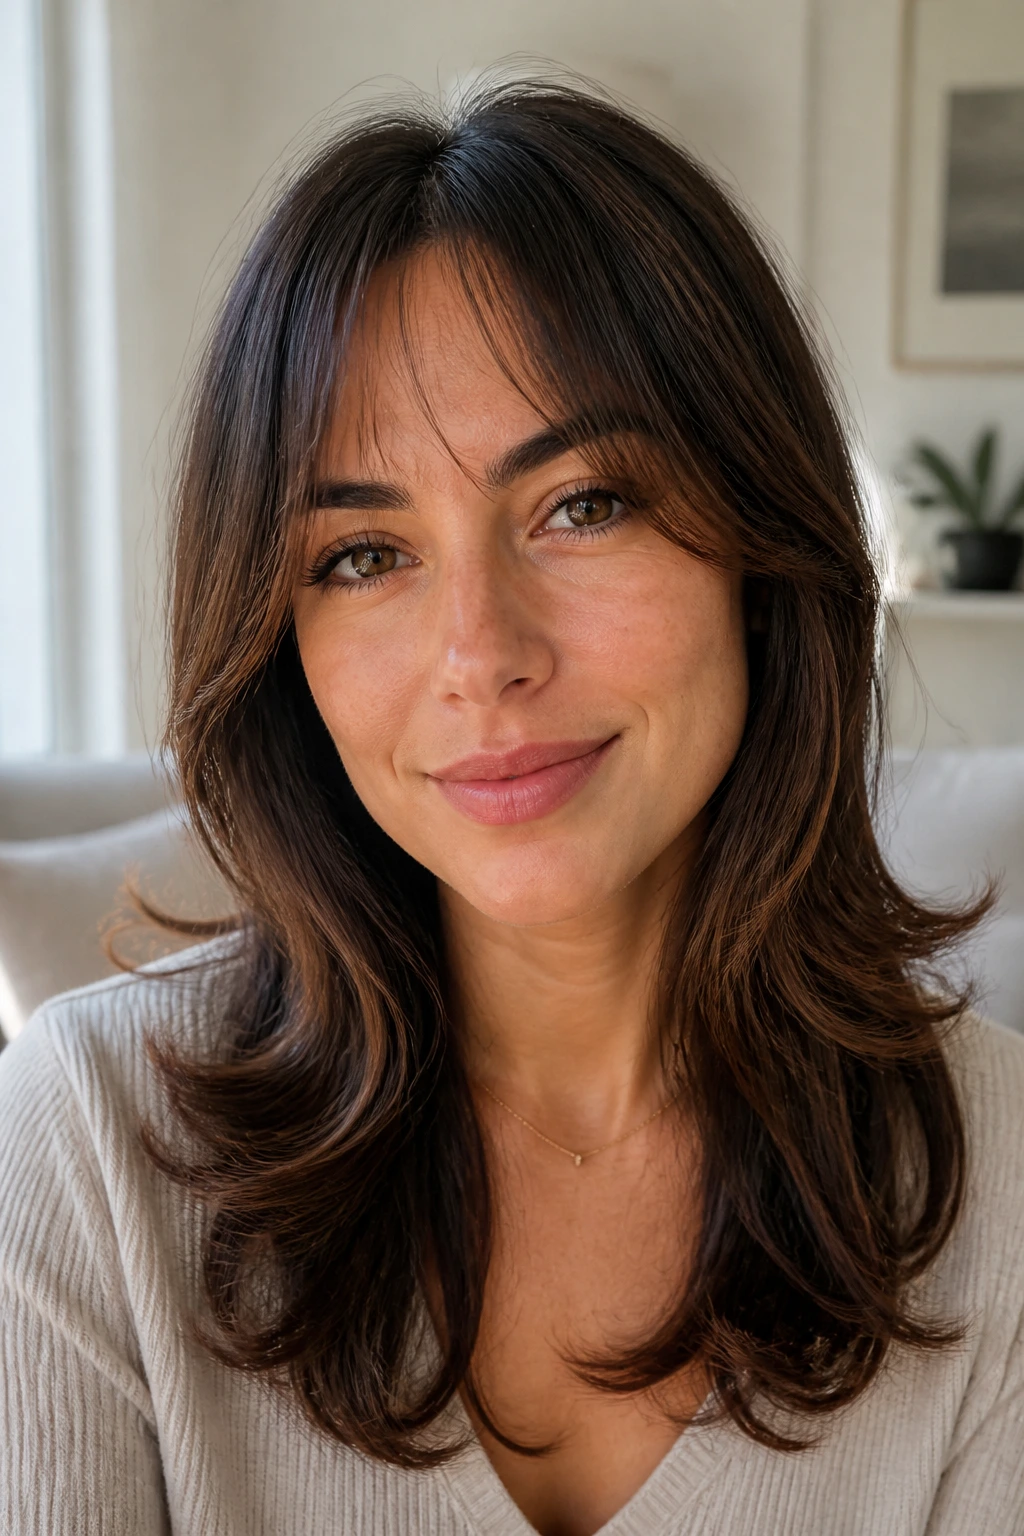
We talked about curtain bangs, but the “bottleneck” fringe is a specific evolution of that style that works wonders for round faces. It’s shorter in the middle, framing the center of the forehead, and gets longer towards the sides, blending into your layers. It’s the perfect blend of a fringe and face-framing layers.
The reason this works is that it covers just enough of the forehead to shorten the face slightly (if needed) but has those longer side pieces that contour the cheeks. It’s a very intentional cut. Ask your stylist to make the center pieces wispy and the side pieces dense. Styling this requires a bit of effort—you really do need a round brush and a bit of heat—but the payoff is a face-framing style that feels custom-made for your features.
15. Subtle Balayage Waves
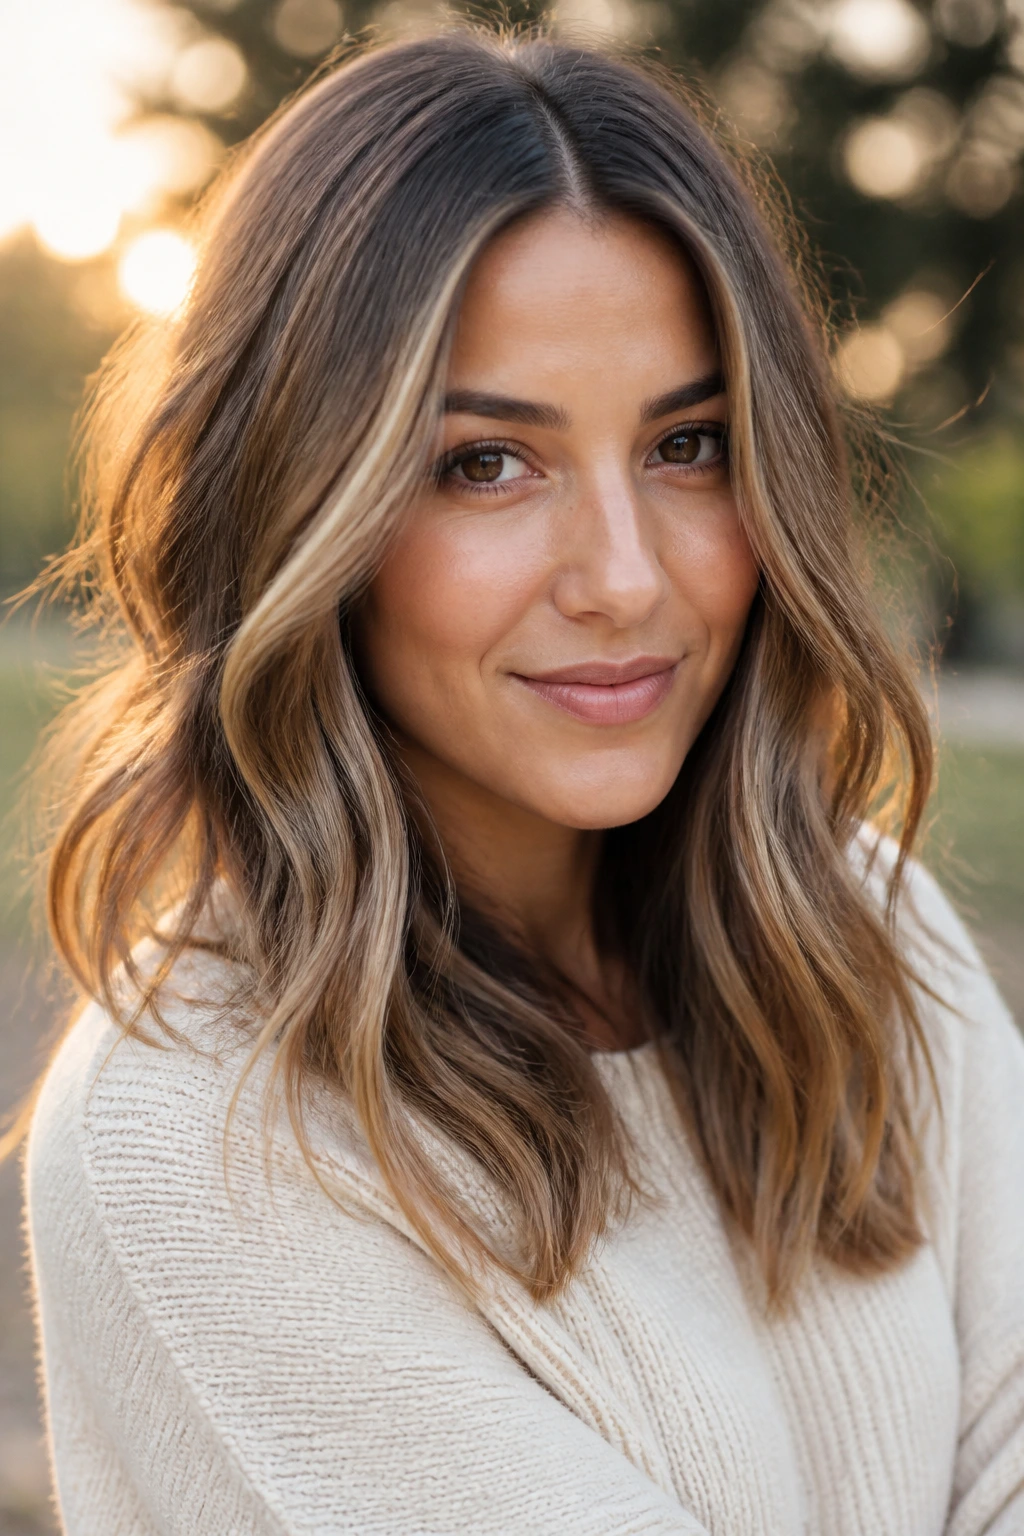
Sometimes, the way you color your hair can affect how your face shape is perceived. A balayage (hand-painted) color technique, where lighter colors are concentrated toward the ends and framing the face, is perfect for a round face.
By keeping the roots darker and the ends lighter, you naturally draw the eye downward. This creates a vertical gradient that encourages length. When you add soft, loose waves to this color, the contrast between the dark and light pieces adds depth and dimension. This depth prevents the hair from looking like a flat block, which is essential when you have a middle part. The highlights near the face should be placed just below the cheekbones to draw the eye away from the widest part of your face.
16. Messy Bedhead
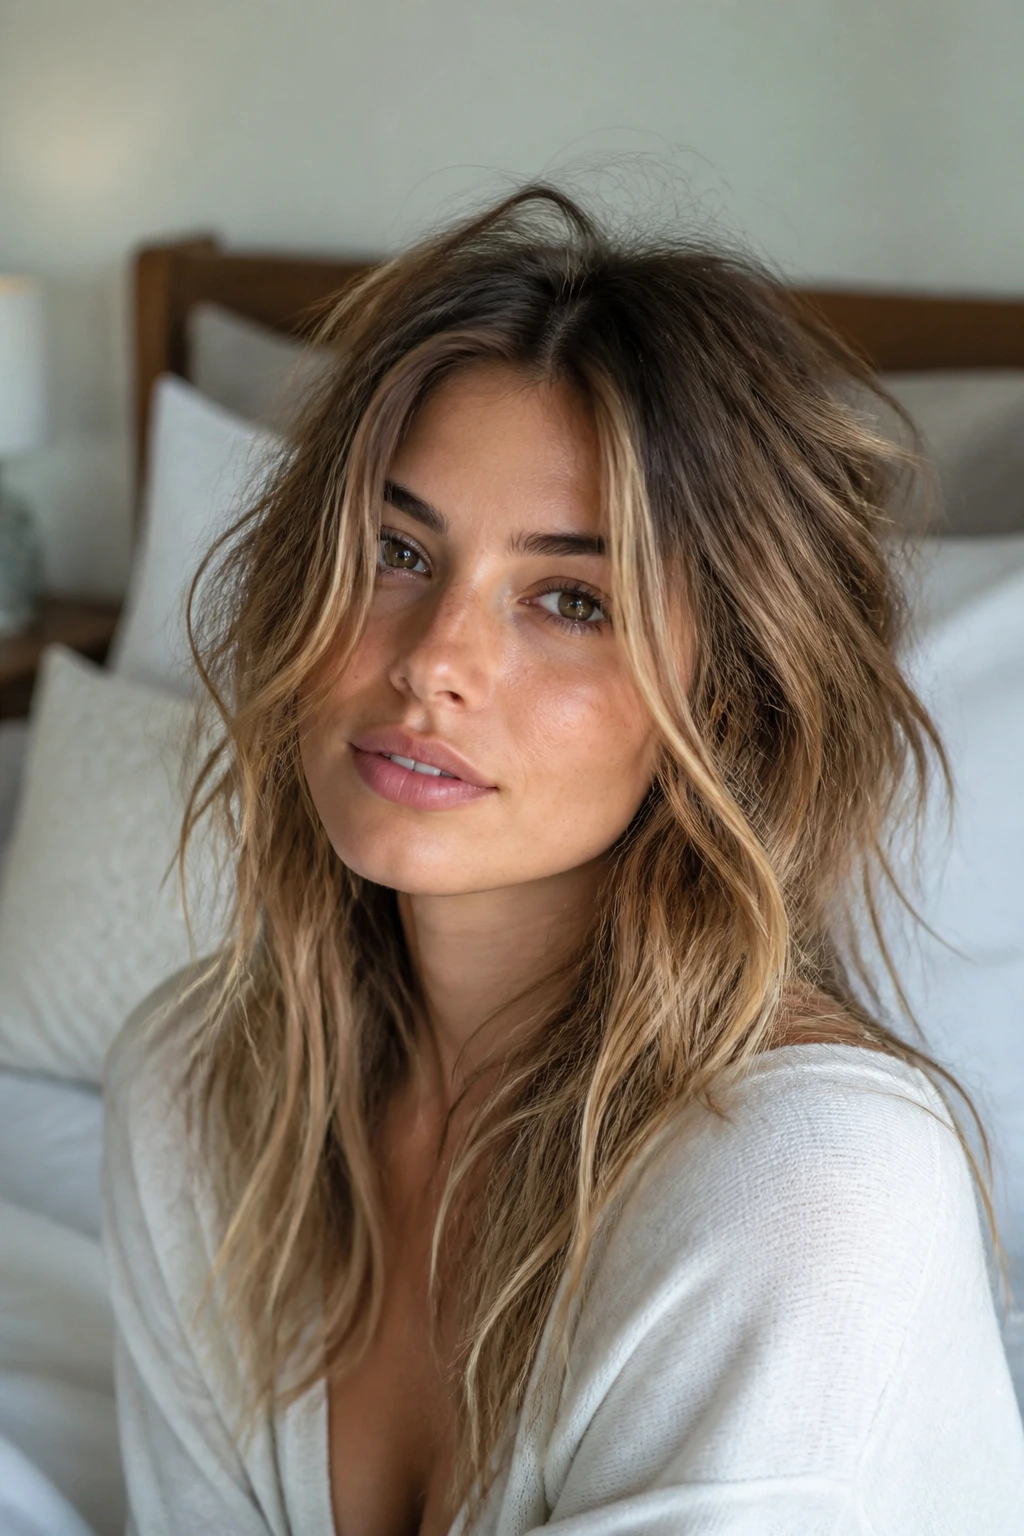
There is something inherently disarming about a style that looks like you didn’t try too hard. A messy, textured bedhead look is actually quite flattering for a round face because it creates volume in all the right places.
The trick is to use a texturizing paste. Work it into your hands, then rake it through your hair from the roots to the ends. Don’t worry about perfection. The “messiness” disrupts the symmetry of the face. Instead of the hair perfectly contouring your cheeks, it’s chaotic and unpredictable, which softens the overall look. It makes the face seem less “enclosed” by the hair. If you have any natural wave or curl, enhance it; if you have straight hair, use a crimper or a straightener to add random kinks.
17. Pin-Straight Glass Hair
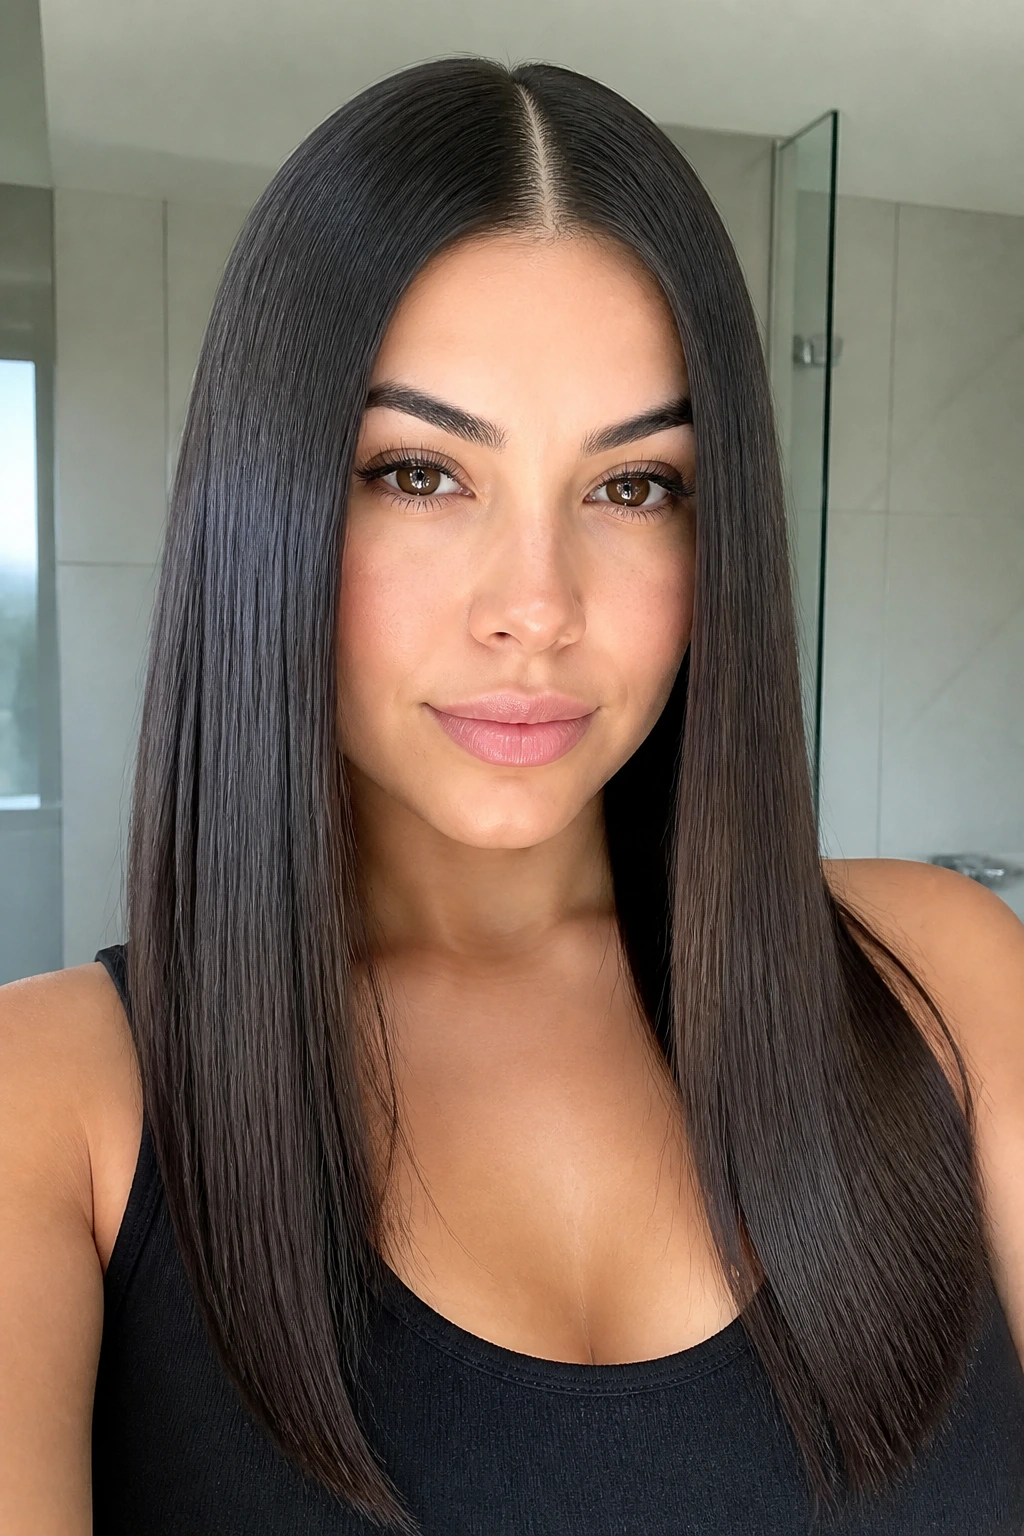
“Glass hair” is a trend that emphasizes extreme shine and blunt, sharp lines. It’s the ultimate statement look. Because it is so structured, it works surprisingly well for round faces—it doesn’t try to hide anything; it just embraces the sleekness.
To get this, you need a high-quality boar bristle brush, a blow dryer with a concentrator nozzle, and a high-shine glossing treatment. Work in very small sections. You want the hair to be so straight it looks like it’s been lacquered. Because the hair is so flat and sleek, it hugs the head closely, which minimizes any side-to-side width. It’s a very sophisticated look that screams “professional” and “polished.” Just make sure your part is perfectly straight—any wiggles in the part will be magnified by the extreme sleekness of the style.
18. Loose Low Bun
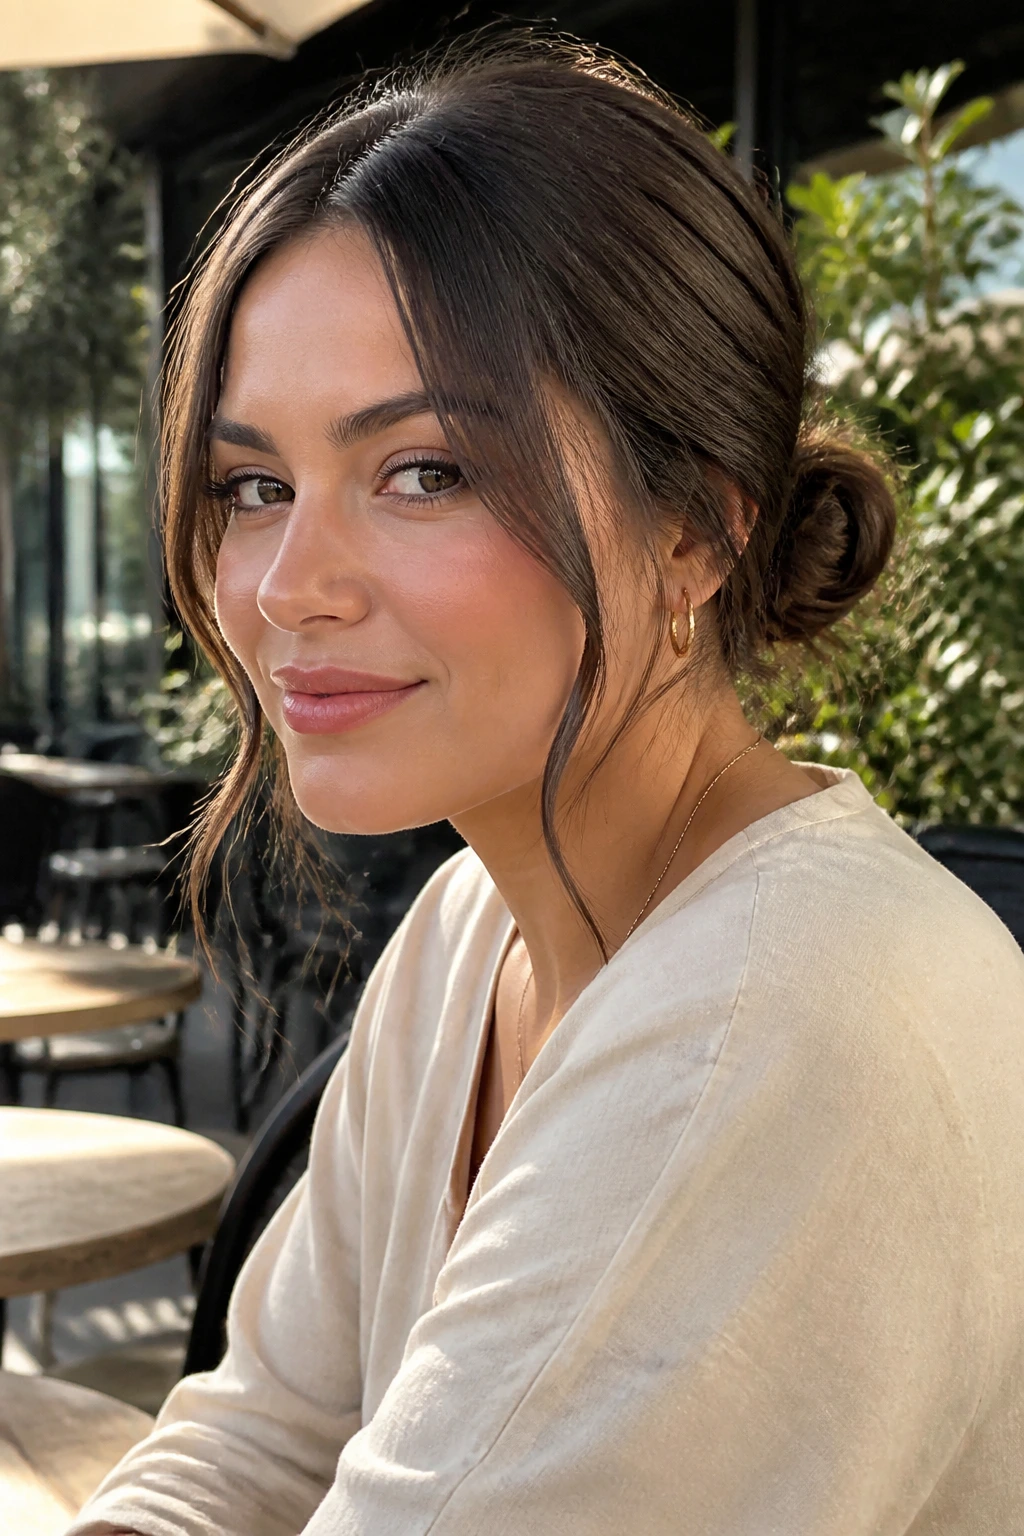
For those days when you need your hair out of your face but don’t want the tension of a slicked-back style, a loose, low bun is the solution. The key here is the “loose” part. You want strands falling around your face.
Gather your hair at the nape of your neck, but instead of pulling it tight, keep it slightly slack. Pull out a few face-framing pieces near your part. These strands should be long enough to hit below the jawline. This creates soft lines that break up the roundness of the face. It’s a very romantic, effortless look that feels appropriate for everything from a coffee date to a wedding guest outfit. Use a silk scrunchie to keep it gentle on the hair.
19. Crimped Texture
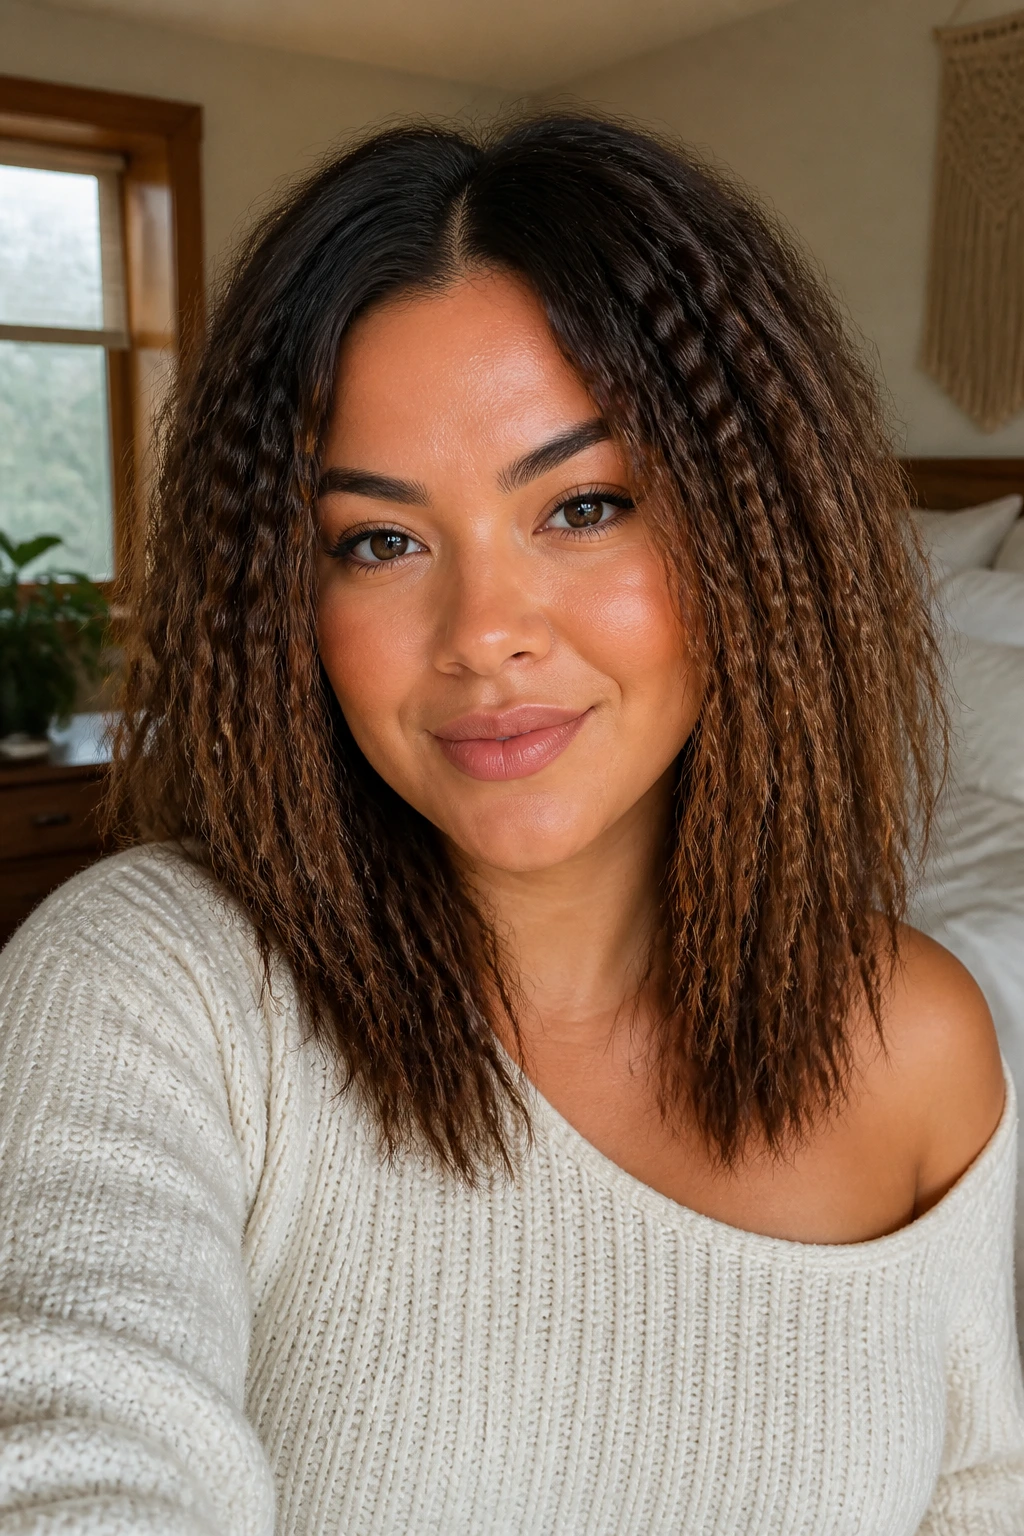
Crimping has a reputation for being stuck in the 90s, but modern crimping is all about volume and texture, not that tight, frizzy look. Use a large-barrel crimper to create texture throughout the lengths of your hair.
Crimping creates an incredible amount of volume. Because it forces the hair to stand away from the scalp, it gives you that lift we’ve been discussing. For a round face, the key is to keep the crimping concentrated on the mid-lengths and ends. If you crimp the hair near the roots, you might get too much width. By keeping the crimp lower, you create a wide, voluminous base that makes the face look smaller by comparison. It’s a great way to add “big hair” energy without looking like you’re trying too hard.
20. Face-Framing Highlights
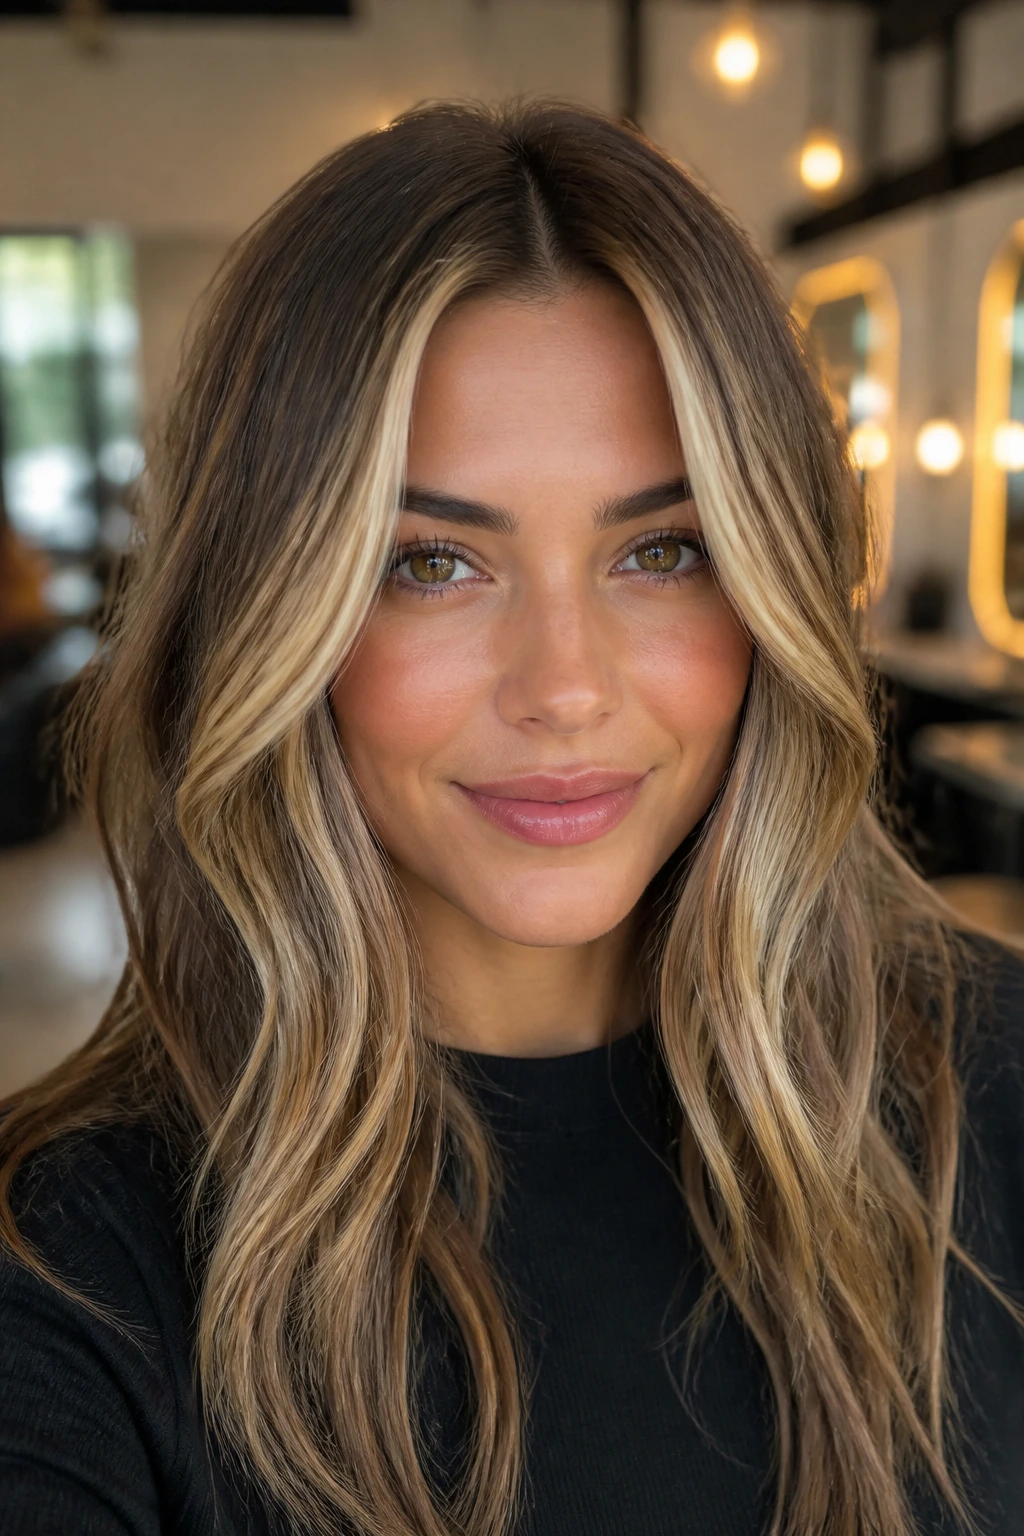
Also known as the “money piece,” this is a technique where the two front sections of your hair are bleached or dyed a few shades lighter than the rest of your hair. When you part your hair down the middle, these lighter pieces frame your face in a bright, bold way.
This is a fantastic way to brighten up your complexion and draw attention to your eyes. Because the highlights create a high-contrast frame, they effectively “outline” your face, which can make it appear more defined. If you want to take it a step further, ask for a “curtain bang” cut in addition to the highlights—the combination of the shorter, lighter pieces framing the face is incredibly flattering for a round face shape.
21. Natural Curls with Volume
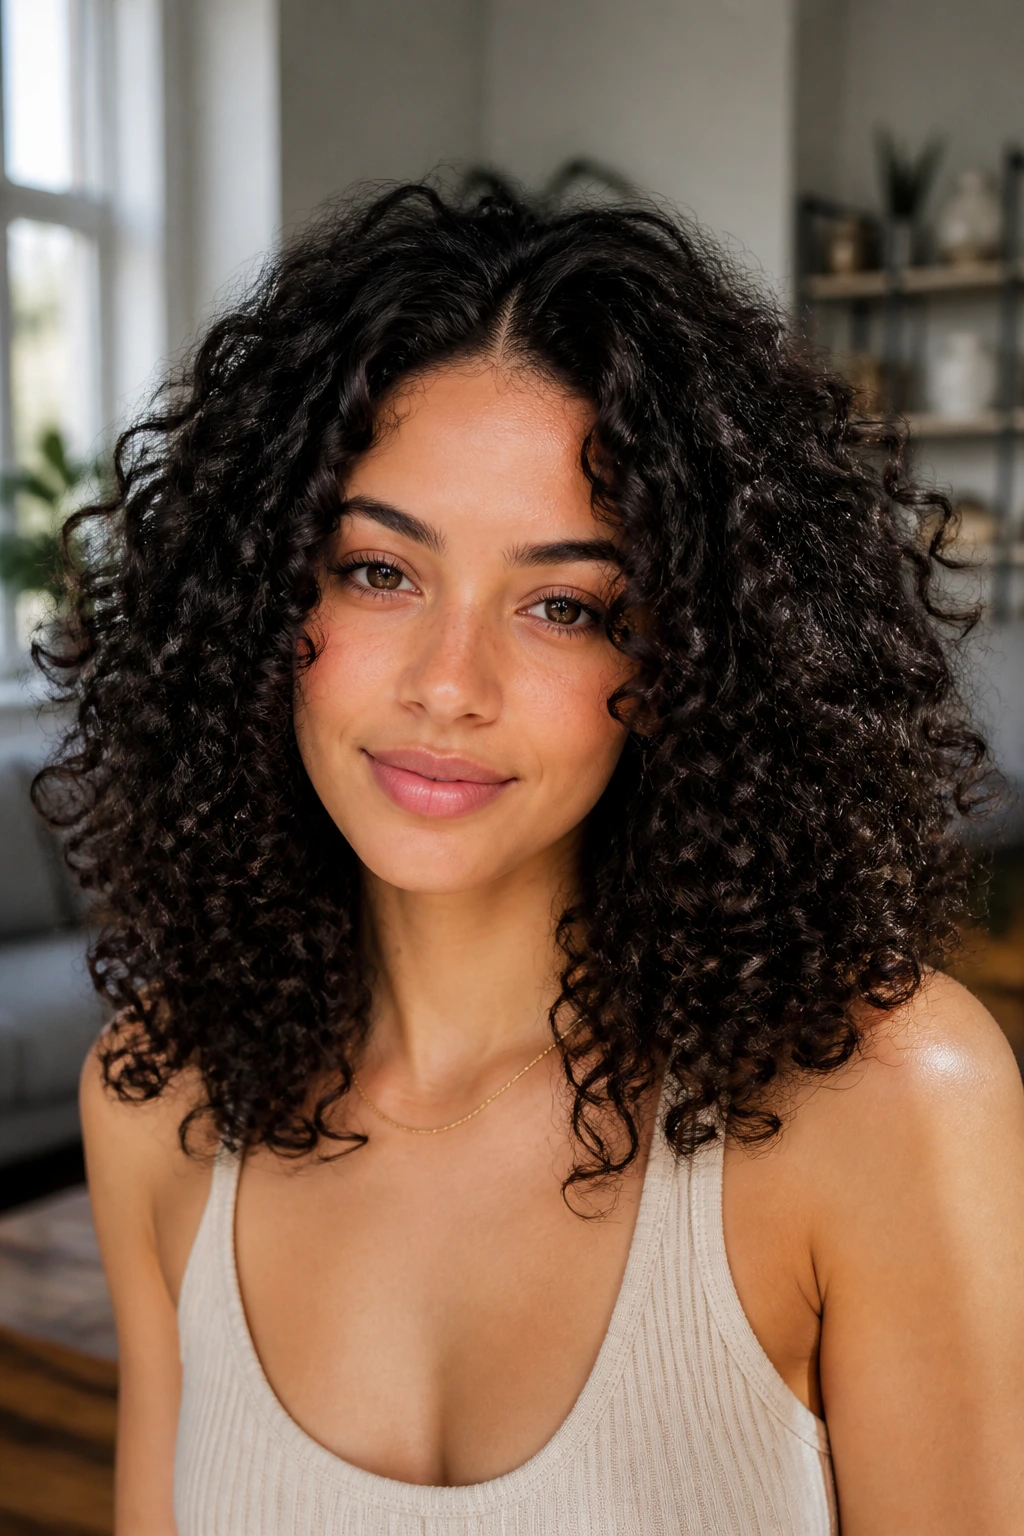
If you have natural curls, embrace them. A middle part on curly hair can be heavy, so the key is to focus on volume at the roots. If you let the curls hang flat, they might widen the face. Instead, use a pick or a diffuser to lift the hair at the roots.
Curly hair already has built-in texture, which is great. You just need to ensure the weight is distributed correctly. If you have “triangle hair”—flat on top and wide at the bottom—try using a layered cut to reduce the weight at the ends. This allows the curls to sit higher and lighter, which elongates the face. A middle part in a curly style is powerful and dramatic; don’t fight the natural shape of your hair, just shape it.
22. The “Claw Clip” Style
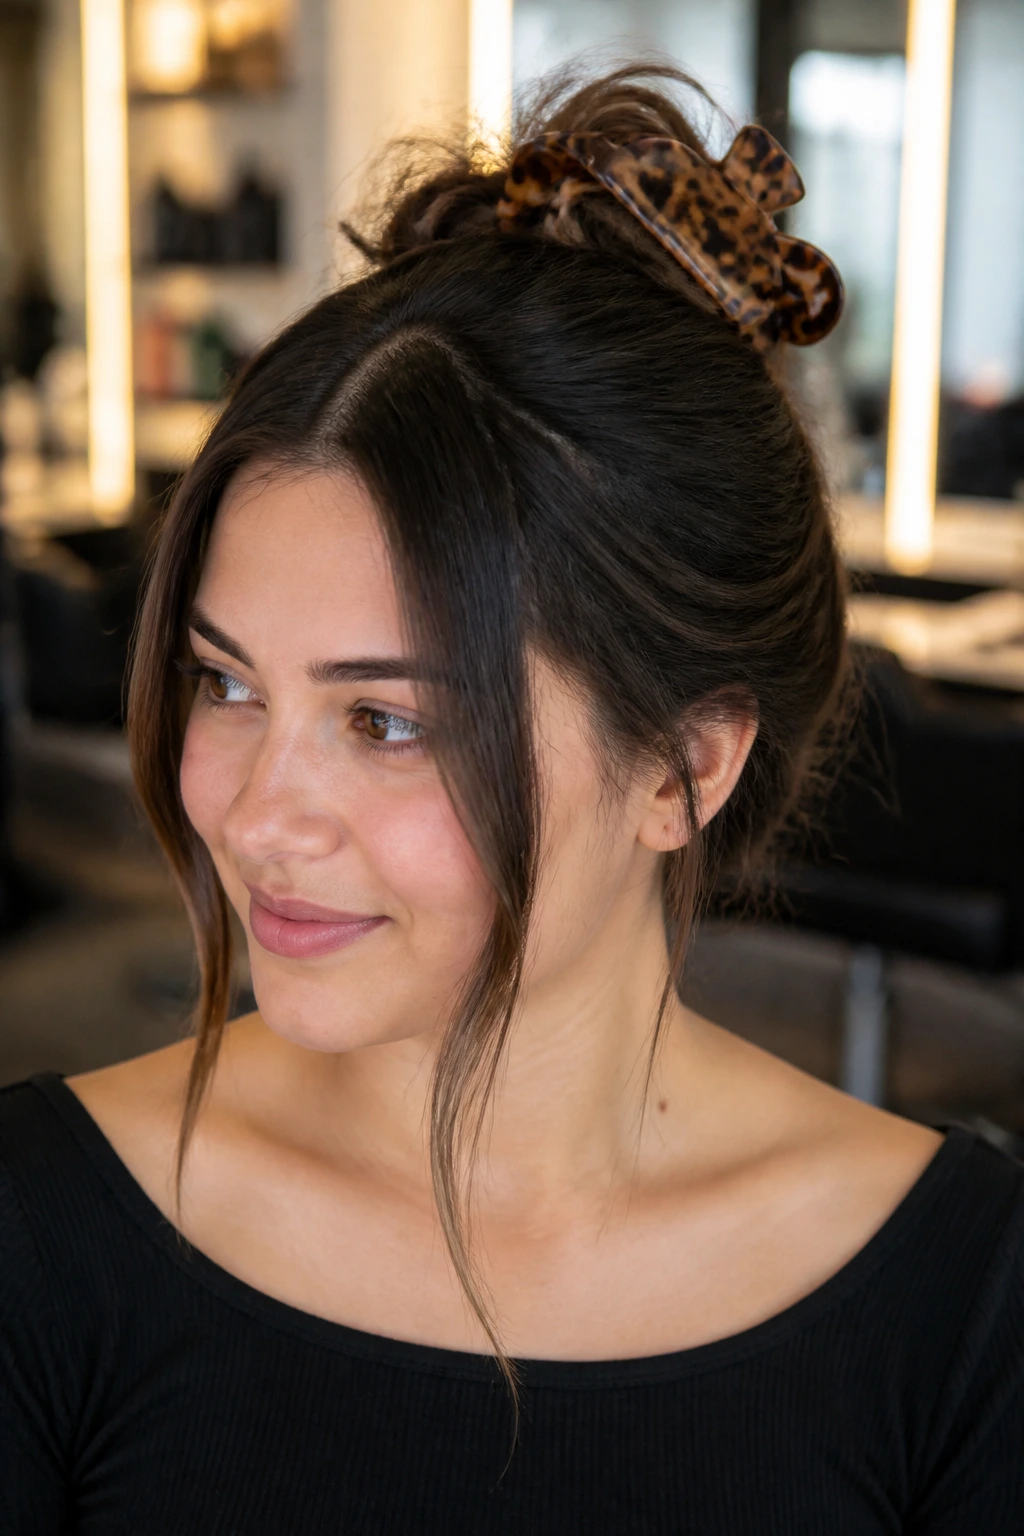
The claw clip is the ultimate tool for a quick, effortless updo that adds height. By twisting your hair up and securing it with a claw clip, you are instantly moving the volume of your hair from the sides to the top of your head.
To do this with a middle part, you can either pull all your hair up or leave two face-framing pieces out. If you leave pieces out, they act as the “frame” for your face, softening the look. The bulk of the hair is now secured at the back of your crown, which creates a vertical silhouette. This is one of the easiest ways to get that face-lengthening lift without spending time with a blow dryer.
23. Wispy Layers
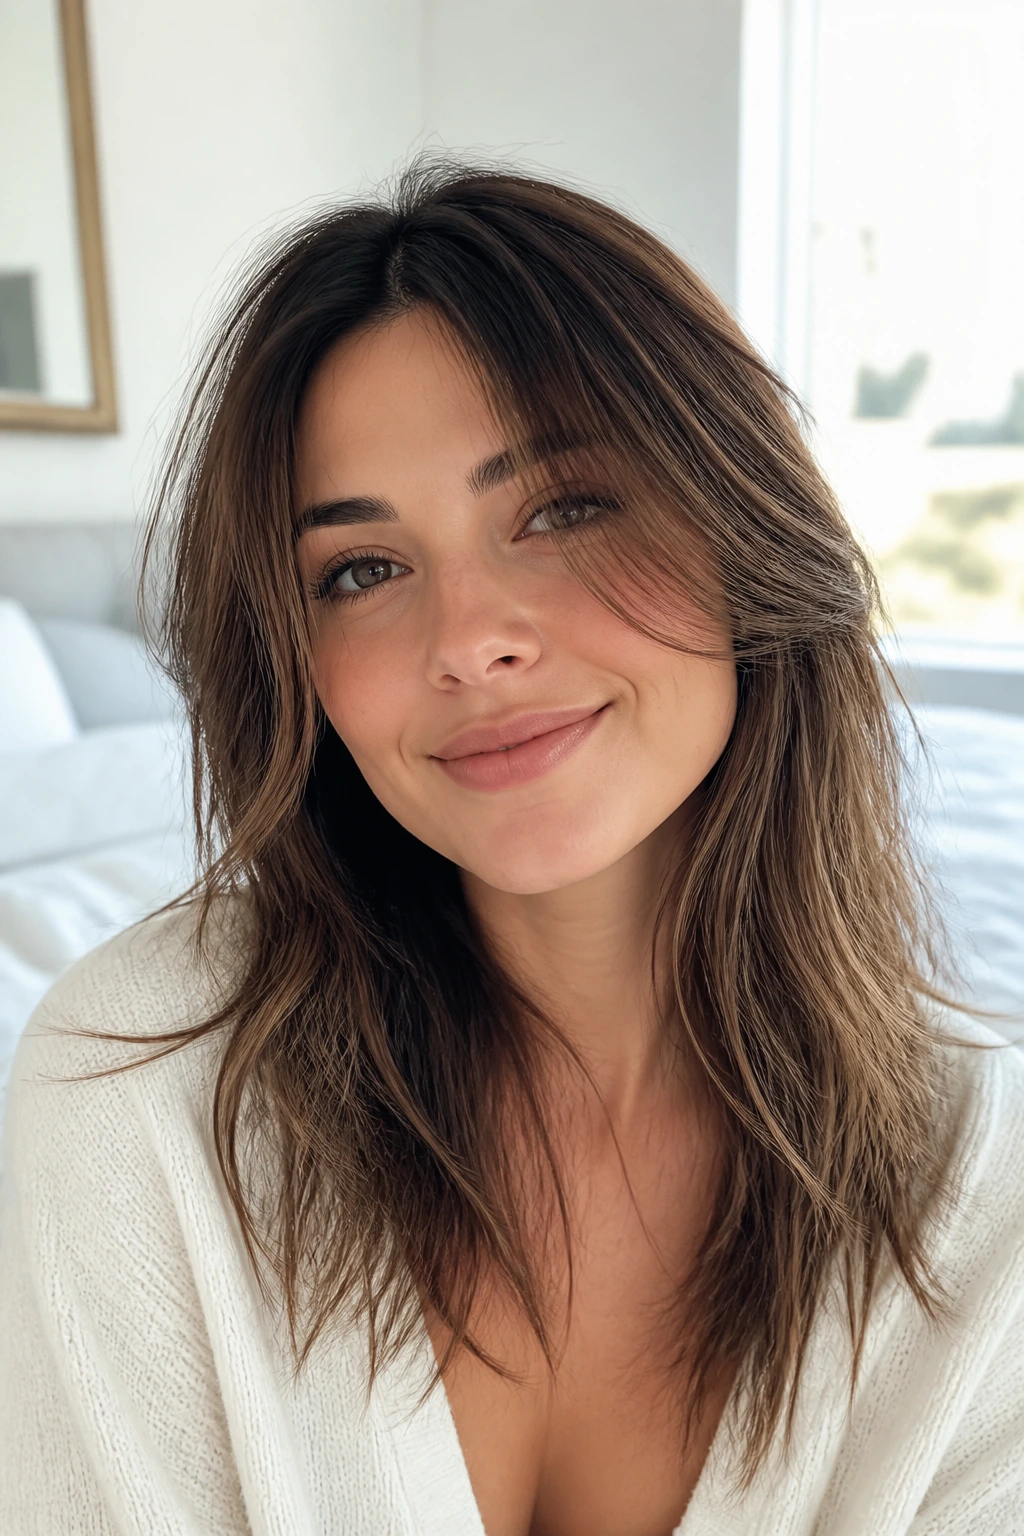
Wispy layers are different from standard face-framing layers because they are much finer and more delicate. They are almost like “hairs” rather than “sections.” They create a soft, ethereal vibe around the face.
Because they are so fine, they don’t add bulk. They just add a bit of movement. They are perfect for a round face because they don’t create a “hard” line against the cheeks. They kind of just float there. This is a very youthful, fresh look that is easy to style—you can just air-dry and go. It’s also very versatile; if you decide you don’t want them, they grow out quickly and blend back into your hair without much trouble.
24. Tucked Behind the Ears
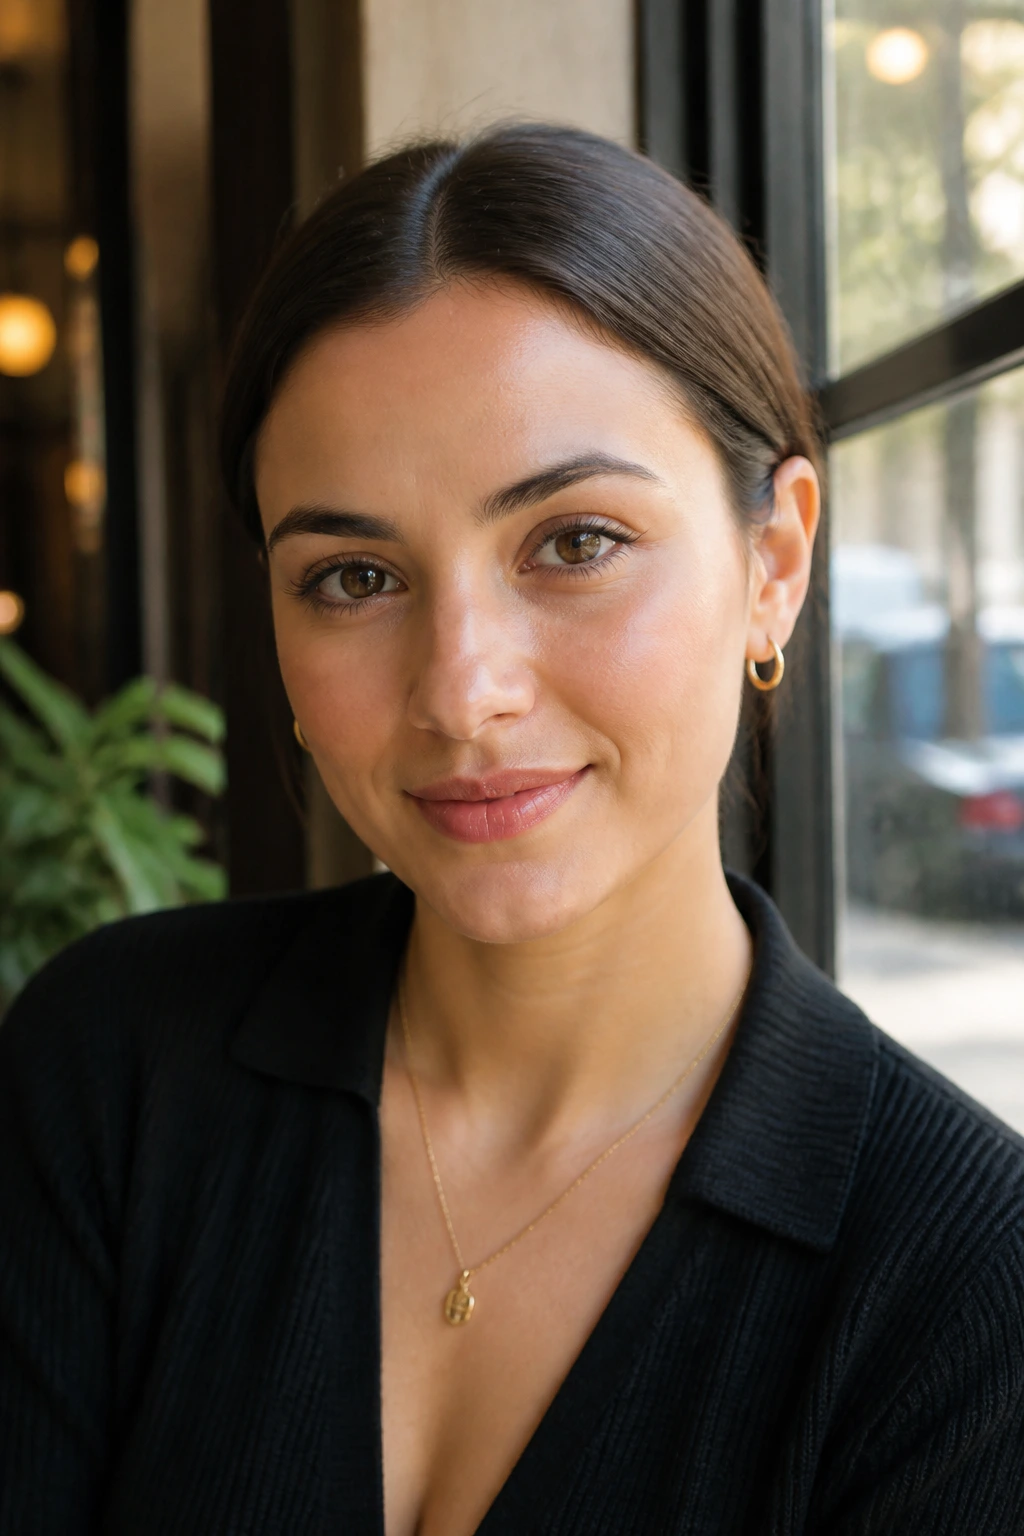
Sometimes the simplest solution is the best one. Tucking your hair behind your ears is a subtle styling trick that does a lot for a round face. It opens up the face and exposes the jawline.
If you are wearing your hair down with a middle part, simply tucking both sides behind your ears instantly changes the silhouette. It removes the hair from the sides of your face, which makes your head look slightly narrower from the front. It’s a very clean, minimalist look. You can leave a few wispy pieces near the temple to soften it, or pull it all back for a sharper look. It’s a great way to showcase earrings, too.
25. Soft Perm or Wavy Texture
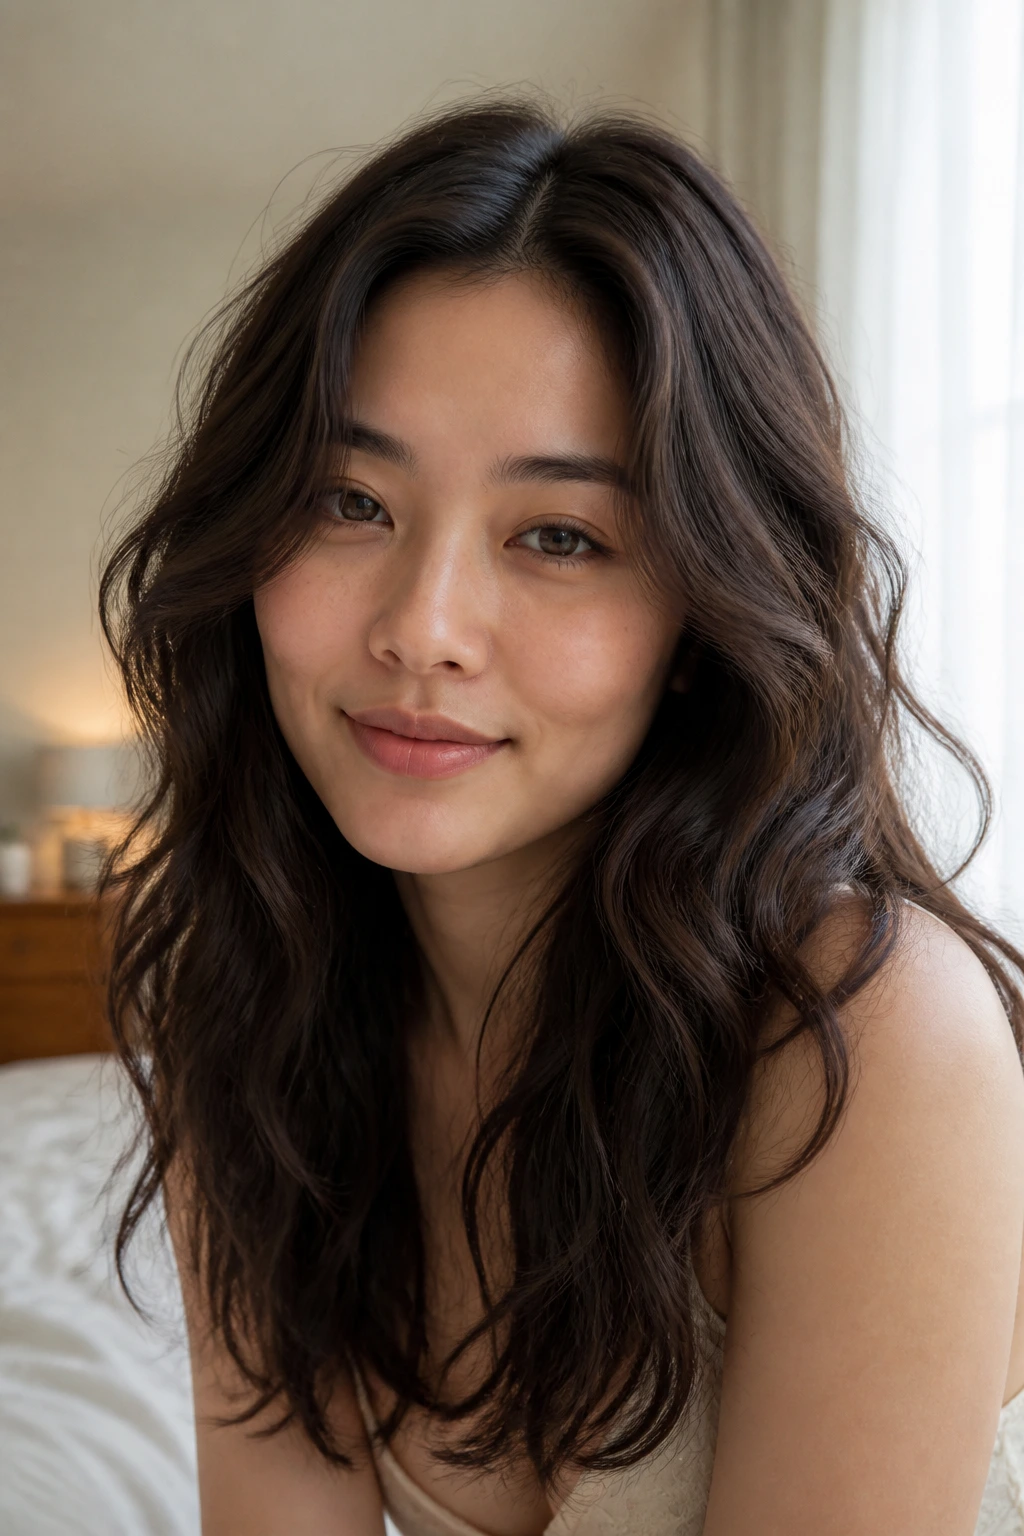
If you have stick-straight hair and struggle to get any body into it, a soft wave perm (or just using a styling wand to create a loose, permanent-looking wave) is a great way to add that necessary texture.
The key is “soft.” You don’t want tight, ringlet curls. You want a beachy, lived-in wave. The texture adds width to the hair, but if you keep it focused on the mid-lengths, it creates a balanced shape. The added body helps prevent the hair from clinging to the cheeks, which is often the biggest issue for rounder faces. It makes the hair look thicker and healthier, too.
26. The “Slicked” Side-tuck
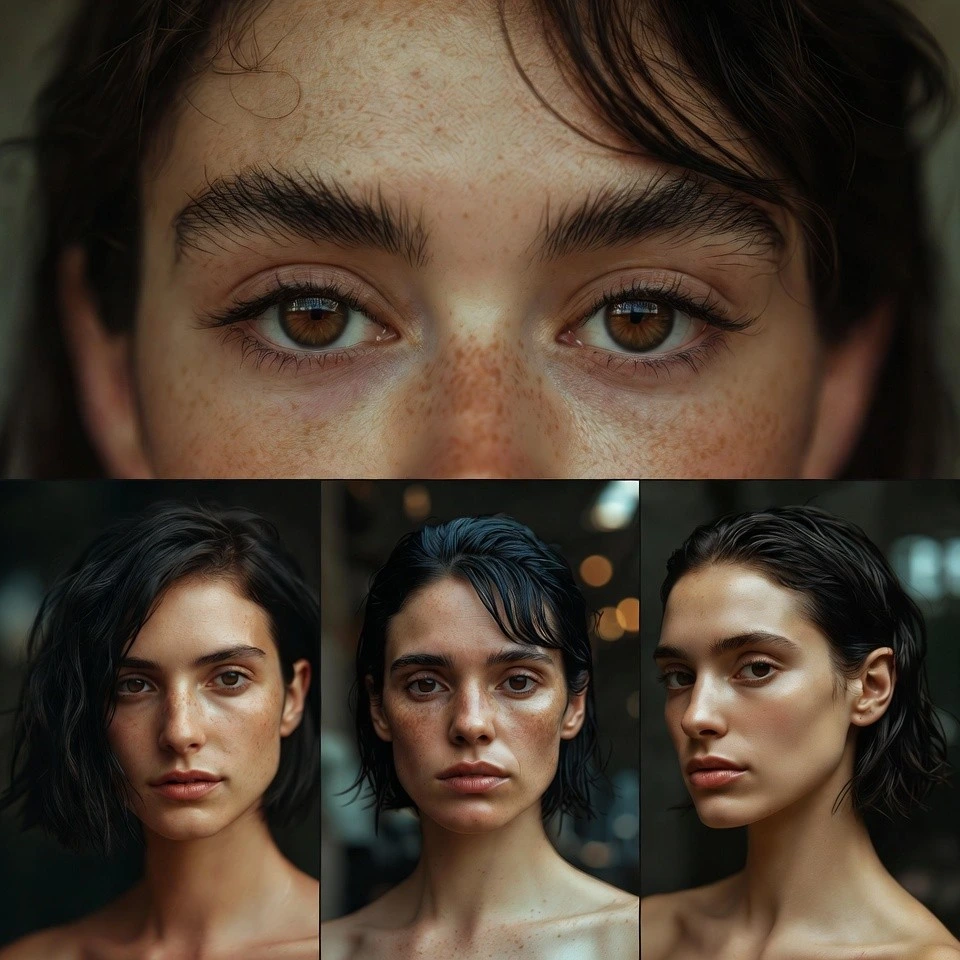
This is a variation of the tuck-behind-the-ears, but more intentional. Take one side of your hair—just the front section—and slick it back behind your ear with a little bit of gel or pomade. Leave the other side loose and flowing over your shoulder.
This asymmetry is the secret weapon for round faces. By creating an asymmetrical frame, you distract from the perfect symmetry of a round face. It breaks up the lines and creates an interesting focal point. It’s very chic, looks like you’ve put a lot of thought into your styling, but only takes about 30 seconds to do.
27. Deep Conditioning/Volume Focus
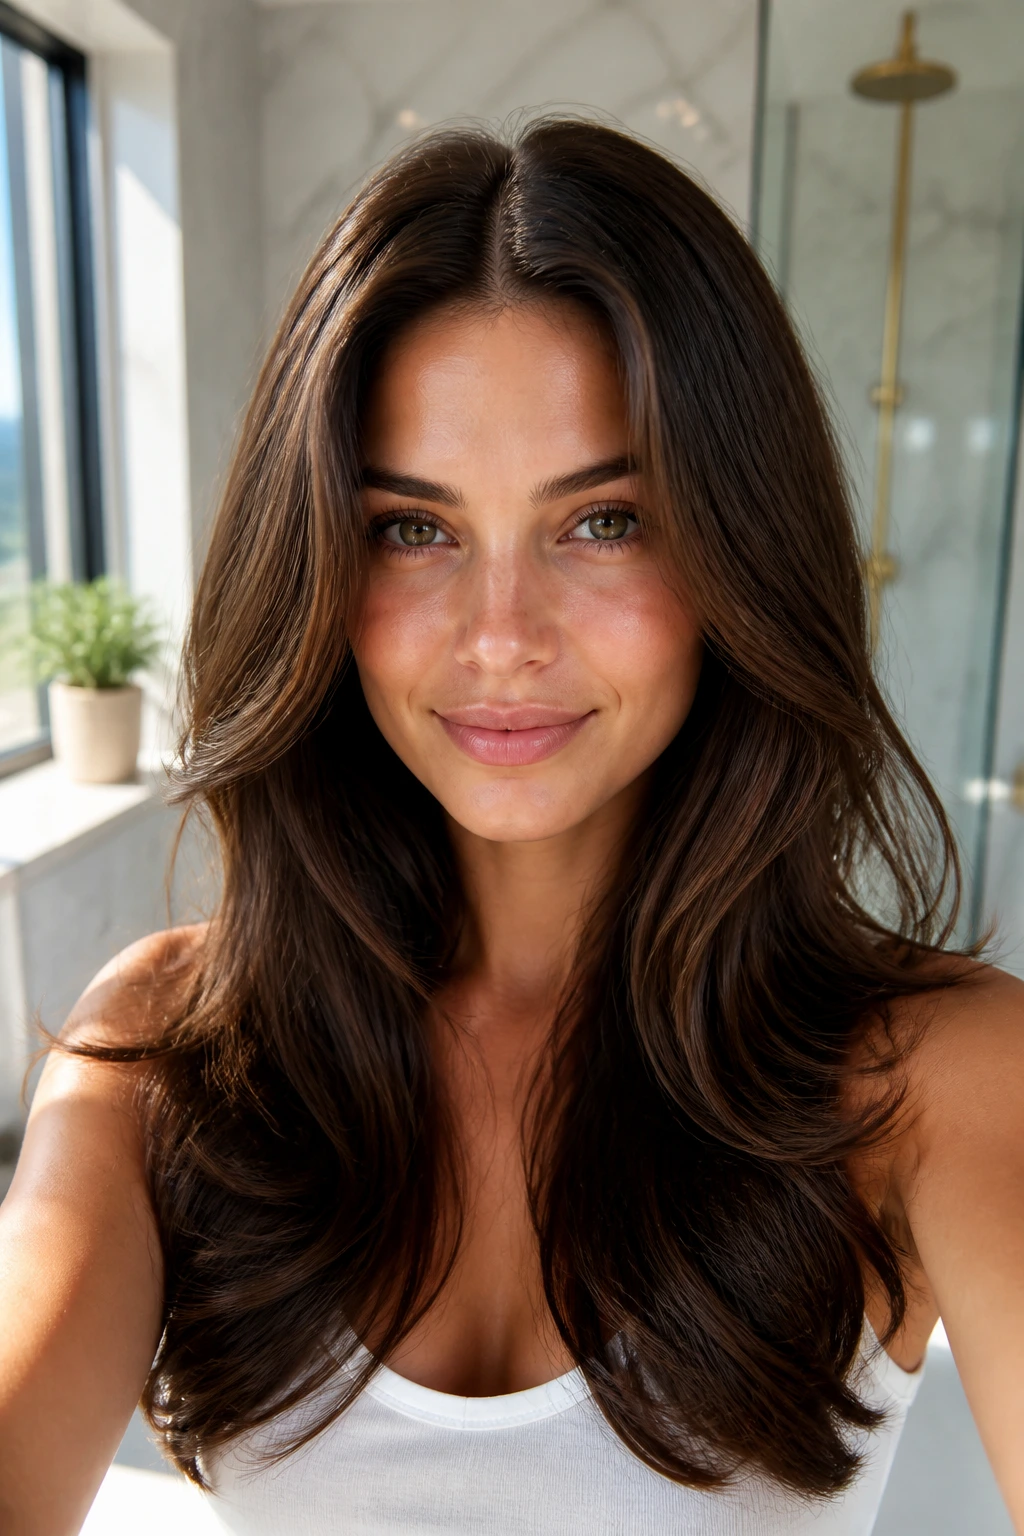
This isn’t a “style” per se, but it is a fundamental part of the process. If your hair is damaged, dry, or weighed down by product, it will lie flat against your head. For a middle part, this is disastrous, as it will highlight the roundness of the face without any “lift.”
Focus on your hair health. Use a deep conditioning mask once a week. Use a clarifying shampoo to remove buildup that might be weighing your roots down. A healthy, bouncy head of hair will naturally hold more volume, which is exactly what you need for a middle part to work in your favor. Think of this as the foundation upon which all these other styles are built.
28. Accessorized Middle Part
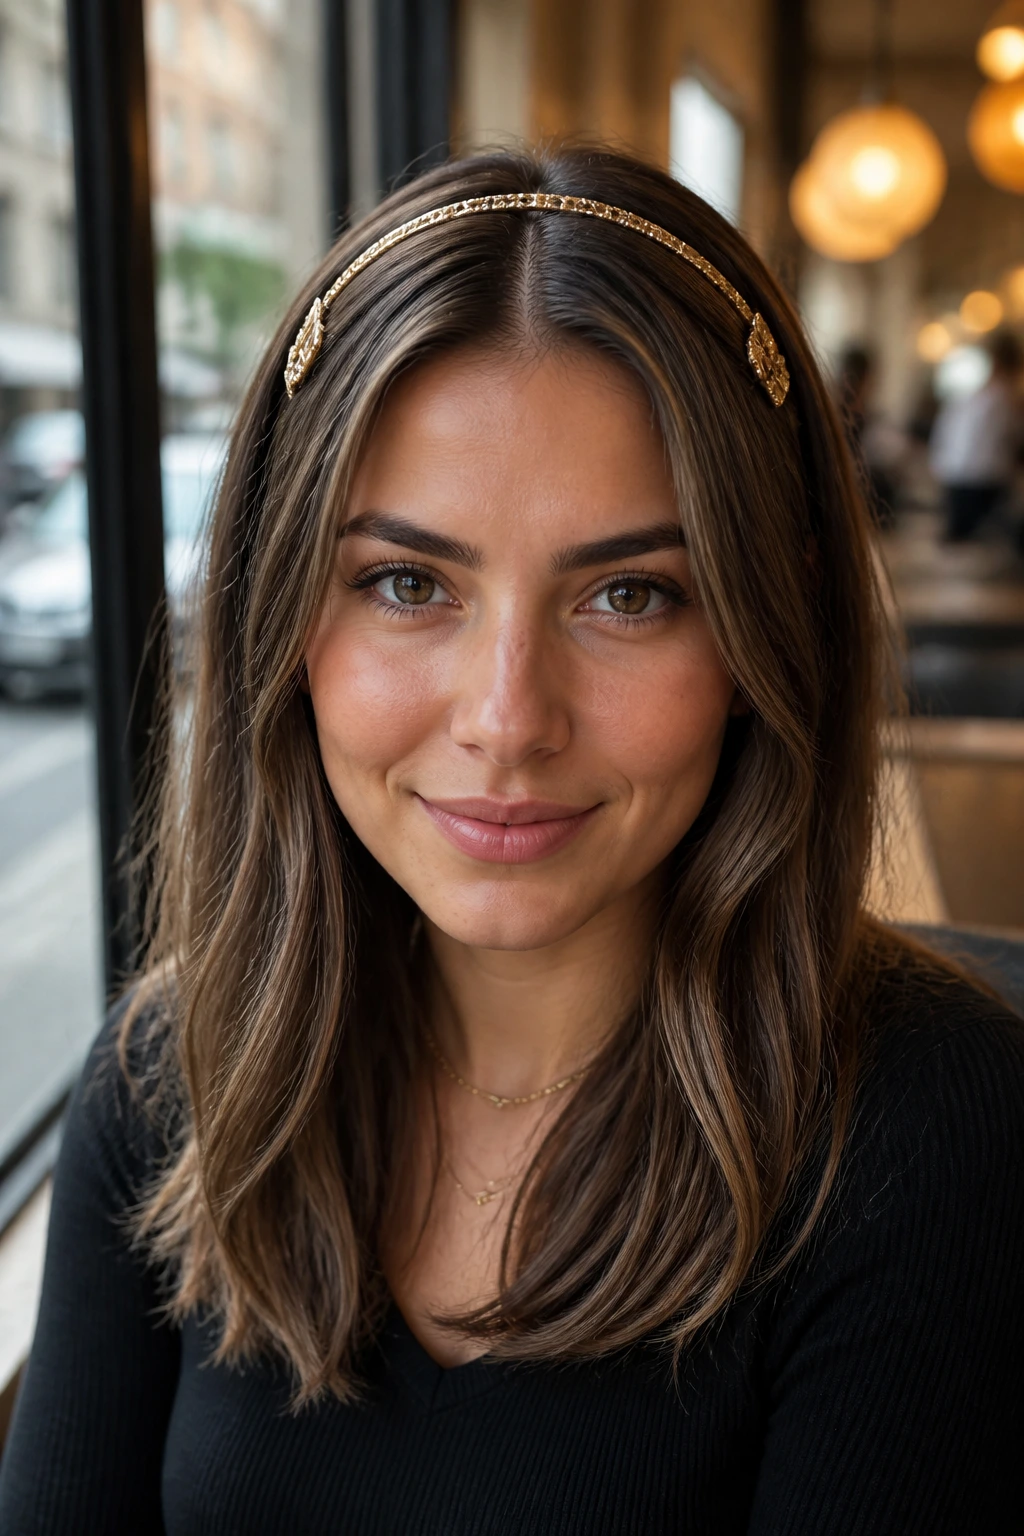
Finally, don’t underestimate the power of accessories. A simple headband or a set of clips can transform a middle part. A thin, gold metal headband creates a clean, structured frame. A scarf tied around the hair, with the tails falling forward, adds vertical length.
Accessories allow you to manipulate the shape of your hair without changing the cut. If you want to add height, a headband can help push the hair up at the crown. If you want to add vertical lines, use two hair clips on either side of the part. Accessories are a playground; use them to your advantage to experiment with new shapes and silhouettes.
Final Thoughts
When you look at these twenty-eight options, you might feel overwhelmed, but the core lesson is surprisingly simple: the middle part is a blank canvas. It is clean, symmetrical, and classic. The “problem” isn’t the part; the “problem” is often just a lack of volume or shape elsewhere in the style.
If you have a round face, stop trying to hide it. Instead, focus on creating lift at the roots, adding soft texture around the jawline, and keeping your hair healthy and vibrant. Whether you choose a sleek, glass-hair look or a messy, beach-wave style, the confidence you bring to the haircut will always be the most important accessory. Pick a style that makes you feel like the best version of yourself, and don’t worry about the old rules—sometimes the most striking look is the one that follows your own intuition.
