



School mornings have a way of shrinking time.
Hair gets the memo late.
The smartest hairstyles for school do three jobs at once: they stay put, they don’t fight the dress code, and they survive backpack straps, PE, and a lunch break spent yanking a hoodie on and off. A style that looks neat at 7:30 and falls apart by 9:15 is not helping anybody.
Texture matters more than people admit. Fine hair needs grip, thick hair needs stronger pins, curly hair needs styles that respect the shape it already has instead of flattening it into something else. If you have ever redone the same braid twice before first period, you already know the problem.
The good news is that school hair does not have to be boring. A low ponytail can look polished. Two braids can look sharp. A claw clip can save a day that started badly. Start with the styles that fit your length and texture, then borrow the others for tests, presentations, sports days, and every morning when you hit snooze one time too many.
1. The Low Ponytail That Stays Put
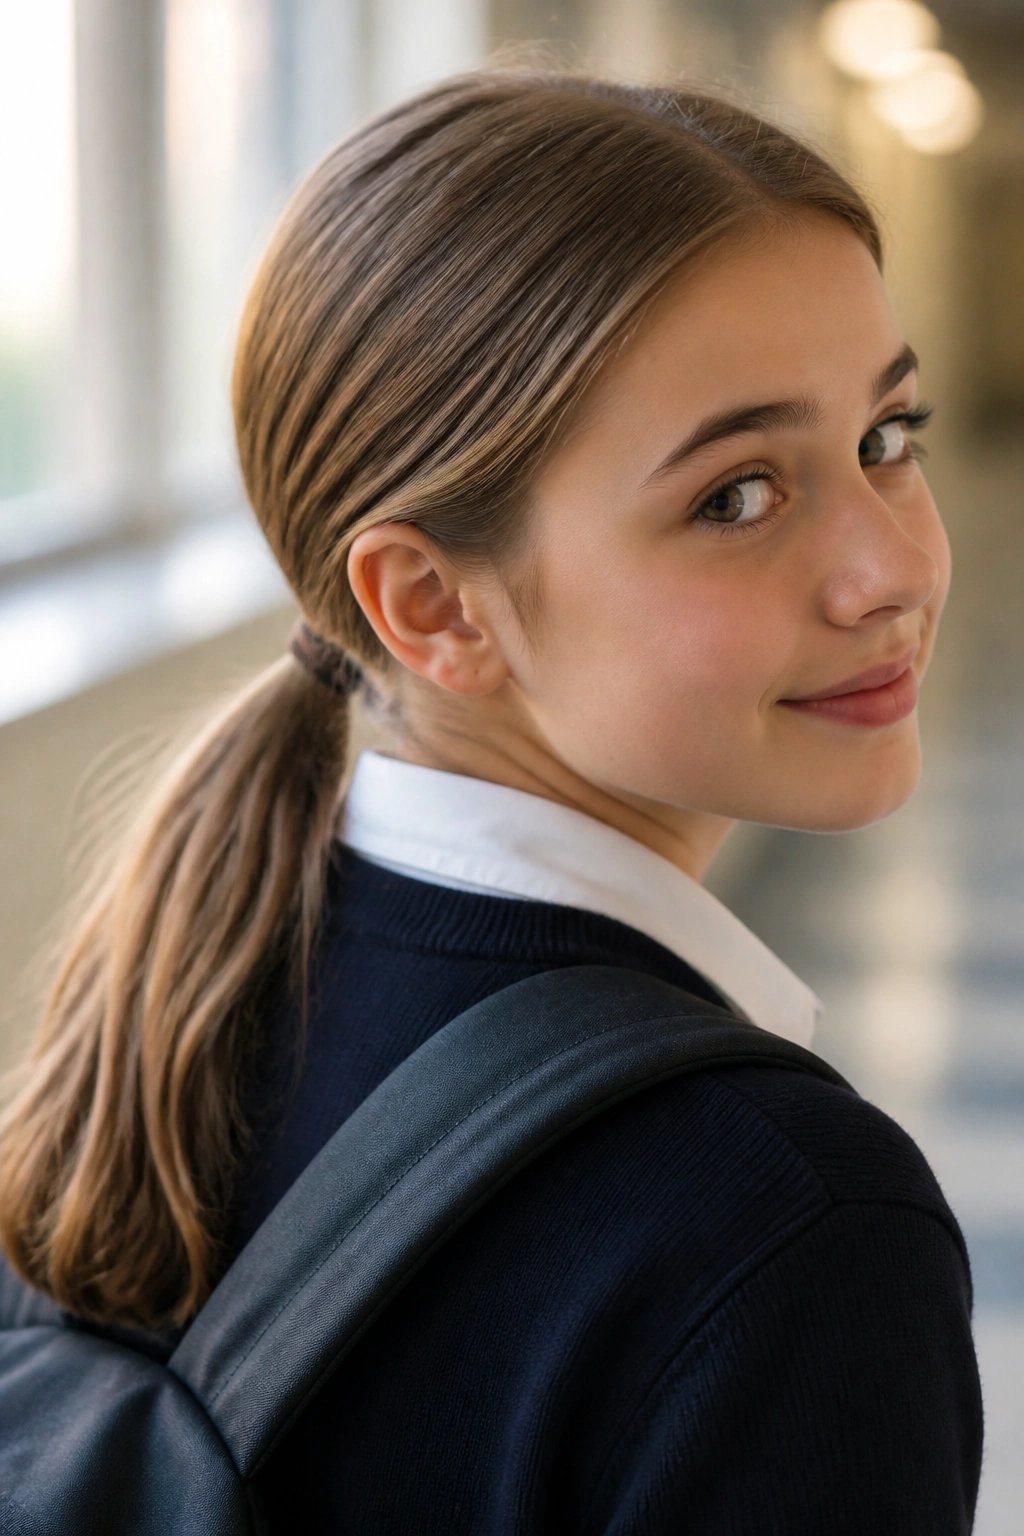
A low ponytail is the hair equivalent of a clean desk. Nothing flashy. Still, it gets the job done.
Place it about 1 inch above the nape, not so low that it disappears into your collar, and not so high that it starts feeling like a high ponytail in disguise. A small wrapped strand around the elastic makes it look more finished with almost no extra effort. That tiny detail matters more than people think.
Why It Works at School
The low ponytail sits where backpacks, hoodies, and chair backs are least likely to pull on it. It also works on straight, wavy, or curly hair without asking the hair to do something dramatic first. If your mornings are rushed, this is the style that gives you the most return for the least effort.
- Use one brush, one elastic, and one bobby pin.
- Keep the ponytail centered or slightly off-center if your hair parts naturally to one side.
- If your hair is fine, mist the crown lightly with water before smoothing it down.
- If your hair is thick, use a snag-free elastic so the base does not feel tight by midday.
My favorite part: it still looks intentional even when the rest of the day gets messy.
2. The French Braid That Keeps Hair Tidy
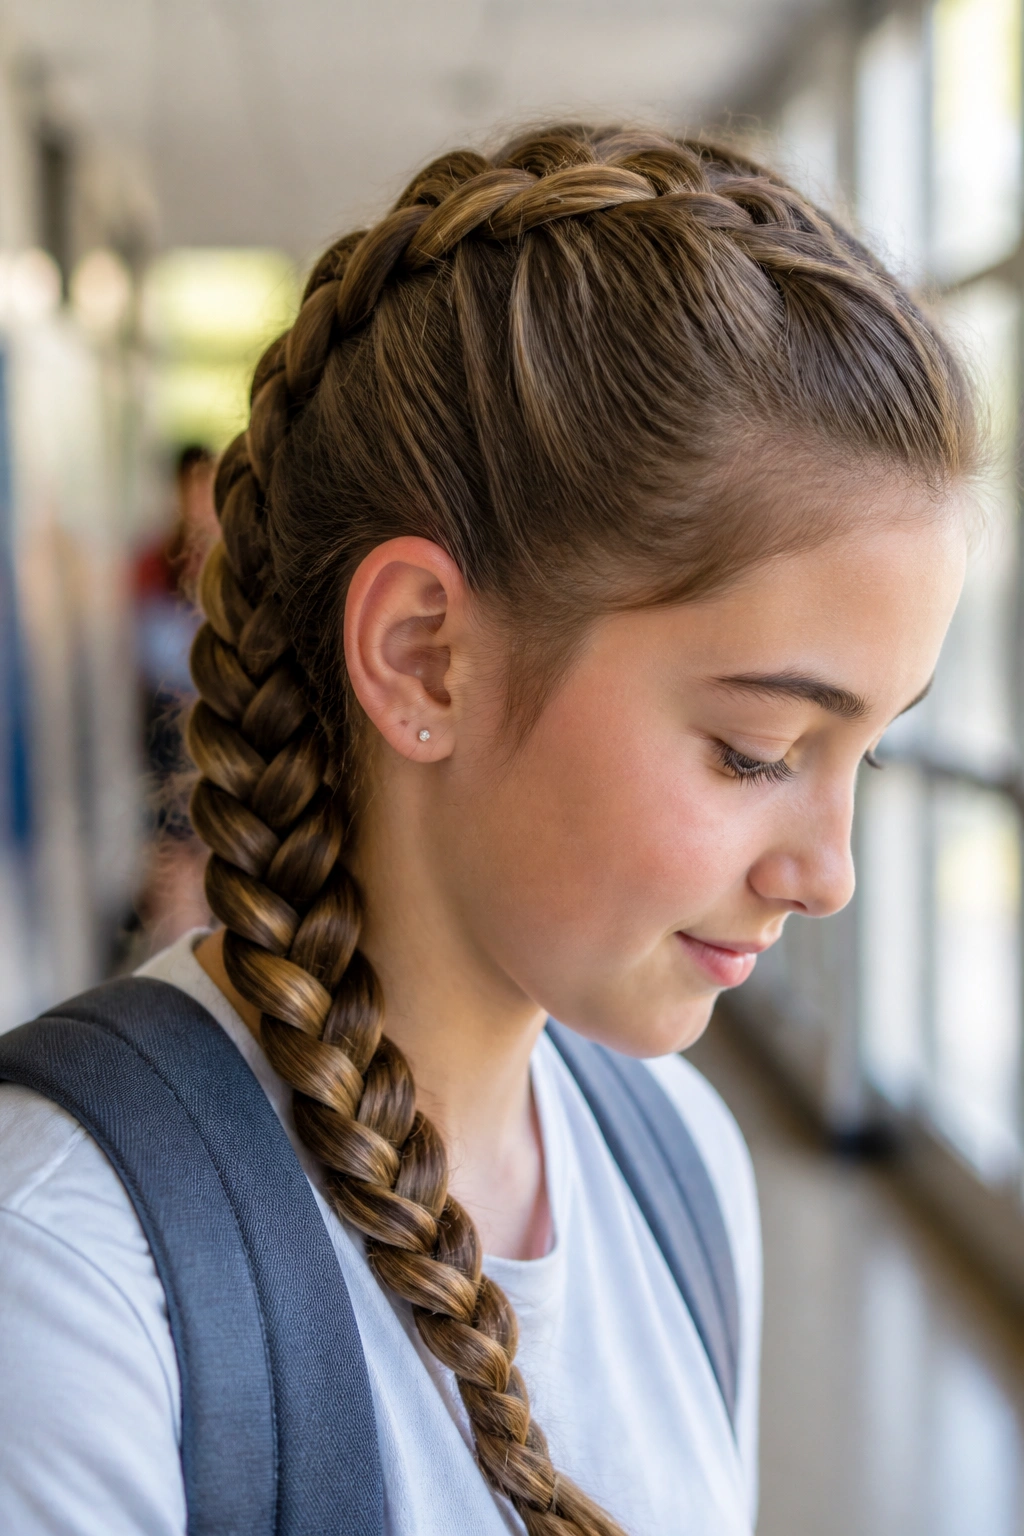
A French braid does more than look neat. It keeps loose lengths folded in as the braid travels down the head, which is why it hangs on better than a simple plait when the day gets busy.
Start high at the crown and keep the first sections small, about half an inch wide. That gives the braid a cleaner line near the hairline, especially if you have layers or short pieces near the face. Once you get a few crosses in, the braid does most of the work for you.
This is a strong choice on mornings when you need hair out of the way for hours. It handles windy walks, crowded hallways, and sports practice after class without asking for much attention later. If your hair slips easily, braid a little tighter at the top and looser through the length so the scalp does not feel pulled.
One sentence, really: French braids are boring in the best way.
3. The Dutch Braid With Extra Shape
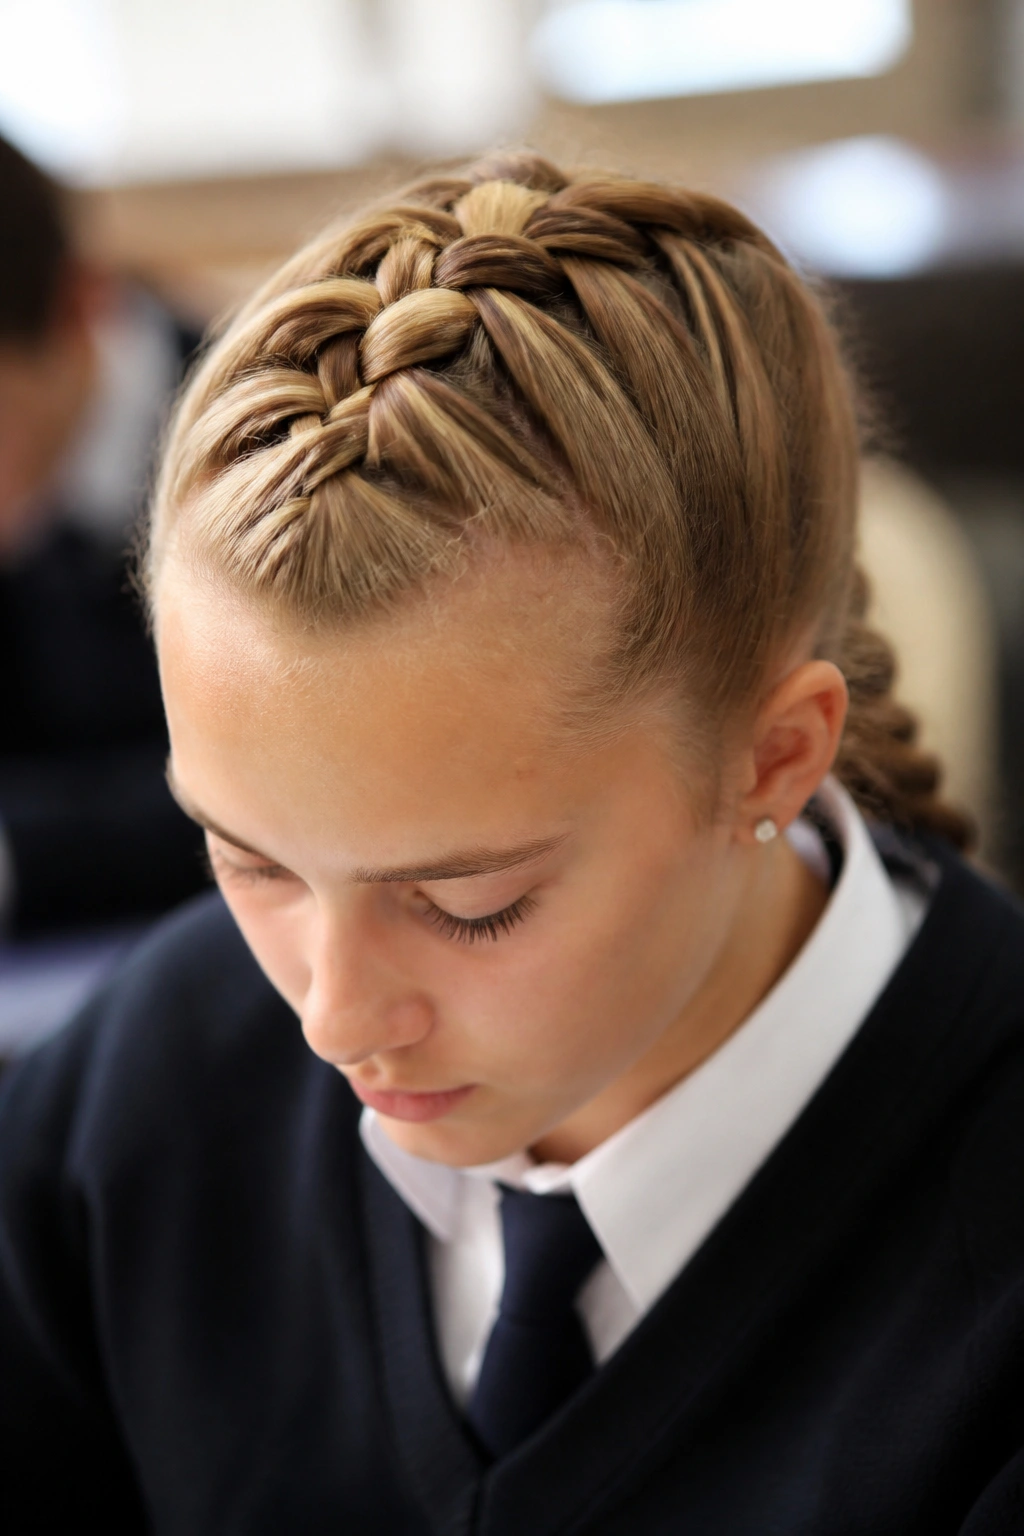
Why does a Dutch braid look fuller than a French braid? Because the sections cross under instead of over, so the braid sits on top of the hair rather than melting into it.
That raised look gives the braid a little more shape, which is useful if your hair is one tone and you want the pattern to show. It also reads well on thicker hair because the braid has a clear edge instead of blending into the back of the head. If you like styles that look a touch more structured, this one hits that note without needing heat.
The Raised-Braid Difference
The main thing is tension. Keep the first three or four crosses snug enough to hold, but not so tight that your scalp feels tugged near the temples. After that, keep your hands steady and let the braid run down the center line of the head or slightly to one side.
How to Get the Best Shape
A light pull on the outer loops after you finish can make the braid look wider. Don’t yank. Just ease the edges out a little, starting at the bottom and working upward. If you overshoot, the braid starts looking frayed instead of full, and nobody needs that before school.
4. The Bubble Ponytail That Takes Five Minutes
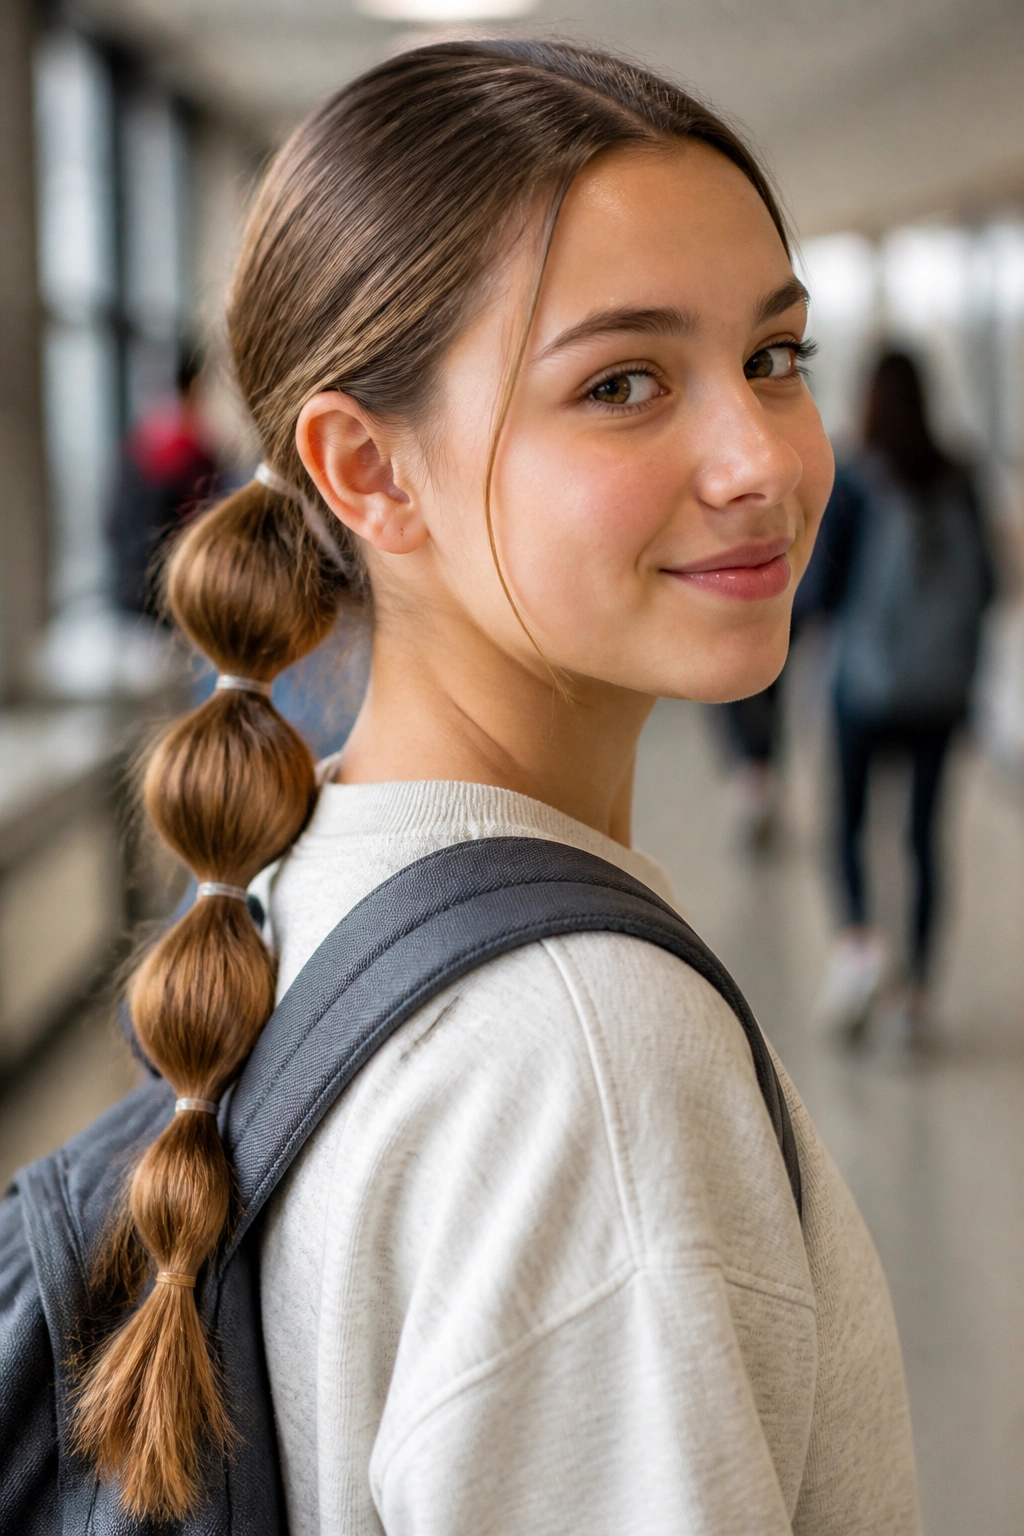
If your hair refuses to stay braided, a bubble ponytail is a decent workaround. It looks styled, but it relies on simple elastics instead of fancy hand moves.
Pull the hair into a low or mid-height ponytail, then add clear elastics every 1.5 to 2 inches down the length. After each elastic, gently tug the section between them outward so it forms a rounded “bubble.” The bubbles do not need to be identical. They just need to be close enough to look deliberate.
- Space the elastics evenly.
- Keep each bubble about the same width.
- Use a small ribbon or scrunchie at the base if your school allows it.
- For fine hair, tease each bubble very lightly with your fingers.
It is one of those styles that looks more complicated than it is, which can be useful on days when people keep asking how you did your hair and you do not feel like explaining that it took less time than finding matching socks.
5. The Half-Up Style That Keeps Hair Out of Your Face
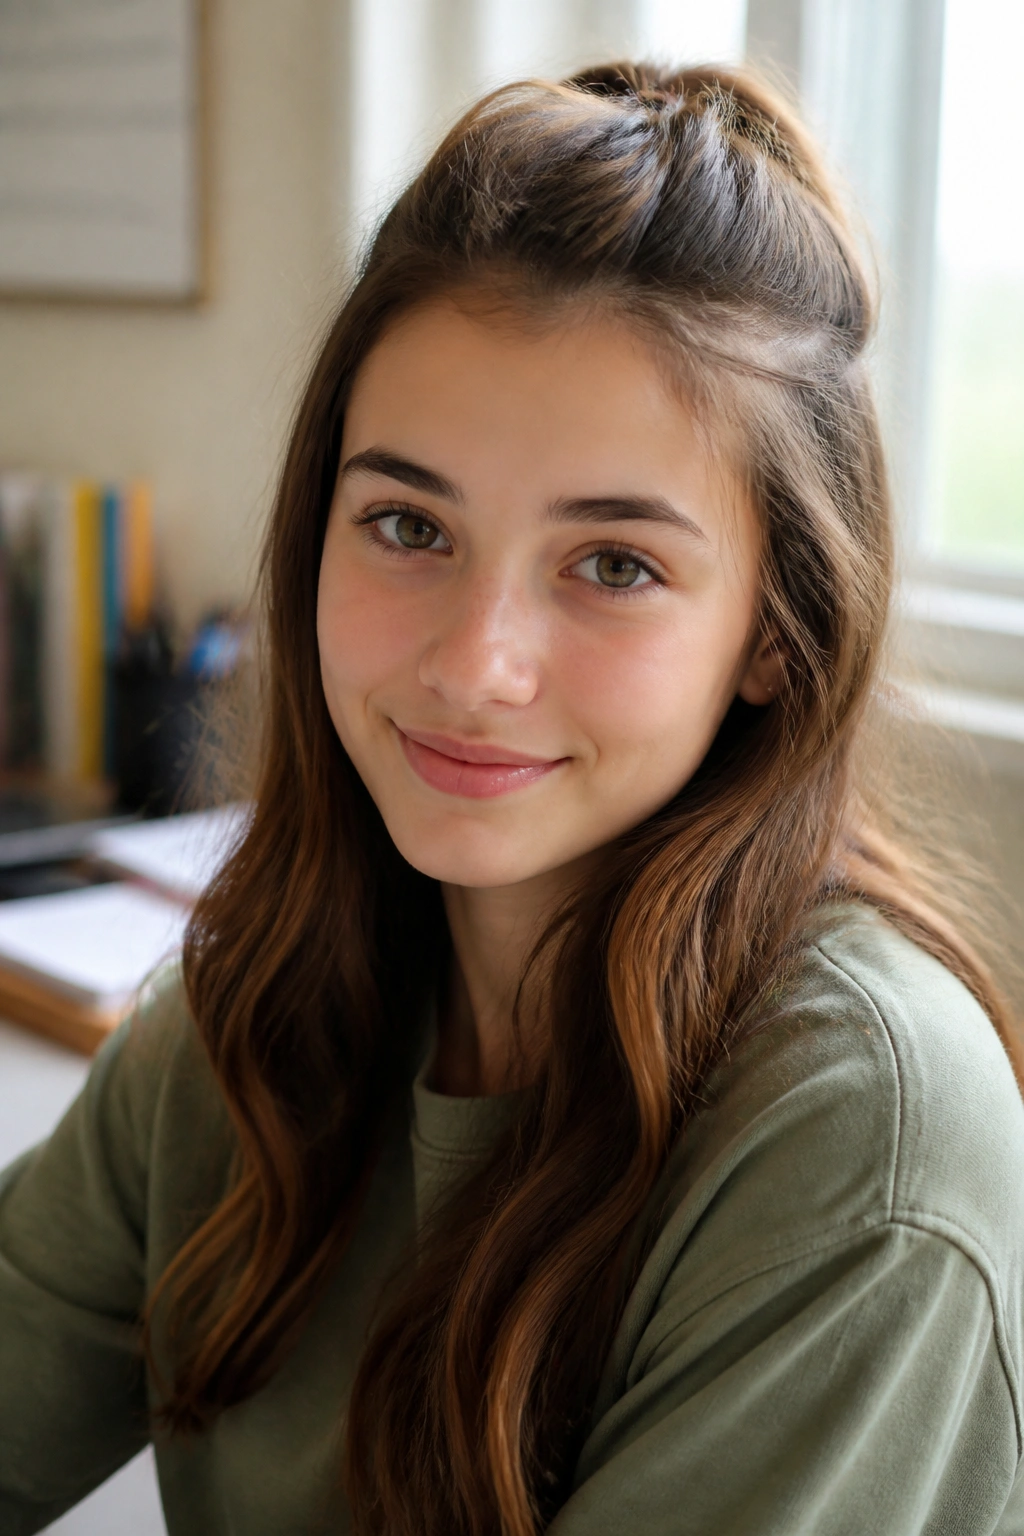
Half-up hair works because it solves two problems at once. The front stays out of your eyes, and the back still moves naturally, which is nice if you hate the stiff feel of a full updo.
The sweet spot is usually the top third of the hair, taken from temple to temple. Pull it back with a small elastic, a barrette, or a simple clip. If your hair is layered, a half-up style also keeps shorter pieces from falling across your cheeks every time you turn your head.
I like this one for long school days because it never looks as if you tried too hard. It can be neat with straight hair, soft with waves, or a little lifted if you add a tiny bit of volume at the crown. On days when the ends are doing their own thing, this style lets them do it without taking over the whole head.
A small clip at the back is enough. No drama needed.
6. The Claw-Clip Bun for Fast Mornings
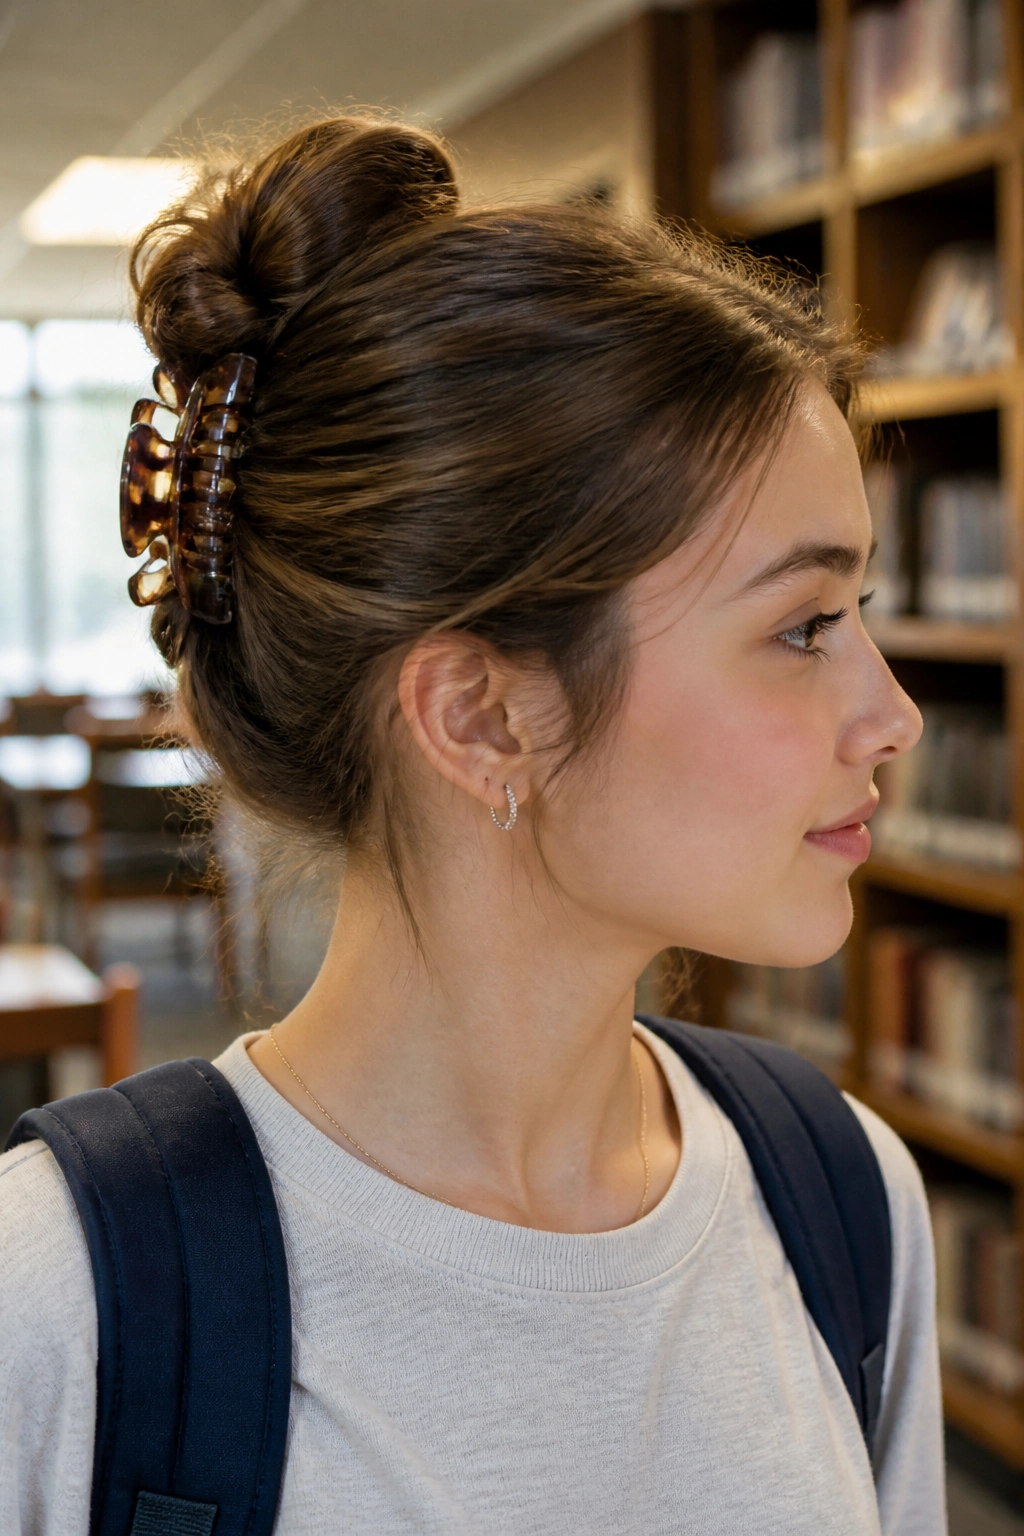
A claw-clip bun is not trying to be a sleek ballerina bun, and that is exactly why students reach for it.
Unlike a tight bun that depends on several pins, the claw-clip version folds the hair once, twice, and lets the clip do the holding. That makes it a solid choice for medium to long hair, especially when the ends are dry and the roots are flat. It is also kinder on days when your scalp has had enough of elastic tension.
If your hair is thick, pick a clip with strong teeth and a wider jaw. A tiny clip can look cute for half an hour and then start slipping before lunch. For shoulder-length hair, a medium clip usually works better than a huge one, because the bun sits closer to the head and feels less top-heavy.
This is the style I’d call a rescue move. Not fancy. Very useful.
7. The Sleek Low Bun for Neat Days
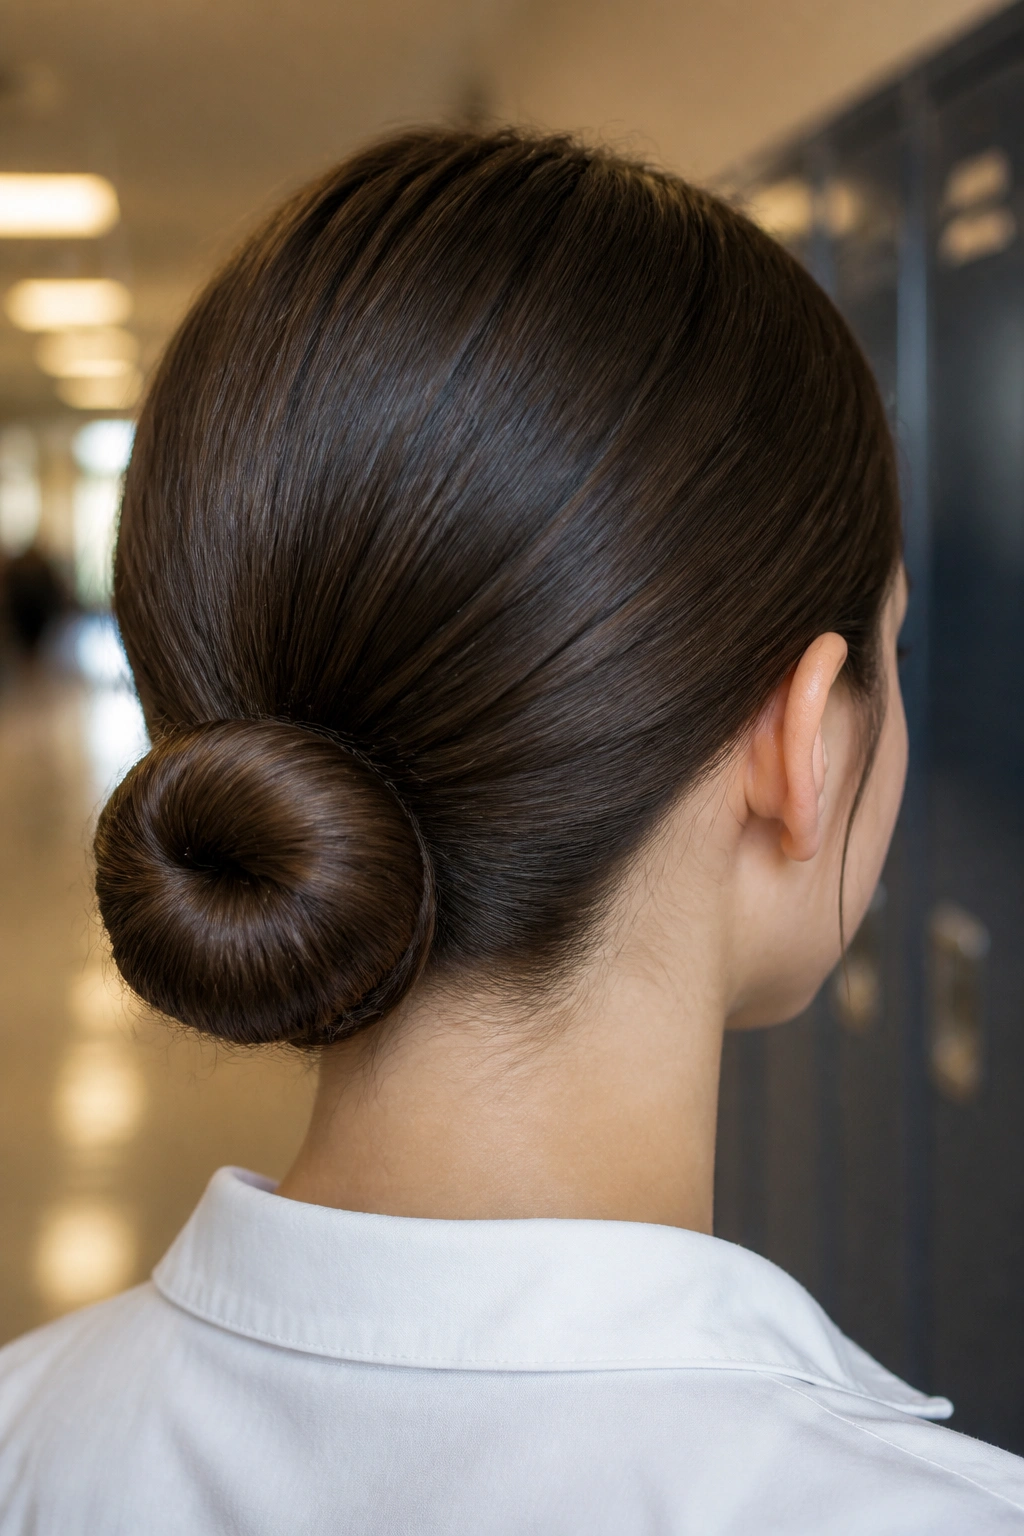
There is one style that makes even a plain school outfit look sharper: a smooth low bun at the nape.
It works well on days when you want your hair to behave in a straight line and stay there. A paddle brush, a small elastic, and a few bobby pins are enough. If the hairline gets fuzzy, smooth it with a pea-size amount of cream or a little water on the brush instead of loading the whole head with product.
- Brush the hair back in one direction.
- Secure a low ponytail at the nape.
- Twist the length into a coil and pin it flat.
- Cross two bobby pins over each other if the bun feels loose.
The best part is the clean outline. It sits neatly against the neck, which matters when you are wearing a collared shirt, a hoodie, or anything that rubs around the shoulders. It is a little more grown-up than a ponytail, but still fast enough for a weekday.
8. The Twin Braids That Handle Busy Walks
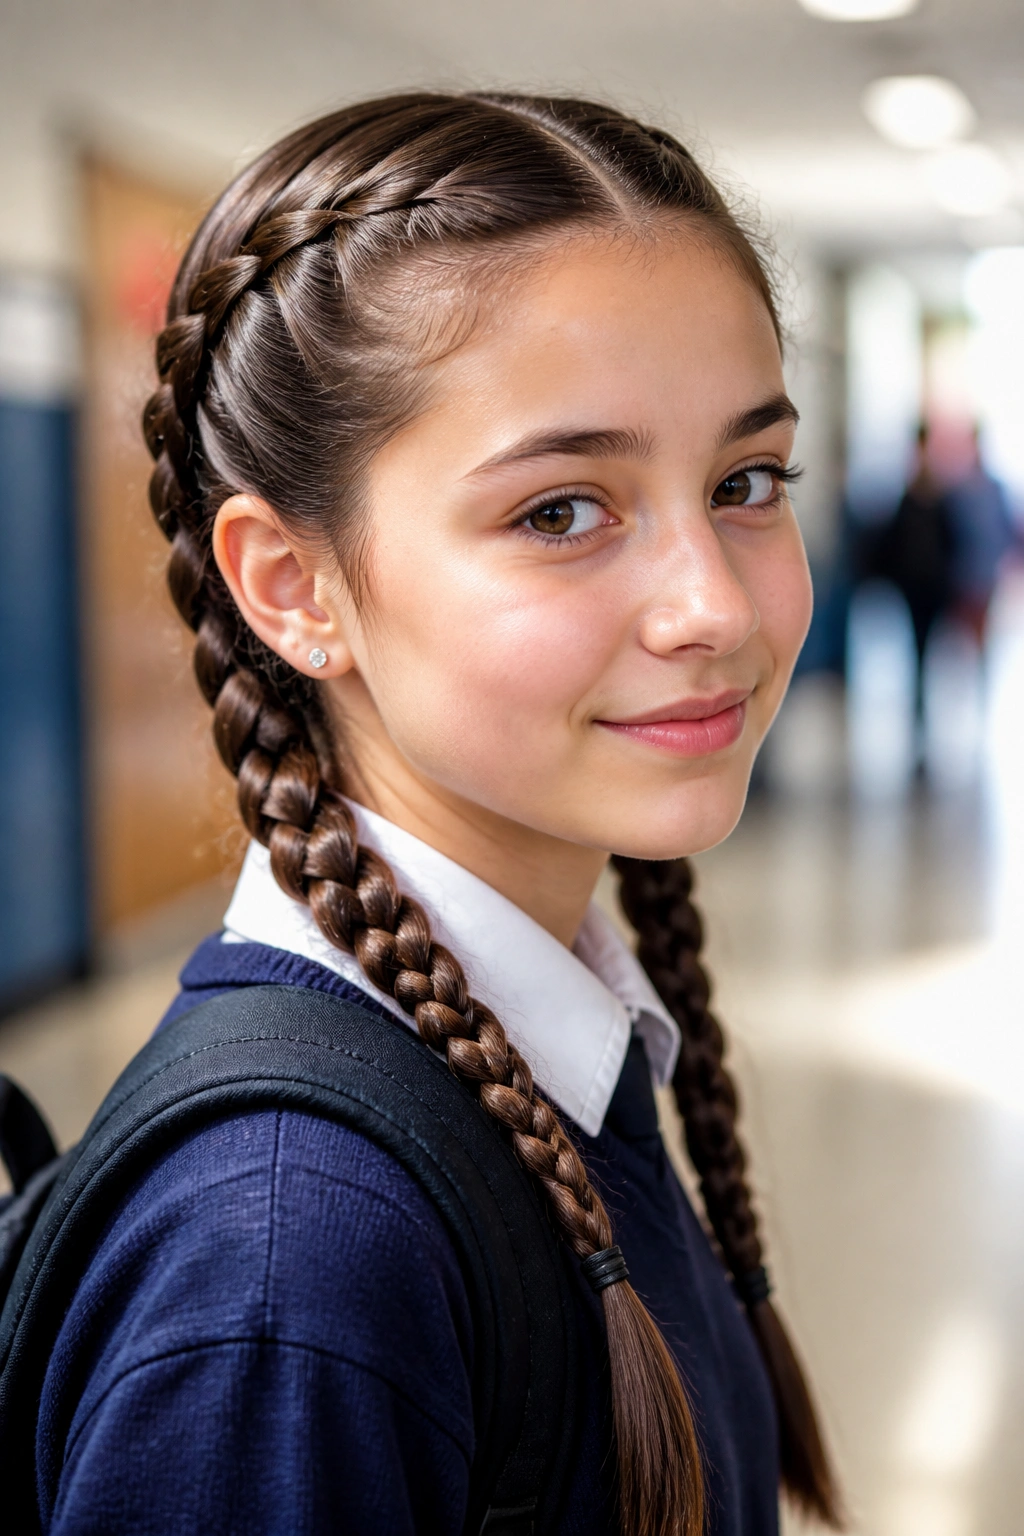
Twin braids are what I suggest when a long school day includes wind, running, or too many stops between classes.
Split the hair down the middle and braid each side from just behind the ear to the ends. The middle part keeps the style balanced, and the two braids spread the weight more evenly than one thick braid down the back. That can be a relief if your hair is dense and one braid tends to feel heavy by noon.
You can keep them neat and close to the head, or leave them a touch looser for a softer look. If the ends poke into your jacket collar, tuck them under or tie them a little higher. It sounds small, but that tiny adjustment stops the braids from getting rubbed apart all day.
What Makes Them Easy to Wear
The charm here is stability. Once the braids are in, you can forget about them. They also work across different ages without looking awkward, which is not always true of more playful styles. Twin braids are a bit practical, a bit clean, and that is the point.
9. The High Ponytail With a Lift at the Crown
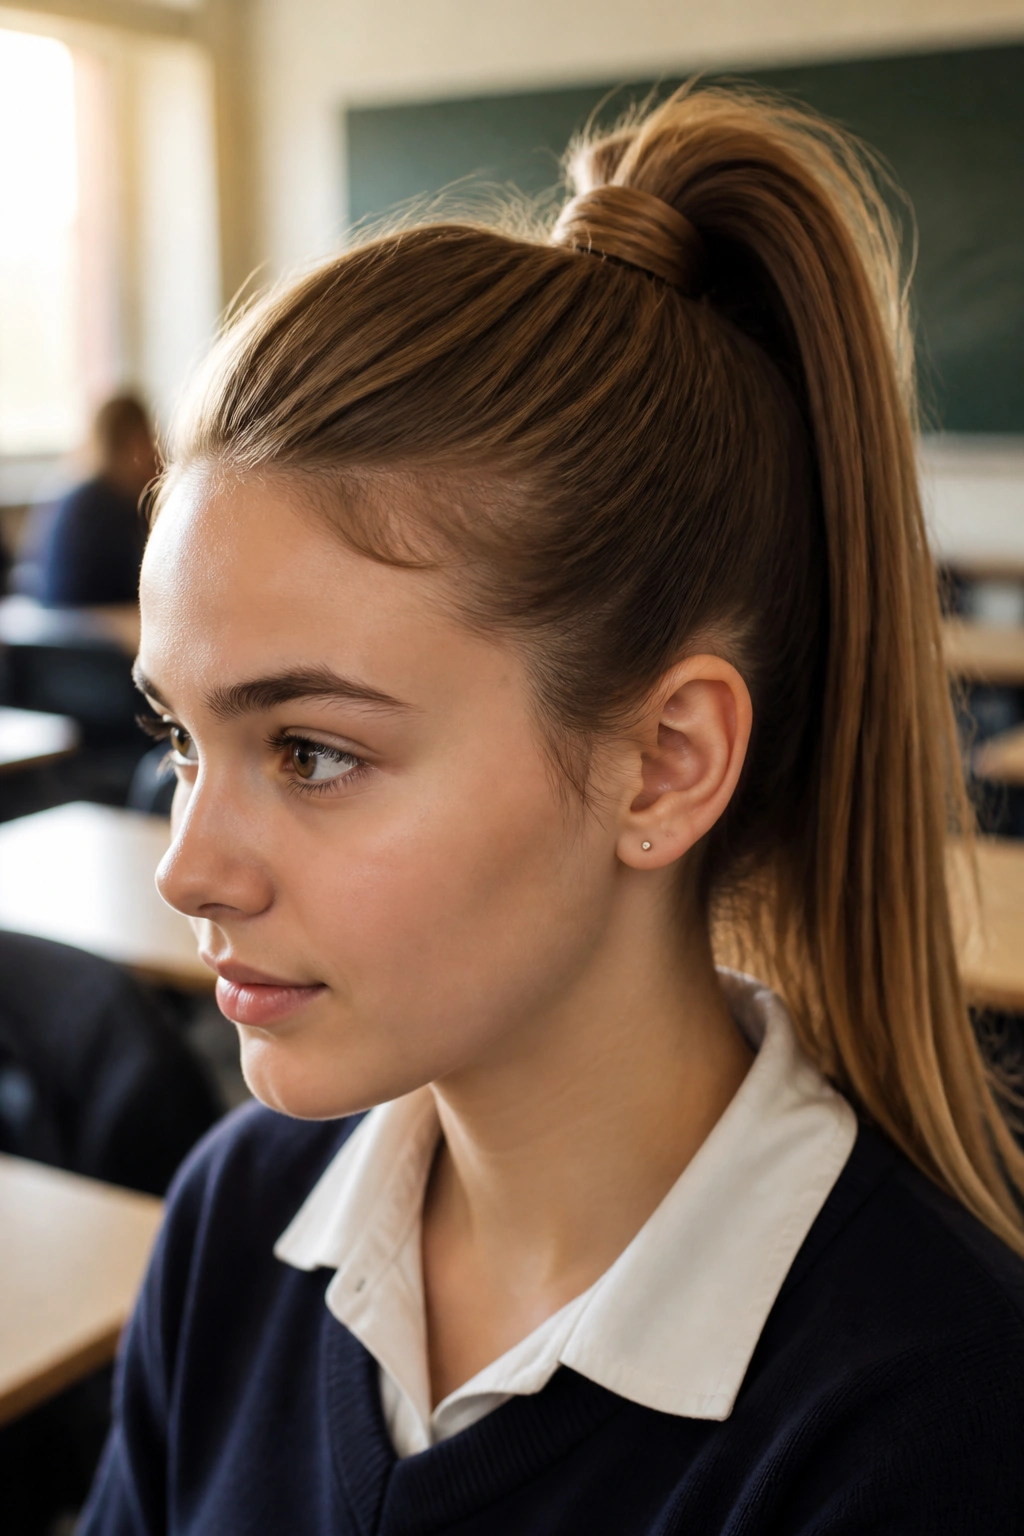
A high ponytail has a different energy from the low version. It sits higher, feels sharper, and gives the face more lift.
Place the base about 2 inches above the crown, then smooth the sides back without dragging everything flat. If you pull too hard, the style starts to hurt by third period, and that is not a trade worth making. A strand wrapped around the elastic keeps the finish cleaner and hides the part that usually looks rushed.
This works well on thick hair because the height keeps the ponytail from feeling heavy at the neck. Fine hair can wear it too, but a little teasing at the crown helps the base hold its shape. If you have layers, let a few shorter pieces fall around the temples. That softness keeps the ponytail from looking severe.
One strong hair tie, one quick wrap, done. Sometimes that is enough.
10. The Fishtail Braid for More Texture
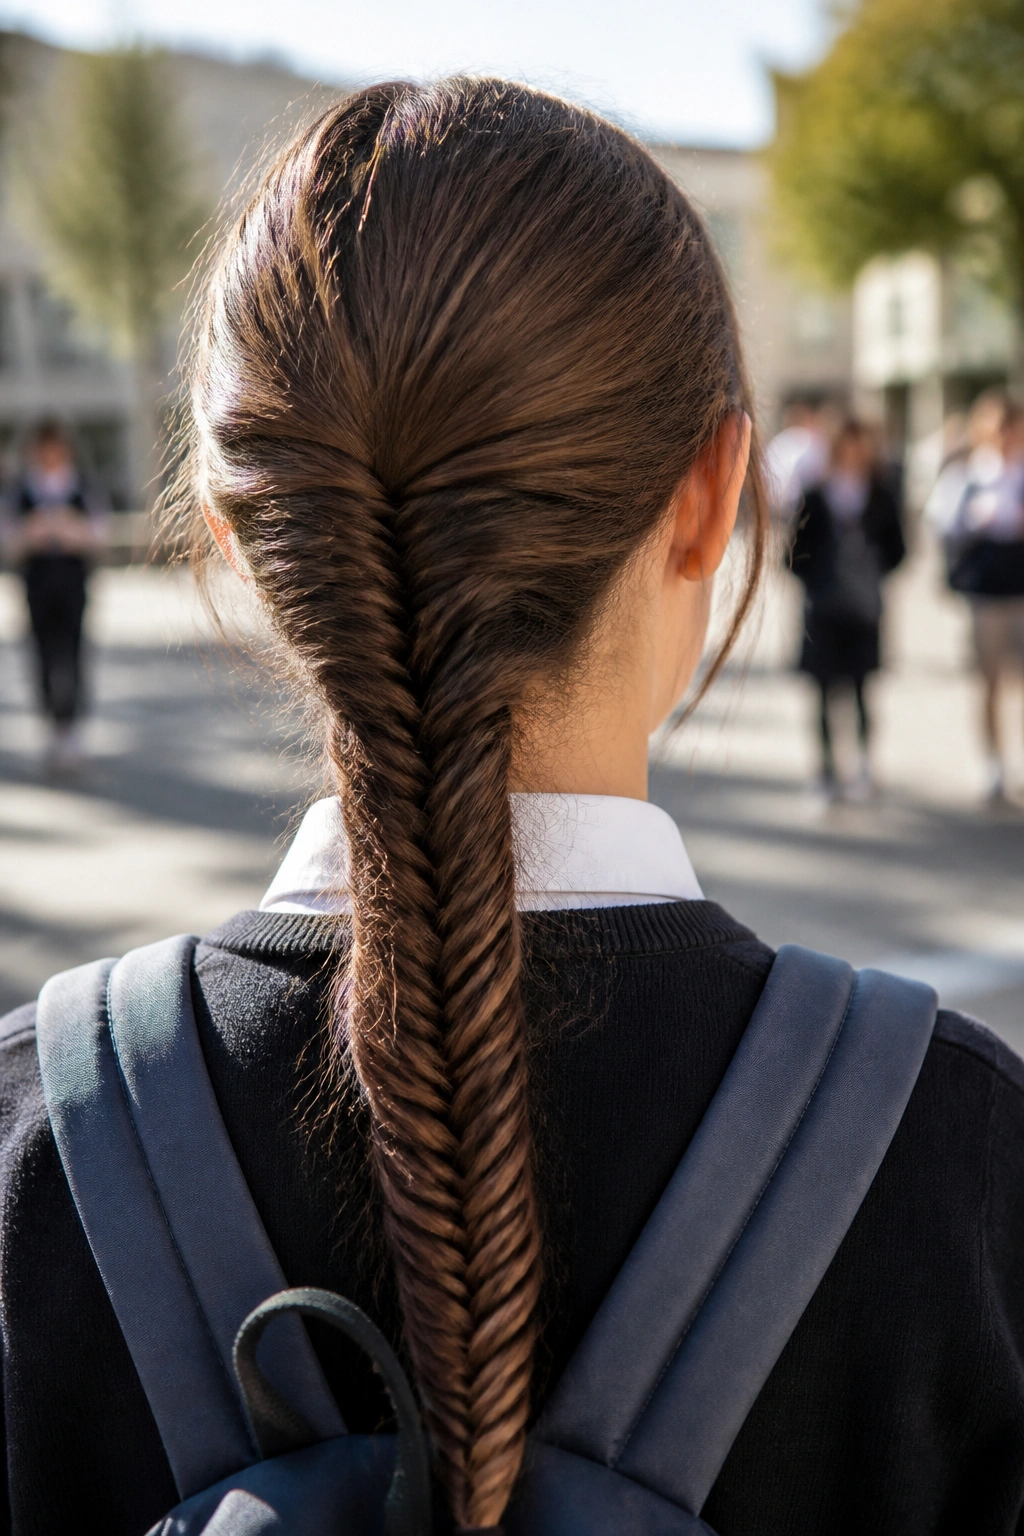
A fishtail braid looks intricate, but the hand motion is slower than a regular three-strand braid, which is why it earns a place on school mornings when you want detail without heat.
You work with two sections instead of three, taking tiny bits from the outside and crossing them over. The result is a narrow, textured braid that reads nicely on medium to long hair. It shines a little more when the hair has day-two grip, because freshly washed hair can slip and shed pieces while you are trying to separate them.
This is a smart choice if you like a style that looks a bit more deliberate than a plain braid. It also sits flatter against the back, so it does not get as bulky under jackets. The only real catch is time. A fishtail braid takes more attention at first, so it is better on mornings when you can spare an extra five minutes.
If you want one braid that feels slightly more dressed up, this is the one.
11. The Space Buns That Keep Hair Off Your Neck
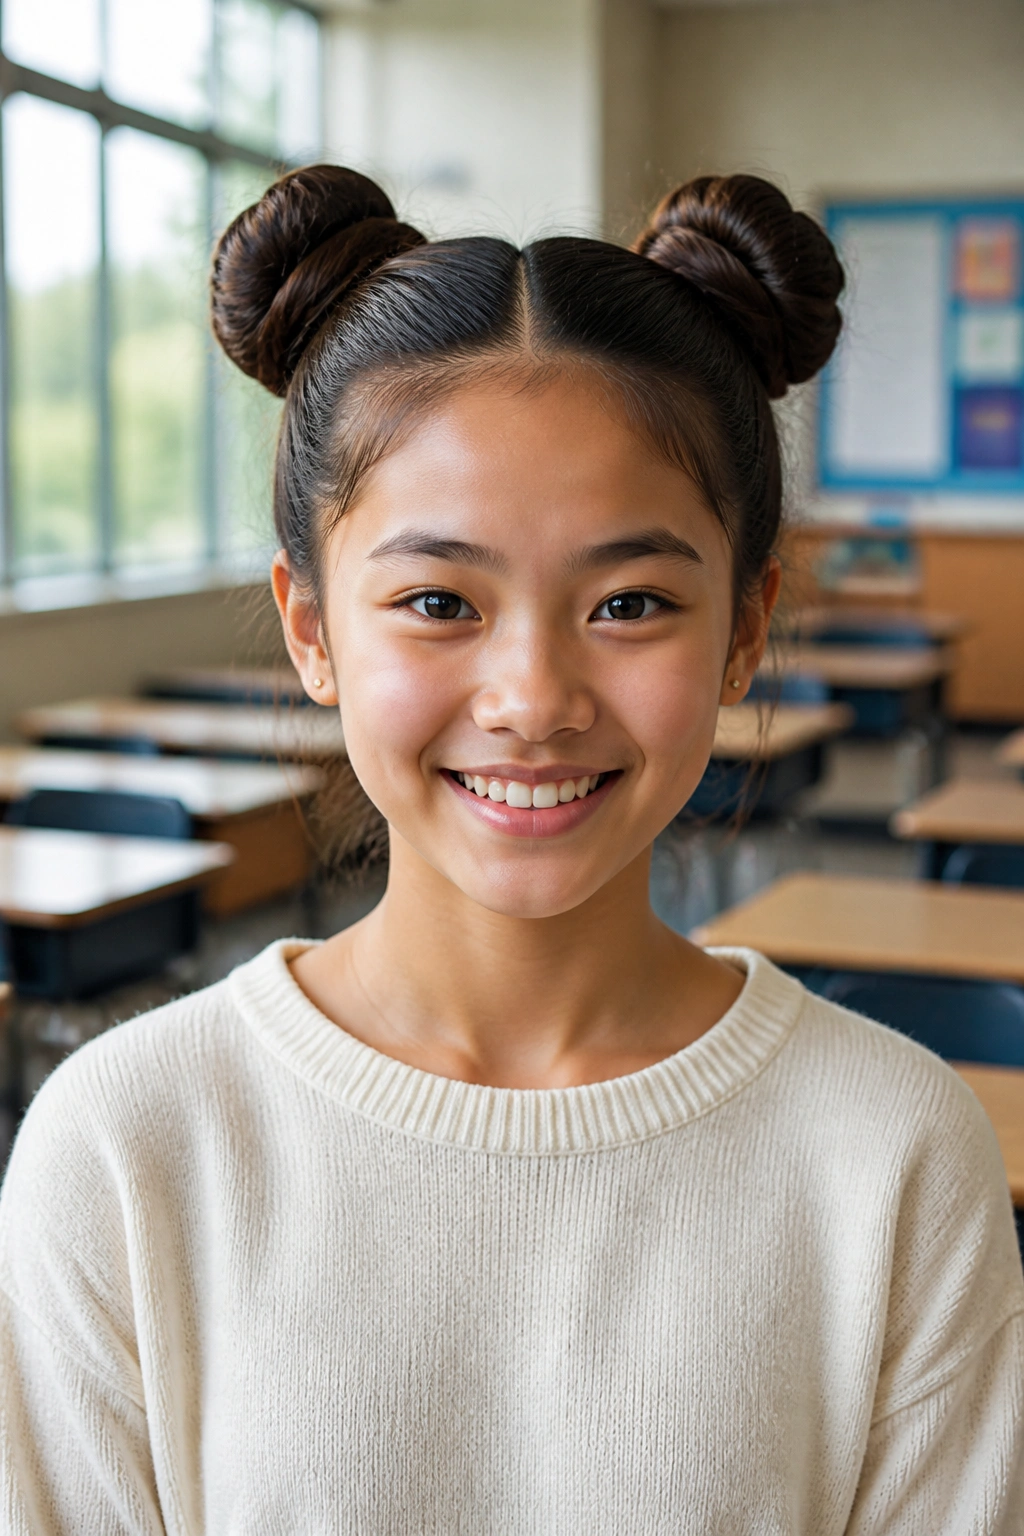
Need a style that keeps every strand off your neck and still feels playful? Space buns do that without asking for much.
Part the hair down the middle, then gather each side into a small bun at the crown or a little lower, depending on how bold you want the shape. Keeping them low makes them more school-friendly. Keeping them higher makes them feel more obvious. Either way, the center part gives the style its shape.
How to Keep Them Balanced
The buns do not need to be exact twins, but they should sit at about the same height. If one side always looks bigger, start with equal sections, then twist each side in the same direction before pinning. That small bit of symmetry makes a big difference.
Use two elastics if your hair is heavy, then secure each bun with pins or a small clip. If your hair is short, make the buns tighter and smaller so they stay compact. If your hair is long, do not overfill them or they start to droop. A lot of space-bun trouble comes from trying to make them bigger than the hair wants to be.
12. The Pull-Through Braid That Looks Full
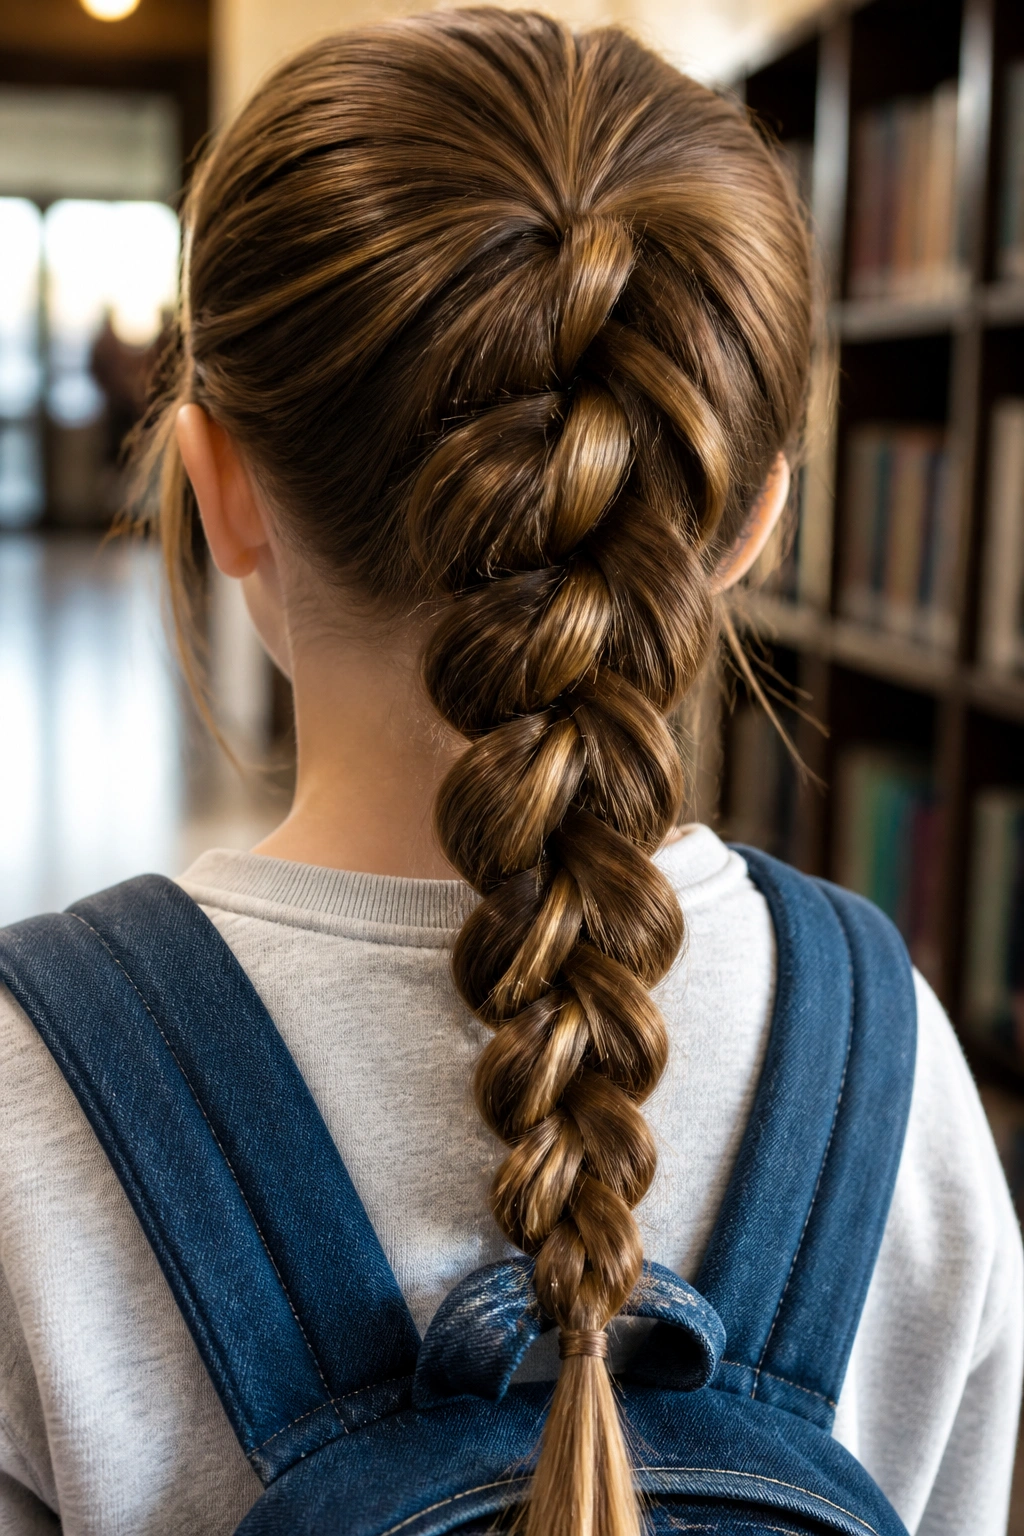
If braiding makes your hands tired, the pull-through braid is a cheat code in plain sight.
It is built from ponytails, not weaving, so the steps feel more familiar. You make one ponytail, split it, pull a second ponytail through the gap, and keep going down the length with small elastics. The finished style has a chunky, full look that can be useful on fine hair, because it creates the illusion of thickness without needing extensions or heavy teasing.
- Use 4 to 8 small elastics, depending on hair length.
- Keep each loop the same size.
- Pull the sides out gently so the braid widens evenly.
- Finish with one clear elastic at the end.
This style holds well because each section is locked separately. That means it can last through a long school day without loosening as fast as a soft braid might. It does take a little patience, though. The payoff is a braid look that feels more structured than a regular three-strand version.
13. The Braided Crown That Holds Everything Back
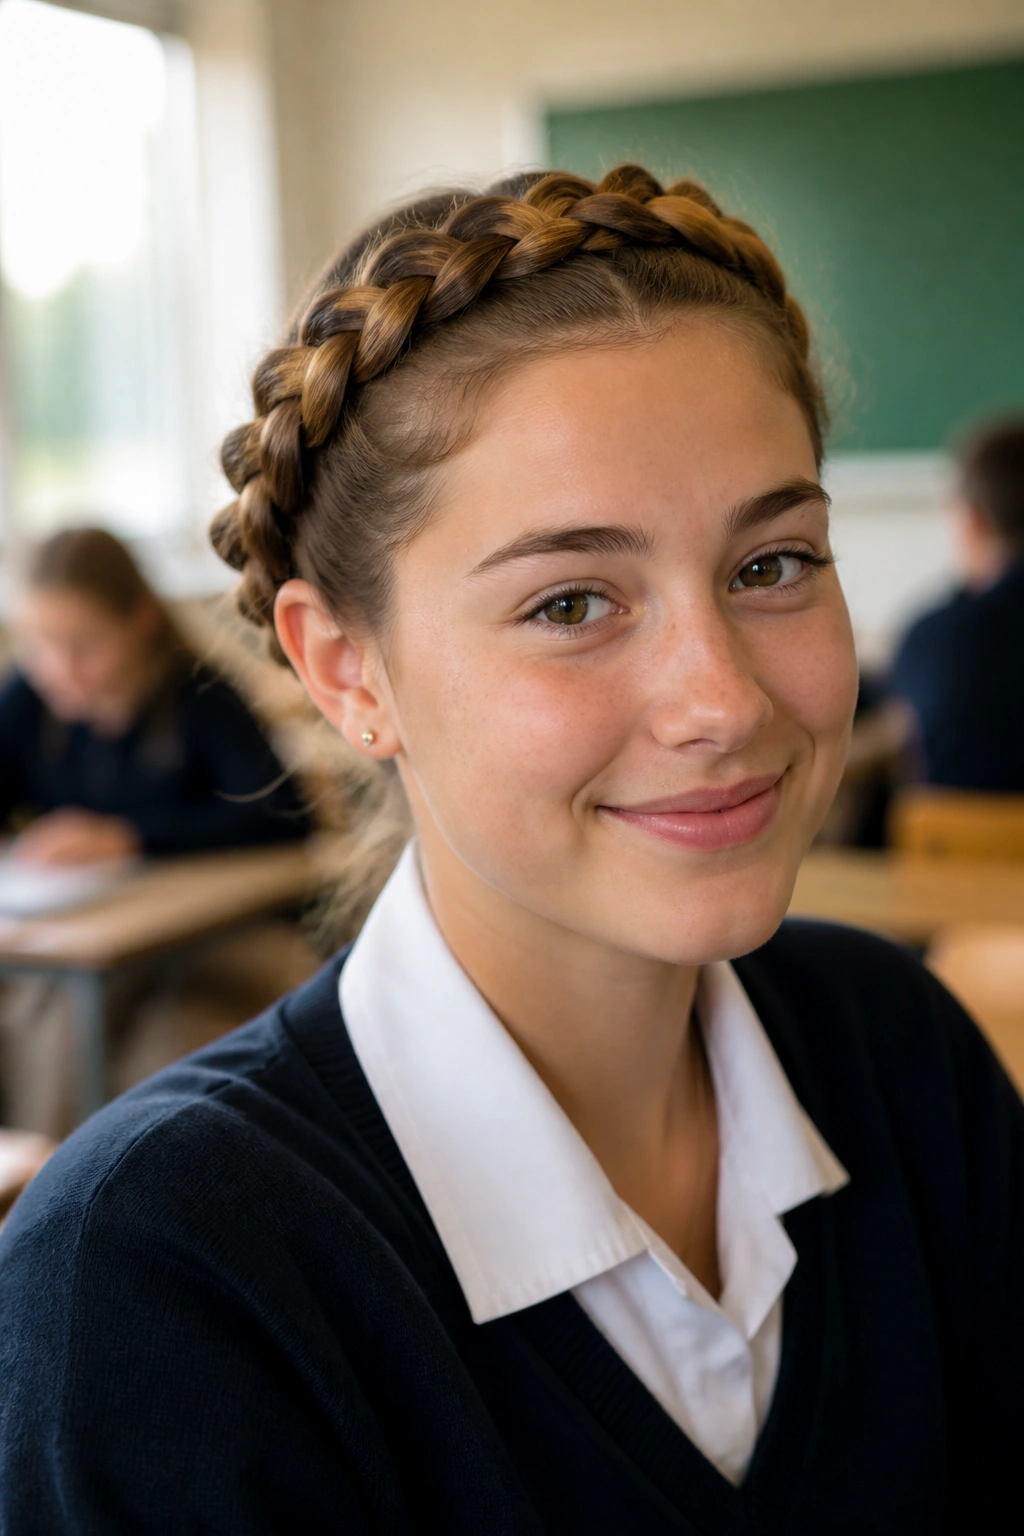
A braided crown changes the whole shape of the face.
The braid runs along the hairline and loops around the head, so the style looks neat from every angle. It is a good pick for school performances, presentations, photos, or any day when you want all the hair off your face and the shape to look a little more finished than a normal braid down the back.
When It Makes Sense
This style works especially well on medium to long hair that has some grip. Freshly washed, super-slippery hair can make the braid slide, and that gets annoying fast. Day-two hair often handles it better because the strands hold their place a little more easily.
What to Watch For
Bobby pins should be hidden under the braid, not stuck randomly on top. Two crossed pins at the back usually hold better than one pin alone. If your hair is layered, leave a few soft pieces near the ears rather than fighting every strand into submission. That small bit of looseness keeps the crown from looking severe.
It is a bit more involved than a ponytail, yes. Still worth it on the right day.
14. The Twisted Half-Up for Face-Framing Layers
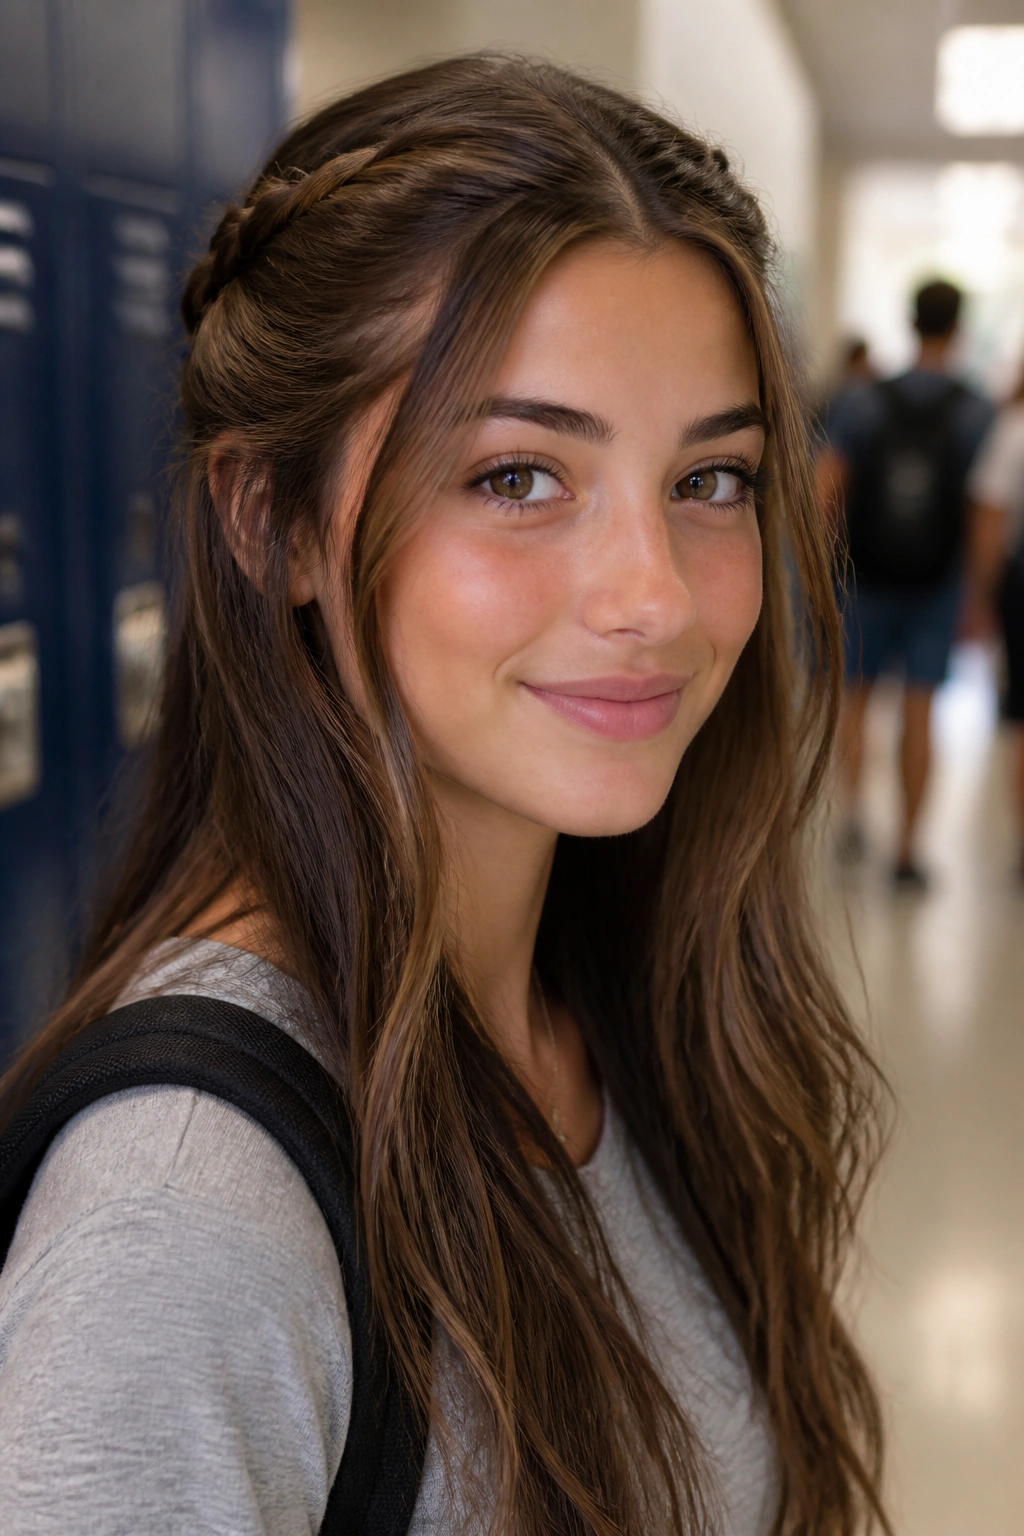
Two front twists are a lifesaver on mornings when the side pieces keep falling into your eyes.
Take a section about 1 inch wide from each temple, twist it back toward the crown, and pin it just behind the top layer of hair. You can secure both sides with one small clip or use two bobby pins in an X if the hair is slippery. The result is clean at the front and soft at the back, which makes it one of the most forgiving school styles for layered cuts.
This one works well on wavy hair because the twists keep the front under control without fighting the natural texture. It also helps if your hair is shorter around the face and you do not want the pieces falling into pencil, notebook, and lunch-tray territory all day.
A tiny barrette makes it feel finished. A simple pin makes it disappear. Pick the version that fits your mood and the dress code, because the shape is doing the real work here.
15. The Headband Tuck for Shorter Hair
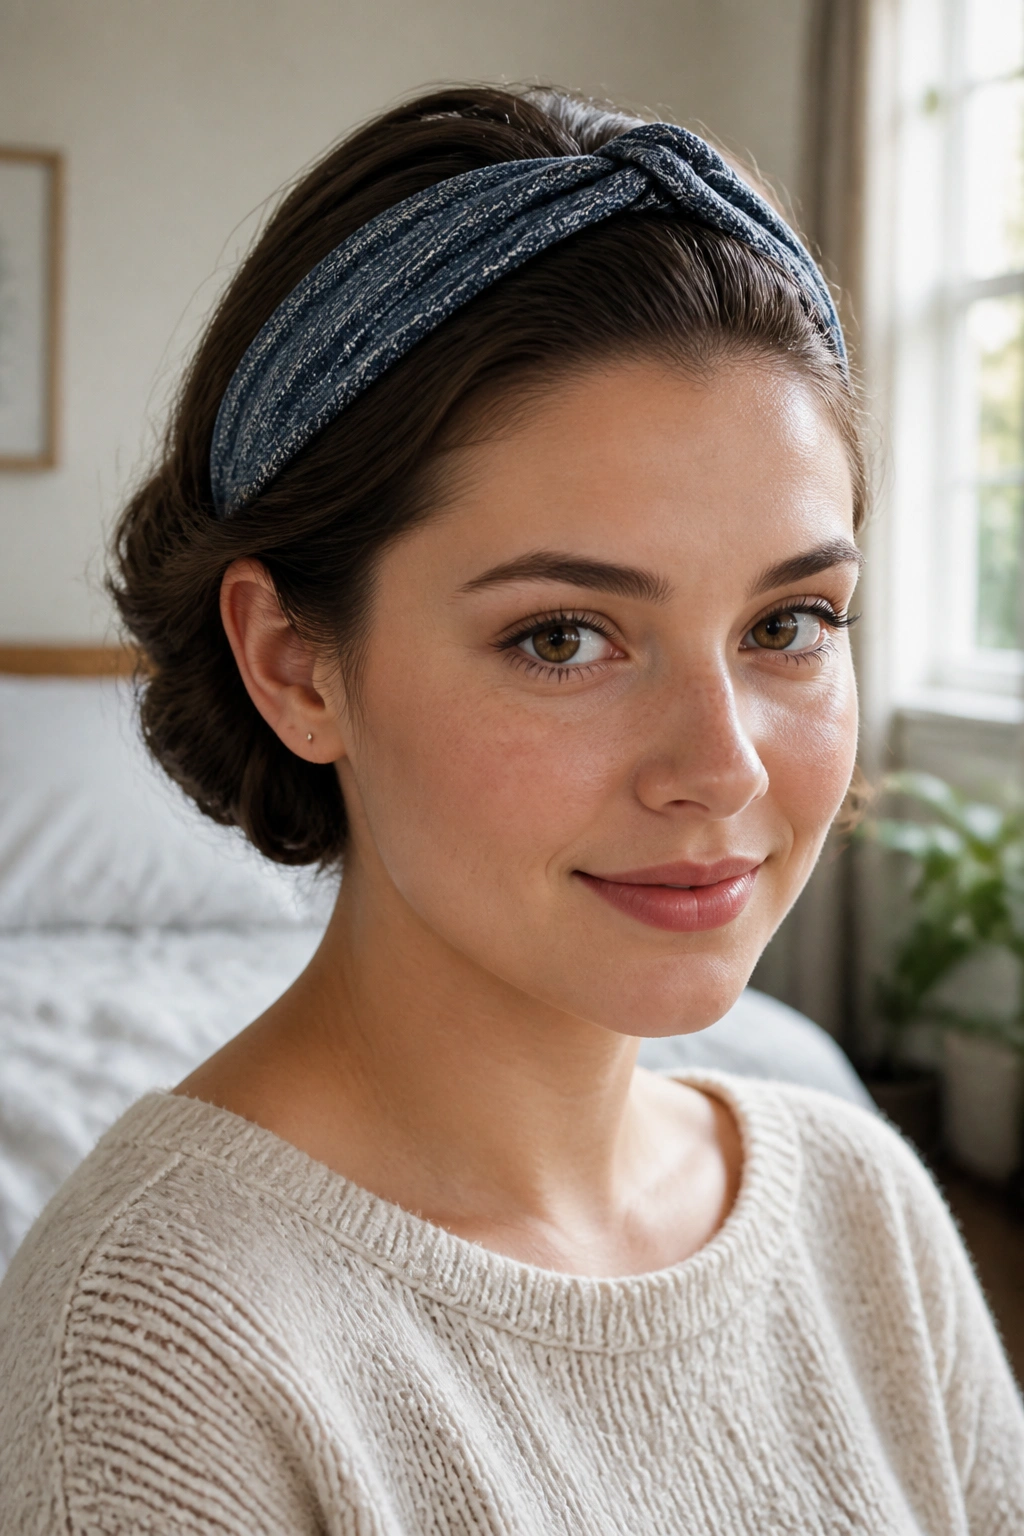
A headband tuck is one of those styles that looks more deliberate than it is.
Slide on a fabric headband, then tuck the ends of the hair up and over the band so they fold into a soft roll at the back. It works especially well on shoulder-length hair and bobs that are long enough to tuck but not long enough to feel easy in a full bun. The shape stays close to the head, which is helpful when you want something neat without a lot of pins.
Unlike a bun that needs length and a good grip, this style leans on the band itself. A headband with a little texture or grip will hold better than one that is slick and shiny. If your hair is fine, a slightly wider band helps keep the tuck from slipping apart. If your hair is thick, start by smoothing the ends flat before folding them in, or the back starts looking bulky.
It is a quiet style. That is the appeal.
16. The Curly Puff That Respects Your Texture
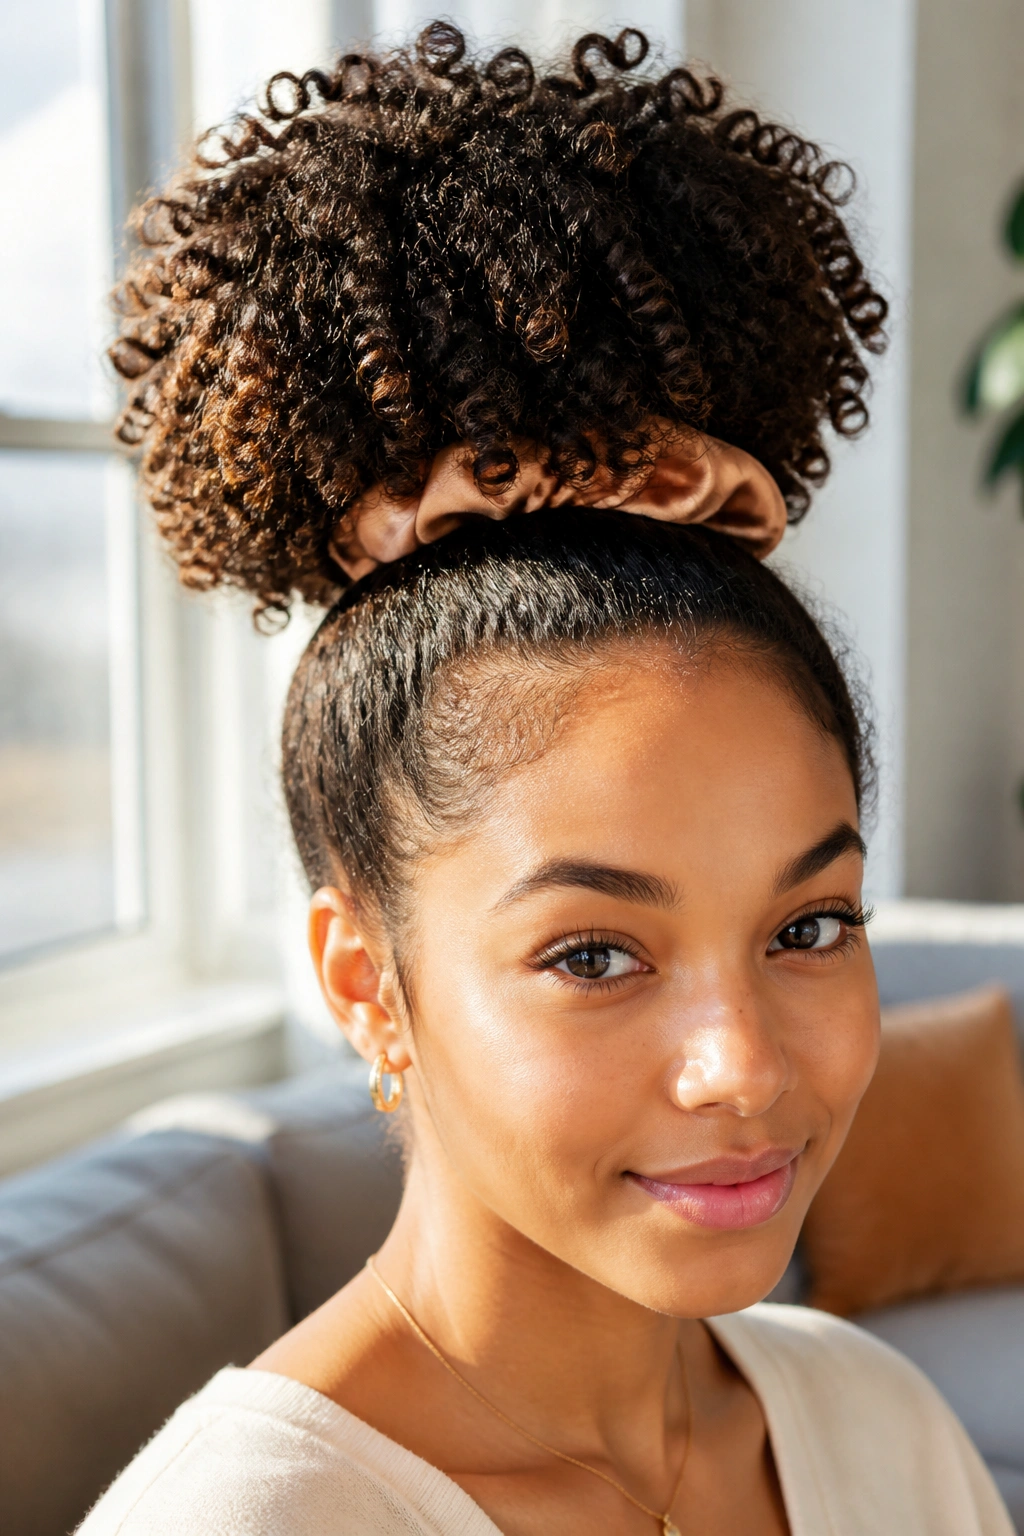
Why flatten curls when a puff already gives you shape?
A curly puff gathers the hair high or mid-height and lets the curl pattern stay visible instead of pressing it into a flat shape. Use a satin scrunchie or a soft elastic so the base does not snag, and keep the puff loose enough that the curls can sit on top of each other naturally. The shape should look full, not squeezed.
Why the Satin Tie Matters
A rough elastic can catch and break the curl pattern at the base, especially if your hair is dry. A satin scrunchie slides more gently and gives the hair some room. That sounds fussy until you wear the puff for a full day and realize the base still feels comfortable.
What to Avoid
Do not brush dry curls into a frizz ball and call it done. That is a fast way to create a halo you did not ask for. Smooth the edges with a little leave-in on your hands if needed, then gather the puff in one motion. On school days, the goal is not to flatten the curls. The goal is to keep them contained without erasing them.
17. The Side Sweep and Clips for Short Hair
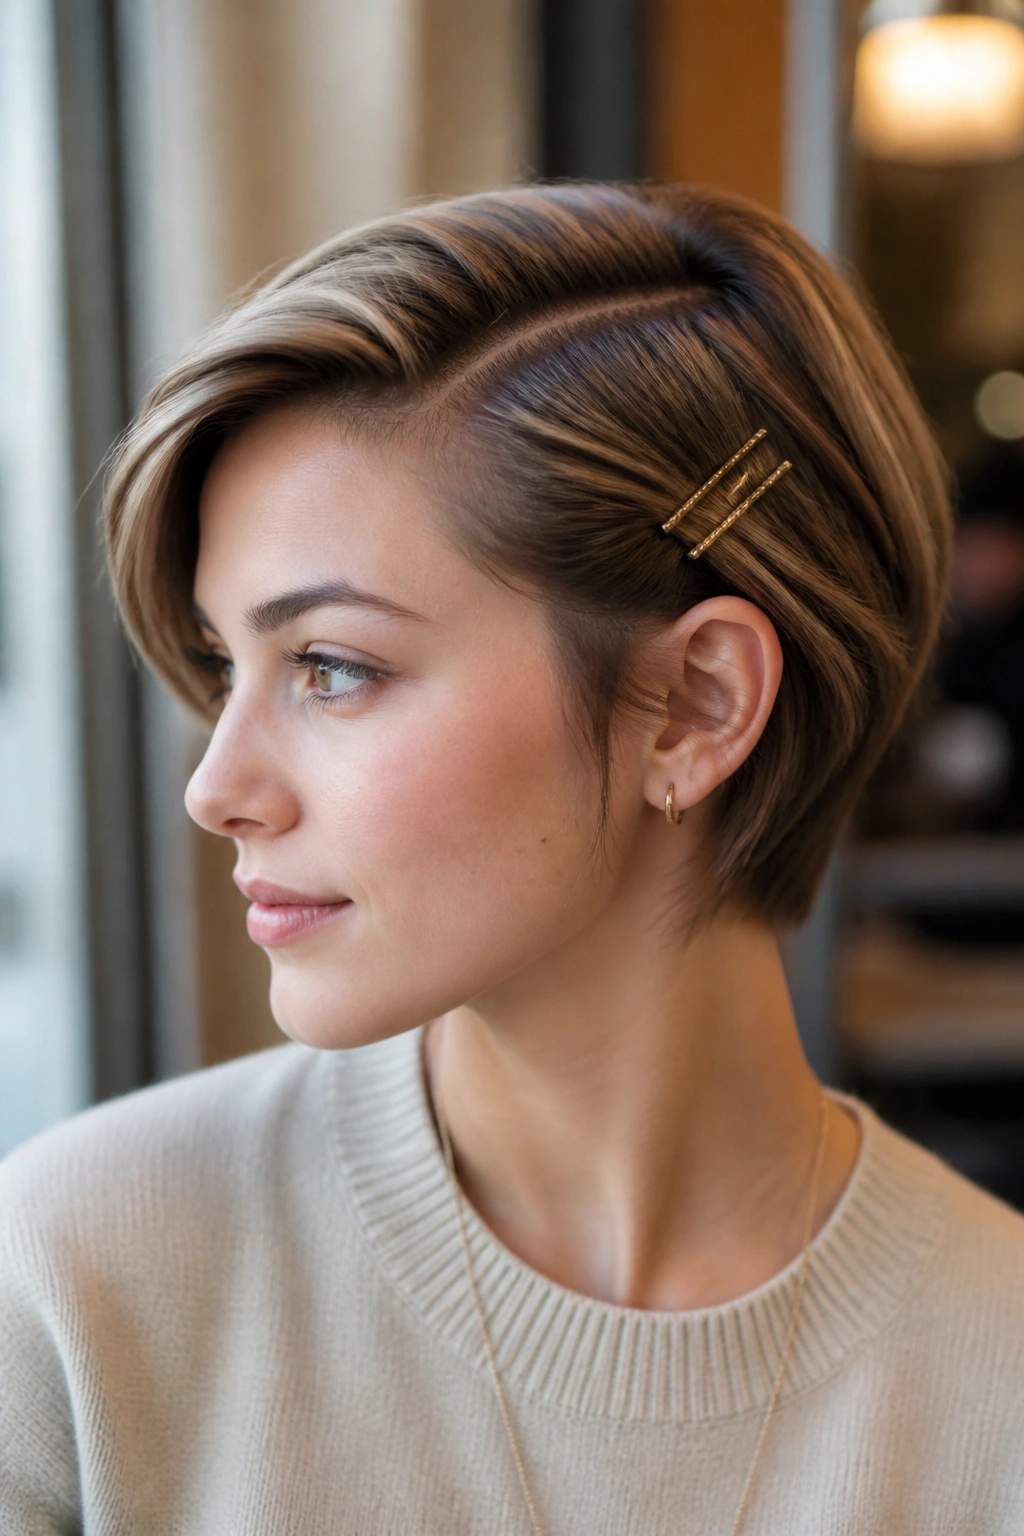
Short hair does not need more length. It needs a cleaner shape.
A deep side part, set with the arch of the eyebrow as a guide, can change a bob or pixie more than people expect. From there, pin back one side with two barrettes, or add a tiny braid near the temple if the hair is long enough to grab. That keeps the front controlled and gives the whole cut more direction.
This is a good option when a full updo is off the table. Short hair often looks best when you work with its own line instead of trying to force it into something else. A flat side sweep keeps the face open, which is handy for school when you want to see, write, and not spend the day pushing hair out of your eyes.
If your school allows accessories, small clips in a plain metal finish or a muted color keep the style clean. Loud clips can be fun, but they are not always the move on a day with uniforms or presentations.
18. The Five-Minute Front Twist
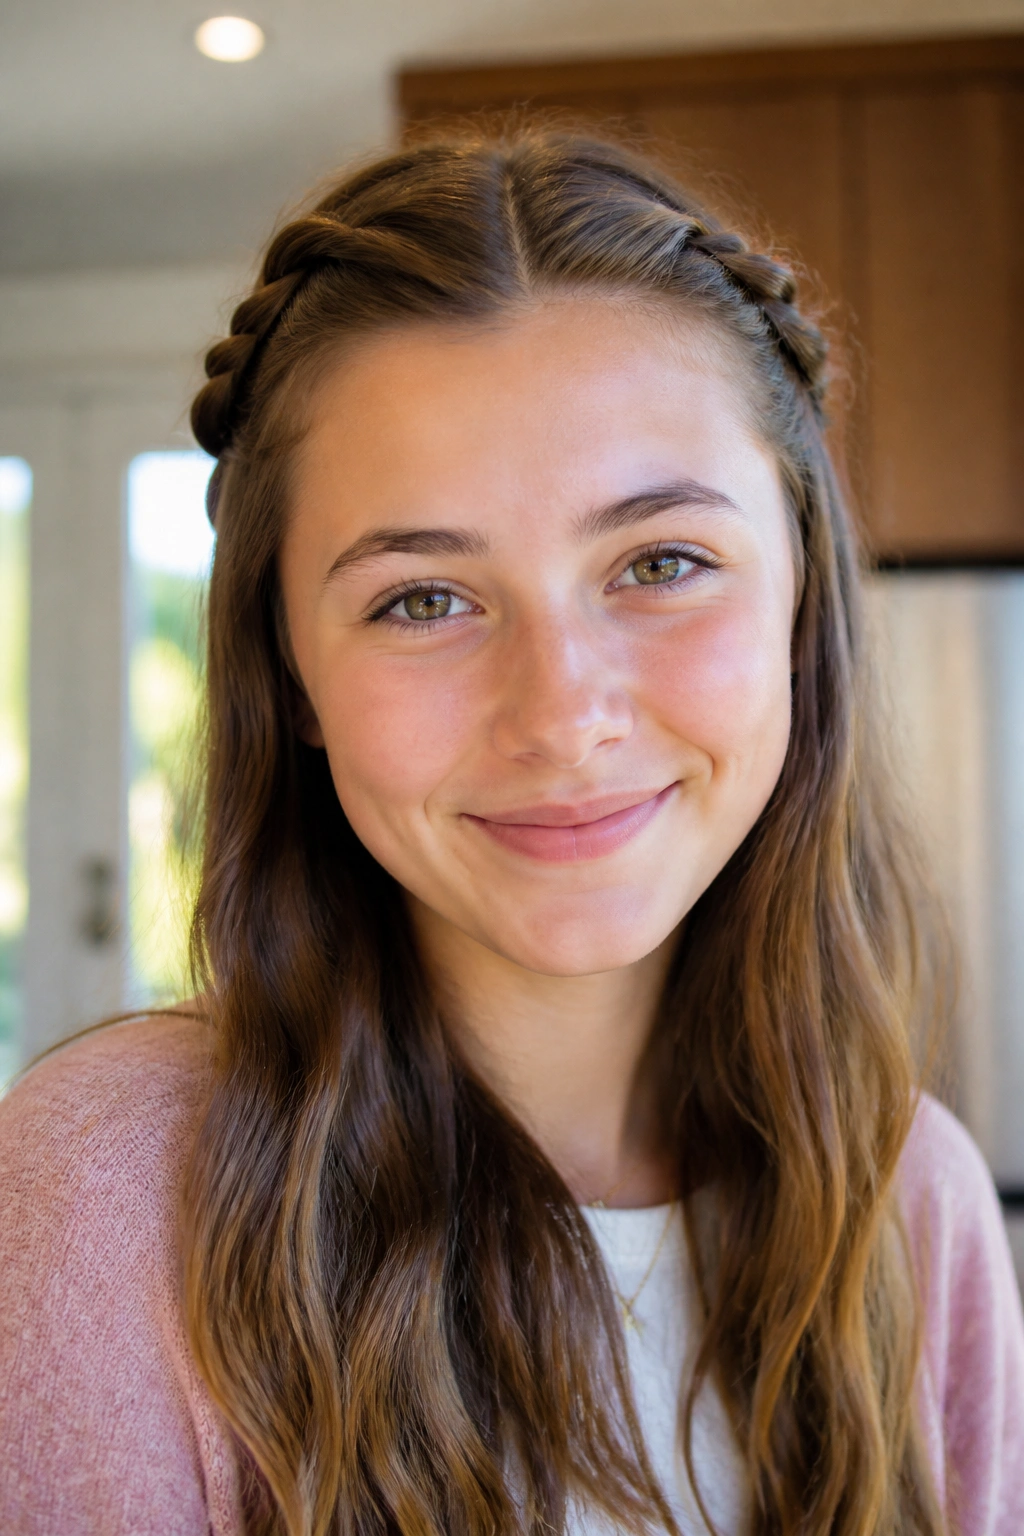
You overslept. The alarm missed its job. Hair is not the priority, but it still has to look intentional.
Take the front section from one side, twist it back toward the crown, and pin it with a mini clip or two crossed bobby pins. Repeat on the other side if you have time. Leave the rest down, pull it into a low ponytail, or tuck it into a loose bun if the length is getting in the way. That is the whole trick.
- Twist each front section back once.
- Pin where the twist meets the crown.
- Keep the twist soft, not tight.
- Let the ends disappear under the top layer.
This one works especially well on second-day hair, because the slight texture helps the twist stay put. It also hides cowlicks near the front, which can be a small mercy when the morning has already gone sideways. If I had to keep one rescue style on hand for school mornings, this would be the one.
